A step-by-step way to estimate labor and material costs for a powder room or small guest bath, plus smart contingency planning and splurge vs. save tips.
If you have ever stared at a tile aisle and thought, “Okay, but how much is this really going to cost for my bathroom?”, you are not alone. Tile budgets go sideways for three reasons: measurements are slightly off, overage is guessed instead of planned, and the little supporting materials are forgotten until checkout.
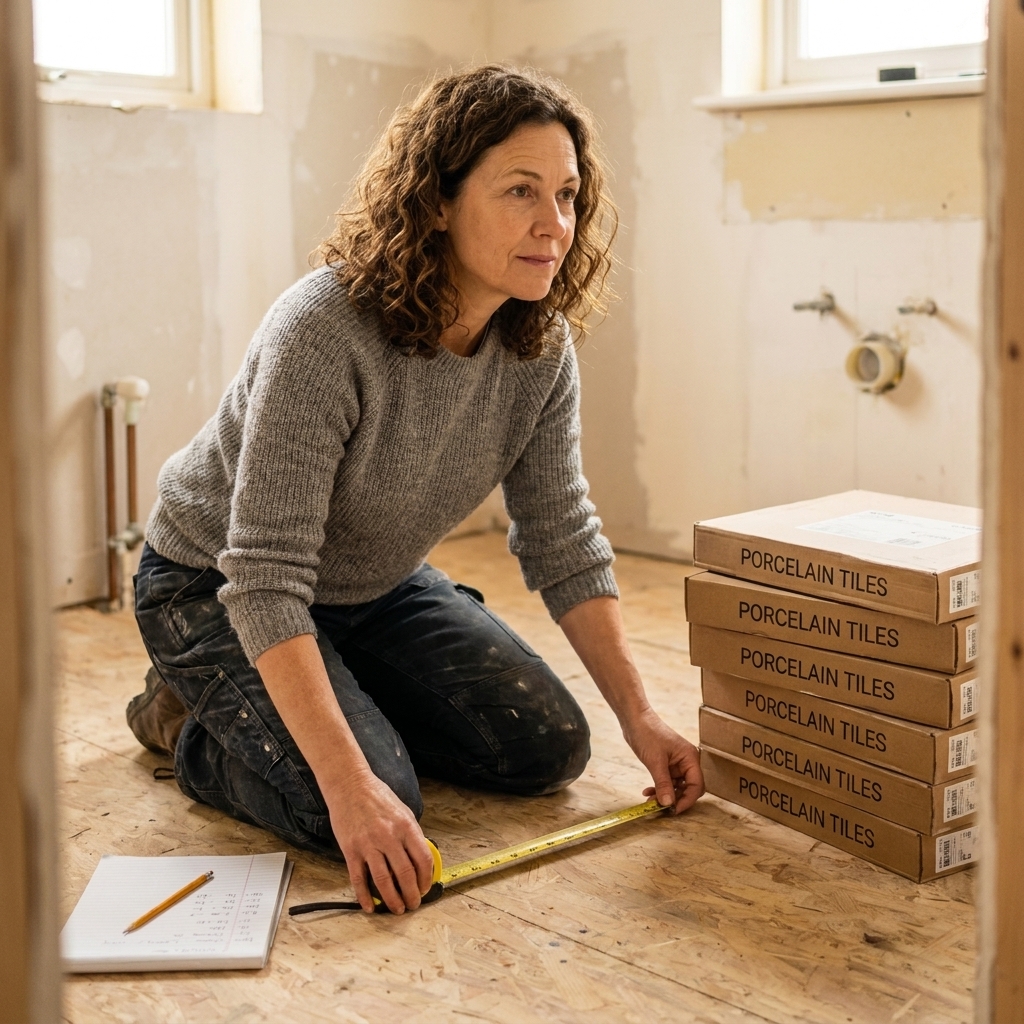
Here is the system I used as a kitchen and bath designer and project manager: one repeatable formula that covers floors, shower walls, backsplashes, and the unglamorous but necessary products like thinset, grout, and waterproofing. Grab a tape measure, open your Notes app, and let’s get you a number you can trust.
Quick measurement rule: If you use the “inches × inches ÷ 144” formulas below, measure everything in inches (consistently), then convert to square feet with ÷ 144.
The master formula
Use the same structure whether you are pricing a simple floor refresh or a full shower surround:
Total material cost =
- Tile area needed (sq ft) × tile price ($/sq ft)
- + Trim pieces (linear ft or per-piece) × trim price
- + Underlayment or backer (sheets or sq ft) × price
- + Setting materials (thinset or mastic, grout)
- + Waterproofing (showers and wet zones)
- + Transition strips and edge profiles
- + Small but real extras (spacers, leveling clips, tape for seams)
- + Delivery and waste fees (if applicable)
The key is that tile area needed is never just the raw square footage. It is raw square footage plus overage, and the overage changes based on layout and tile type.
Also note: This guide is focused on estimating materials. Tool purchases and rentals (wet saw, diamond blades, hole saws), and disposal or dump fees can be significant, but they are separate line items.
Step 1: Measure the floor
For floors, you only need length and width, but bathrooms are rarely perfect rectangles. The trick is to break the room into simple shapes.
1) Sketch it (seriously)
Draw the room outline and label the measurements. Include any jogs, alcoves, or the little bump-out where the toilet sits.
2) Split into rectangles
Measure each rectangle and calculate square footage:
Rectangle area (sq ft) = (length in inches × width in inches) ÷ 144
Add the rectangles together for total floor square footage.
3) Decide what you are tiling around
In most bathroom floor tile installs, you tile around the toilet flange and go under the vanity toe kick only if the vanity is not installed yet. In existing bathrooms, tile usually stops at the vanity footprint. Either approach is fine, just be consistent when you measure.
My rule: If the vanity is staying and you are not moving it, measure floor tile as the exposed floor area only. If the vanity is new and the room is gutted, measure wall-to-wall. The second option costs more in tile but can save you headaches later if the vanity size changes.
One more real-world check: If your vanity has legs, a floating design, or a visible gap under the cabinet, you may want tile extending under it (or at least far enough back) so you are not staring at raw subfloor later.
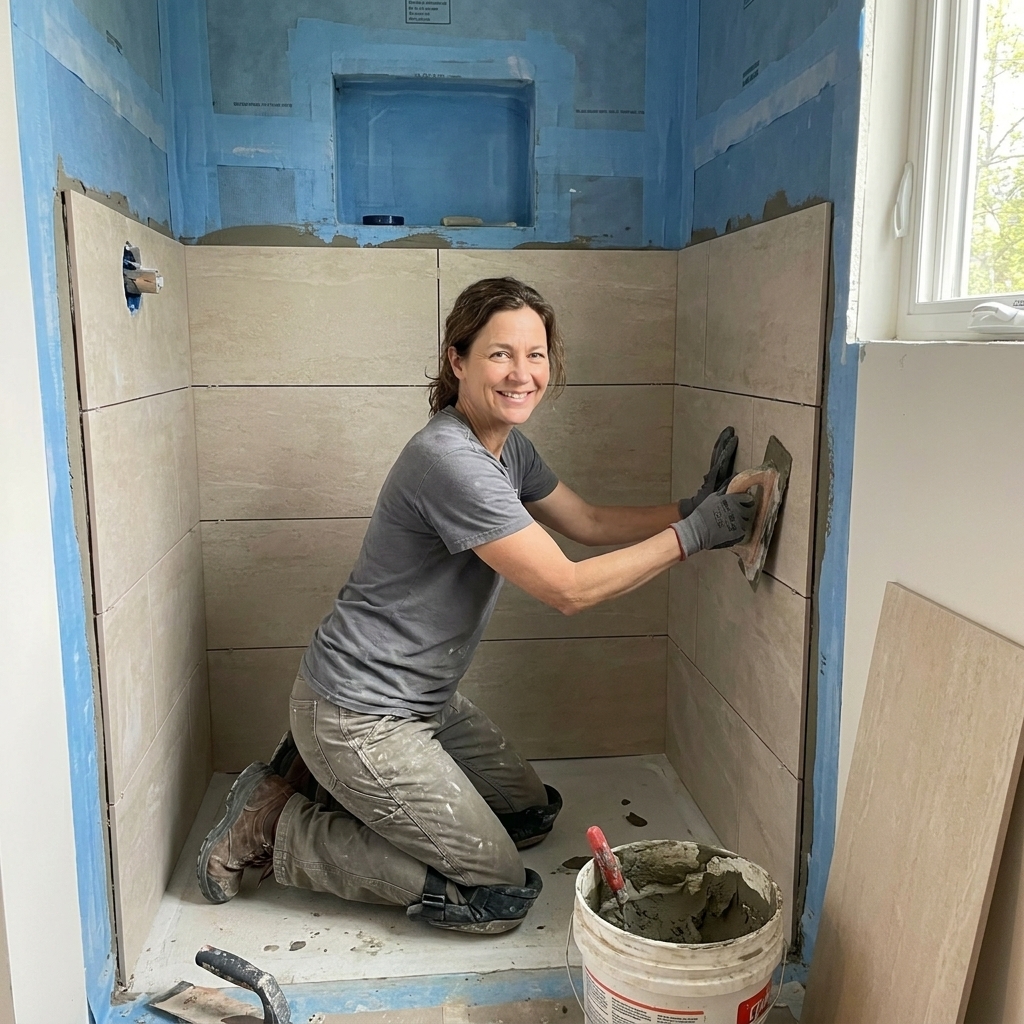
Step 2: Measure shower walls
Shower tile budgets are where people get surprised, because wall tile area adds up fast.
Wall area math
For each wall section:
Wall tile area (sq ft) = (wall width in inches × tiled height in inches) ÷ 144
Then add all wall sections together.
Common shower scenarios
- Three-wall alcove shower: back wall + two side walls
- Walk-in shower: each tiled wall section, including returns (the short “wrap” at the opening)
- Ceiling tile: add ceiling area if you are tiling it (popular in steam showers and some modern wet rooms)
Subtracting niches and windows
You can subtract large openings, but do not overthink it. I typically subtract only if it is bigger than about 2 square feet. Niches also use tile (and extra cuts), so subtracting them often creates a false sense of savings.
Step 3: Pick overage
Overage is not “extra tile because contractors are greedy.” It is insurance against broken tiles, bad dye lots, and the reality of cuts.
Start with your raw area, then multiply by one of these overage rates:
- 10% overage: straight lay pattern, standard-size tile, simple room
- 15% overage: most bathrooms, shower walls, mixed angles, more cuts
- 20% overage: diagonal layout, hex tile, herringbone, basketweave, lots of niches or a curbless shower with multiple slopes
- 25% overage: natural stone with heavy veining where you are picky about matching, or any layout with lots of small pieces and complex borders
Overage math:
Tile area needed = raw area × (1 + overage rate)
Example: If your shower walls are 120 sq ft and you plan 15% overage:
120 × 1.15 = 138 sq ft to purchase
Real-world tip from the jobsite: If your tile comes in full boxes, round up to the next full box. Do not buy partial-box math and hope the store can split boxes later.
Step 4: Convert to boxes and trim
Tile is sold three different ways: by the square foot, by the box, or by the piece. Your estimate should translate into what you will actually put in your cart.
If tile is sold by the box
Find the coverage printed on the box (example: 15.5 sq ft per box).
Boxes needed = tile area needed ÷ sq ft per box
Then round up to a whole box.
If tile is sold by the piece
Calculate tile face area:
One tile area (sq ft) = (tile length in inches × tile width in inches) ÷ 144
Pieces needed = tile area needed ÷ one tile area
Round up, and add a few extra pieces for future repairs.
Do not forget trim and edging
Trim can be a big swing in cost, especially with shower surrounds. Count it deliberately:
- Outside corners (bullnose or metal profiles): measure vertical corner height and add them up (linear feet)
- Top edge of wainscot or shower partial height: measure the run (linear feet)
- Niche perimeter: add the perimeter of each niche opening
- Metal edge profiles: usually sold in 8-foot or 10-foot lengths, so round up by sticks
If you are using metal profiles, plan on one extra stick. A single bad cut can ruin a piece, and profiles are not always stocked locally in the finish you chose.
Step 5: Price thinset, grout, waterproofing
Tile gets the spotlight, but these are the materials that keep it stuck, sealed, and not growing mystery mildew.
Thinset or adhesive
- Floors and shower walls: typically thinset mortar
- Small bathroom backsplashes: sometimes mastic, but I prefer thinset in wet-adjacent areas
Coverage depends on trowel size, tile size, back-buttering, substrate flatness, and mortar type. The ranges below are budgeting ballparks, not promises. Once you pick your mortar and trowel, confirm coverage on the bag or manufacturer data.
- Large-format tile (12x24 and up): often around 1 bag per 40 to 60 sq ft
- Standard tile (around 12x12): often around 1 bag per 60 to 90 sq ft
- Mosaic sheets: varies, but 1 bag per 50 to 80 sq ft is a safe starting point
When in doubt, round up. Returning unopened mortar is easier than stopping mid-project because you ran short.
Grout
Grout usage depends on tile size, tile thickness, grout joint width, and joint depth. A 25-pound bag can cover a lot of area with big tile and tight joints, and much less area with small mosaics.
For budgeting, I typically start here (again, these are ranges):
- 12x24 tile with 1/8-inch joints: a 25-pound bag can cover roughly 200 to 400 sq ft depending on thickness and joint depth
- 2-inch mosaic with 1/8-inch joints: a 25-pound bag may cover roughly 50 to 100 sq ft
Check the manufacturer’s coverage chart once you have your exact tile and joint size. Use it as the deciding number.
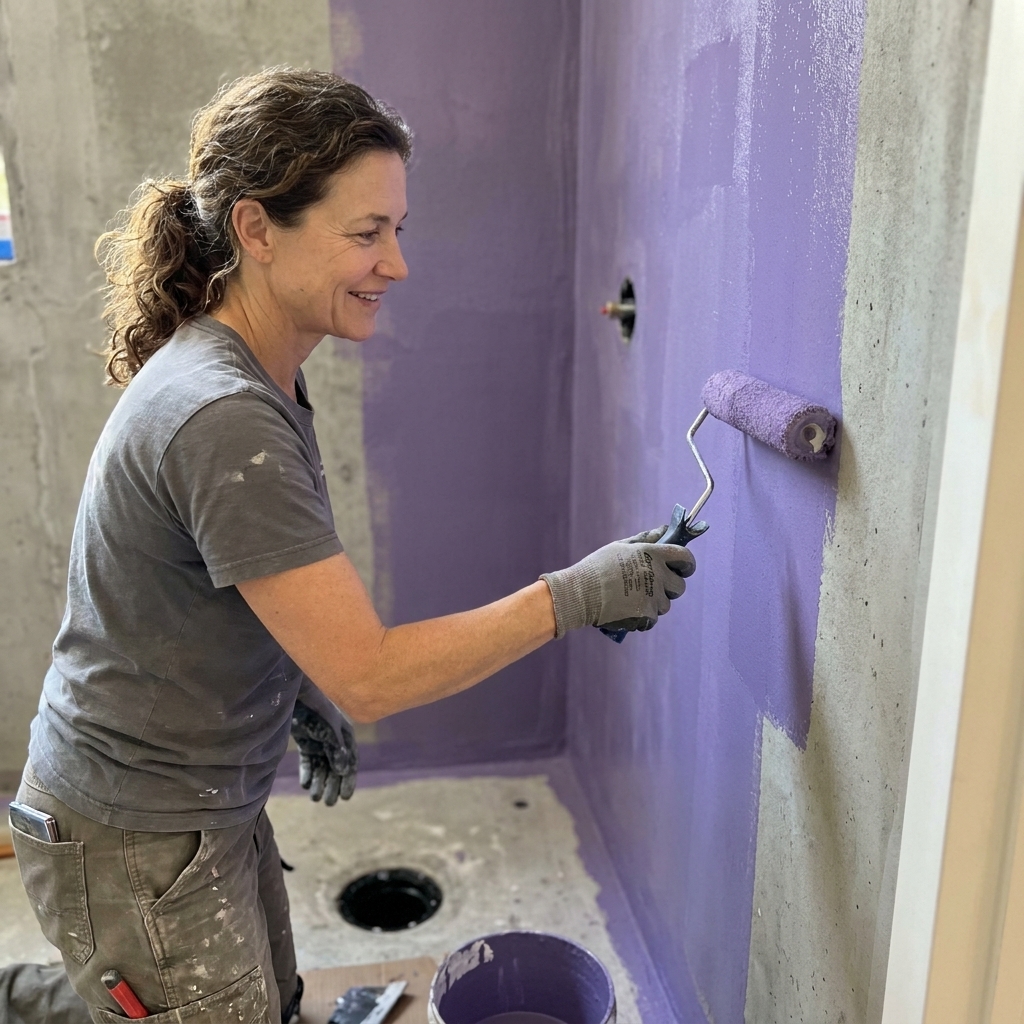
Waterproofing (showers and wet zones)
If you are tiling a shower, waterproofing is not optional. Depending on your system:
- Sheet membrane: priced by roll or by kit
- Liquid-applied membrane: priced per gallon, coverage varies by required mil thickness
- Foam backer boards: higher material cost, often faster installation
Budget for:
- Waterproofing membrane for all wet walls and curb
- Seam banding or mesh (system-dependent)
- Pre-formed corners (they add up, and they are worth it)
- Shower pan system (foam pan, mortar bed materials, or a full kit)
Step 6: Add the forgotten items
These are the line items that blow up a “tile is only $3 a square foot” assumption:
- Backer board or underlayment: cement board, foam board, or uncoupling membrane for floors
- Screws and washers: correct fasteners for backer board or foam systems
- Backer board seam tape: alkali-resistant mesh tape for cement board joints
- Primer: for certain self-leveling compounds and some substrates
- Self-leveling underlayment: if your bathroom floor is not flat, especially with large-format tile
- Spacers and leveling clips: especially helpful with large-format wall and floor tile
- Sealer: for natural stone and some grout types
- Caulk: color-matched silicone for changes of plane (corners, tub to tile, floor to wall)
- Movement joints: materials for required expansion and movement joints where applicable
- Transitions: threshold at the door, reducer strip if meeting LVP or hardwood
- Heated floor materials: mat or cable system plus thermostat, if you are adding it
If you want a quick “catch-all,” I often see these supporting materials land in the 15% to 35% range of the tile cost for a basic bathroom floor install. That is a helpful starting point, but it can swing higher fast with self-leveling, premium uncoupling membranes, heated floors, or shower waterproofing systems.
Worked examples
Example A: Small bathroom floor
Scenario: 5 ft × 8 ft bathroom, tiling the exposed floor only (40 sq ft raw). Straight lay 12x24 porcelain, 10% overage.
- Raw floor area: 40 sq ft
- Tile area needed: 40 × 1.10 = 44 sq ft
- Tile cost: 44 sq ft × $4.25 = $187
Supporting materials budget (typical):
- Uncoupling membrane or cement board: $60 to $180
- Thinset: $25 to $60
- Grout: $20 to $50
- Caulk and transition: $20 to $60
Estimated floor materials total: roughly $312 to $537 (tile plus supporting materials)
Example B: Three-wall shower to the ceiling
Scenario: 60-inch wide back wall, two 36-inch side walls, 96-inch height. One niche. 15% overage. Tile is $6.50/sq ft.
- Back wall area: (60 × 96) ÷ 144 = 40 sq ft
- Two side walls: 2 × ((36 × 96) ÷ 144) = 48 sq ft
- Raw wall area: 88 sq ft
- Tile area needed: 88 × 1.15 = 101.2 sq ft, round up by box
- Tile cost: 101.2 × $6.50 = $658
Then add shower system materials (typical ranges):
- Waterproofing (membrane, banding, corners): $250 to $750
- Backer (cement board or foam board): $150 to $500
- Thinset (often 2 to 4 bags depending on tile size): $50 to $160
- Grout: $25 to $80
- Color-matched silicone: $20 to $60
- Niche trim or profile: $30 to $120
Estimated shower materials total: roughly $1,183 to $2,328 (with tile still being just one line item)
What changes the price fast
Tile size and prep
Large-format tile looks clean and modern, but it demands flatter walls and floors. If your substrate needs more prep, the material list can grow to include patching compound or self-leveler.
Pattern complexity
Herringbone, diagonal layouts, and mosaics increase waste and usually increase labor too. Even if you are DIYing, your overage should reflect that.
Stone vs porcelain
Stone can require sealing and more careful selection for veining. It is gorgeous, but it rarely behaves like a low-maintenance porcelain.
Grout joint width
Wider joints mean more grout. Small mosaics with lots of joints are grout-hungry.
Before you buy
- Confirm tile lot and shade: buy it all at once when possible
- Round up to full boxes: especially for anything special order
- Order extra trim: bullnose and profiles are the first things to go out of stock
- Match systems: if you use a waterproofing system, stick with compatible components
- Plan for repairs: keep a few spare tiles after the job is done
Quick FAQ
Should I subtract the tub area or vanity footprint?
If the tub is an alcove and you are not tiling under it, yes, subtract it. For vanities, it depends: if the vanity is staying put, measure exposed floor only. If you are remodeling and the vanity is not installed yet, measuring wall-to-wall is safer. If the vanity is on legs or has a visible gap, tiling under (or at least far enough under) can prevent an awkward “unfinished” look.
Is 10% overage enough for a shower?
Sometimes, but I rarely use 10% for showers unless it is a very simple layout with large tile and minimal cuts. 15% is a more realistic baseline for most shower surrounds.
What about tile for a backsplash behind a vanity?
Measure width × height, add 10% to 15% overage, then add edge trim if the sides or top will be exposed. If your mirror covers most of it, measure the visible portion only.
How do I budget if tile prices vary a lot?
Run the same formula with three price points: your “good” choice, your “love it” choice, and your “if we have to” fallback. The measurement work stays the same, and you instantly see how much the tile selection moves the budget.
The bottom line
Accurate tile budgeting is not about being perfect. It is about being complete. Measure in simple shapes, choose a realistic overage, price trim intentionally, and then add the supporting materials that make tile installations last.
If you want to sanity-check your numbers, the fastest method is to build a mini spreadsheet with three columns: Quantity, Unit cost, Total. Once you do it once, you will never go back to guessing.