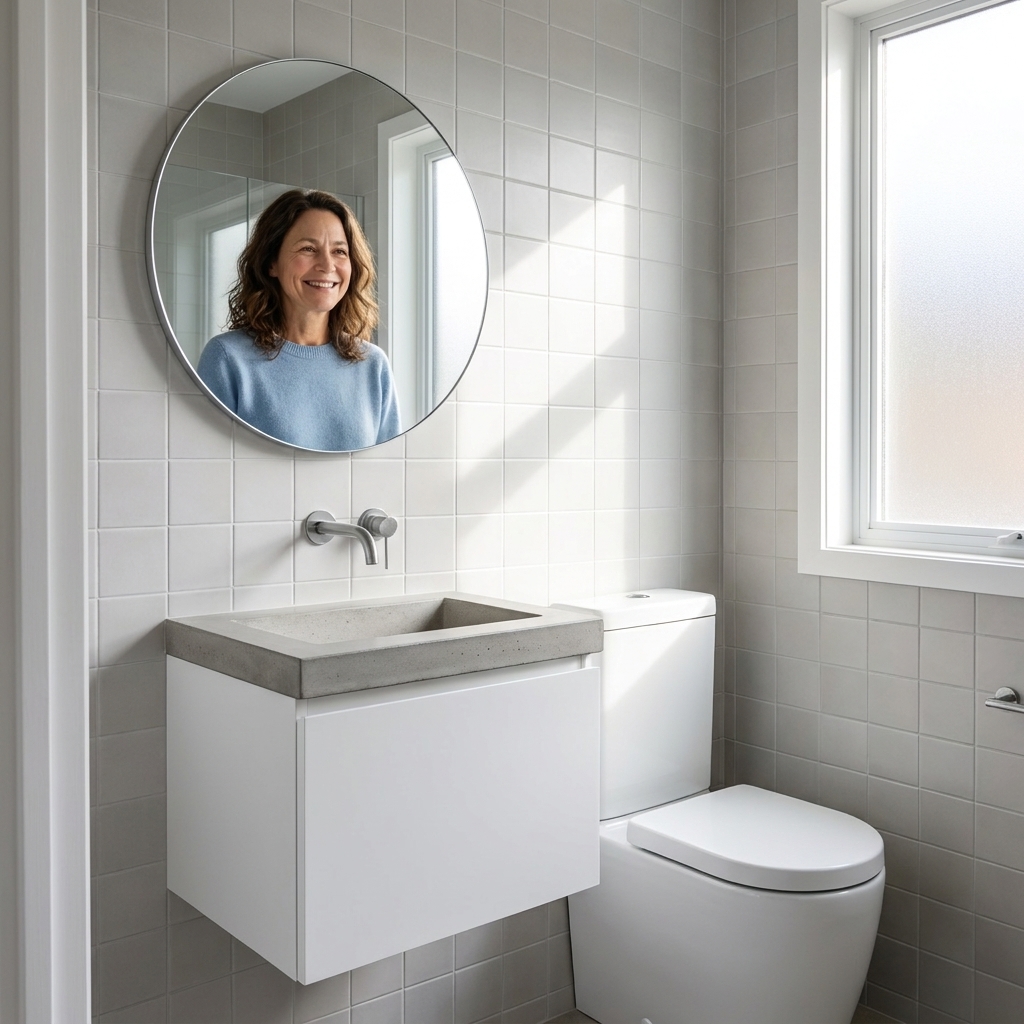
Bathroom humidity changes the cabinet game. Here’s how solid wood and MDF really perform in vanities, what to buy, what to avoid, and how to keep your cabi...
If you can handle a little plumbing, a little patience, and a lot of paper towels, you can replace a bathroom vanity yourself and make it look professionally installed. The keys are (1) controlling water, (2) protecting the drain, (3) keeping the new cabinet level and well-anchored, and (4) finishing the gaps like you meant it.
This guide assumes you’re installing a freestanding vanity with a top and sink, connected to a standard wall drain and two shutoff valves.

Tools and materials checklist
Gather everything first. Vanity swaps go smoother when you don’t have to run to the store while the sink is disconnected.
Tools
- Adjustable wrench and/or channel-lock pliers
- Basin wrench (helpful for tight faucet nuts)
- Utility knife (fresh blade)
- Putty knife or painter’s tool
- Screwdriver or drill/driver
- Level (2 ft or longer is ideal)
- Tape measure
- Stud finder
- Oscillating multi-tool or small hand saw (for baseboard cuts if needed)
- Bucket and a stack of rags
- Shop vac (optional, but extremely helpful)
- Safety glasses (especially if you’re cutting the cabinet or baseboard)
Plumbing parts (commonly needed)
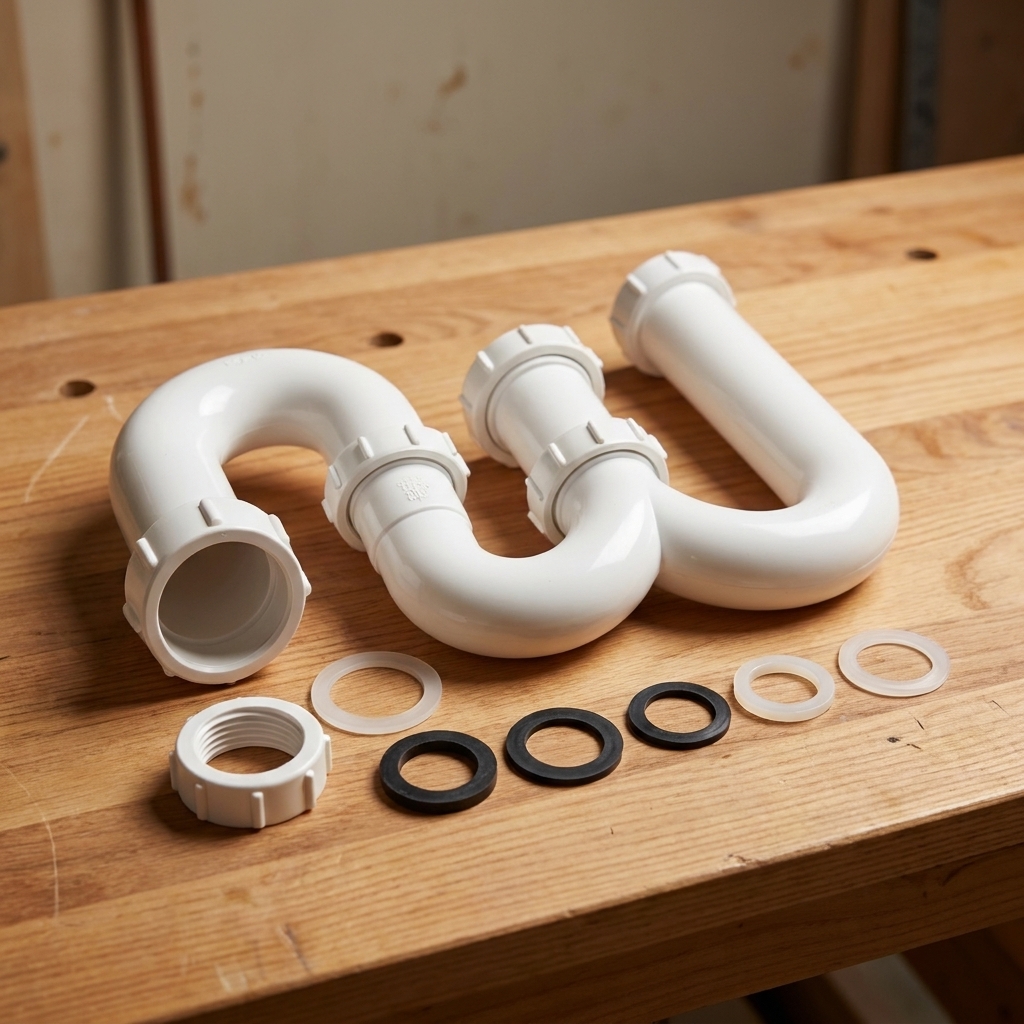
- New P-trap kit (typically 1-1/4 inch for lav sinks, sometimes 1-1/2 inch)
- Trap adapter (if your wall stub-out size differs)
- New angle stop shutoff valves (optional, but smart if yours are old)
- New braided supply lines (commonly 3/8 inch compression at the shutoff; faucet end varies, so check your faucet)
- Plumber’s putty or silicone (depending on drain type)
- Teflon tape (only for tapered pipe threads, not slip joints)
Install and finish
- Wood shims
- 2-1/2 inch cabinet screws or structural screws for studs
- 100% silicone bathroom caulk (mildew resistant)
- Paintable acrylic latex caulk (for trim to wall gaps)
- Painters tape
- Touch-up paint, spackle, and a sanding sponge
Before you start: measure and sanity-check
Most vanity headaches come from a simple mismatch. Do these quick checks before you pull the old cabinet out.
- Width: Measure wall-to-wall (or available space) and compare to the vanity width. Leave room for door swing and drawers.
- Depth: Make sure drawers will clear the door casing and that the vanity won’t block the toilet clearance.
- Height: Comfort height vanities are often taller than older ones. Taller can be great, but double-check mirror and light placement.
- Plumbing location: Open the doors on your new vanity and confirm the back is open where your pipes will be. Many vanities have a solid back that requires cutting.
- Drawer clearance: If you’re switching to a deeper vanity or one with drawers, make sure the drain and shutoffs will not collide with the drawer box. This is where “it should fit” turns into “why is my drawer stuck?”
- Top and sink: Confirm whether the top is pre-drilled for your faucet (single-hole vs widespread) and that the sink drain size matches standard bathroom drains.
Step 1: Shut off water and prep
Turn off the water
Under the sink, turn both shutoff valves clockwise until they stop. Then turn on the faucet to confirm flow stops and to relieve pressure.
If the shutoff valves won’t fully stop water: shut off the home’s main water supply and plan to replace the angle stops while you’re here.
Protect the room
- Lay down a drop cloth or an old towel where you’ll kneel.
- Put a small bucket under the trap area.
- If there’s an outlet inside the vanity or nearby and you expect splashing, turn off the circuit at the breaker. Water and electricity are not a fun combo.
Step 2: Disconnect the plumbing
Disconnect the supply lines
Place a towel under the shutoffs. Use an adjustable wrench to loosen the nut at the shutoff valve first, then the nut at the faucet. Expect a small amount of water.
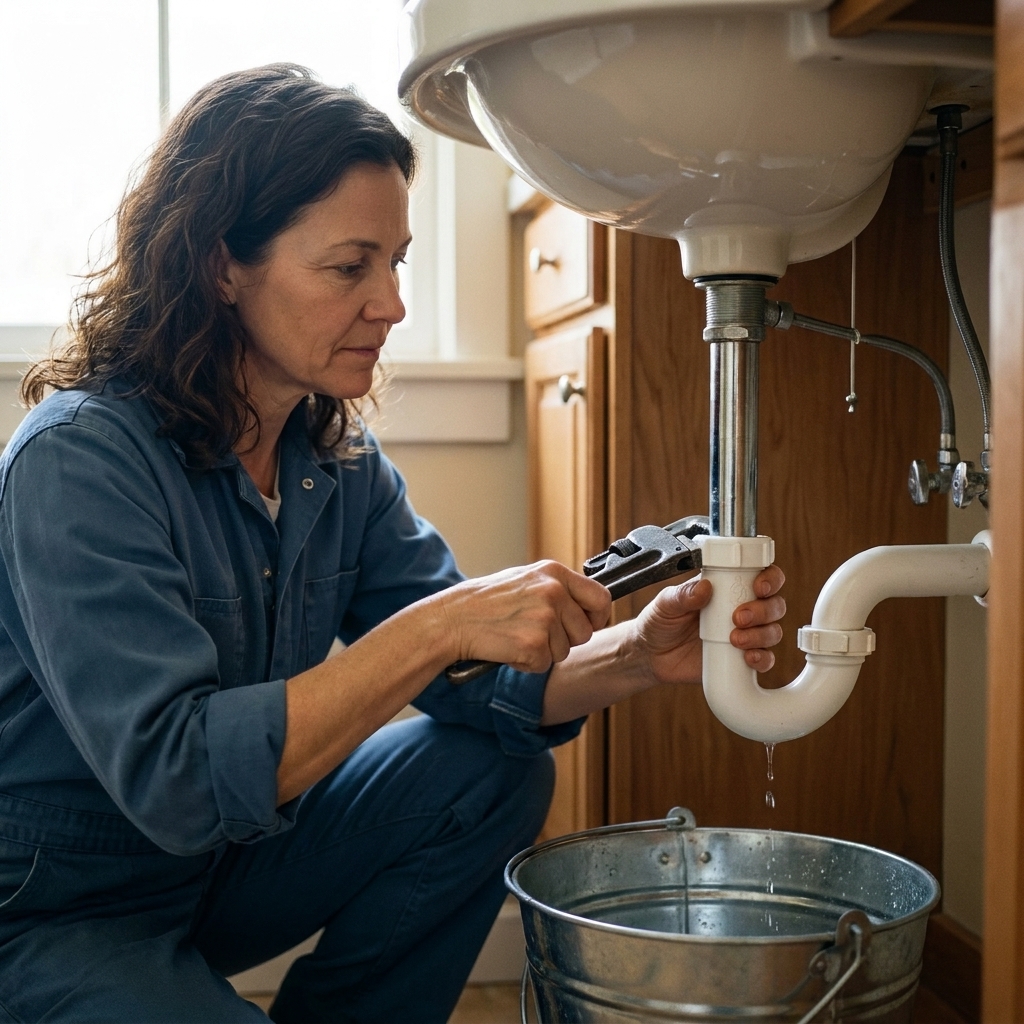
Remove the P-trap
Put a bucket directly under the trap. Loosen the slip nuts by hand if possible, or use pliers gently. Lower the trap and dump water into the bucket.
Pro tip: Stuff a rag lightly into the wall drain stub-out after removing the trap. It blocks sewer gas and keeps small screws from disappearing into the abyss. Just do not forget to remove it later.
Step 3: Remove the old vanity
Cut caulk and break the seal
Run a sharp utility knife along the caulk line where the countertop meets the wall and where the vanity meets the floor. If there’s a backsplash, cut along the top and sides too.
Then use a putty knife to gently pry. Go slow. Drywall paper tears easily and leaves you with a bigger patch job.
Disconnect it from the wall
Look inside the cabinet for screws into studs or drywall anchors. Remove them. Some older vanities are also nailed through the back rail.
Pull the vanity
Once it’s free, wiggle the cabinet forward. If it’s tight, check for hidden screws, caulk, or flooring lips holding it in place.
If you’re keeping the old top: many tops are silicone-glued to the cabinet. Slice the adhesive bead from inside the cabinet and gently lift the top off with help. Stone tops can be heavy and awkward, so recruit a second set of hands.
Step 4: Prep wall and floor
This is the unglamorous step that separates “DIY installed” from “it came with the house.”
Patch and prep the wall
- Scrape old caulk and adhesive.
- Spackle torn drywall paper or gouges, then sand smooth.
- Touch up paint behind and around the new vanity area, especially at the top edge where caulk will meet paint.
Deal with baseboards
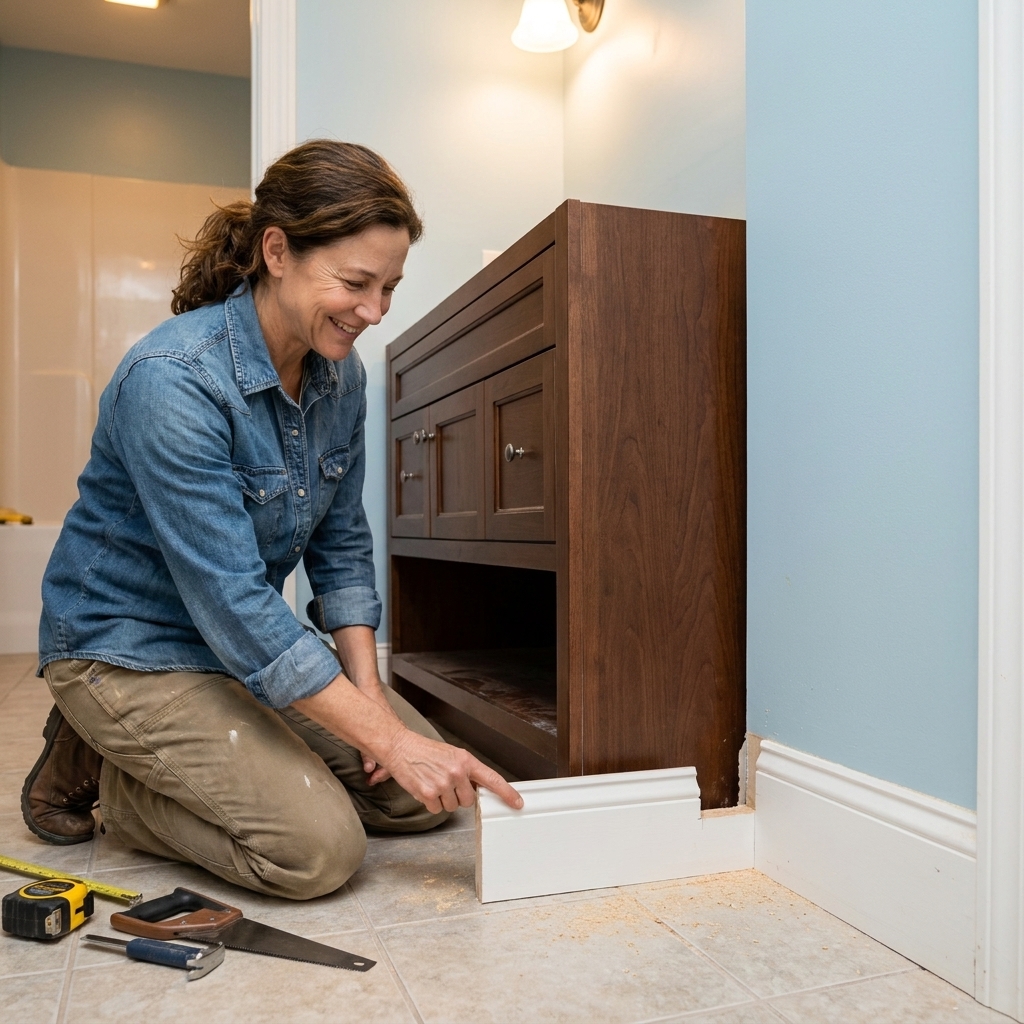
Freestanding vanities look best when they sit flat to the wall. If your baseboard runs behind the vanity, you have two clean options:
- Remove and re-run baseboard: Best finish if you’re picky (I am).
- Notch the baseboard: Mark the vanity outline, then cut and remove just the section behind it.
Step 5: Dry-fit and mark cutouts
Slide the new vanity into place and check alignment with the wall and floor.
Level it now
Set a level across the front and sides. Shim under the vanity base as needed. Floors are rarely as flat as we wish they were.
Goal: The vanity should be solid, not rocking, and level enough that the top and doors work correctly.
Mark pipe openings
If the vanity has a solid back (or an inconvenient shelf), you may need cutouts for:
- Hot and cold supply valves
- Drain stub-out
- Any electrical outlet inside the cabinet (less common, but it happens)
Mark carefully, remove the vanity, and cut openings with an oscillating tool or hole saw. Make cutouts slightly oversized so the cabinet does not press on pipes.
Step 6: Anchor to studs
With the vanity shimmed and positioned, find studs behind it and drive screws through the back rail into studs. If the vanity design doesn’t have a back rail, follow the manufacturer’s anchoring points.
- Use at least two studs when possible.
- Do not overtighten and warp the cabinet.
- Recheck level after anchoring.
Reality check: A freestanding vanity still needs anchoring. Kids lean. Adults stumble. Cabinets tip when they’re not secured.
Step 7: Install top, sink, faucet
Your approach depends on whether your vanity came with a pre-attached top.
If the top is separate
- Dry-fit the top first to confirm it sits flat and centered.
- Run a thin bead of silicone on the top edge of the vanity cabinet.
- Set the countertop in place and press gently.
If you’re installing a drop-in sink
Many bathroom tops have an integrated sink already. If not, follow the sink instructions and use the recommended sealant.
Install the faucet and drain
Install the faucet on the countertop or sink per the manufacturer directions. Then install the drain assembly.
- Plumber’s putty: Common under metal drain flanges unless the instructions require silicone.
- Silicone: Often preferred for some finishes and for certain stone tops. Follow the drain manufacturer guidance.
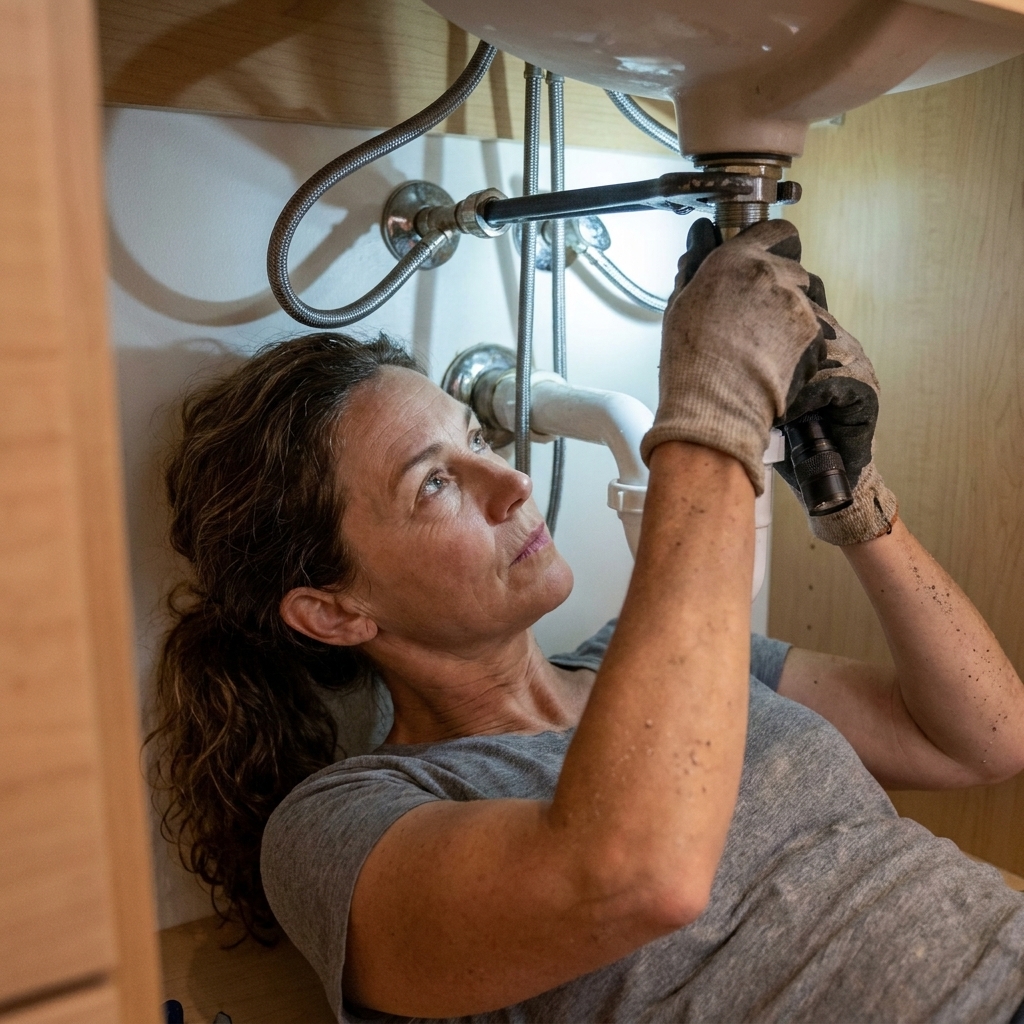
Step 8: Reconnect the plumbing
Connect the supply lines
Attach the braided supply lines to the faucet shanks first, then to the shutoff valves. Hand-tighten, then snug with a wrench.
Do not crank them down. Most supply line leaks come from overtightening or cross-threading.
Thread tape note: Compression connections seal on the ferrule, and slip-joint trap connections seal on washers, so do not use Teflon tape there. Save tape for tapered pipe threads (NPT) only.
Rebuild the P-trap
If your old trap is corroded, smelly, or stubborn, replace it. A new trap is inexpensive and saves you a lot of frustration.
- Connect the tailpiece from the drain to the trap.
- Connect the trap arm into the wall drain stub-out.
- Make sure washers are oriented correctly (tapered side toward the joint).
Test for leaks
Remove any rag from the wall drain. Turn the shutoffs on slowly. Run water, then stop the sink and fill it halfway. Release the water and watch every joint.
- Wipe each connection with a dry paper towel and check for moisture.
- If a slip joint leaks, gently tighten a bit more.
- If a compression joint leaks, turn water off and reseat the connection.
Step 9: Finish and caulk
Caulk the top to the wall
Use 100% silicone where the countertop meets the wall and where a backsplash meets the wall. Silicone stays flexible and handles water better than paintable caulk.
For a clean bead:
- Tape both sides of the joint.
- Apply a steady bead.
- Tool it with a damp finger or caulk tool.
- Pull tape immediately.
Cure time: Many silicones need about 24 hours before they are truly water-ready, but read the tube and follow the label.
Trim gaps at the base
If there’s a small gap at the floor, you can caulk it if it’s a clean tile edge. If the gap is bigger or the floor is wavy, adding shoe molding gives a more intentional finish.
One practical nuance: many pros caulk the front and sides for splash control, but leave a small gap at the back so a hidden leak can show itself instead of soaking the wall for weeks.
Install hardware and adjust doors
Install pulls or knobs, then adjust hinges so doors align evenly. Soft-close hinges usually have simple adjustment screws. Take five minutes here. It changes the whole feel of the vanity.
Common problems and fixes
The vanity won’t fit around the plumbing
- Confirm you bought the correct size vanity for your rough plumbing layout.
- Cut a larger opening in the back or shelf, then cover the opening with an escutcheon plate if desired.
- If the drain is wildly off-center and forces extreme trap angles, consider calling a plumber to move the stub-out. A clean drain alignment prevents slow drains and recurring leaks.
The shutoffs are crusty or won’t close
Replace them while the vanity is out. If you have copper supply pipes, you can often use compression angle stops. If you’re not comfortable, this is a great “hire it out” micro-job.
The wall is not straight
Small gaps are normal. You can scribe filler strips for larger gaps, or use a backsplash and a neat silicone line to visually disappear the unevenness.
The floor is out of level and it rocks
Shim it until solid, then anchor. Trim shims flush so they’re invisible from the front.
When to call a pro
I love DIY, but I also love avoiding water damage. Get help if:
- You have no shutoff valves or they leak from the stem
- Drain lines are glued and need reconfiguration
- You see moldy drywall or soft subfloor around the old vanity
- Your home has older plumbing materials you’re unfamiliar with
- You need to relocate the drain or water lines for drawer clearance
FAQ
Do I need a new P-trap?
Not always, but I recommend it if the old one is corroded, stained, or the slip nuts are stripped. A fresh trap is cheap insurance against leaks.
Should I caulk between the vanity and the floor?
If your floor is tile and the vanity sits tight, a small bead can help keep splashes from sneaking underneath. If you do caulk, consider doing the front and sides and leaving a small gap at the back for leak detection.
Can I reuse my old countertop?
Sometimes, if the vanity size and top dimensions match exactly and the sink location aligns. Most of the time it’s more trouble than it’s worth, especially with stone tops.
How long does a DIY replacement take?
If plumbing lines up and you’re not patching a ton of wall damage, plan on 4 to 8 hours. Add a day if you’re painting, replacing shutoffs, or waiting for caulk to fully cure.
Final checklist
- Vanity is level, solid, and anchored to studs
- Supply lines are snug and dry
- P-trap joints are dry after a full sink dump
- Countertop is sealed to wall with silicone
- Doors and drawers open smoothly without rubbing plumbing
- All tools removed from the cabinet (it happens)
Do those, and your new vanity won’t just look good today. It’ll still look good after a year of toothpaste splatter, hair tools, and real life.