A practical breakdown of wet rooms vs. standard bathrooms, including design tradeoffs, waterproofing and slope requirements, comfort tips, maintenance realit...
Bathroom remodels have a funny way of looking totally under control on paper, right up until the moment someone opens a wall or pulls up tile. Then the “simple refresh” turns into a chain reaction of fixes you didn’t know you were signing up for.
I’m not telling you this to scare you. I’m telling you because the hidden costs in bathrooms are pretty predictable: plumbing, electrical, moisture, and what’s happening under the floor. If you plan for them up front, you get to make calm decisions instead of panicked ones while your house is down to one working toilet.
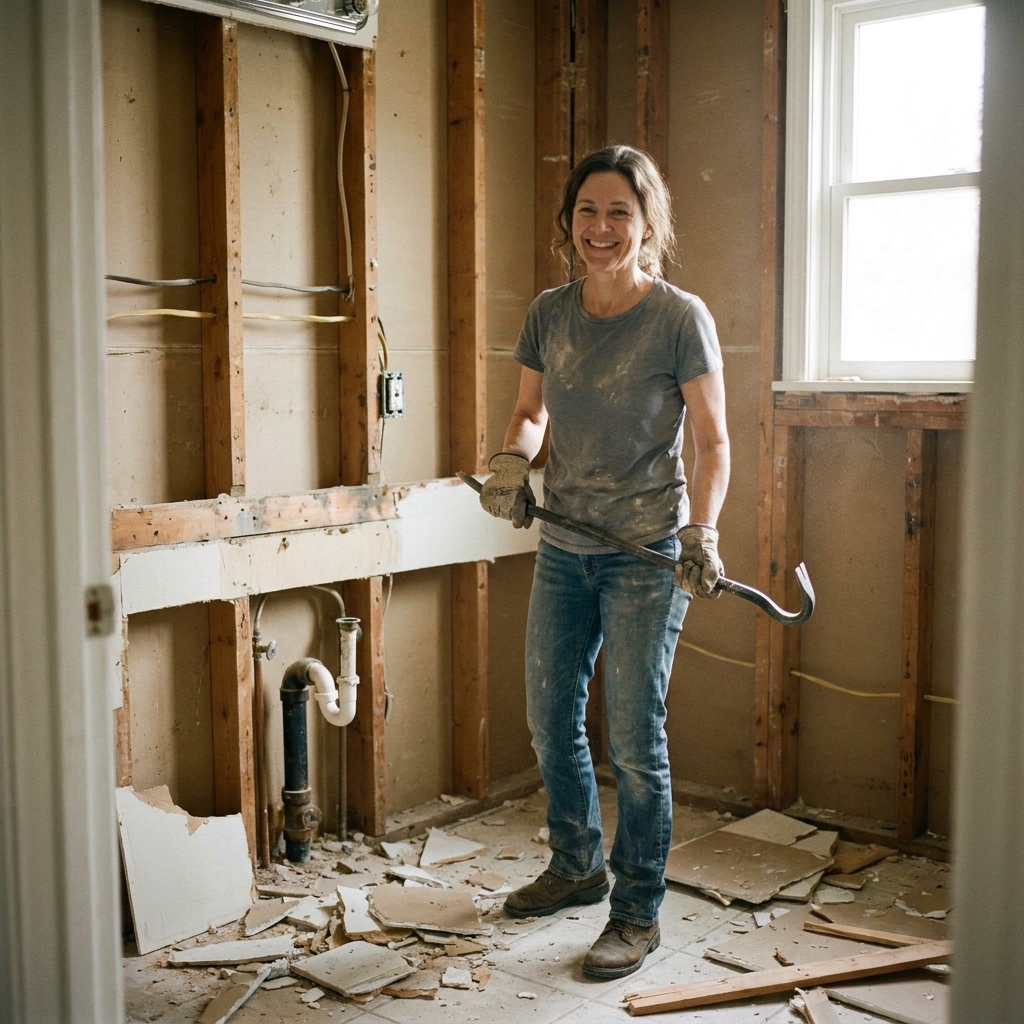
Below are seven budget-busters I see over and over, plus when they tend to pop up, what they commonly cost, and how to protect your budget. Prices vary a lot by region, home age, and how deep you go, so think of these as broad planning ranges, not quotes.
1) Plumbing updates behind the walls
Bathrooms are plumbing-dense spaces, which means they’re also full of hidden plumbing surprises. Even if you’re not moving fixtures, once walls are open your plumber may recommend updates for safety, code compliance, or longevity.
What triggers it
- Old galvanized steel supply lines or cast iron drain lines
- Mixed materials and questionable past repairs
- Corroded shutoff valves that won’t fully close
- Re-venting or correcting improper drain slopes
What it can cost
Common range: roughly $300 to $1,500 for smaller fixes like shutoffs, stub-outs, and a basic valve swap. More involved work like partial repiping, reworking drains, or relocating rough-in plumbing is often $1,500 to $5,000+, especially in older homes.
How to keep it from blowing up your budget
- Ask for a plumbing allowance. If your home is older, build in a realistic line item for “unknowns behind the wall.”
- Decide early if you’re moving fixtures. Relocating a toilet or shower is one of the fastest ways to add cost.
- Replace shutoffs proactively. If the valves are ancient, change them while access is easy.

2) Electrical fixes and code upgrades
Bathrooms have strict electrical rules for a reason: water and electricity aren’t friends. If your wiring is outdated or your new plan adds power-hungry features, you may need more than a simple fixture swap.
Common surprise add-ons
- Adding or relocating GFCI-protected outlets
- Adding a new circuit for heated floors, a bidet seat, or a fan-heater combo unit (and sometimes other loads, depending on code and capacity)
- Replacing old, undersized wiring or addressing a crowded panel
- New recessed lights or vanity lighting that require new runs
Budget reality
Common range: about $200 to $800 for smaller changes like swapping fixtures, adding a GFCI, or moving a light. If you’re adding a new circuit, fishing wire, patching drywall, or upgrading ventilation wiring, it’s often $800 to $2,500+. Panel work can push beyond that fast if your service is at capacity.
Protect your budget
- List every electrical add-on before pricing: fan, lights, outlets, heated floor, bidet, mirror defogger, medicine cabinet lighting.
- Have your electrician confirm panel capacity early, not after tile’s installed.
- Ask what’s included in “electrical.” Wiring and devices are one thing, but drywall repair, paint touch-ups, and access issues can be the real surprise.
3) Mold and moisture damage
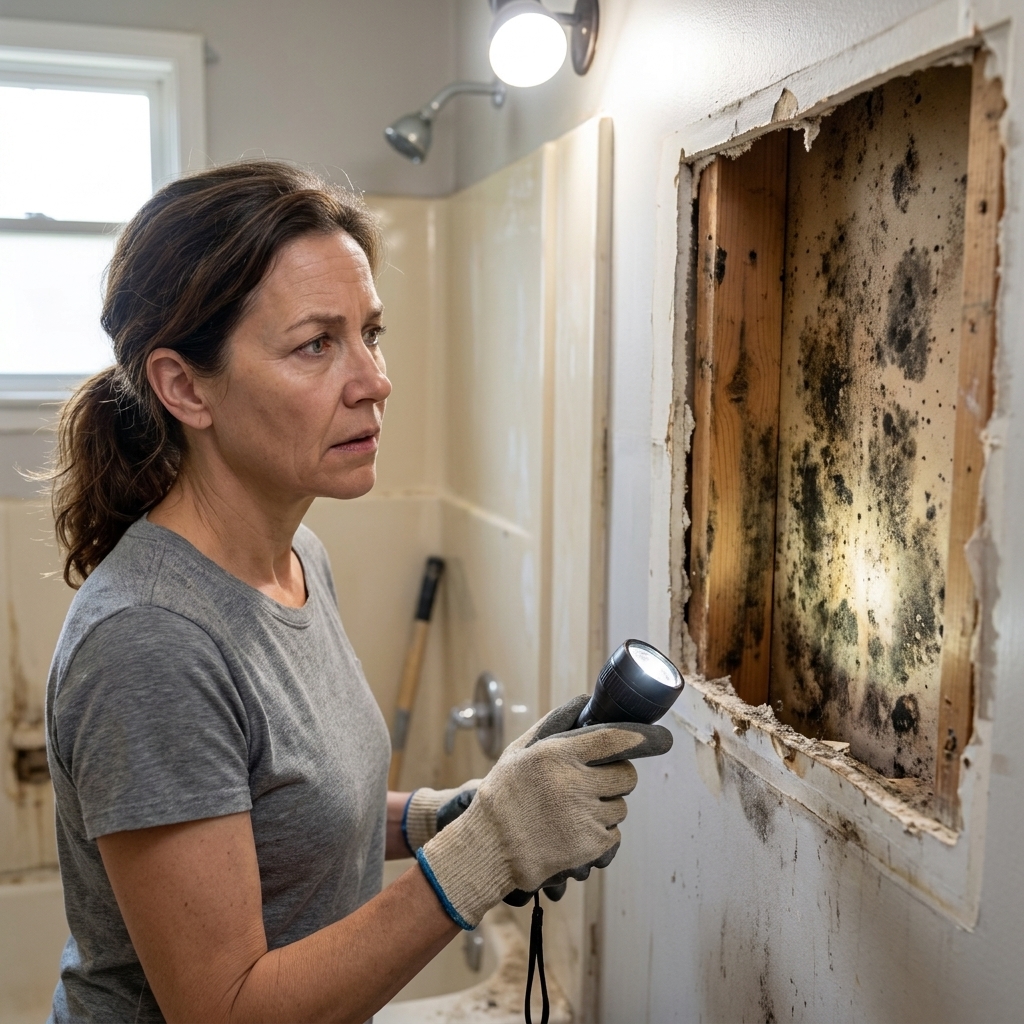
If you’ve ever had a leaky shower, a sweating toilet line, or an underperforming exhaust fan, moisture may have been working quietly behind the scenes. This category feels stressful because it can change the scope overnight.
Where it hides
- Behind shower tile and backer board
- At the bottom plates of walls near tubs
- Under vinyl flooring around toilets
- In poorly vented ceiling cavities
What it can cost
Common range: about $300 to $1,500 for small, localized cleanup and material replacement. If there’s extensive growth, soaked insulation, or framing damage that needs removal and proper containment, it can be $1,500 to $6,000+. The big drivers are square footage affected and how much has to be rebuilt afterward.
What to do when you find it
- Pause and assess. Don’t just cover it back up. Document what you’re seeing and confirm the plan before rebuild starts.
- Bring in the right help. For significant growth or widespread moisture damage, consult a qualified remediation pro. Urgency depends on extent and location, but you want it handled correctly.
- Fix the cause. Upgrading ventilation and waterproofing matters more than a cosmetic patch.
How to avoid repeat problems
- Upgrade ventilation. A properly sized, properly ducted fan isn’t optional.
- Waterproof correctly. Make sure your shower has a complete waterproofing system, not just tile and hope.
- Seal penetrations. Pipe and valve openings should be sealed and detailed, not left as gaps.
4) Subfloor and structural repairs
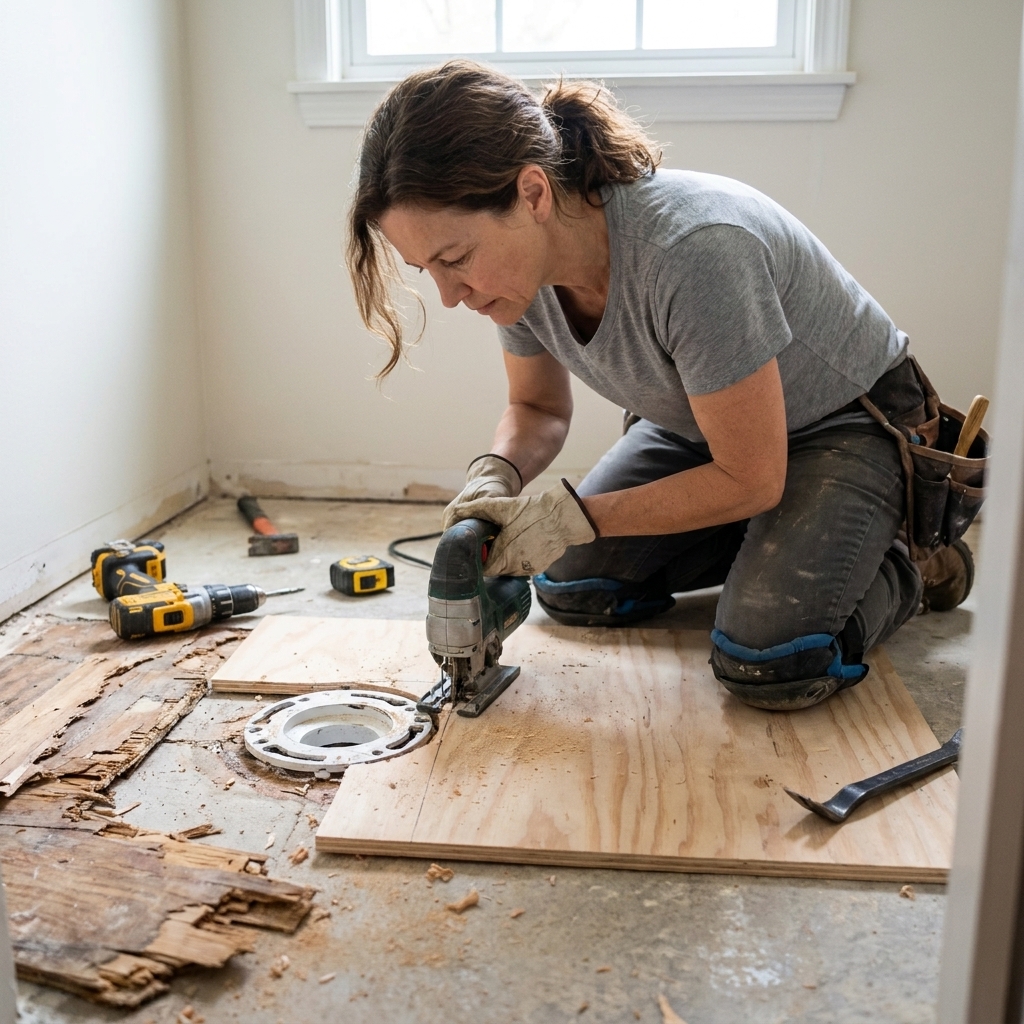
The floor around a toilet or tub is a classic problem area. Even tiny leaks can rot subflooring over time. You often don’t discover it until demolition when the contractor steps on a soft spot or pulls up tile and finds crumbling plywood.
What causes it
- Wax ring failures at the toilet flange
- Slow tub drain leaks
- Water escaping at shower curbs or corners
- Previous DIY tile installs over inadequate underlayment
What it can cost
Common range: around $300 to $1,500 for a small subfloor patch and basic prep. If joists are damaged, the floor needs flattening for tile, or you’re rebuilding around a tub or shower footprint, it’s often $1,500 to $4,000+.
Budget-proofing tips
- Assume there’ll be at least some floor work in older bathrooms, especially if you’re switching to tile.
- Ask what the tile substrate will be. Cement board, uncoupling membranes, and floor flattening are real line items.
- Get the toilet flange height and support right. Correct height and a solid flange help the wax or rubber seal compress the way it’s designed to, which lowers leak risk.
5) Permits, inspections, and compliance
I know permits aren’t the fun part. But skipping them can cost more than doing it correctly, especially if you sell your home later or if an insurance issue comes up. Rules vary by city and county, so always verify what your jurisdiction expects.
When permits are often required
- Moving plumbing or electrical
- Adding new circuits or major electrical changes
- Altering framing or enlarging openings
- Changes that affect ventilation or ducting (requirements vary by jurisdiction)
- Converting a tub to a shower in a way that changes plumbing layout
Hidden costs inside “permits”
- Permit fees and inspection fees
- Time impacts if an inspection fails and rework is required
- Upgrades triggered by code, like GFCI or venting corrections
How to handle it
Ask your contractor who’s pulling permits, what’s included, and what happens if the inspector requires changes. A good team bakes compliance into the plan, not as an afterthought.
6) Demo, disposal, and protection
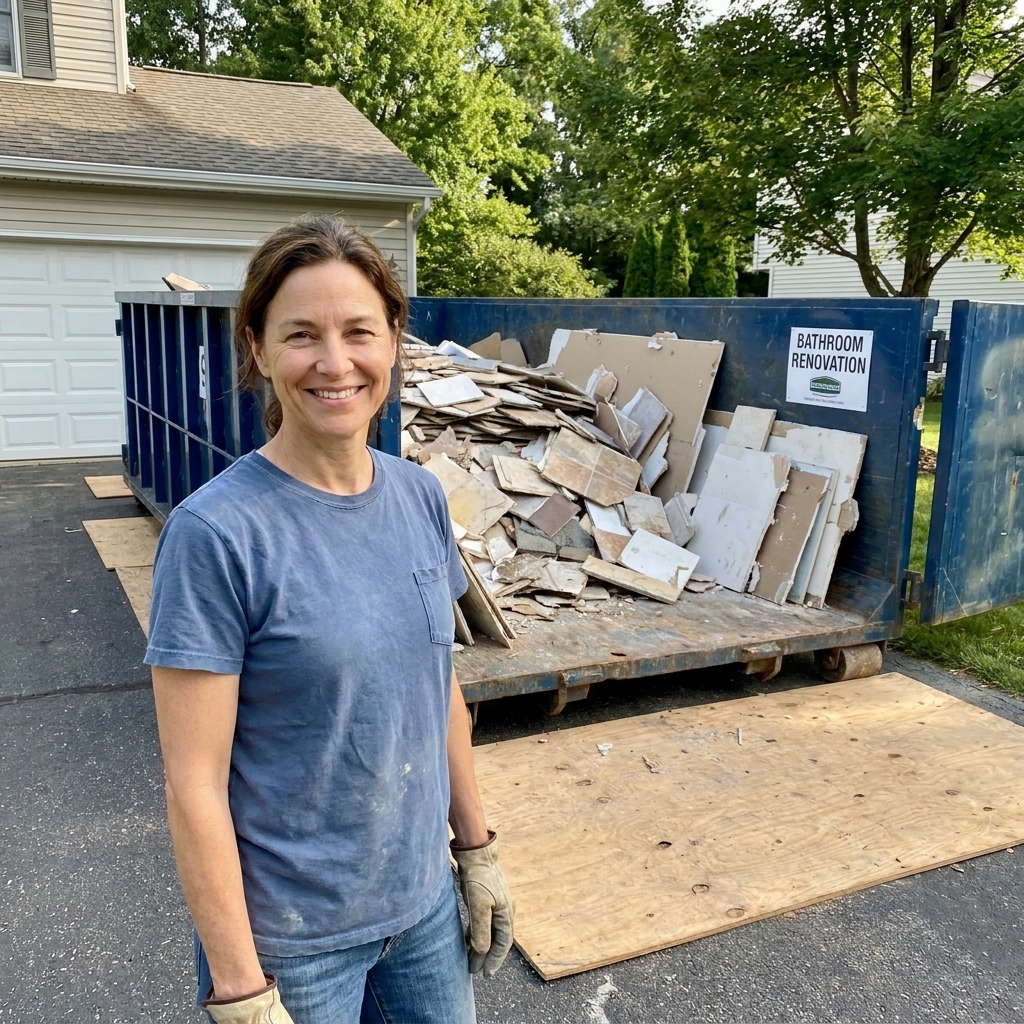
Demolition isn’t just “tear it out.” It’s labor, hauling, and protecting the rest of your home from dust. If your contract is vague, this is where you can get hit with surprise charges.
Costs homeowners forget to ask about
- Dump fees and hauling
- Extra labor for heavy materials, like mortar beds or cast iron tubs
- Lead paint or asbestos testing in older homes
- Dust containment, floor protection, and daily cleanup
What it can cost
Common range: about $500 to $2,500, depending on how much you’re removing, how far hauling is, and whether materials are unusually heavy. Testing and specialized handling can add more.
How to keep it clean and predictable
- Confirm disposal is included. “Demo included” should mean hauling too.
- Ask how dust will be controlled. Plastic barriers, negative air, and floor protection matter if you’re living at home.
- Discuss hazardous material risk up front if your home is older and finishes are original.
7) Finish-line upgrades
This is the sneaky one because it feels optional, until it doesn’t. Once you invest in a beautiful new shower and tile, the old vent fan, builder-grade trim, or flimsy towel bar suddenly looks terrible. Homeowners often add “just one more thing” repeatedly, and the budget quietly balloons.
Common finish-line add-ons
- Upgrading the exhaust fan to a quieter, higher-performance model
- Better shower door hardware or thicker glass
- Nicer faucets, valve trim, and matching accessories
- Comfort-height toilet, bidet seat, or smart toilet features
- Mirror upgrade, medicine cabinet, or improved lighting
What it can cost
Common range: anywhere from $300 to $3,000+. One nicer faucet is manageable. A pile of small upgrades, plus upgraded glass, plus a premium fan adds up fast.
How to keep choices from snowballing
- Pick your splurges before demo. Choose 1 to 3 items you truly care about.
- Use an allowance list. Put numbers next to faucets, lighting, tile, and glass so decisions stay grounded.
- Remember the long game. Spend where it improves daily function: storage, lighting, ventilation, and waterproofing.
Two more costs people miss
Schedule delays
Time is money in a remodel. Backordered tile, a missing valve trim, a cracked custom vanity top, or a delayed inspection can extend the project and increase labor and living inconvenience.
- Typical impact: expedited shipping, extra trip charges, and added days of labor. Even when the bill doesn’t change much, downtime usually does.
- How to reduce it: order long-lead items early and confirm they’re on site before demo when possible.
Waterproofing upgrades
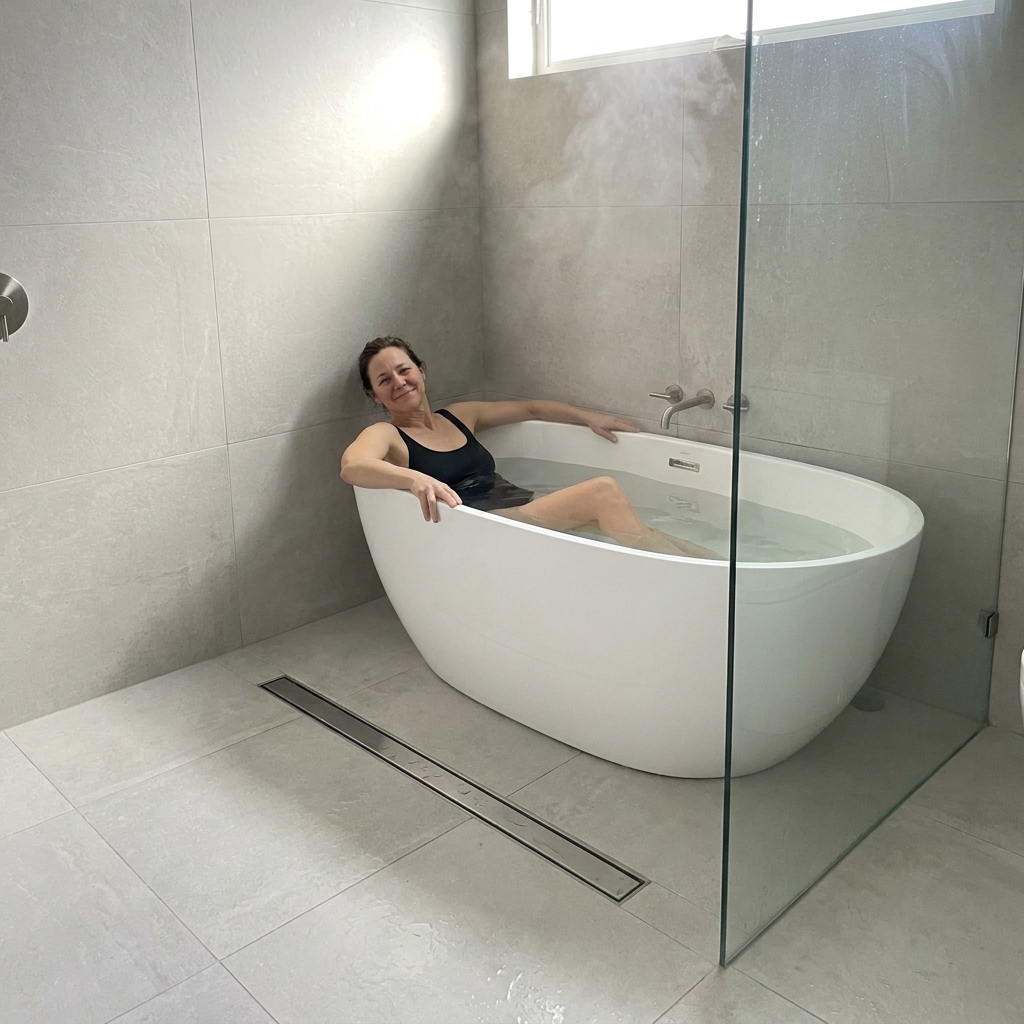
A lot of “surprise cost” is really a standards gap: the homeowner thinks tile is the waterproofing, while a good installer knows the waterproofing system is the waterproofing. Niches, benches, curbs, and linear drains also add complexity.
- Typical impact: better membranes, better drains, better detailing, and more labor.
- How to reduce it: ask what waterproofing system is included and get it in writing before you order tile.
My contractor-level rule for staying on budget
If you remember one thing, make it this: bathrooms are small, but the systems inside them are complicated. Plan for unknowns.
For most bathroom remodels, I recommend setting aside a 10 to 20 percent contingency on top of your contract price. If your home is older, or you already suspect water damage, lean higher.
If you’re trying to remodel without a contingency, you’re not being disciplined. You’re just pushing the stress into the middle of the project.
Quick pre-demo checklist
- Have your contractor confirm what’s included for demo, disposal, and jobsite protection.
- Ask what plumbing and electrical work is assumed, and what counts as a change order.
- Confirm your waterproofing system, ventilation plan, and fan duct route before materials are ordered.
- Plan for subfloor and wall repairs, especially around toilets and showers.
- Set your contingency aside as a separate line item so it doesn’t get spent on impulse upgrades.
- Double-check lead times for tile, fixtures, glass, and vanities to avoid schedule-driven costs.
The goal isn’t to expect the worst. It’s to price reality so your “surprises” are minor decisions, not project-stoppers.