A practical, designer-tested guide to picking the best glass shower enclosure for your bathroom, including costs, hardware, glass thickness, and layout tips.
If your bathtub has turned into a towel storage shelf (no judgment), a tub-to-shower conversion can make your bathroom feel bigger, cleaner, and a whole lot more “daily-life friendly.” The best part is that you do not need a massive footprint to get an expansive shower feel. You just need the right layout, the right glass, and a few behind-the-walls decisions made early.
Below, I will walk you through layout options for small, medium, and large bathrooms, plus what drives cost, where to splurge, and the practical details that keep your new shower from being drafty, leaky, or annoying.
Before you pick a layout: 6 decisions that steer everything
In my design-build days, these were the questions we answered first because they determine what is possible without ballooning the budget.
- Is your tub on an exterior wall? Exterior walls can complicate moving plumbing and can limit niche placement if insulation space is tight.
- Where is the drain now? Keeping the drain location close to existing can save real money, especially on slab foundations.
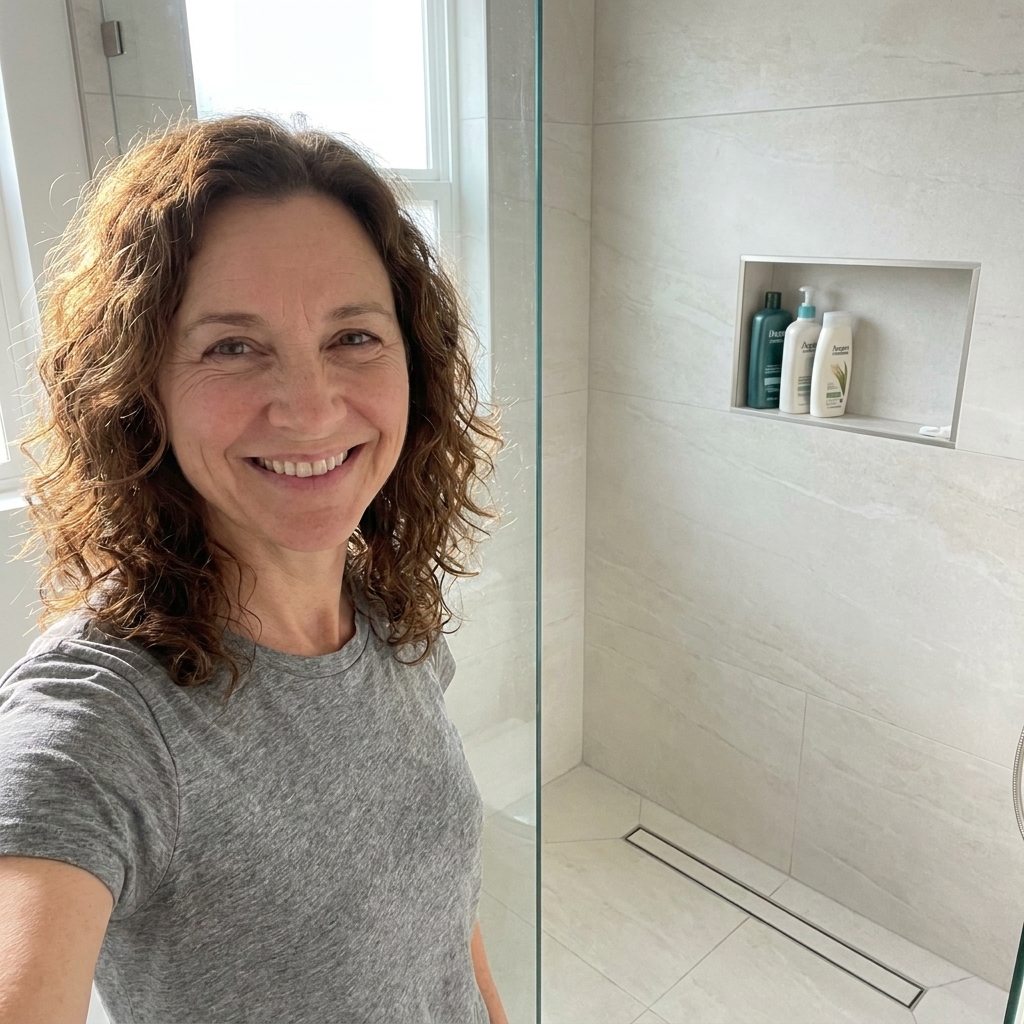
- Do you want curbless or curb? Curbless is beautiful and accessible, but it often requires subfloor recessing, a linear drain strategy, or careful slope planning.
- What door style do you prefer? A hinged door needs clearance. A slider needs enough wall for the panel. A fixed glass panel is the simplest for tight baths.
- How wet can the room get? Open entry showers are sleek, but they demand good slope, smart showerhead placement, and often a longer footprint to control splash.
- Who is using the shower? Kids, pets, mobility needs, and shaving legs all impact bench height, handheld placement, and curb decisions.
Small bathrooms (typically 35 to 50 sq ft): layouts that feel bigger than they are
Most tub-to-shower conversions happen in a hall bath that is basically a rectangle with a tub on one long wall. You can still get a “wow” shower if you keep lines simple and use glass strategically.
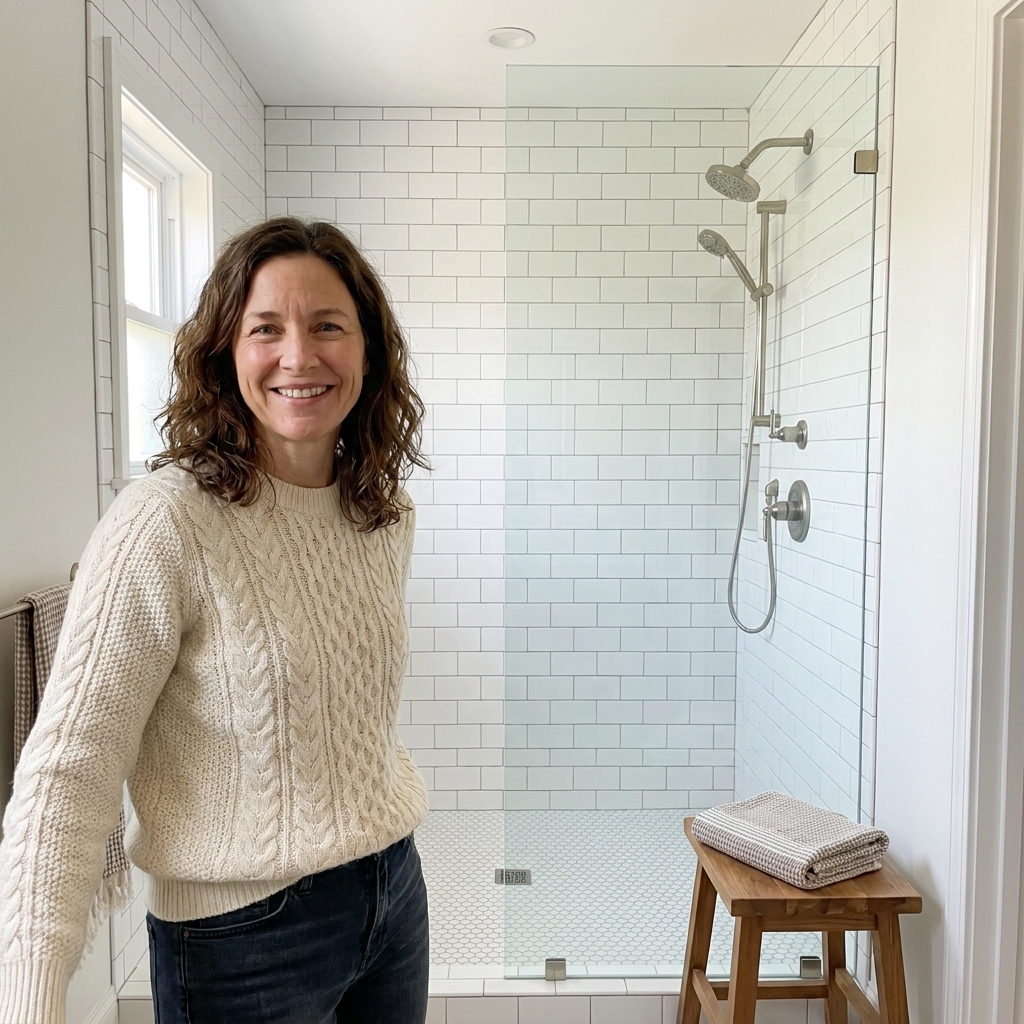
Layout 1: Straight swap, fixed glass panel (best value, best for tight clearances)
What it is: Remove the tub, build a shower in the same footprint, and use a fixed glass panel with an open entry instead of a swinging door.
- Why it works: No door swing means no battles with the toilet or vanity clearance.
- Design tip: Use a frameless or semi-frameless panel and run the same tile to the ceiling to visually stretch height.
- Watch-outs: Aim the showerhead away from the entry. A handheld on a slide bar helps control splash.
Typical cost range: $6,500 to $14,000 depending on tile, plumbing condition, and whether waterproofing and backer board need full replacement.
Layout 2: Corner entry neo-angle or curved shower (when the toilet is too close)
What it is: You still use the tub footprint, but the entry is angled or curved to buy a few inches of clearance where it matters.
- Why it works: If a straight door would hit the toilet or vanity, an angled entry can be a lifesaver.
- Design tip: Keep hardware finishes consistent and choose simple glass framing if budget is tight.
- Watch-outs: These can look dated if the framing is bulky. If you go this route, pick the cleanest profile you can.
Typical cost range: $7,500 to $16,000.
Layout 3: Tub-to-shower with a built-in ledge instead of a full bench
What it is: Use a thickened wall or a low “perch” ledge for shaving or foot support.
- Why it works: A full bench eats floor space and can make a small shower feel cramped.
- Design tip: A 6 to 8 inch deep ledge at 17 to 19 inches high is often enough for real-life comfort.
- Watch-outs: Every horizontal surface must be properly sloped and waterproofed. Water is persistent.
Typical cost range: Add $300 to $1,200 versus a basic layout, depending on tile and waterproofing system.
Medium bathrooms (typically 50 to 80 sq ft): more comfort, smarter storage
This is where you can start adding features that make your shower feel custom without going full spa renovation.
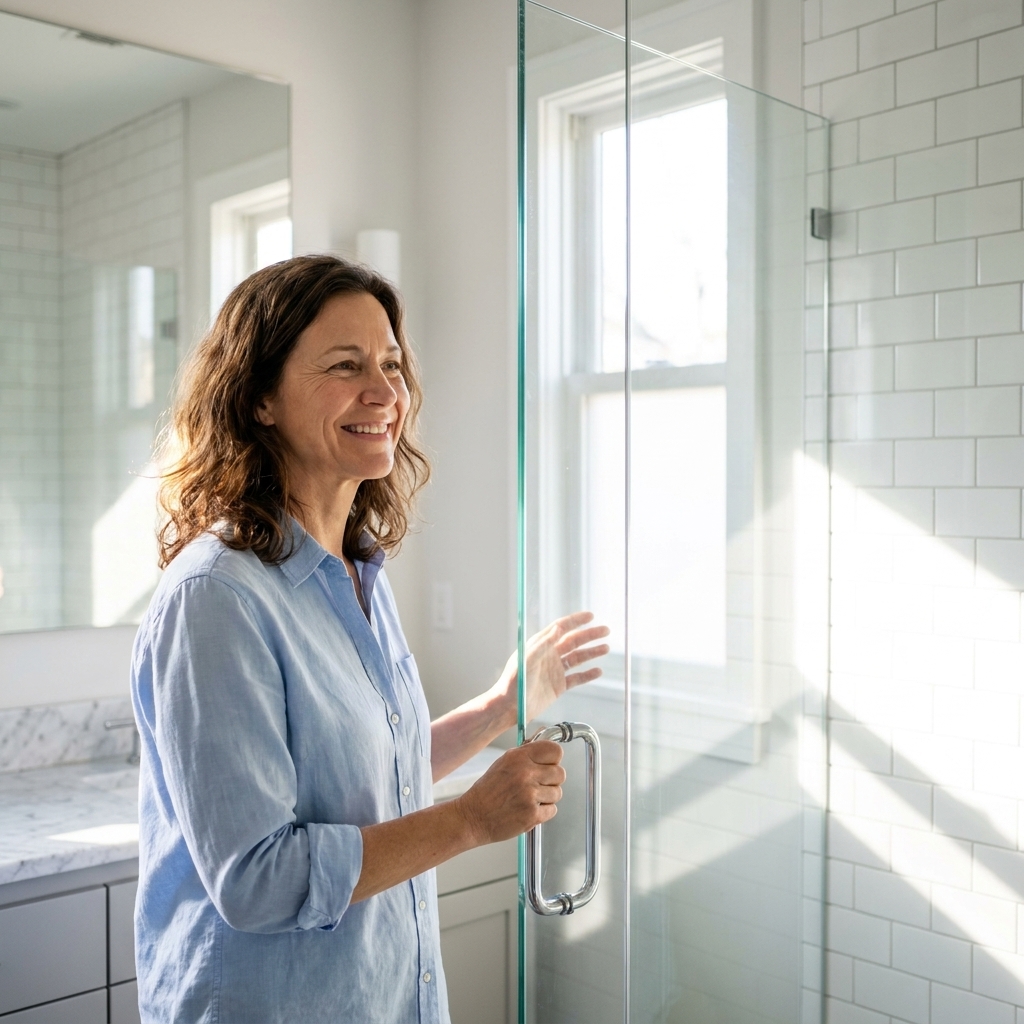
Layout 4: Standard alcove shower with a hinged door (classic, comfortable)
What it is: The shower stays in the tub alcove, but you install a full door for warmth and splash control.
- Why it works: It is the most familiar user experience and tends to keep towels and toilet paper drier.
- Design tip: If you can, offset the door so the fixed panel aligns with a niche wall. It looks intentional and makes niches easier.
- Watch-outs: Confirm door swing clearance early. In medium baths, this is the number one “how did we miss that” moment.
Typical cost range: $8,000 to $18,000.
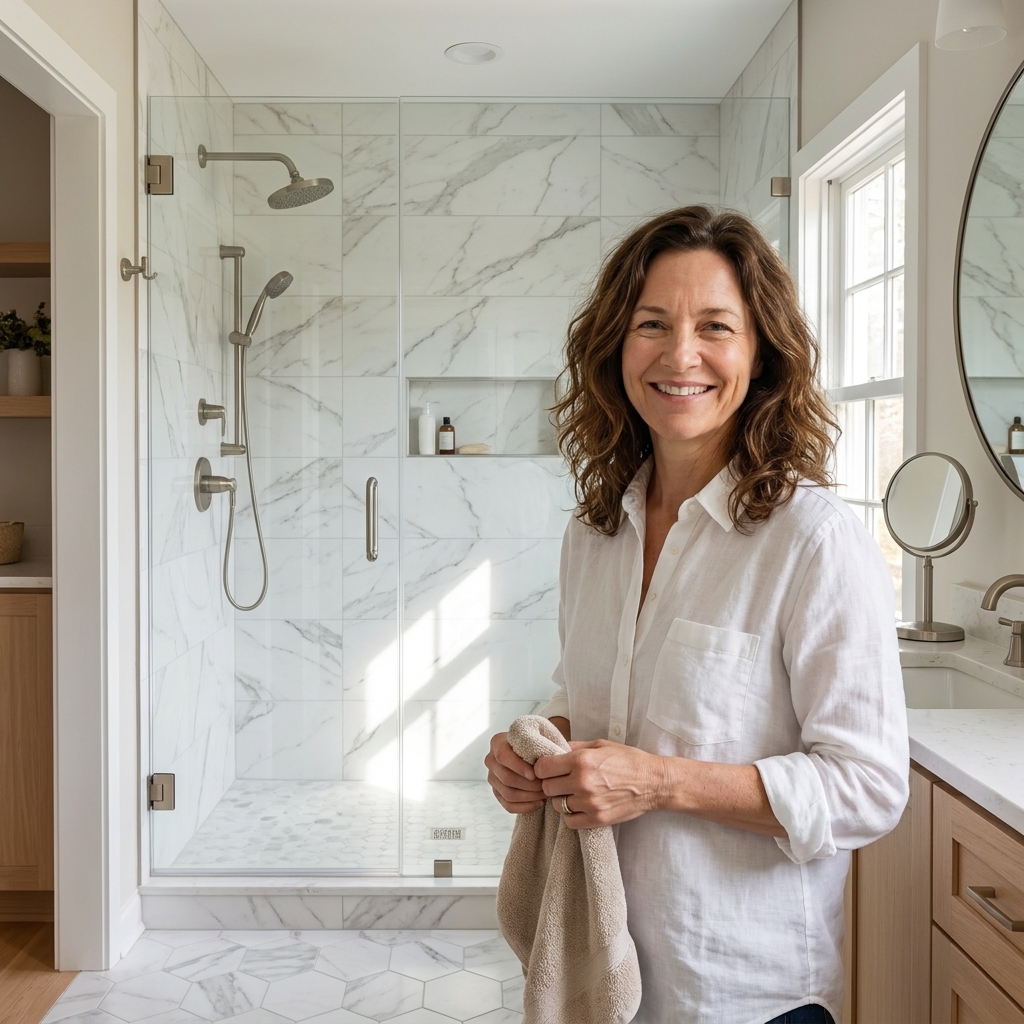
Layout 5: Tub-to-shower plus linen tower (the storage upgrade layout)
What it is: Convert the tub area into a shower and steal a small slice of adjacent wall space for a tall cabinet.
- Why it works: When a tub goes away, the bathroom often loses the one big “drop zone.” A linen tower or shallow tall cabinet brings order back.
- Design tip: Go 12 to 15 inches deep if clearance is tight. Add roll-out trays for hair tools and backup toiletries.
- Watch-outs: Make sure the cabinet is outside the wet zone and that door swings do not conflict.
Typical cost range: $9,500 to $22,000 depending on cabinetry and whether electrical is added inside the cabinet.
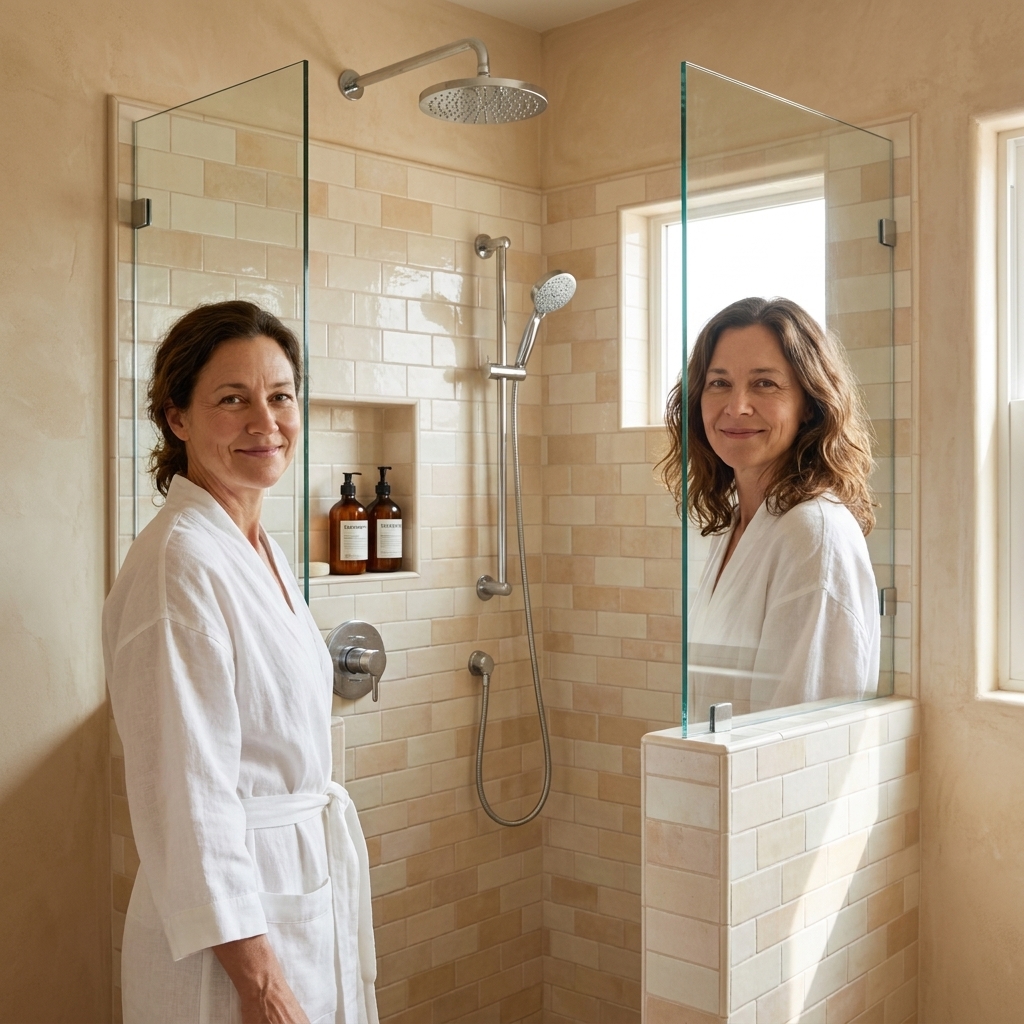
Layout 6: Walk-in shower with pony wall and glass (privacy without closing it in)
What it is: Build a half wall (pony wall) at the shower entry and top it with glass.
- Why it works: It gives you a place to mount controls, adds privacy, and blocks splash while still feeling open.
- Design tip: Use the pony wall to create an in-shower ledge on the wet side. Waterproof it like a roof.
- Watch-outs: Pony walls must be rigid. If they wobble, your glass will never feel solid.
Typical cost range: $10,000 to $24,000.
Large bathrooms and primary suites: layouts that feel like a retreat
If you have breathing room, you can create a shower that is genuinely luxurious. The key is planning the “zones” so it functions beautifully day-to-day, not just in photos.
Layout 7: Oversized walk-in with a bench and long niche wall
What it is: A deeper shower with a full bench on one end and a long niche or shelving wall.
- Why it works: Comfort, storage, and a more spa-like experience.
- Design tip: A bench is more comfortable at 17 to 19 inches high. Add a handheld with a wall supply elbow near the bench for shaving and cleaning.
- Watch-outs: Benches and niches are waterproofing stress points. Use a reputable waterproofing system and do not skip flood testing when possible.
Typical cost range: $14,000 to $35,000+ depending on tile, custom glass, and plumbing upgrades.
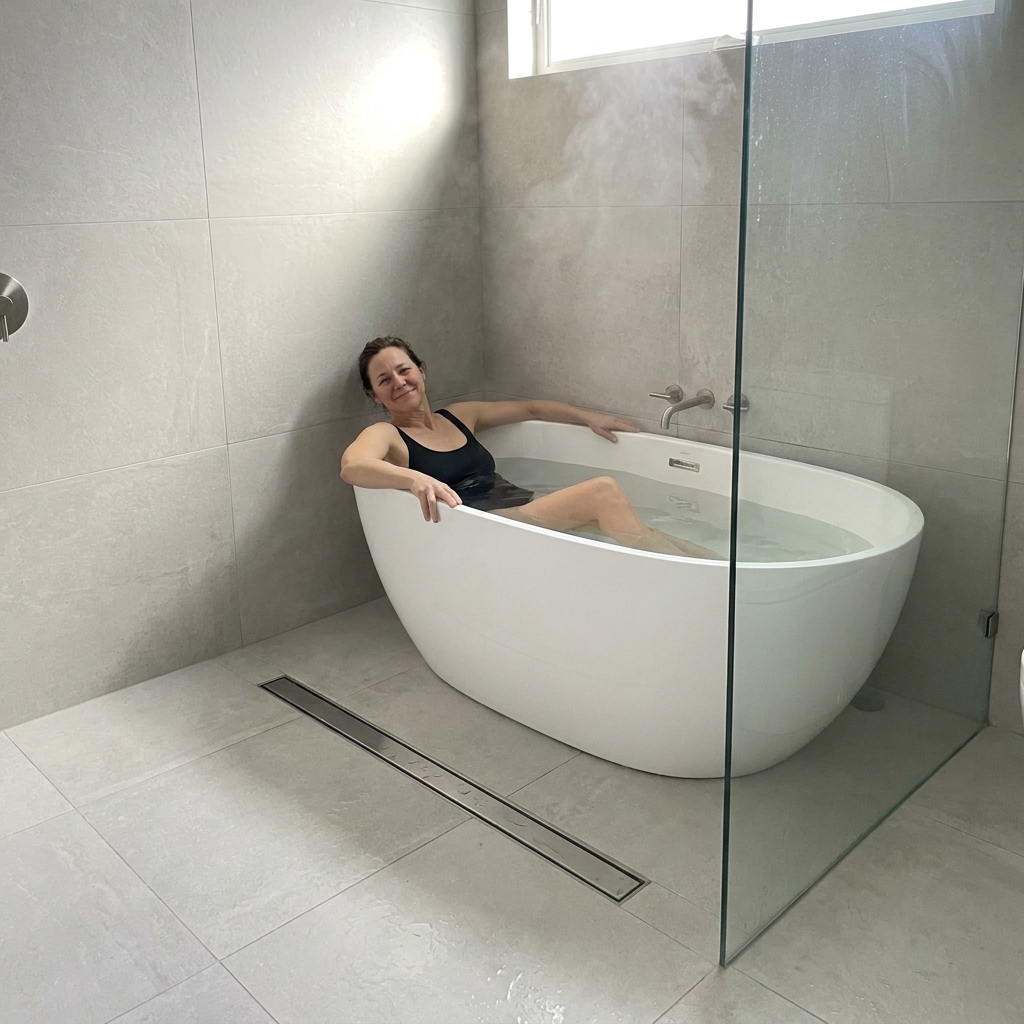
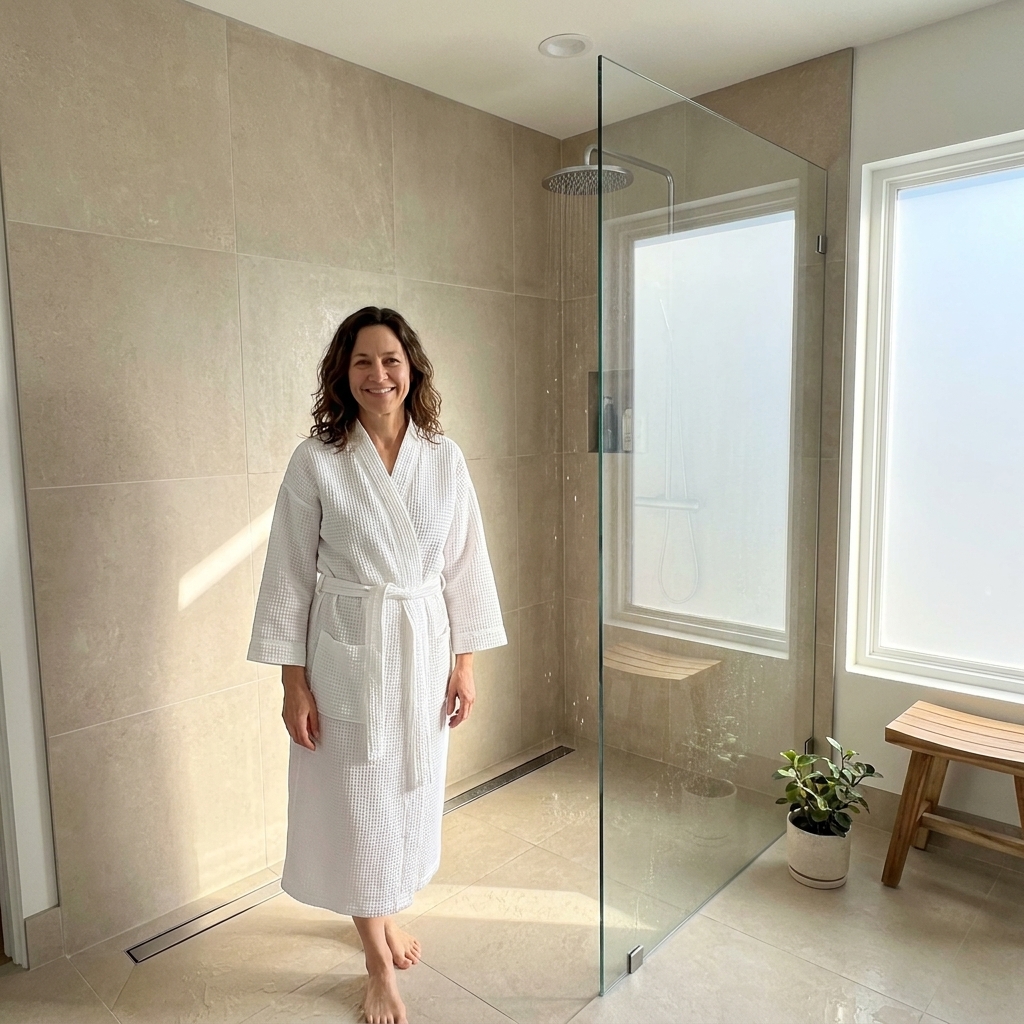
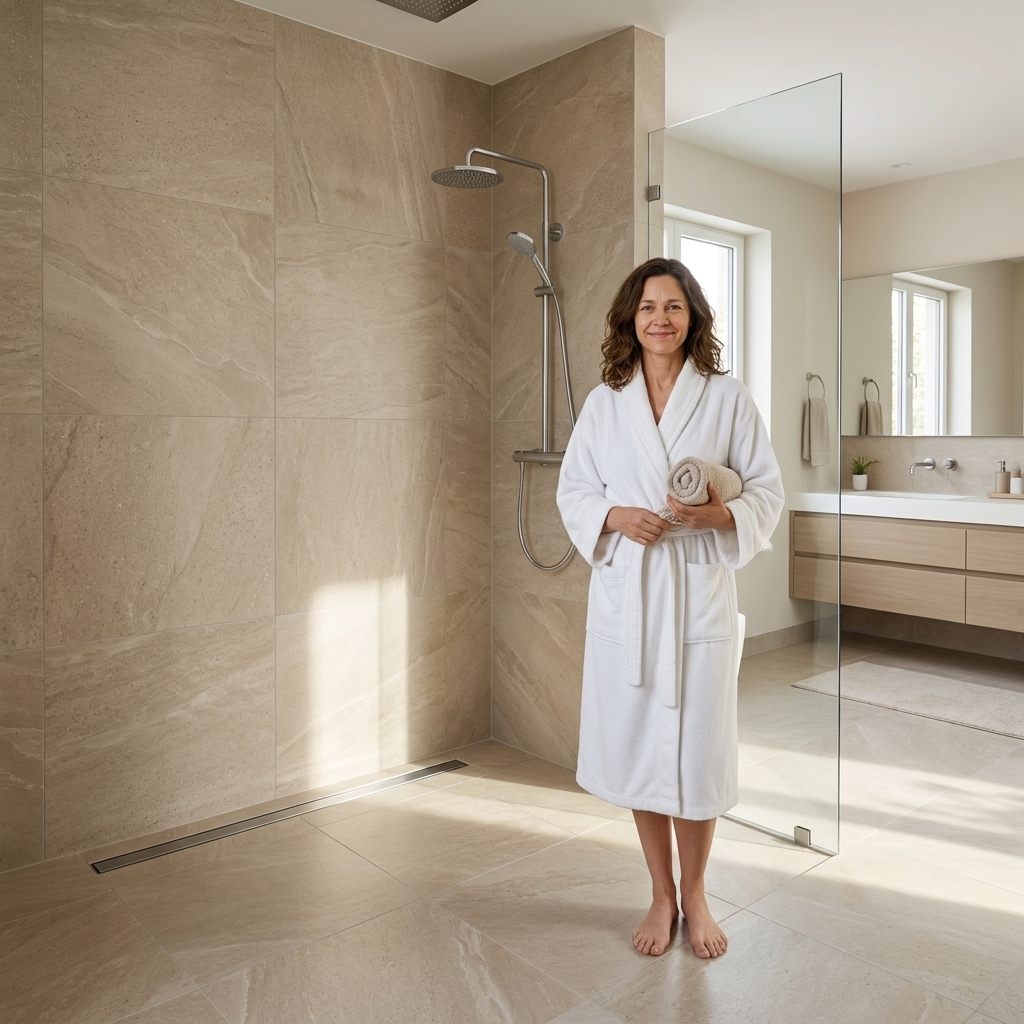
Layout 8: Curbless shower with linear drain (sleek and accessible)
What it is: A barrier-free entry with a continuous floor plane and a linear drain, often at the entry or along the back wall.
- Why it works: It reads ultra-modern and is fantastic for aging-in-place planning.
- Design tip: Large-format porcelain on the main floor plus a smaller mosaic in the shower can help slope work cleanly while keeping traction.
- Watch-outs: Curbless usually costs more because the subfloor may need to be recessed and waterproofed more aggressively. Also, not every bathroom is a good candidate without additional work.
Typical cost range: Add $2,000 to $6,000+ over a similar curb shower, depending on structure, drain, and waterproofing needs.
Layout 9: Two-person shower (only if you have the plumbing and the patience)
What it is: Dual showerheads or a combination of a main showerhead plus body spray system.
- Why it works: Great for couples with different schedules and for a true luxury feel.
- Design tip: Put controls near the entry so you can turn water on without getting soaked. Thermostatic valves are worth it here.
- Watch-outs: Water heater capacity and supply line sizing matter. This is where “just add another head” can turn into a bigger plumbing conversation.
Typical cost range: Add $1,500 to $8,000+ depending on valves, heads, tile changes, and whether the water heater needs upgrading.
Layout planning: a simple step-by-step you can follow
- Measure the alcove and the clearances. Record tub alcove width, depth, ceiling height, window locations, and the distance to toilet and vanity edges.
- Pick your entry strategy. Door, slider, fixed panel, or open entry. This is the layout decision that prevents daily frustration.
- Locate the valve and showerhead intentionally. Controls near entry. Showerhead aimed away from entry. Handheld where you can reach it without gymnastics.
- Decide on storage. One niche minimum. Two niches if you share. Or do corner shelves if framing makes niches difficult.
- Choose curb type. Standard curb, low curb, or curbless. Confirm feasibility with your contractor before you fall in love with a photo.
- Lock material selections before demo. Tile lead times and valve trim compatibility can stall projects. Get the “inside the wall” parts ordered early.
Cost breakdown: where the money actually goes
Every bathroom is different, but these ranges reflect what I see most often for a tub-to-shower conversion in the U.S. with professional labor.
- Demo and disposal: $600 to $2,000
- Plumbing (valve, drain work, possible vent or supply updates): $800 to $4,500
- Waterproofing system: $600 to $2,500
- Tile labor and setting materials: $2,500 to $9,000+
- Tile and trim material: $800 to $6,000+
- Glass (panel or door): $900 to $3,500+
- Fixtures (showerhead, valve trim, handheld): $250 to $2,500+
- Optional upgrades (bench, niches, heated floor, lighting): $300 to $8,000+
Rule of thumb: If you keep the shower footprint and drain location similar to the existing tub, you will usually land in the more predictable part of the budget range.
Material ideas that look high-end without being high-maintenance
Wall tile
- Porcelain, large-format (12x24 and up): Fewer grout lines, easier cleaning, great for modern looks.
- Classic ceramic subway: Affordable, timeless. Use a grout color that forgives daily life.
- Solid-surface shower panels: Minimal seams and fast installation, often a good mid-to-high budget option.
Shower floor
- 2-inch porcelain mosaics: The slope is easier to build and traction is typically better.
- Smaller hex or penny rounds: Great grip, but more grout means more maintenance. Choose grout wisely and seal if recommended.
Grout and maintenance picks
- Epoxy or premium stain-resistant grout: Costs more upfront, saves scrubbing later.
- Matte or textured tile on the floor: Safer underfoot. Polished floors can be slippery.
Fixtures
- Pressure-balanced valve: Good baseline performance for most homes.
- Thermostatic valve: My favorite splurge if you want consistent temperature and a more luxury feel.
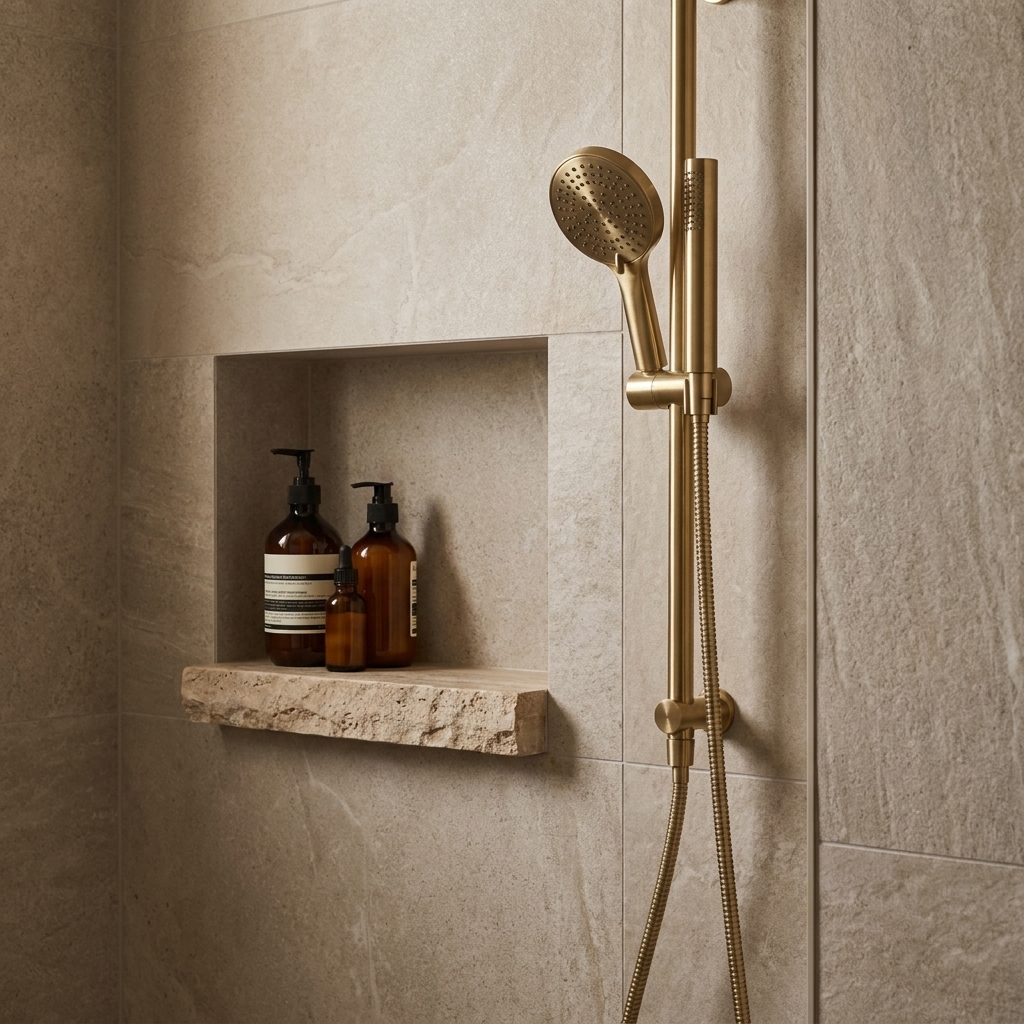
- Handheld sprayer: Non-negotiable in my book for cleaning and real-life usability.
Where to splurge vs. where to save
Splurge (you feel it every day)
- Waterproofing and prep: This is not the place to cut corners. A beautiful shower that leaks is not a bargain.
- Glass that fits properly: Cheap glass and sloppy installation can rattle, leak, and look off forever.
- A great valve and handheld: Better temperature control and function is daily comfort.
Save (without regrets)
- Wall tile: You can get a high-end look with mid-range porcelain if the layout and trim are clean.
- Fancy accent strips: Often dated quickly. Let your tile size and grout color do the design work.
- Too many features: Body sprays, multiple heads, and complex controls add cost and plumbing complexity fast.
Code and construction realities (the stuff behind the pretty tile)
I am going to keep this practical and non-scary. Your contractor should confirm local requirements, but these are common realities that affect layout and cost:
- Proper slope to the drain is mandatory. If you want large-format tile on the shower floor, talk through slope and lippage expectations.
- Exhaust fan matters more with a bigger shower. More steam needs better ventilation. This is comfort and mold prevention.
- Blocking for grab bars is smart planning. Even if you do not want grab bars now, adding blocking during the conversion is inexpensive.
- Window in the shower zone needs special detailing. Consider waterproof trim kits, solid-surface jambs, or reworking the window placement if it is in a constant splash area.
Common tub-to-shower conversion mistakes (and how to avoid them)
- Picking a door last: Choose the entry plan early so you do not end up with a door that hits the toilet or a cramped opening.
- Undersizing the niche: A tiny niche becomes clutter instantly. If you share the shower, plan for two.
- Skipping a handheld: It is the easiest upgrade for functionality.
- Ignoring splash: Open showers can be gorgeous, but the showerhead and entry placement must be intentional.
- Assuming the subfloor is perfect: Tub removal can reveal rot, old repairs, or out-of-level framing that needs attention.
FAQ
Does converting a tub to a shower hurt resale?
It depends on your market and how many bathrooms you have. In general, having at least one tub in the home is a plus for families with young kids. If this is your only tub, consider whether a future buyer might miss it. If you have another tub elsewhere, a great walk-in shower is usually a win.
Can I keep the same plumbing location?
Often, yes, especially if you are using the existing tub alcove. Keeping the valve wall and drain location similar is one of the best ways to control cost and timeline.
How long does a tub-to-shower conversion take?
For a straightforward conversion, 1 to 2 weeks is common once materials are on site. Custom tile, specialty glass, or structural work can push it longer.
What is the easiest way to make a shower feel bigger?
Clear glass, lighter tile, fewer visual breaks, and full-height tile to the ceiling. Also, moving clutter off the corners and into a well-placed niche makes a surprising difference.
A quick “choose your layout” cheat sheet
- Bathroom is tight: Fixed glass panel and open entry
- Toilet is too close: Angled entry or slider door
- You want less splash: Hinged door or pony wall plus glass
- You want aging-in-place: Curbless entry, blocking for grab bars, handheld on a slide bar
- You want spa energy: Bigger footprint, bench, long niche, upgraded valve