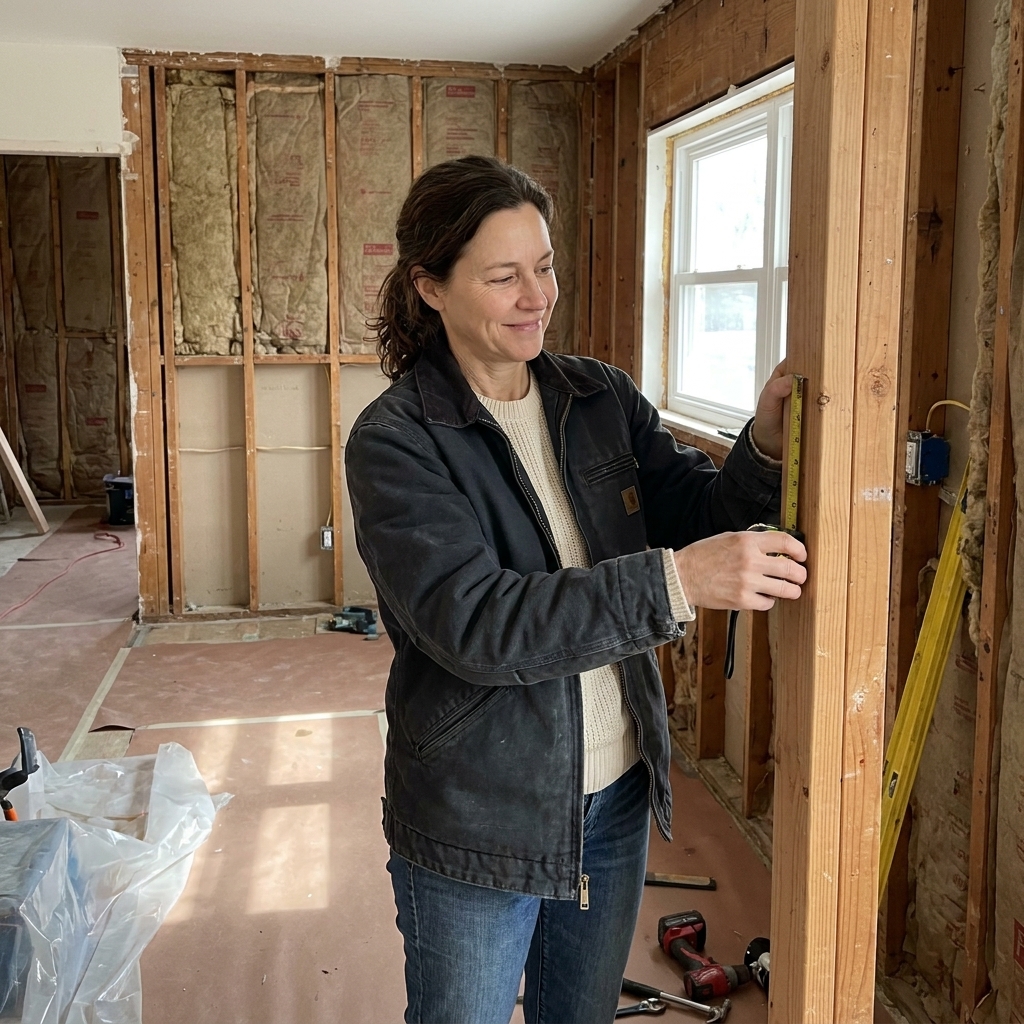
Plan your kitchen remodel with a practical 8-week schedule, including contractor sequencing, material lead times, inspections, and a simple checklist to prev...
Many kitchens are remodeled in one big sprint because it is more efficient for trades and faster for your household. But life does not always cooperate with “one big check.” A phased kitchen remodel can absolutely work, as long as you plan the sequence like a project manager, not like a Pinterest board.
The goal is simple: spread out costs without living in a permanent construction zone and without paying twice for the same work. Below is the approach I used for clients when budgets were real, schedules were tight, and everyone still needed to eat dinner.
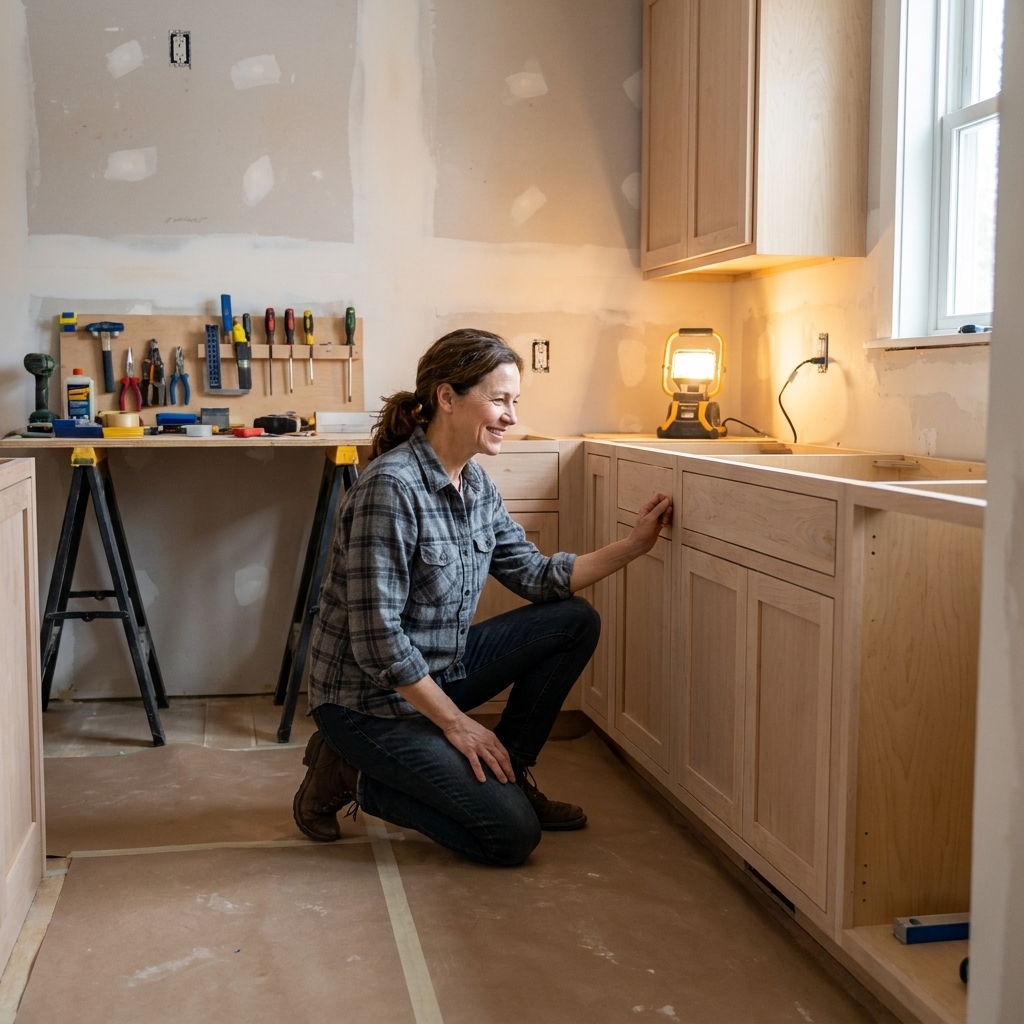
Start with the rule that makes or breaks phasing
If you remember nothing else, remember this:
Do “behind-the-walls” decisions first, finishes last.
Anything that affects framing, plumbing, electrical, ventilation, or appliance locations should be locked in early. If you do not, your “phase two” becomes a demolition of your “phase one,” and that is where phased remodels get expensive.
Think of your kitchen as layers:
- Layer 1: Infrastructure (wiring, plumbing, vents, gas, wall changes)
- Layer 2: Built-ins (cabinets, pantry, island, soffit removal, drywall)
- Layer 3: Surfaces (counters, backsplash, flooring, paint)
- Layer 4: Cosmetics (lighting fixtures, hardware, accessories, stools)
Is your kitchen a good candidate?
Phasing is easiest when your layout stays mostly the same. If you are moving the sink across the room, relocating a range, or removing walls, you can still phase it, but you will need a tighter plan and a bigger infrastructure phase.
Phasing works well when:
- You are keeping plumbing locations (sink, dishwasher, fridge line) the same or close.
- Your existing cabinets can survive for a bit, or you can install new cabinets without needing finished floors first.
- You can set up a temporary mini kitchen elsewhere.
- You are okay with the kitchen being imperfect between phases, but functional.
Phasing gets risky when:
- You want major layout changes but are not ready to commit to appliance specs.
- Your electrical panel is maxed out and needs an upgrade (often a separate project).
- You have older flooring where matching later is unlikely.
- You have water damage, mold, or structural issues (those are not “later” items).
Lock the master plan before Phase 1
This is the part homeowners want to skip, and it is exactly what keeps phased remodels from turning into a money pit.
Before any demolition, finalize these items
- Final layout: cabinet sizes, appliance locations, clearances, island size, and walking paths.
- Appliance list with specs: model numbers matter because rough openings, power requirements, and ventilation depend on them.
- Plumbing plan: sink base size, faucet type, disposal, dishwasher, fridge water line, pot filler if you insist (I will not judge).
- Electrical and lighting plan: outlets, undercabinet lighting, dedicated circuits where required, hood power, island outlets, and where switches land. Requirements vary by location and code edition, so confirm with your licensed electrician and local building department.
- Ventilation plan: duct route and size for the hood. This is one of the most common “oops” items.
- Cabinet order plan: lead times can be brutal. Even if you are not installing until later, you want your order timing mapped out.
If you are working with a designer or contractor, ask for a simple plan set that includes electrical, plumbing, and elevations. If you are DIY planning, at least produce a scaled drawing and a fixture schedule so you can shop intelligently.
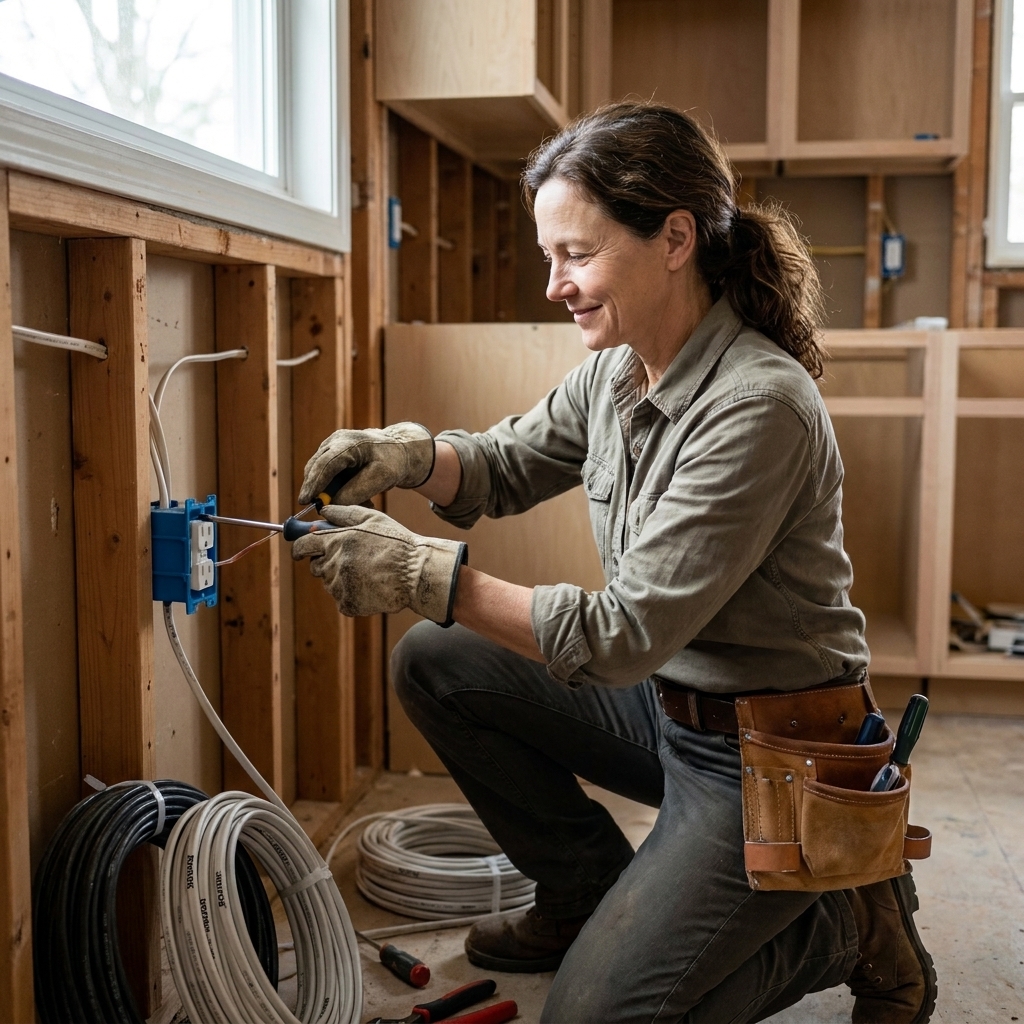
Plan inspections around your phases
If permits are involved, phase boundaries should line up with inspection milestones. Rough electrical, plumbing, and framing typically need sign-off before walls get closed. Final inspections usually happen once fixtures and devices are in place.
Ask your contractor or local building department how they want the work sequenced so you are not opening finished walls later just to satisfy an inspection step you accidentally skipped.
Set up a temporary kitchen properly
If you are going to remodel in phases, your temporary setup is not an afterthought. It is how you keep your sanity.
Minimum temporary kitchen checklist
- Microwave or toaster oven
- Hot plate or induction burner
- Coffee maker and electric kettle
- Mini fridge or a dedicated shelf in your fridge that stays accessible
- Dish tub and drying rack (even if your main sink is down)
- A folding table for food prep
- A bin with daily dishes and utensils so you are not opening 12 boxes
If your sink will be offline, talk to your plumber about installing a temporary utility sink in the laundry or garage. I have done this for families and it is worth every penny.
The smartest phase sequences
There is no single perfect sequence. The right one depends on what you are changing and what you can live with. Here are the three sequences I use most often.
Sequence A: Infrastructure first, finishes later
Use this when: you are changing lighting, adding outlets, upgrading ventilation, or doing any plumbing adjustments.
- Phase 1: Rough electrical, plumbing, ventilation, minor framing, patch drywall enough to be sealed and safe (no exposed wiring, open holes, or loose insulation).
- Phase 2: Cabinets and countertops.
- Phase 3: Backsplash, paint, lighting fixtures, hardware, final trim.
Why it works: trades do their messy work first, and you avoid tearing out new finishes later.
Sequence B: Cabinets now, counters later
Use this when: your cabinets are the big-ticket item and you need time to recover before buying stone.
- Phase 1: Demo old cabinets, do rough-ins, install new cabinets, and use a temporary countertop.
- Phase 2: Install your final countertops and sink.
- Phase 3: Backsplash, paint touch-ups, undercabinet lighting, hardware.
Pro tip: a plywood counter can be sealed and surprisingly livable for a few months. If you go this route, protect cabinet tops from water and do not treat it like a cutting board.
Sequence C: Keep layout, upgrade surfaces in stages
Use this when: you are not moving plumbing or changing the footprint much.
- Phase 1: Paint, lighting swap, hardware, maybe a new sink and faucet if compatible.
- Phase 2: Countertops and backsplash.
- Phase 3: Flooring (or refinish), trim, final upgrades.
Watch-out: counters and backsplash are married. Changing one can damage the other. Plan them as a pair whenever possible.
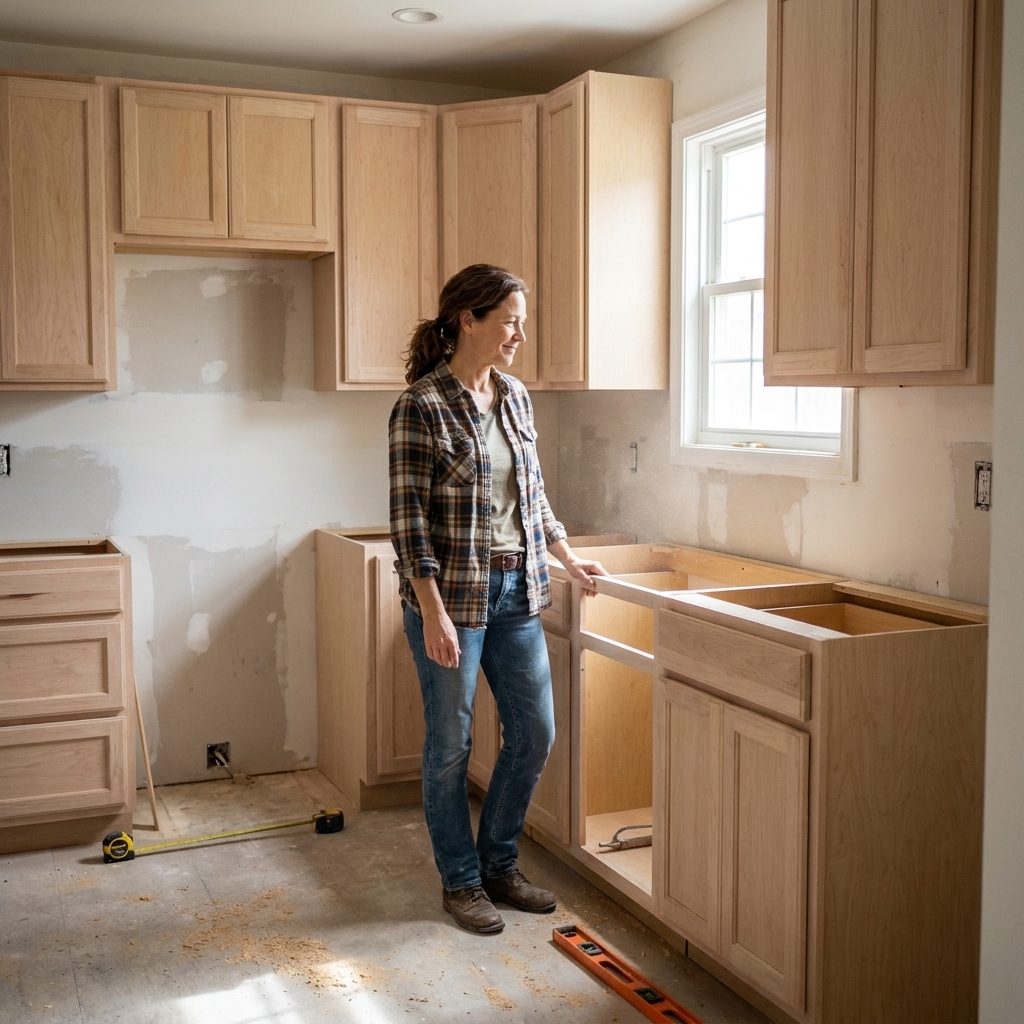
What to do early, every time
If you are trying to avoid rework, these items belong up front even if it stretches the budget a bit in Phase 1.
- Electrical upgrades: add circuits and protections as required by your local code and current NEC adoption. Many kitchens need dedicated circuits for certain appliances and countertop small appliance circuits, plus GFCI and AFCI in specified locations. Your electrician should confirm what applies in your jurisdiction and what can share a circuit where allowed.
- Vent hood ducting: it is hard to route later without opening walls or ceilings.
- Plumbing rough-ins: especially if you are changing sink base size, adding a filtered water faucet, or moving the dishwasher.
- Any wall work: removing soffits, repairing damaged drywall, fixing insulation issues.
- Order long-lead items: cabinets, certain appliances, custom hoods, specialty faucets, and some tiles.
What is safe to delay
These are my favorite “phase later” items because they are high impact, lower disruption, and rarely force you to redo work.
- Decorative lighting fixtures (as long as rough wiring and box locations are ready)
- Hardware (just pick it early so hole spacing is consistent)
- Pull-out accessories like trash pull-outs, rollout trays, and drawer organizers (I love these, but you can add them later)
- Backsplash (if you have a temporary, wipeable wall surface for a bit)
- Counter stools and styling pieces
- Upgraded faucet (if your sink setup allows a simple swap later)
One exception: if you are doing a tile backsplash that requires undercabinet lighting wiring or outlet relocation, get the rough-in handled early.
Budgeting: split phases the right way
Phasing is not just “split the total by three.” Some phases carry the risk and the hidden costs.
A realistic way to split the budget- Phase 1 (planning + rough-ins + demo): often 15 to 30 percent
- Phase 2 (cabinets + install labor): often 25 to 40 percent
- Phase 3 (counters + backsplash + flooring): often 20 to 35 percent
- Phase 4 (fixtures, hardware, finishing): often 5 to 15 percent
Keep a contingency per phase, not just one big contingency. I like:
- 10 to 15 percent contingency for cosmetic-only projects
- 15 to 25 percent contingency when you are opening walls in an older home
Then only release that contingency when you actually hit something unexpected. Not when you fall in love with a $900 pendant light.
Avoid constant construction mode
The trick is to create clean stopping points that let you put the kitchen back into daily use mode between phases.
Design phases around functional milestones
- Milestone 1: You have a working sink somewhere (even if temporary).
- Milestone 2: You have at least one continuous countertop for prep.
- Milestone 3: You can cook (range or cooktop operational, ventilation safe).
- Milestone 4: You can store food and dishes without boxes everywhere.
Contain dust and protect what stays
- Use zip walls or plastic sheeting with painter’s tape at doorways.
- Run a box fan in a window exhausting out during dusty work (weather permitting).
- Ask your contractor about a daily clean lane from exterior door to work area.
- Store dishes and pantry items in sealed bins. Drywall dust is a dedicated hobbyist and it will find your cereal.
- Cover floors that remain and protect paths you will keep using. It is cheap insurance.
Safety and livability basics
- Keep required egress paths clear.
- Do not leave open wall cavities accessible to kids or pets. Temporary barriers matter.
- Do not leave live wiring or open electrical boxes exposed between phases. Cap, cover, and follow your electrician’s guidance.

Phasing pitfalls that cost the most
1) Buying cabinets before confirming appliance specs
A 36-inch range is not always a true 36 inches. Counter-depth refrigerators vary. Dishwashers need the right opening and clearances. Get model numbers first.
2) Flooring timing mistakes
If you install floors now and cabinets later, you might pay more for flooring, but you may get a cleaner finish and fewer awkward cuts. If you install cabinets now and floors later, you risk tricky transitions and height issues at appliances. Neither is automatically “wrong.” It depends on the flooring type (especially floating floors) and the manufacturer’s installation instructions and warranty language. Decide early and plan transitions from day one.
3) Skipping the ventilation plan
I have seen gorgeous kitchens with underpowered recirculating hoods that can contribute to grease film and lingering odors, especially with heavy cooking or inconsistent filter maintenance. If you can duct to the outside, plan it early and size the hood and ducting to the appliance and the space.
4) Doing backsplash before final undercabinet lighting
Hardwiring, transformer locations, and wire routes are much easier before tile goes up.
5) Pausing too long between phases
In real life, “we will do Phase 2 next spring” can turn into two years. If you must pause, pause at a point where the kitchen is safe, sealed, and reasonably easy to clean.
6) Not defining phase boundaries in writing
Phased projects invite scope creep. For each phase, spell out what is included, what is excluded, and what counts as a change order. Also ask about remobilization fees, since bringing trades back multiple times can add cost.
Storage and protection between phases
Phasing often means you have materials arriving before you are ready to install them. Plan for it.
- Cabinet doors and panels: store flat, indoors, and out of traffic paths to prevent warping and dings.
- Appliances: confirm where deliveries can land, and whether your retailer will hold items until your install window.
- Flooring: some products need acclimation. Read the manufacturer requirements and give yourself time.
- Countertop templates: if you are delaying counters, confirm what the fabricator needs to template later (finished cabinet install, filler strips, final sink choice, and so on).
Sample 3-stage phased plan
Here is a sample sequence that keeps the kitchen usable between stages. This assumes you are keeping a similar layout but upgrading most components. Timelines are typical for a moderate scope with decent scheduling luck, but your market, permitting, and project complexity can stretch or shrink them.
Stage 1: Plan + messy work (about 1 to 2 weeks on site)
- Finalize layout and appliance selections
- Order cabinets, counters, and long-lead items
- Demo what is necessary for rough-ins
- Electrical rough-in for outlets, lighting, hood
- Plumbing rough-in adjustments
- Vent ducting install
- Rough inspections as required
- Patch and prime as needed
You can pause here if: appliances still function (or your temporary kitchen is ready), and the space is sealed, safe, and reasonably contained.
Stage 2: Cabinets + functional surfaces (about 2 to 4 weeks on site)
- Cabinet install
- Temporary counters if needed
- Sink set temporarily or finalized if counters are ready
- Install dishwasher if plumbing and power are ready
You can pause here if: you have a working sink and a continuous prep surface.
Stage 3: Finish work (about 3 days to 2 weeks)
- Final countertops
- Backsplash
- Lighting fixtures
- Paint touch-ups
- Hardware
- Final plumbing trim and electrical trim
- Final inspections as required
Where to splurge and save
Smart splurges
- Cabinet boxes and hardware quality: good drawers and hinges pay you back daily.
- Ventilation: your lungs, walls, and cabinets will thank you.
- Layout and storage planning: the cheapest upgrade is getting the cabinet functions right.
Safe places to save
- Pendants and decorative fixtures
- Backsplash tile (plenty of budget-friendly options that still look custom)
- Faucet (as long as you choose a standard configuration and keep access easy)
- Open shelving styling (start simple, upgrade later)
And yes, I will say it: you can live with laminate counters for a while if it helps you get the cabinet layout right first. I would rather see a homeowner upgrade in a year than finance a choice they feel stuck with.
Quick FAQ
Can I remodel half my kitchen at a time?
Sometimes. It works best in galley kitchens or larger kitchens with two distinct cabinet runs. The challenge is keeping plumbing and cooking functional. If “half at a time” means you will disconnect the sink for weeks, plan a temporary sink elsewhere.
Do I need permits if I am phasing?
If you are changing electrical, plumbing, moving walls, or adding new circuits, permits are commonly required. Phasing does not remove that requirement. Check with your local building department or ask your licensed contractor.
Will phasing cost more overall?
It can, mainly due to remobilization (trades coming back multiple times), inspections across stages, and temporary solutions. Good planning minimizes this. The trade-off is cash flow and flexibility, which can be worth it.
What is the best first upgrade if I can only do one thing right now?
If your layout works, start with lighting and electrical (including undercabinet lighting), then paint. It is one of the least disruptive ways to make a kitchen feel new while you save for bigger phases.
Phased remodel sanity checklist
- I have a final layout and appliance specs in writing.
- I know what is getting opened up, and what is staying intact.
- Permits and inspections are mapped to my phases.
- Rough-ins happen before finishes.
- I can pause after each phase with a functional, cleanable kitchen.
- I am not buying anything twice (or if I am, I chose that on purpose).
- I have a per-phase contingency.
- I have a storage plan for materials that arrive early.
- Each phase has a written scope, schedule target, and remobilization expectations.
If you follow the checklist and commit to the sequence, a phased kitchen remodel can feel like steady progress instead of endless chaos.