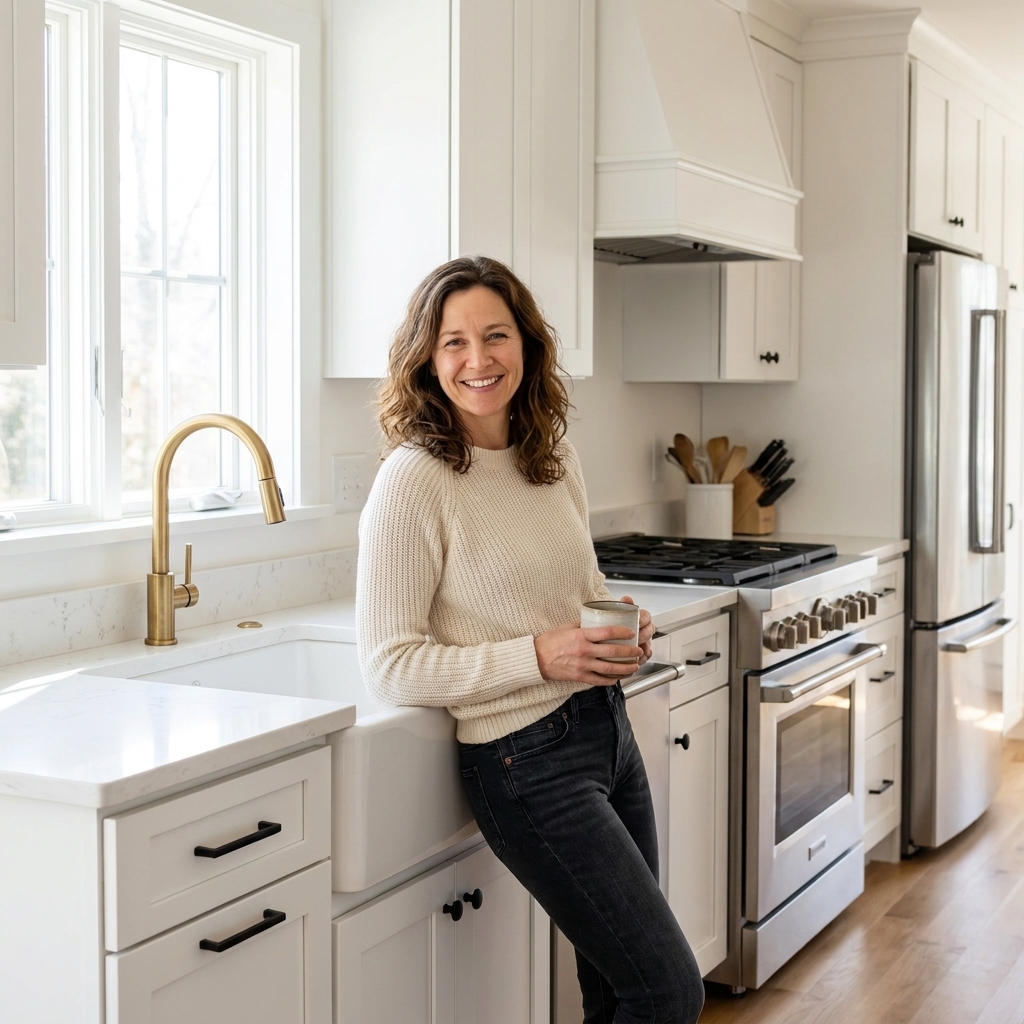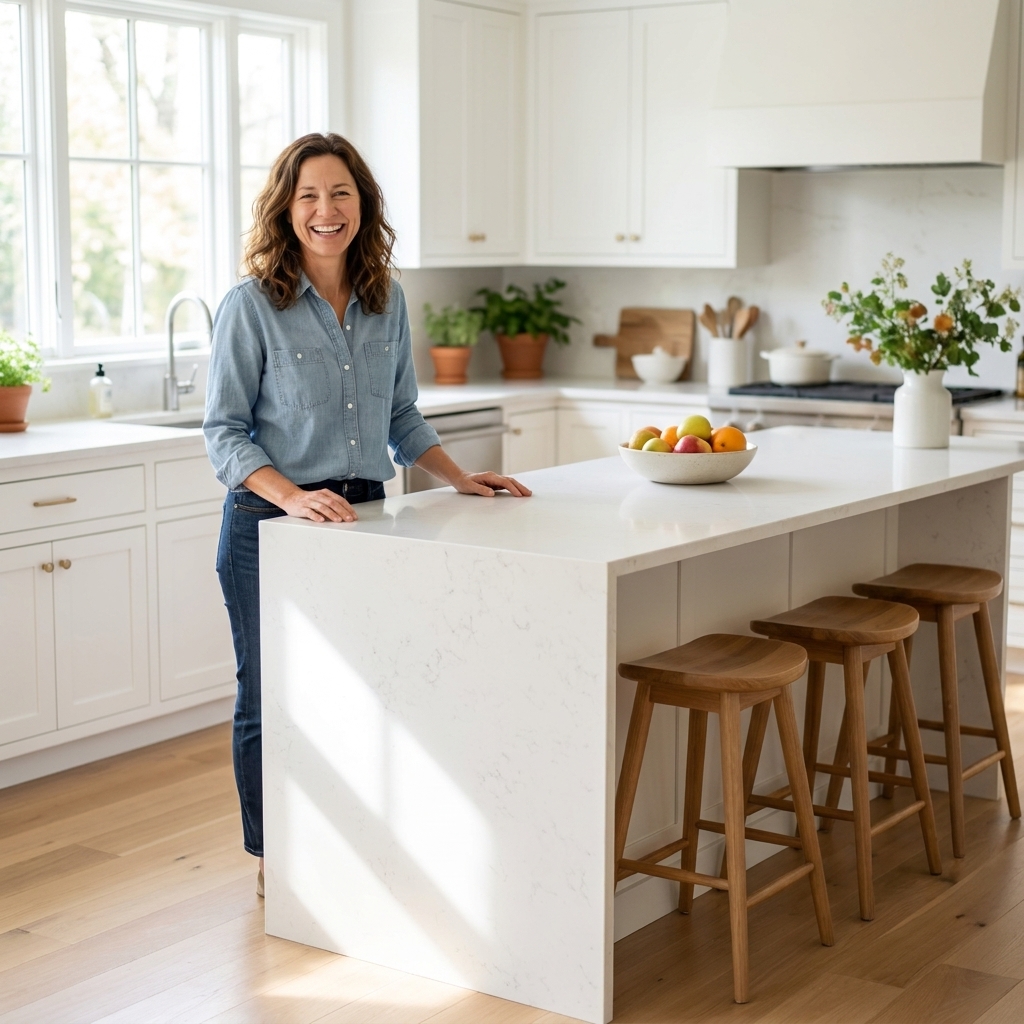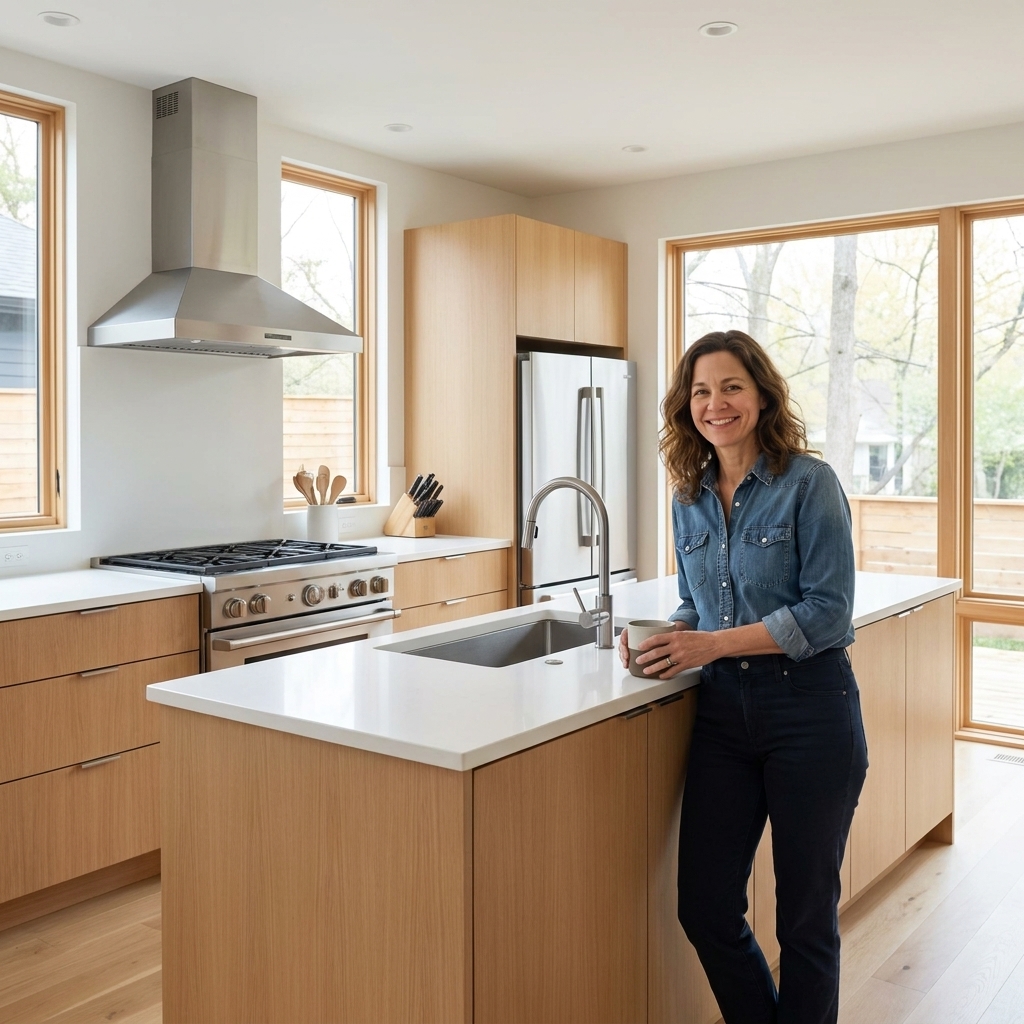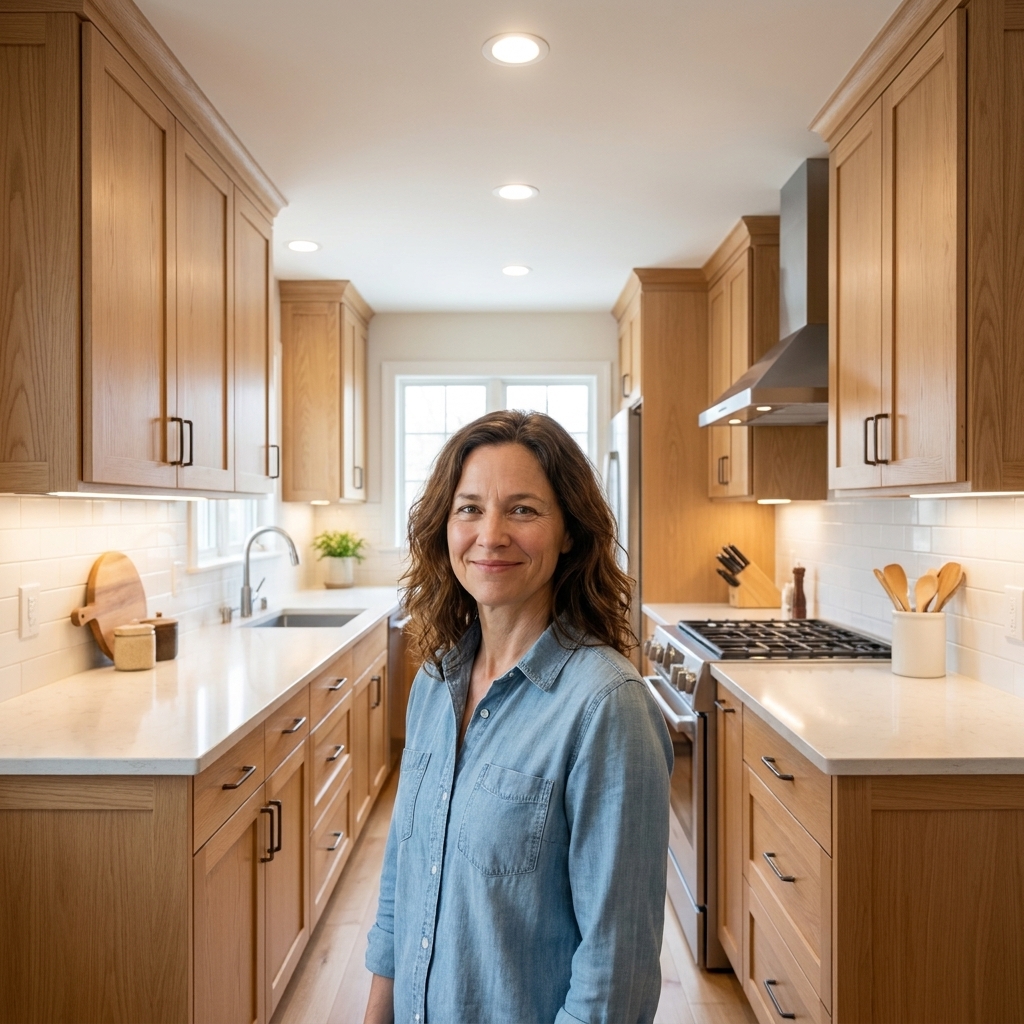
Smart cabinetry, lighting, and reflective finishes that make a galley kitchen feel wider, brighter, and more current, without changing the footprint.
Kitchen lighting is one of those things you only notice when it is wrong. Shadows on the cutting board. A beautiful backsplash that disappears at night. A single ceiling light that makes everyone look like they are telling a ghost story.
Layering fixes that. Instead of asking one fixture to do everything, you combine three types of light, each with a clear job: ambient (overall), task (work surfaces), and accent (the pretty stuff). Here is how I plan it on real remodels, step by step, with the practical details that keep you from overbuying fixtures or under-lighting your island.
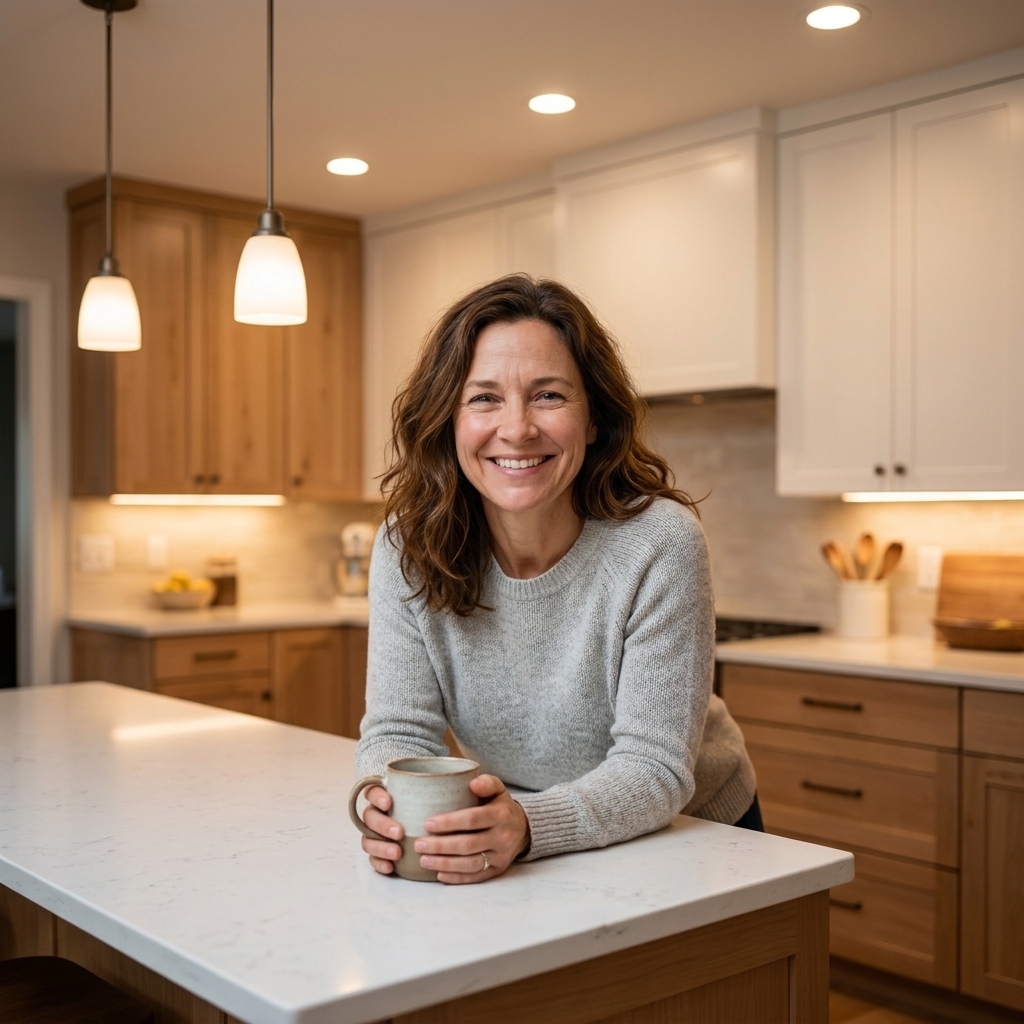
Start with the three lighting layers
Ambient lighting (overall glow)
This is your base layer. It should let you walk through the kitchen safely, open drawers, and see general surfaces without relying on daylight. Ambient lighting is usually recessed lights, surface-mount fixtures, or a central ceiling fixture in smaller kitchens.
Task lighting (workhorse light)
Task lighting is brighter and more targeted. It is what makes chopping, reading a recipe, and cleaning up feel easy. Under-cabinet lights are the MVP here, plus dedicated lighting over islands and sinks.
Accent lighting (dimension and drama)
Accent lighting is what makes a kitchen feel designed. Think toe-kick glow, interior cabinet lights behind glass, or a pair of sconces that frame a range hood. Accent is optional for function, but powerful for mood.
Step 1: Mark your work zones
Before you shop for pendants, take five minutes and identify where you actually work. On a floor plan or even a quick sketch, mark:
- Prep zone (usually the counter between sink and range)
- Cooking zone (range and nearby landing space)
- Cleanup zone (sink, dishwasher, trash pull-out)
- Landing zones (next to fridge, next to oven, near microwave)
- Island (prep, seating, both)
- Pantry and beverage area (if applicable)
Lighting layouts fail when we light the room, but forget the zones. Your lighting plan should chase your hands: wherever you chop, wash, stir, or unload, you want clean, shadow-free light.

Step 2: Build ambient light
Ambient lighting should feel even, not spotty. The goal is to reduce dark corners and harsh contrast so your task and accent layers can do their jobs.
Best ambient options
- Recessed lights for broad coverage, especially in remodels with open layouts
- Surface-mount fixtures where ceiling height or framing does not allow recessed housings
- A central fixture in smaller kitchens, paired with under-cabinet task lighting so it is not doing all the heavy lifting
Placement tips that prevent shadows
- Do not line recessed lights up like airport runway lights. Align them with what you are lighting, especially countertops.
- Keep light off your back. If a recessed light is directly behind you while you face the counter, your body makes the shadow. Place ceiling lights so the beam lands in front of you at the counter edge.
- Use fewer lights with better distribution. Wide flood beams often feel more comfortable than tight spot beams in kitchens.
If you are working with an electrician, ask about deep-regress or glare-reducing trims (often called deep-set or anti-glare trims). They cut glare, which matters a lot in kitchens with reflective quartz and glossy cabinets.
Step 3: Add task lighting
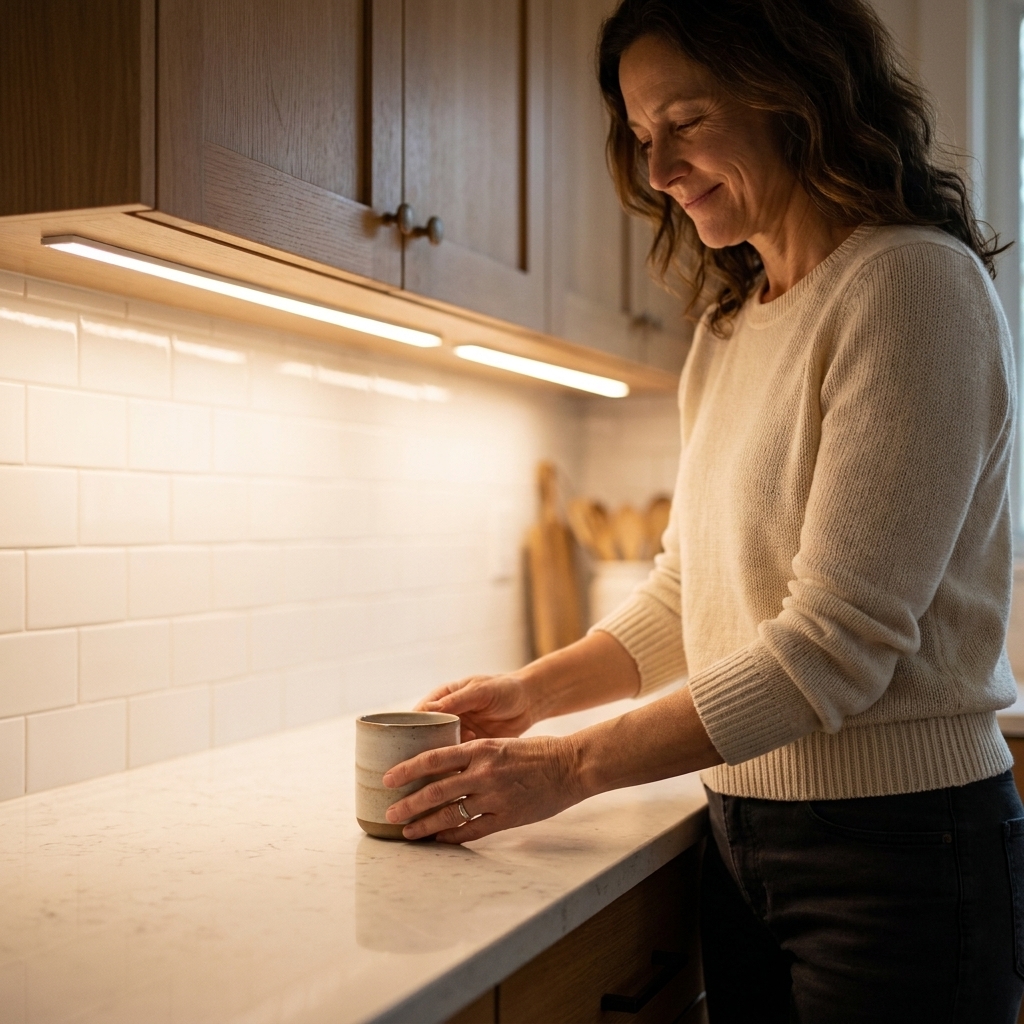
Under-cabinet lighting
If I could pick only one improvement for a kitchen that “feels dark,” it is under-cabinet lighting. It puts light exactly where you prep, and it makes countertops and backsplash materials look their best.
What to use: LED linear fixtures or LED tape in an aluminum channel with a diffuser. Diffusers matter. They reduce dotting and hot spots, especially on glossy tile.
Where to put it: Toward the front of the cabinet bottom, not at the back by the wall. Front placement pushes light onto the counter where you work and reduces shadows.
Driver and power planning: For tape light, plan where the driver (transformer) will live and how it will be accessed later. I like hiding drivers above cabinets, in a sink base, or in an adjacent cabinet with an access panel. Decide early if you are doing hardwired or plug-in, because it changes where you need power.
What to avoid: Widely spaced, undiffused puck lights. They can create bright circles and dark gaps, and they can exaggerate texture, seams, or grout lines. If you love the puck look, choose diffused pucks and keep spacing tight enough that the light blends.
Island and peninsula lighting
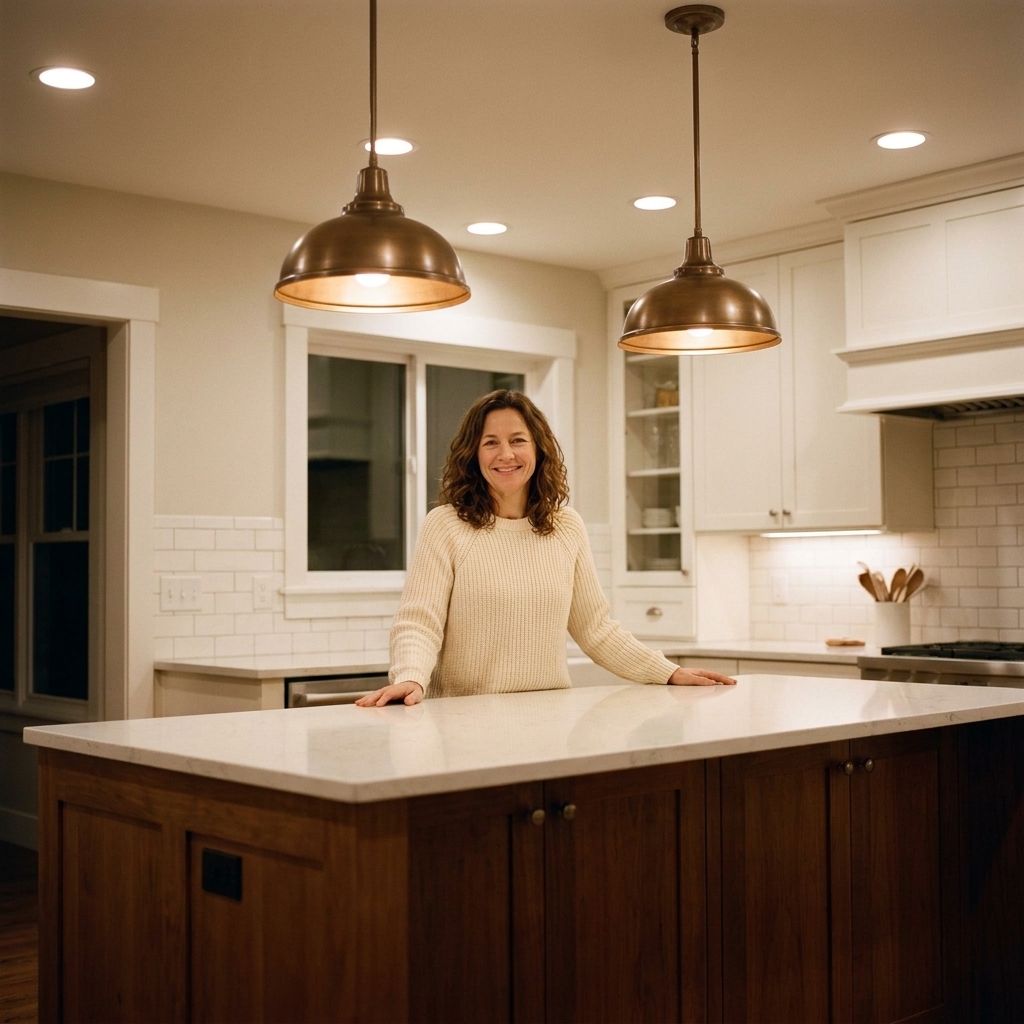
Pendants are often treated as jewelry, but they should also perform. If your island is a prep zone, pendants alone may not be enough. Consider combining pendants with recessed lights positioned to wash the island surface.
- For prep islands: prioritize even downlight coverage over tiny decorative pendants that throw light sideways.
- For seating-only islands: pendants can be softer and more decorative since the counter is not doing knife work.
Make it flattering, too: if the island is where people gather, avoid clear bare bulbs at eye level. Look for shades with diffusion, or fixtures that hide the light source so you do not get glare in faces across the counter.
Sink lighting
Most sinks end up in front of a window, which is great by day and tricky by night. A recessed light centered over the sink or a small semi-flush fixture can prevent the “black hole” effect after sunset. If the fixture is close to water, confirm the appropriate damp or wet rating and follow local code.
Step 4: Add accent light
Accent lighting is where you get that high-end, layered look even in a straightforward remodel. Use it intentionally, not everywhere.
Accent ideas that work
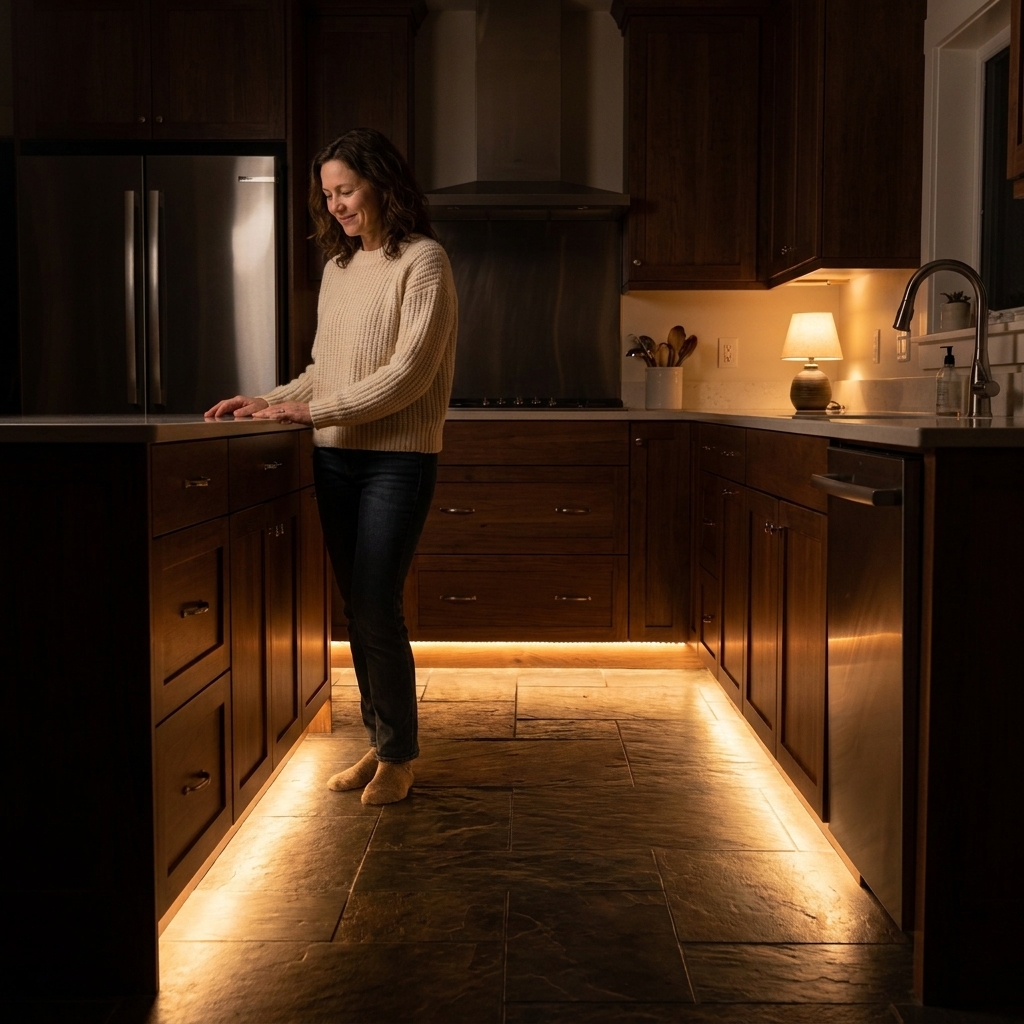
- Toe-kick lighting under base cabinets for a soft nightlight effect
- Glass-front cabinet lights if you have a display area and keep it styled
- Open-shelf lighting when the shelves are more than clutter storage
- Over-cabinet uplighting for kitchens with a soffit or crown detail and enough ceiling height
- Accent sconces on a feature wall or near a pantry run, when you have the space to do it safely
My rule of thumb: pick one or two accent moments and do them well. Too much accent lighting can start to feel like a showroom.
Step 5: Pick color and quality
Color temperature is measured in Kelvins (K). In kitchens, you are balancing “clean and clear” with “warm and welcoming.”
- 2700K: warm and cozy. Great for adjacent living spaces and many traditional kitchens.
- 3000K: my most common kitchen choice. Warm-neutral and flattering, but still crisp enough for food prep.
- 3500K to 4000K: cooler and more clinical. This can work in very modern kitchens, and high-quality LEDs at these temperatures can still look great. In some homes, though, cooler light can make wood tones feel flatter and people look a little washed out.
Biggest tip: keep the kitchen consistent. Mixing 2700K under-cabinet lights with 4000K recessed lights makes the room look patchy, like two different kitchens at once.
Do not ignore CRI
CRI (Color Rendering Index) is how accurately a light shows color. For kitchens, I like 90+ CRI when possible. It makes your counters, cabinets, and food look like themselves, not slightly “off.”
Also, buy from reputable manufacturers when you can. Some LEDs technically hit a high CRI number but still have odd tint shifts or inconsistent color from fixture to fixture, especially when dimmed.
Step 6: Use the right switches
The whole point of layering is control. If everything turns on with one switch, you do not have layers. You have a bright on and a dark off.
A practical switching plan
- Switch 1: Ambient (recessed lights or ceiling fixture)
- Switch 2: Under-cabinet task lighting
- Switch 3: Pendants or island lighting
- Optional Switch 4: Accent lighting (toe-kick, cabinet interiors, uplights)
Dimmers: Put dimmers on ambient and pendants at minimum. For under-cabinet lights, dimming is also wonderful, especially if you like a softer glow in the evening.
Heads up: Not all LEDs dim well together. Match dimmers and drivers, and confirm compatibility before your electrician trims everything out. This is one of those small details that prevents flicker and buzzing later.
Step 7: Size and space fixtures
Pendants over an island
You want pendants that relate to the island size and ceiling height.
- Quantity: two pendants often look calmer than three in many kitchens, but it depends on island length and pendant width.
- Clearance: the bottom of the pendant is often about 30 to 36 inches above the countertop for many kitchens with 8-foot ceilings. Then adjust for fixture scale, sightlines, and real life factors like tall users, thick counters, or oversized shades.
- Spacing: keep pendants visually centered over the island, and avoid placing them directly over where someone’s head will be at the seating side.
Recessed light spacing basics
Instead of obsessing over perfect equal spacing, focus on coverage where you stand and work. Recessed lights should support counters, sink, and traffic paths. If you have a tall pantry wall, remember it can cast shadows that need a nearby light or a wash on that wall.
Step 8: Match finishes
Lighting reads like jewelry. It should relate to your cabinet hardware, faucet, and appliances, but it does not have to match perfectly.
- Pick a lead finish (polished nickel, brushed brass, matte black) and let it appear in at least two places.
- Mixing finishes is fine when it looks deliberate. Example: matte black pendants with polished nickel faucet and hardware can work if black appears elsewhere, like stools or window frames.
- Watch glass shades if you hate cleaning. Clear glass looks airy but shows dust and bugs. Seeded or frosted glass hides more.
Step 9: Plan for real life
Night lighting
If you have kids, pets, or late-night snack habits, a low-level light is a sanity saver. Toe-kick lighting on its own switch or dimmer can be your gentle night path without blasting the whole kitchen.
Glare and reflections
Quartz, glossy tile, and stainless appliances can bounce light straight into your eyes. If your kitchen has a lot of shine:
- choose recessed trims that reduce glare
- avoid bare exposed bulbs at eye level
- use diffused under-cabinet channels
Cleaning and maintenance
Pick fixtures you can actually wipe down. Kitchens produce grease, dust, and splatter. If a pendant has lots of tiny crevices, you will learn to hate it by Thanksgiving.
Quick safety note
Near sinks and cooking surfaces, make sure fixtures are rated appropriately (damp or wet where required), and follow manufacturer clearances and local code. A beautiful plan is not worth a failed inspection.
Quick numbers to sanity-check brightness
Most homeowners do not need a full lighting calc, but it helps to have a ballpark target.
- Task light at counters: aim for roughly 30 to 50 foot-candles on prep surfaces for comfortable chopping and reading labels.
- Ambient light: you can usually run much lower, especially if your under-cabinet lighting is strong and even.
If you are shopping by the box, use lumens as a rough guide: higher lumens and better optics usually beat “more fixtures” when you want even light without glare.
Checklist
- Ambient lighting covers the room evenly without harsh glare
- Under-cabinet lights are continuous and diffused, placed toward the cabinet front
- Island has dedicated light for how you use it, not just decorative pendants
- Accent lighting is limited to one or two intentional moments
- Color temperature is consistent (often 3000K), with high CRI when possible
- Lighting is separated into zones with dimmers where it matters
FAQ
How many recessed lights do I need?
Enough to create even ambient coverage and support work zones, but not so many that your ceiling looks like Swiss cheese. In practice, I start by placing lights to support countertops, sink, and major walk paths, then adjust for dark corners. If you have great under-cabinet task lighting, you typically need fewer recessed lights than you think.
Are pendants enough for an island?
Sometimes, but not always. If the island is a true prep zone, I like pendants that throw light down effectively, and I often pair them with recessed lights positioned to brighten the work surface without casting body shadows.
What is the best under-cabinet lighting for a remodel?
LED tape in an aluminum channel with a diffuser is my go-to for the most seamless look. It gives you smooth, even light and a clean installation. Hardwired linear LED fixtures can also be excellent, especially when you want a more plug-and-play product.
Should all kitchen lights be the same color temperature?
Yes, as much as possible. Mixed color temperatures make a kitchen feel visually disjointed. A consistent 3000K across recessed, under-cabinet, and decorative fixtures is a safe, flattering choice for many homes.