Get a mid-range kitchen remodel cost breakdown by category, with real-world ranges for cabinets, countertops, appliances, labor, timelines, and smart ways to...
An 8-week kitchen remodel is absolutely doable, but it only stays “8 weeks” when you plan like a project manager, order like a pessimist, and make decisions like you never want to see another sample board again.
I spent years running kitchen and bath projects, and the pattern is consistent: timelines most often slip for two reasons. Materials arrive late, or decisions get made too late. Other things can absolutely blow up a schedule too, including hidden damage, failed inspections, trade availability, and coordination hiccups. This guide gives you a week-by-week schedule you can actually use to coordinate trades, deliveries, and inspections, without living in chaos.
Before you start: what 8 weeks means
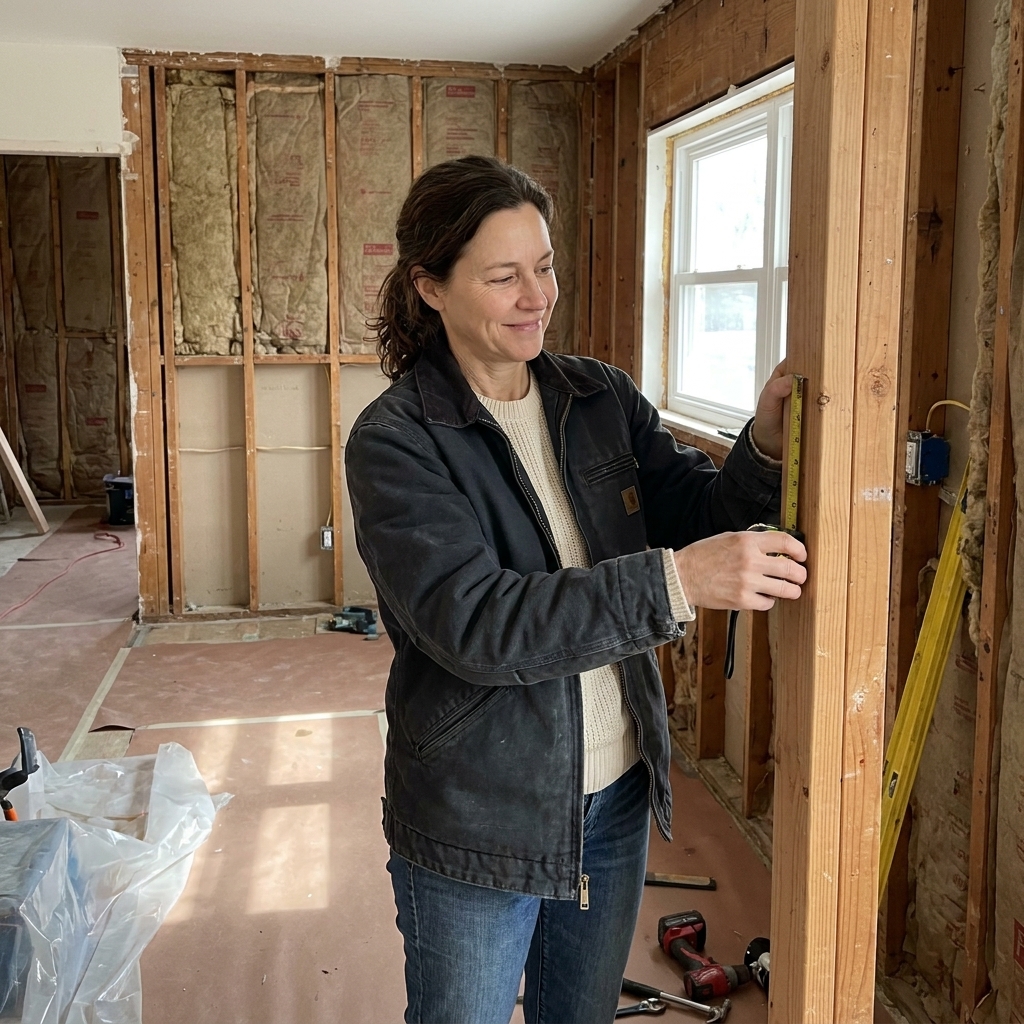
When homeowners say “8-week kitchen remodel,” they usually mean 8 weeks of construction. Your full project has two phases:
- Pre-construction planning (typically 4 to 12+ weeks): design, pricing, ordering, permits, and scheduling.
- Construction (about 6 to 10 weeks): demo through punch list.
This article covers an 8-week construction timeline and tells you what to do ahead of time so you do not lose Week 4 waiting for a backordered sink.
Pre-work you cannot skip
If you want the 8-week schedule to hold, aim to have these locked before demolition starts:
- Final layout and cabinet plan approved (including filler sizes, paneling, and any appliance garages or pullouts).
- All appliances selected with spec sheets sent to your cabinet designer and electrician.
- Plumbing fixtures selected (faucet, sink, disposal, filtered water, pot filler if you insist).
- Countertop material chosen and your fabricator lined up.
- Tile selections made (backsplash and any floor tile if you are replacing floors).
- Lighting plan decided (recessed, pendants, undercabinet, toe-kick, dimmers).
- Permits pulled if required in your area.
- Long-lead materials ordered (more on that below).
- Temporary kitchen set up so you can eat without crying.
My rule: If it has a finish you can see, it should be selected before demo. If it lives in the wall (wires, pipes, venting), it should be planned before permits.

Order timing cheat sheet
Lead times change constantly, and they vary by region, vendor, and season, but these categories are the usual culprits for delays. Order earlier than you think you need to.
- Cabinets: often 6 to 12+ weeks (semi-custom and custom can be longer).
- Appliances: often 2 to 12+ weeks, especially pro-style ranges, panel-ready units, and specialty ventilation.
- Windows and exterior doors (if your kitchen scope includes them): often 6 to 12+ weeks.
- Specialty sinks and faucets: often 1 to 6+ weeks.
- Tile: often 1 to 8+ weeks (imported or handmade can be longer).
- Countertops: stone is typically fast once cabinets are in, but slab selection and fabricator schedules matter.
Pro tip from someone who has chased deliveries: Have everything shipped to one controlled location when possible (your home, your contractor’s shop, or a receiving warehouse). “It will arrive sometime Tuesday” is not a plan.
8-week remodel timeline
This is the typical sequence for a mid-sized full kitchen remodel that includes new cabinets, counters, lighting, and finishes. Your exact order may shift depending on whether you are keeping floors, moving plumbing, doing a high-CFM hood that triggers makeup air requirements, or changing windows.
Week 1: Protect and demo
What happens
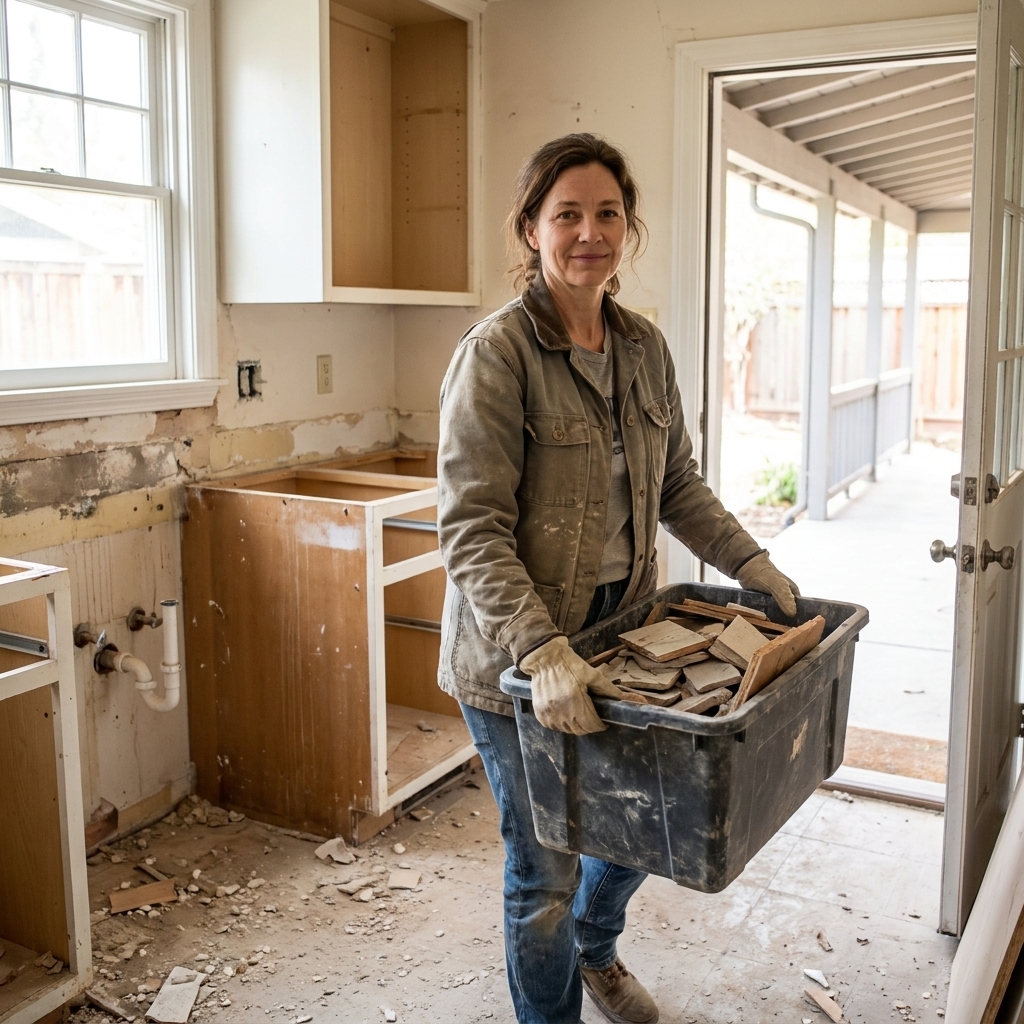
- Protect floors, isolate dust, and set up a debris path.
- Disconnect plumbing and appliances.
- Demolition of cabinets, countertops, and usually drywall in affected areas.
- Initial framing tweaks begin (soffit removal, opening a wall, backing for cabinets, etc.).
Your to-dos
- Confirm the final cabinet layout on the wall with tape lines if needed.
- Walk the space with your contractor and confirm locations for: sink centerline, dishwasher, range, hood, fridge, and island clearances.
- Decide where the “everyday stuff” lives during construction (coffee, medications, pet food).
- Plan kid and pet boundaries. Demo week is not the time for a curious toddler or a loose dog.
Common delays
- Surprise issues behind walls: water damage, knob-and-tube wiring, missing venting, or creative DIY.
- Changing the plan mid-demo.
Week 2: Rough trades
What happens
- Plumber relocates supply and drain lines for sink, dishwasher, fridge water, pot filler if included.
- Electrician runs new circuits, outlets, island power, dedicated appliance circuits, and lighting rough-in.
- HVAC adjustments if you are changing ducting or adding makeup air for a larger hood.
- Blocking added for cabinets, hood brackets, and heavy items.
Your to-dos
- Confirm lighting placement in person: recessed can spacing, pendants centered, undercabinet power locations.
- Confirm outlet plan, including inside cabinets for microwave drawers, charging drawers, or appliance garages.
- Confirm hood and range specs are on site. Venting is not the time for “I think it’s 36 inches.”
Inspection to expect
- Rough electrical and rough plumbing inspection (varies by jurisdiction).
Ventilation note: If you are upgrading to a higher-CFM hood, ask early whether your local code requires makeup air and whether that triggers extra permitting or inspection steps. It is easier to plan now than to “discover” it after the cabinets are up.

Week 3: Drywall and prime
What happens
- Insulation installed where required.
- Drywall hung, taped, mudded, sanded.
- Primer coat applied (sometimes paint too, depending on your contractor’s sequencing).
Your to-dos
- Pick your wall paint color now, not later. Paint chips lie under jobsite lighting, so test a sample on the wall.
- Confirm any cabinet crown or ceiling conditions. If the ceiling is out of level, this is when your installer plans the strategy.
Common delays
- Drywall finishing takes time to dry properly. Rushing it shows forever under undercabinet lighting.

Week 4: Floors and cabinets
What happens
- If you are replacing flooring, it is often installed now (or immediately after cabinets, depending on material and scope).
- Cabinet delivery is checked for damage and correct sizes.
- Cabinet installation begins: uppers, lowers, panels, and islands.
Your to-dos
- Be available the day cabinets arrive. If there is damage, you want it documented and reported immediately.
- Confirm cabinet hardware placement (standardized heights keep it clean and intentional).
- Confirm filler and panel details before anything is permanently fastened.
Elena’s cabinet-nerd note
If you love clever storage, this is the week to verify you are actually getting it: pullout trash, tray dividers, spice pullouts, and rollout shelves should be installed and operating smoothly before the installer leaves for the day.

Week 5: Trim and template
What happens
- Remaining cabinet install and alignment.
- Panels, crown, light rail, and other trim details.
- Countertop fabricator measures and templates once cabinets are secured.
Your to-dos
- Finalize sink reveal decision for undermount sinks (negative, flush, or positive reveal) if your fabricator offers it.
- Confirm cooktop and range cutout specs and whether your stone requires reinforcement.
- If you are using stone slabs, do your slab layout approval promptly.
Common delays
- Waiting to choose the exact sink model or faucet can stall templating.

Week 6: Counters and set
What happens
- Countertops installed.
- Undermount sink is typically set or mounted by the fabricator during install (or immediately after, depending on their process).
- Plumber returns to connect sink, faucet, disposal, dishwasher, and any filtration.
- Electrical trim begins: outlets, switches, dimmers, recessed trims.
- Appliance installation may start if floors and clearances are ready.
Your to-dos
- Inspect countertops immediately for chips, seams, overhangs, and polish consistency.
- Confirm GFCI locations and test placement for undercabinet lighting transformers or drivers.
- Do not schedule a dinner party yet. This week is exciting and messy.
Inspection to expect
- Electrical final and plumbing final might be scheduled around this time, but in many areas they land closer to the end (often Week 7 or Week 8) once everything is fully installed and functional.

Week 7: Tile and test
What happens
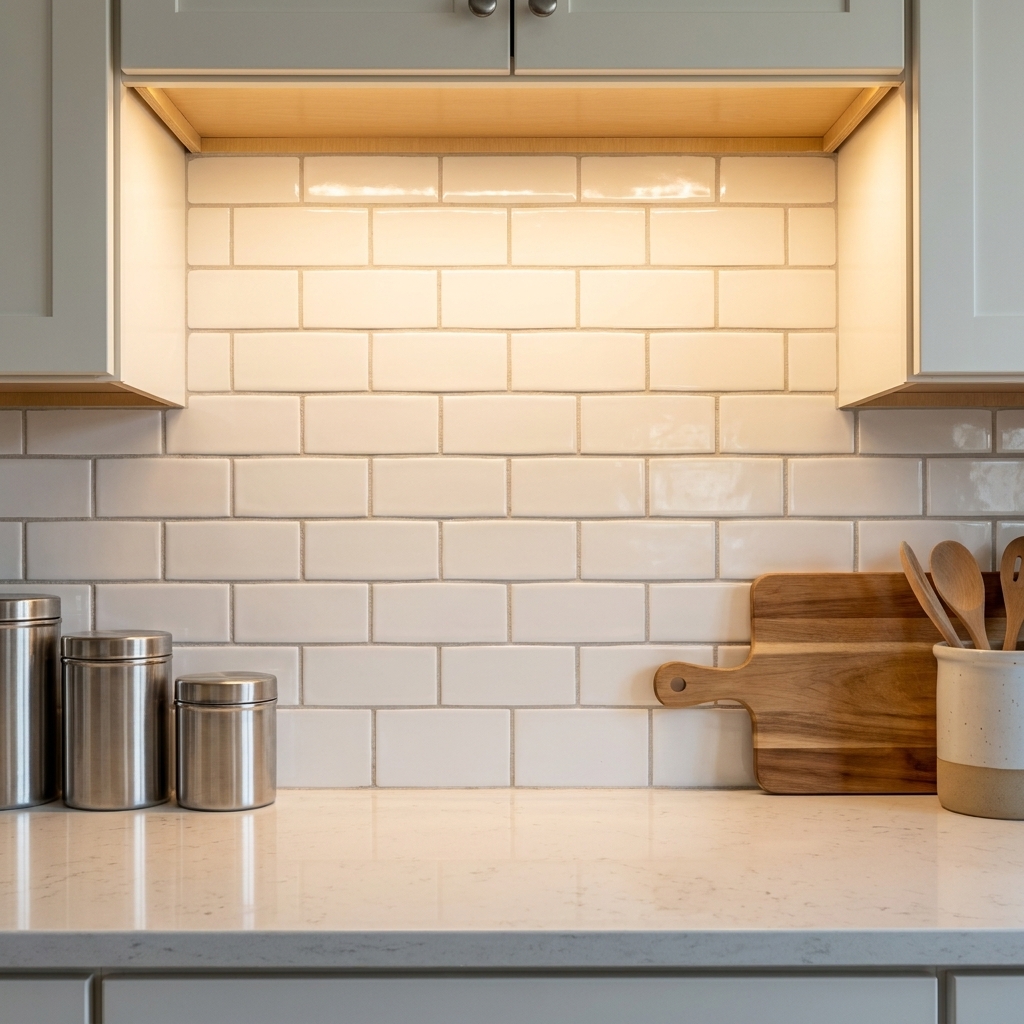
- Backsplash tile installed and grouted.
- Final paint coats and touch-ups.
- Appliances fully set, leveled, and tested.
- Hood installed and vent connection verified.
Sequencing note: For a standard tile backsplash, this “counters first, tile second” order is typical. If you are doing a full-height slab backsplash, quartz returns, or anything that gets fabricated, your countertop team may handle it as part of the countertop install instead.
Your to-dos
- Confirm grout color in the actual lighting. A “warm white” grout can read beige under warm LEDs.
- Decide on caulk versus grout at plane changes (corners and countertop to tile). In most kitchens, color-matched caulk typically performs better long term, but follow your installer’s and manufacturer’s recommendations for your specific materials.
- Register warranties for major appliances.
Common delays
- Tile work is craftsmanship. Rushing is how you end up staring at crooked lines for the next 10 years.

Week 8: Punch list and clean
What happens
- Cabinet hardware installed if not already done.
- Final electrical and plumbing details completed.
- Toe kicks, end panels, and last trim pieces wrapped up.
- Punch list walkthrough: paint touch-ups, door alignment, drawer adjustments.
- Final inspections if required.
- Deep clean and reveal.
Your to-dos
- Walk the space with a notebook. Open every door and drawer. Turn on every light. Run water and check for leaks.
- Confirm you received any extra paint, tile, and countertop care instructions.
- Ask for the “how to shut it off” tour: water shutoffs, GFCI resets, hood filter removal.

Scheduling checklist
Here is the simple structure I used on real projects. Assign names and dates, then confirm each trade at least a week ahead.
- Week 1: Demo crew, dumpster drop, debris haul schedule, framing carpenter (if needed)
- Week 2: Plumber rough, electrician rough, HVAC rough, rough inspections
- Week 3: Insulation, drywall hang, drywall finish, prime
- Week 4: Flooring (if applicable), cabinet delivery check-in, cabinet install begins
- Week 5: Cabinet install finishes, trim and panels, countertop template
- Week 6: Countertops install, plumbing connections, electrical trim, appliance setting starts
- Week 7: Backsplash tile, paint touch-ups, appliance commissioning
- Week 8: Hardware, punch list, final inspections, deep clean
Build in buffer: If you have one bathroom and one kitchen (and a life), schedule a buffer day every week. Even a half-day cushion is the difference between “minor hiccup” and “why is my sink in the bathtub.”
Inspections to plan for
Inspection requirements vary a lot by city and county, but these are the usual checkpoints:
- Rough electrical: after wiring is run, before insulation and drywall.
- Rough plumbing: after new supply and drain lines are installed, before drywall.
- Rough mechanical: if ductwork or hood venting is being modified, or makeup air is added.
- Final electrical: after devices and fixtures are installed and functional.
- Final plumbing: after sink, faucet, dishwasher, and disposal are connected and tested.
- Final building: if structural changes were made.
Timeline tip: Ask your contractor who schedules inspections and how much notice your jurisdiction requires. Some areas can inspect next day. Others book out a week or more.
How to stay on track
1) Decide early, then stop shopping
Indecision is the sneakiest schedule killer. Pick your finishes, approve them, and move on. You can always add personality later with stools, art, and runners.
2) Confirm deliveries constantly
One missing filler strip can delay counters. One backordered dishwasher can delay the final plumbing inspection. Confirm ship dates, receive dates, and condition on arrival.
3) Keep a jobsite bin
Put all spec sheets, appliance cut sheets, and warranty docs in one folder or bin. When the electrician asks, “What’s the trim kit model?” you want to answer in 30 seconds, not 30 minutes.
4) Plan for dust and downtime
Even with plastic and negative air, some dust travels. Use zippered doorways, cover returns, and change HVAC filters more often during construction. Also assume a few short utility interruptions, especially water shutoffs during plumbing work and temporary power-offs during electrical tie-ins.
Common timeline changes
- If you are moving plumbing: add 2 to 5 days, plus potential inspection scheduling time.
- If you are removing a wall: add time for engineering, permits, inspections, and sometimes a longer framing phase.
- If you are keeping hardwood floors: you may need an extra protection strategy, and refinishing can add a week.
- If you are waiting on custom cabinets: the “8 weeks” starts when they arrive, not when you sign the contract.
- If you add windows or doors: you may add weeks in pre-construction and a few days in construction.
FAQ
Can a kitchen remodel be done in 8 weeks?
Yes, if materials are on site (or arriving on time), the scope is defined, and the contractor has a tight trade schedule. If you are doing custom cabinets, major structural work, or extensive layout changes, 8 weeks of construction may be optimistic.
What should be ordered before demo?
At minimum: cabinets, appliances (or confirmed availability), sink and faucet, and any tile with long lead times. If you are changing lighting, have fixtures selected too.
When do countertops get measured?
After cabinets are installed and secured. Templating typically happens in Week 5, with installation often Week 6, depending on the fabricator’s schedule.
What causes the most delays?
Backordered materials and late decisions are the big ones, especially appliances, sinks, and anything that affects rough-in locations. Hidden conditions, inspection timing, and trade scheduling can also shift the calendar quickly.
One last sanity tip
Keep one box labeled Kitchen First Night with paper towels, dish soap, trash bags, a sponge, a couple of plates, coffee essentials, and a small toolkit. When the kitchen comes back online, you will be tired, dusty, and very ready to feel like a human again.
If you have remodel war stories or timeline saves, share them in the comments. The best advice is usually the practical stuff people only learn the hard way.