Actionable small-bath layout moves from a former kitchen and bath designer: better door swings, smarter shower footprints, compact vanities, ventilation and ...
Universal design is one of those ideas that sounds “clinical” until you see it done well. Then it just looks like a gorgeous bathroom that happens to be easier to move through, easier to clean, and a whole lot safer when you’re half-awake and stepping onto a wet floor.
I’m going to walk you through the layout moves I lean on most: the clearances that actually matter, how to pull off a zero-entry shower, and the best ways to add support without turning your space into a hospital set.
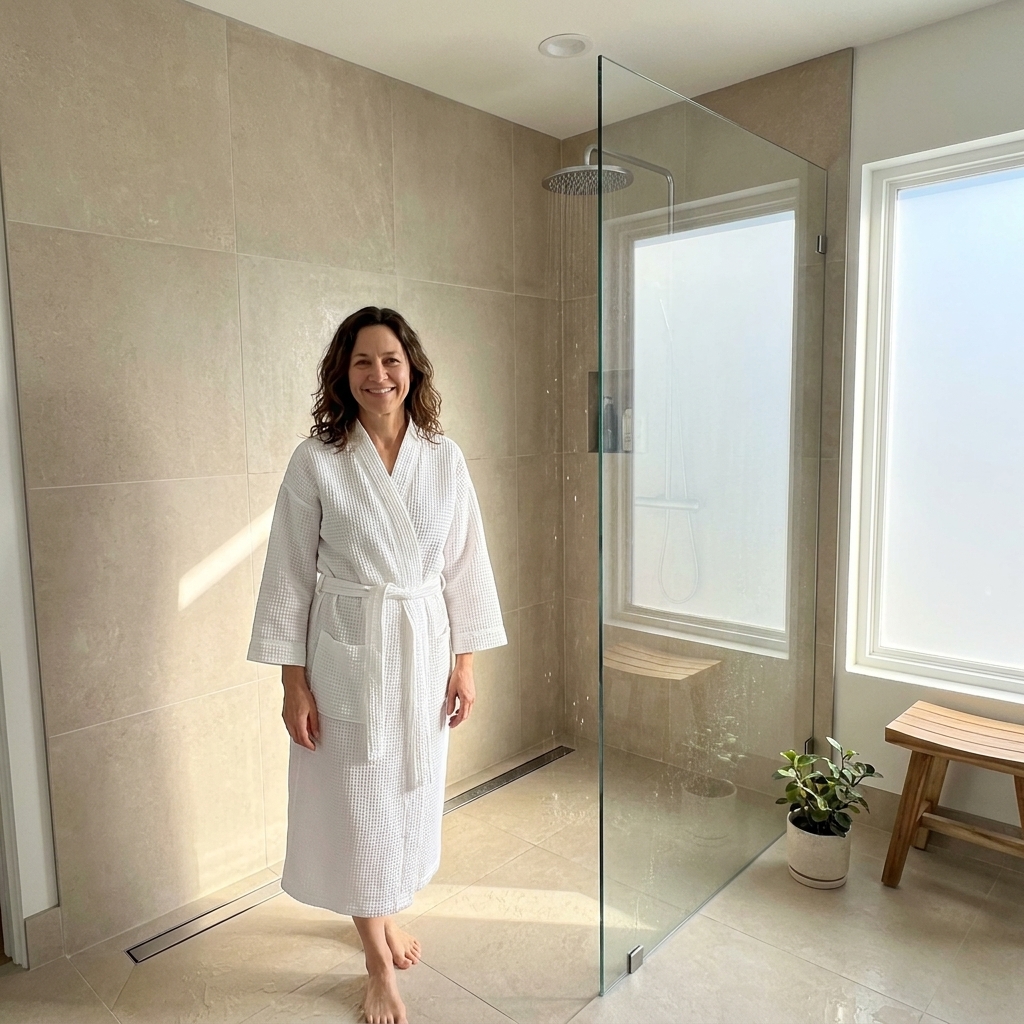
Universal design vs ADA
First, a quick reality check: most single-family private homes are not legally required to meet full ADA bathroom requirements. In the U.S., ADA primarily applies to places of public accommodation and government facilities, plus certain public-facing or hospitality-adjacent spaces (think leasing offices, common areas, and some lodging contexts).
Housing accessibility is more often governed by the Fair Housing Act (FHA) design requirements for covered multifamily housing, plus building codes and accessibility standards adopted locally (often based on ICC A117.1).
That said, ADA guidelines are an excellent design tool for residential remodels, because they’re based on real body mechanics: wheelchairs, walkers, limited grip strength, balance changes, and caregivers helping someone safely.
In practice, many homeowners aim for one of these:
- ADA-inspired universal design: You borrow the clearances and safety strategies that improve day-to-day comfort, while tailoring sizes to your room and style.
- Fully accessible / aging-in-place: You plan for a future wheelchair user, or for caregiving, and you prioritize turning space and transfer space.
- Full ADA compliance: Usually for commercial work, some rentals, or projects with specific program requirements.
If your goal is “beautiful and accessible,” you’re typically in that first or second bucket.
Key dimensions
These are common targets that help you shop and plan. Always confirm with your designer, contractor, and local code.
- Door clear opening: 32 inches minimum is a common accessibility benchmark. A 36-inch door often yields roughly 33 to 34 inches of clear opening, depending on hinges, stops, and hardware.
- Turning space: 60-inch diameter is a standard wheelchair turning circle reference point. Many homes cannot hit it everywhere, but it’s useful as a planning compass.
- Comfort-height toilet: typically 17 to 19 inches from floor to top of seat. When you shop, note that some brands list bowl or rim height separately from seat height.
- Vanity height: typically 34 to 36 inches to the top of the counter in many modern homes.
- Toilet clearance (good planning target): 16 to 18 inches from toilet centerline to a side wall or adjacent fixture. If you can, keep at least one side more open for easier transfers and future grab bar placement.
- Space in front of fixtures: more is better, but try to avoid “pinch points” where you have to twist sideways to pass.
Clearances that matter
I’ve watched plenty of remodel budgets get spent on pretty tile while the room still feels tight and stressful. Clearance is what makes a bathroom feel easy. Here are the big ones to plan early, before you fall in love with fixtures that don’t fit.
Doorways
If you’re renovating down to framing, aim for a 36-inch door where you can. It’s more comfortable for everyone, and it’s a game-changer for walkers, laundry baskets, and future resale. Just know the clear opening varies by hardware, hinge type, and stops, so think in ranges, not absolutes.
- Good: About a 32-inch clear opening (common accessibility benchmark).
- Better: A 36-inch door where space allows.
Pocket doors and out-swing doors can be lifesavers in tight baths, because they keep the swing from stealing your only usable floor area. Pocket doors require good hardware and thoughtful blocking in the wall. Out-swing doors need a safe landing zone in the hall.
Clear floor space
Accessibility guidance often references a 60-inch turning diameter for a wheelchair. Not every home bath can do that, and you do not need to force it at the expense of everything else. But you can design with the same logic:
- Keep pathways predictable: Avoid jogs around a vanity corner or toilet that protrudes into the walkway.
- Leave open landing zones: In front of the vanity and at the shower entry.
- Choose wall-hung or furniture-style vanities carefully: They can help visually, but the plumbing placement matters if you ever need knee clearance.
Toilet area
Even if nobody in your home uses mobility equipment today, giving the toilet breathing room makes it easier to clean and more comfortable to use. A practical target is 16 to 18 inches from the toilet centerline to the nearest side wall or fixture. If you have room, leave one side a little more generous so future grab bars can land where they should.
Vanity approach
A common “universal design win” is leaving enough room for two people to be in the vanity zone without bumping. That might be a partner brushing teeth while someone’s doing skincare, or a caregiver helping with grooming.
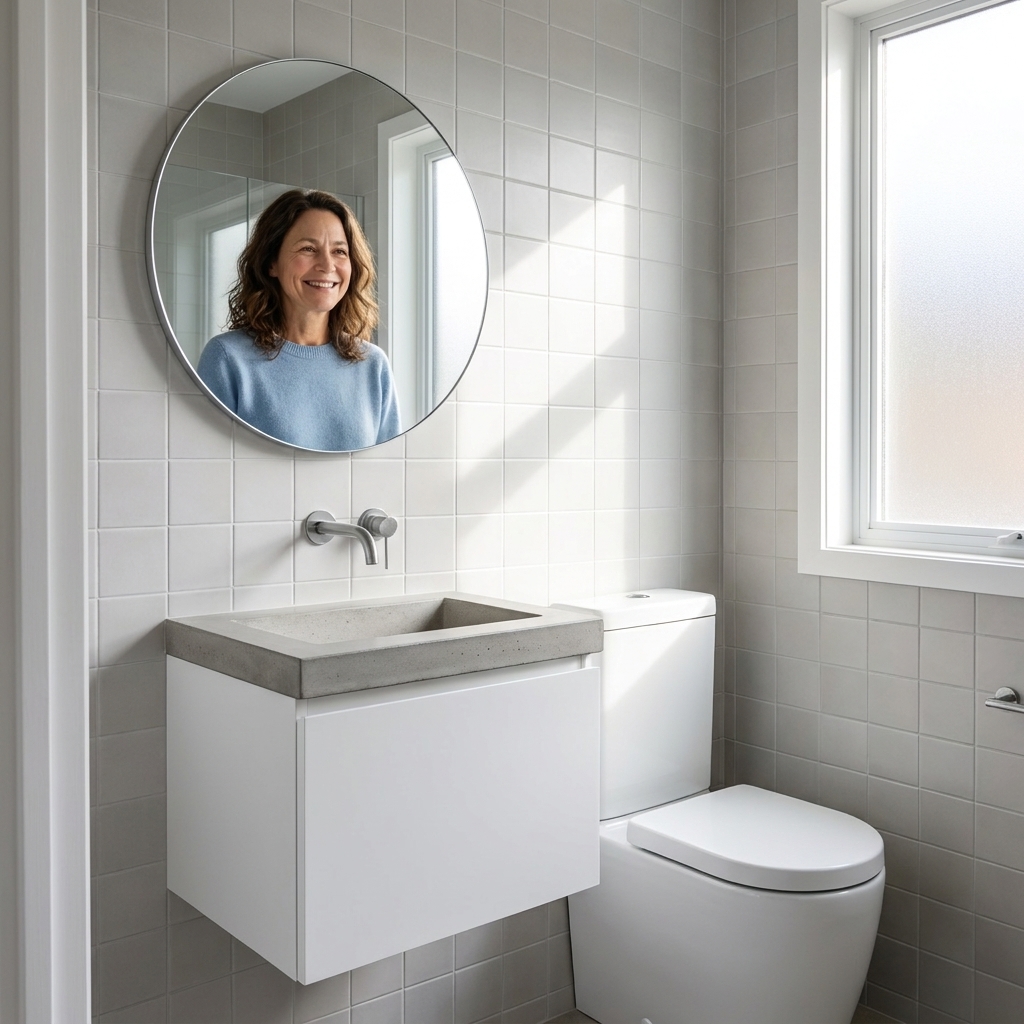
Tip from the field: when space is tight, a wall-mounted faucet paired with a slightly shallower counter can reduce reach and keep the sink deck clear. It also looks sleek.
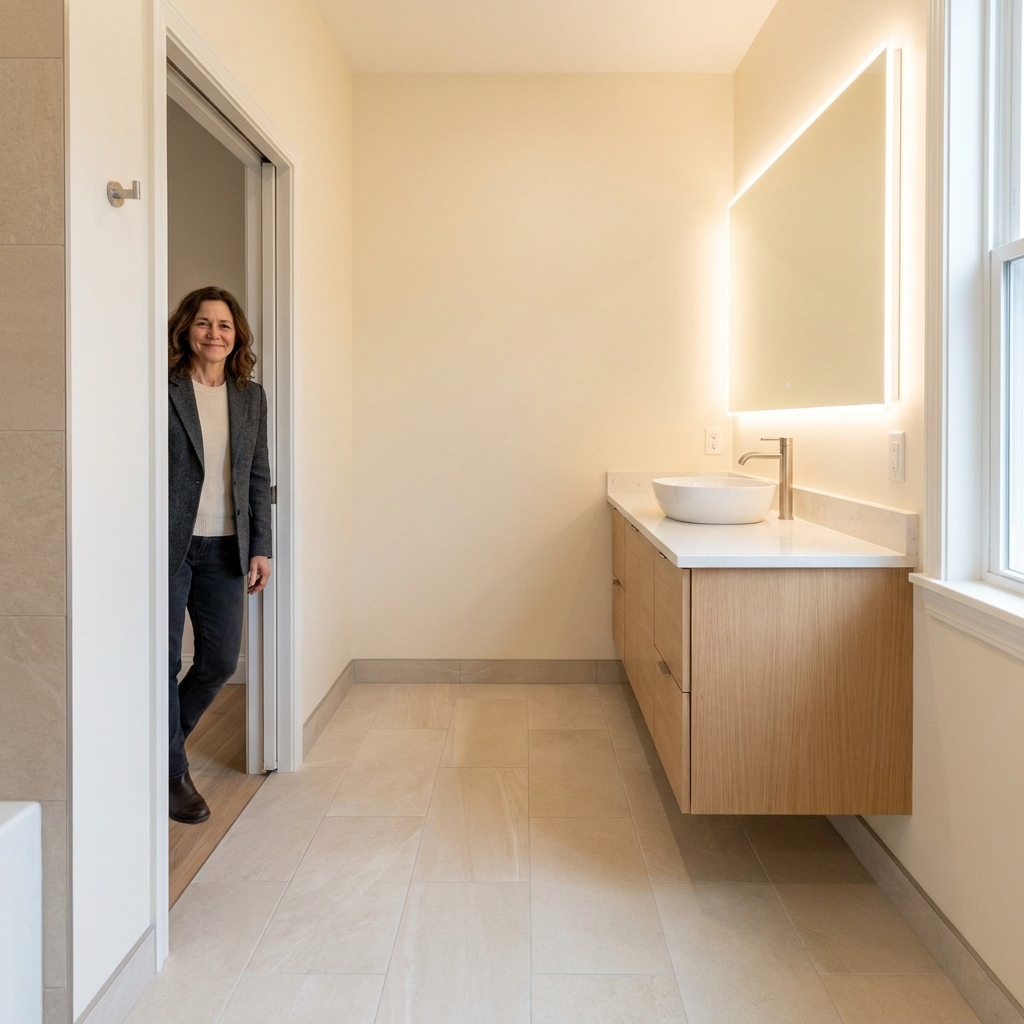
Zero-entry showers
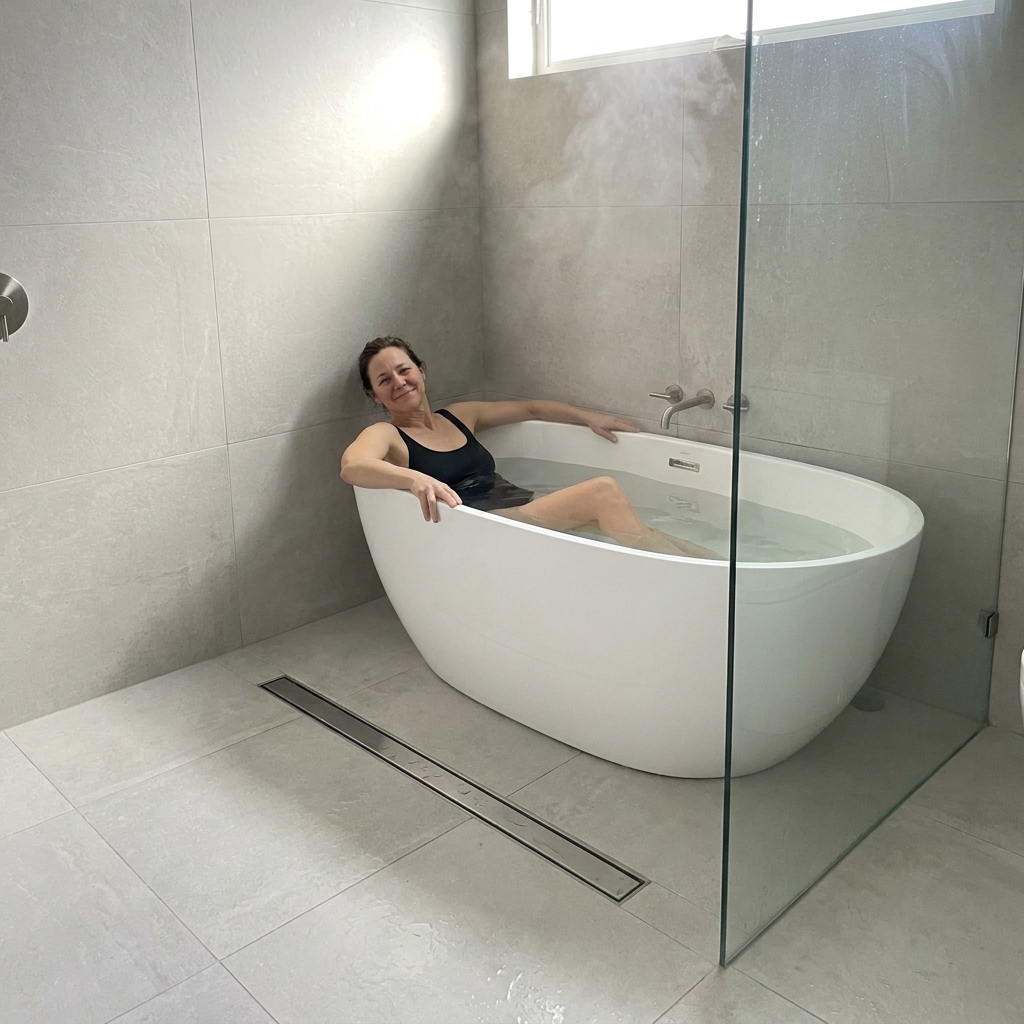
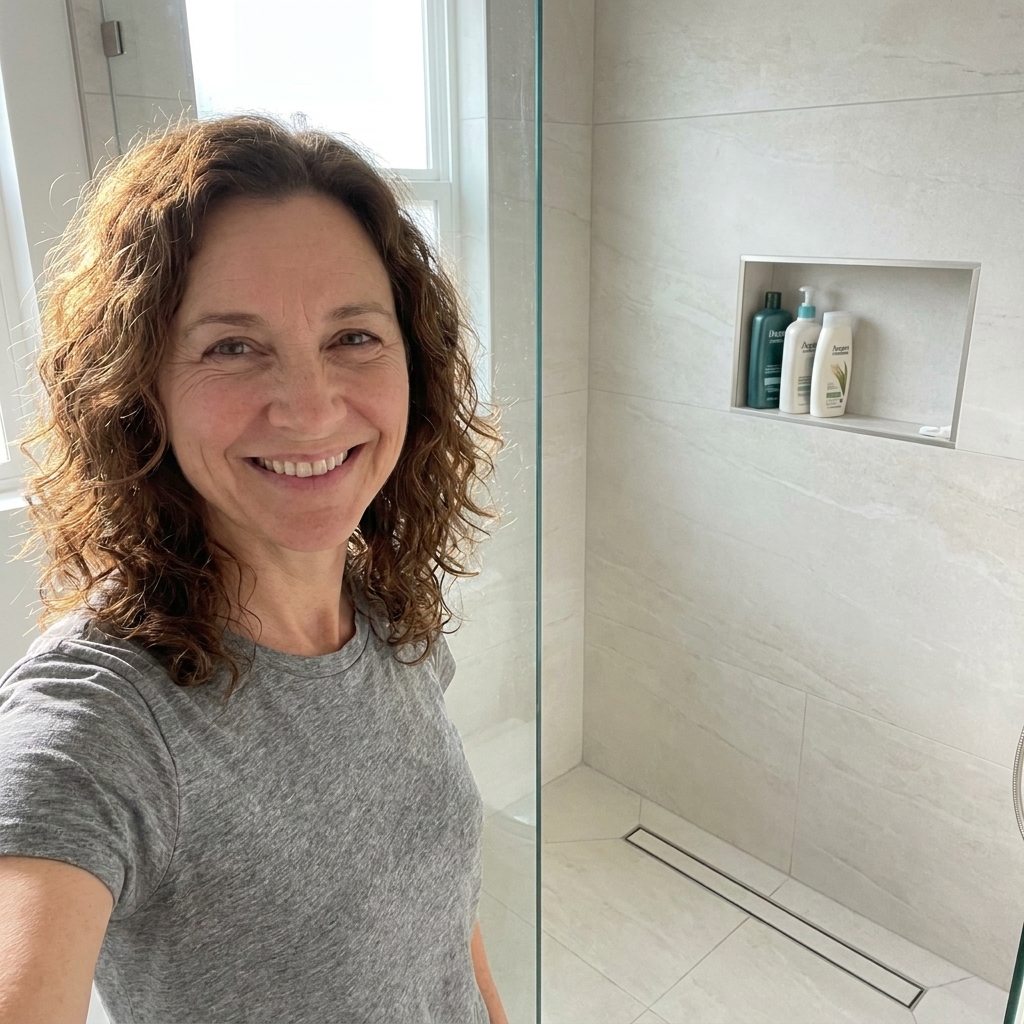
If you want one universal design feature that instantly modernizes a bathroom, this is it. A curbless, zero-entry shower looks custom because it is. It also reduces trip hazards and makes the space usable with a shower chair or mobility aid.
Curbless shower basics
- Floor structure: True zero-entry usually requires recessing the shower pan area or building up the main floor. This is easiest during a full gut.
- Water containment: You can go fully open, but I typically recommend at least a fixed glass panel or a partial enclosure to control splash.
- Slope and waterproofing: The floor must slope correctly to the drain, and the entire wet area should be properly waterproofed.
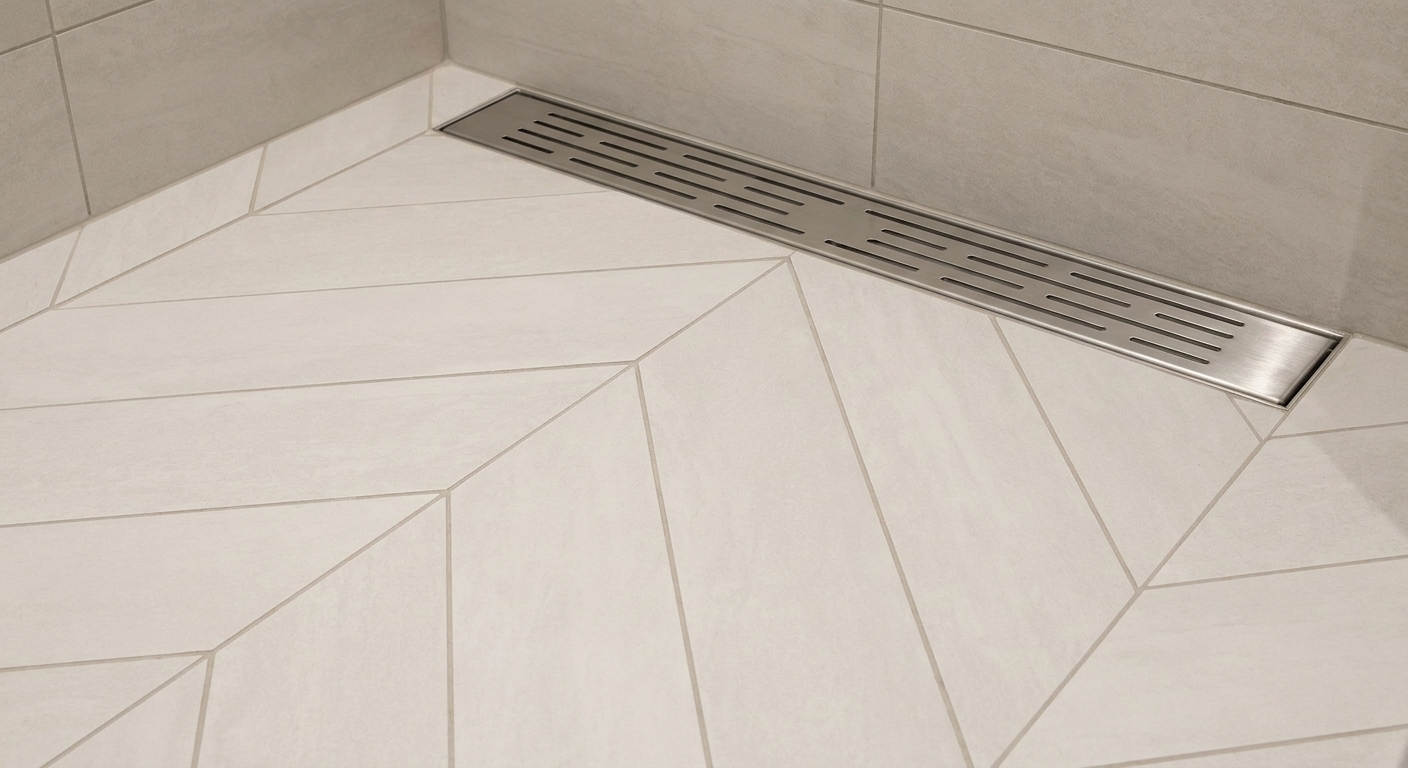
Linear drains
Linear drains let you pitch the shower floor in one direction, which can be easier for tile layout and more comfortable underfoot. They also pair beautifully with large-format tile. Place them thoughtfully:
- At the back wall: Keeps the entry area drier.
- At the threshold: Can act like a subtle water stop, but demands excellent waterproofing and execution.
Shower size
For accessibility-minded planning, more space is almost always better, especially if a shower chair or helper might be in the picture. When you can, prioritize shower footprint over a giant tub that rarely gets used.
If you want a simple planning target: around 36 by 60 inches is a common “feels roomy” baseline in residential work when the footprint allows. Bigger is better. If you’re stuck with a compact shower, try not to go smaller than the tiny corner stalls that force you to shuffle and bump elbows.
Controls and spray
This is one of those unglamorous details that makes a bathroom feel instantly more livable. If you can, choose a pressure-balance or thermostatic valve for anti-scald protection. Then place the controls where you can reach them from the entry so you can turn water on without committing your whole body to the cold blast.
My universal-design favorite is a handheld shower on a slide bar. It works for seated showering, rinsing hair, cleaning the shower, bathing kids, and bathing pets. That is a lot of value for one upgrade.
Built-in bench
Benches are not just for accessibility. They’re for shaving legs, setting products down, and taking the drama out of a sprained ankle day.
- Choose a comfortable depth so it’s actually usable.
- Use a contrasting edge detail (stone slab, bullnose, or a small trim) if you want better visibility without shouting “medical.”
- Don’t skip waterproofing: Benches are leak-prone when built poorly.
Door strategy
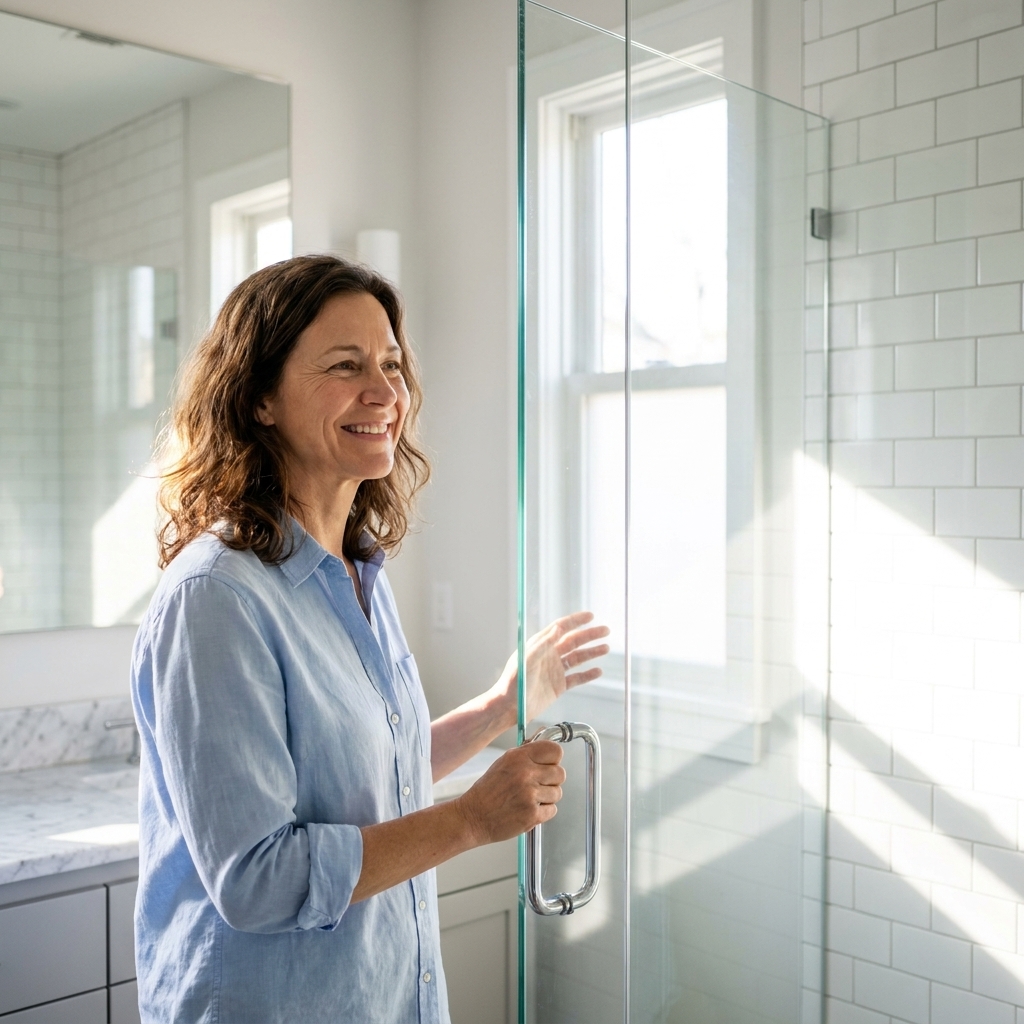
If you hate wrestling with heavy glass doors now, you’ll hate it more later. A fixed panel with a wider opening is often the sweet spot: clean look, less water escape than fully open, and fewer moving parts.
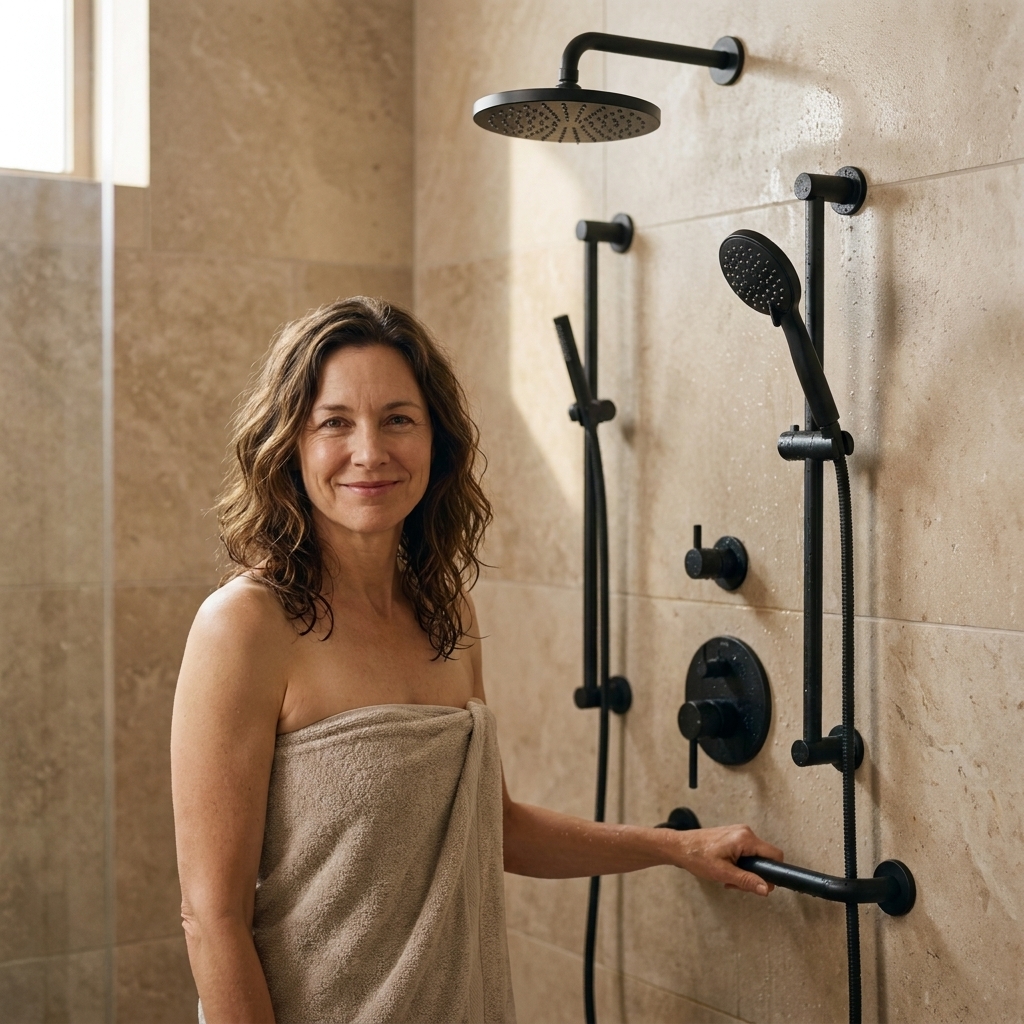
Grab bars that blend in
Grab bars have a branding problem. In real life, they prevent falls, support sore joints, and help someone stay independent. The goal is to incorporate them so cleanly that they read as intentional hardware.
Match the finishes
Today you can get grab bars in matte black, champagne bronze, brushed nickel, polished chrome, and even some textured options. When the finish matches your faucets, towel hooks, and shower door hardware, the whole bathroom feels cohesive.
“Hidden” grab bars I actually like
- Grab bar that doubles as a towel bar: Great near a shower entry or tub, but confirm it’s rated for support.
- Corner shelf grab bars: A sleek shelf unit that’s also a secure handhold can look like a spa accessory.
- Stylish straight bars: Simple, minimal, and honest is sometimes the most high-end look.
Placement basics
I’m not going to pretend there is one perfect layout for every body, but there are common targets designers and installers use as a starting point. Follow the product instructions and confirm placement with your installer, especially if you’re anchoring into blocking and tile.
- Inside the shower: plan for at least one easy-to-reach horizontal bar on a main wall, plus a second handhold where you step in.
- At the toilet: leave wall space beside the toilet for a future side bar, especially on the more open side.
- Height: many installs land around 33 to 36 inches above the finished floor, then adjust based on the user.
Install blocking now
This is my favorite “future-proof” move because it’s cheap during framing and expensive later. Ask your contractor to add solid wood blocking in the walls where grab bars might go:
- Inside the shower on the control wall and back wall
- Near the toilet on the side wall
- Near the entry if you have any step or transition (ideally you won’t)
Vanities and sinks
A universal design vanity is not automatically a wheelchair vanity. It’s a vanity that feels good to use for a tall adult, a short teen, someone with arthritis, and someone who might need to sit.
Heights that work
Typical vanity heights have crept up over the years, and many people love that. In a lot of remodels, 34 to 36 inches to the top of the counter is the sweet spot. If you’re planning for seated use, consider a portion of the vanity lower or a dedicated knee space under the sink.
Faucet and hardware choices
- Lever handles: Easier than knobs when hands are wet or sore.
- Single-handle faucets: Simple and intuitive.
- Pulls over knobs: On vanity doors and drawers, pulls are easier to grab.
My organized-designer hot take
If you’ve ever been on hands and knees digging under a sink cabinet, you already understand universal design. Deep drawers with dividers bring everything up into your reach. Consider:
- Full-extension drawer slides
- U-shaped drawers around plumbing (when possible)
- A top “everyday” drawer for toothbrushes, meds, skincare, and hair tools

Flooring and transitions
Bathroom safety often comes down to a slick surface plus a moment of bad luck. You can design a bathroom to be safer without making it feel like a locker room.
Shop for traction
Look for flooring and shower tile with better traction, especially in wet zones. A practical metric to check is the DCOF (Dynamic Coefficient of Friction). Many pros look for 0.42 or higher for level interior wet areas when that information is available from the manufacturer, but treat it as a planning guide, not a universal rule. Check local requirements and manufacturer recommendations, too. Also keep in mind: high-texture tiles can add grip, but they can be harder to clean. There’s a balance.
Keep transitions flat
Universal design loves a flat transition. If you’re replacing flooring, aim for flush transitions at the bathroom door and a true zero-entry shower. Less tripping, easier rolling, easier cleaning.
Also take a hard look at the little stuff: tall saddles and chunky thresholds at the bathroom entry are a common, annoying trip point. Keep transitions low and smooth whenever you can.
Radiant heat
Warm floors reduce that tense-up feeling stepping out of the shower. For some people, that comfort also means steadier footing. It’s a splurge, and it does require planning for electrical capacity and controls, but it’s one I’ve rarely seen regretted.
Lighting
Universal design is not only about wheelchairs and grab bars. It’s also about seeing clearly.
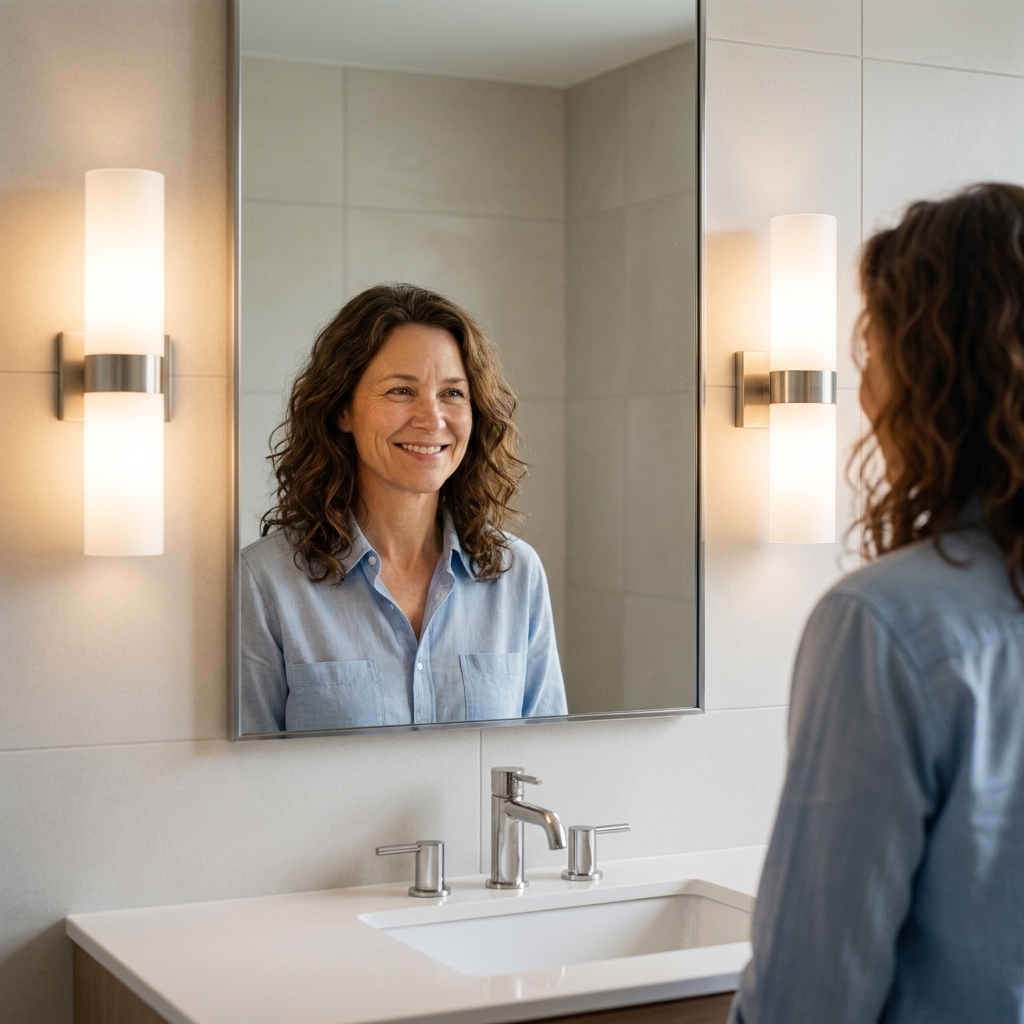
- Layer your lighting: recessed or ceiling ambient, plus task lighting at the mirror, plus a shower-rated fixture if needed.
- Prioritize face lighting: Sconces at the sides of the mirror reduce shadows more than a single light above.
- Add night lighting: A low-level toe-kick light at the vanity or a motion-sensor pathway light is fantastic for midnight bathroom trips.
Ventilation
A bathroom that’s easier to breathe in is a bathroom that’s easier to live in. Good ventilation protects finishes, reduces mold risk, and helps mirrors clear faster.
- Use a quality exhaust fan sized for the room and ducted to the exterior, not into an attic.
- Choose smarter controls: a timer switch or humidity-sensing control keeps the fan running long enough to actually do its job.
- Placement matters: Put the fan where steam happens, usually near the shower, and avoid burying it behind a door or soffit.
Electrical and small upgrades
A few quiet choices make the room easier for everyone, without changing the look much.
- GFCI protection: Make sure receptacles at the vanity and near water sources are properly GFCI protected, as required by code.
- Outlet convenience: If you are adjusting the vanity, think through where hair tools, toothbrush chargers, and bidet seats will plug in.
- Bidet seat add-on: For a lot of people, a bidet seat is an accessibility upgrade disguised as a comfort upgrade.
Layouts that work
Every bathroom footprint is different, but these are a few layout approaches that consistently deliver both style and access.
1) Straight shot
When you can open the door and walk straight to the vanity with the shower and toilet off to the side, the room feels bigger and calmer. This plan is also easier for mobility aids because there’s a clear primary pathway.
2) Wet room-lite
A full wet room has the entire bathroom floor waterproofed and sloped. A wet room-lite approach is more common in residential: a curbless shower with a glass panel, with careful detailing to keep water contained. The look is luxe, and the accessibility is excellent.
3) Future-ready
If you do nothing else: widen what you can, do lever hardware, choose a curbless shower if possible, and add blocking for future grab bars. You can keep the space visually minimal now and still be ready later.
Mistakes to avoid
- Skipping planning: Clearances cannot be patched in later with prettier tile.
- Glass that swings into the path: A door that blocks your only clear floor area is an everyday annoyance.
- Controls placed out of reach: Put shower controls where you can reach them from the entry and where a seated user can access them.
- Pretty, slippery tile: There are plenty of attractive options with better traction. Check DCOF data when available, and confirm what’s appropriate for your installation and local requirements.
- Assuming code minimum equals comfortable: Minimums keep you legal. Comfort keeps you happy.
Quick checklist
- Wider door and clear opening where possible
- Curbless or low-threshold shower plan confirmed with framing and drain details
- Shower sized for a chair and a helper if aging-in-place is the goal (around 36 by 60 inches when possible)
- Pressure-balance or thermostatic valve for anti-scald protection
- Handheld shower on a slide bar
- Blocking in walls for future grab bars at shower and toilet
- Comfort-height toilet (typically 17 to 19 inches to the top of the seat, and verify whether specs list rim height separately)
- Lever hardware and easy-grip cabinet pulls
- Drawer-forward vanity storage
- Slip-resistant flooring and flat transitions (check DCOF when available and confirm local requirements)
- Layered lighting plus night pathway lighting
- Vent fan on a timer or humidity sensor
If you’re working with a pro, ask them to talk you through the why behind each choice. The best universal design does not feel like a list of rules. It feels like a bathroom that simply works.
FAQ
Can I make my bathroom ADA-compliant without making it look medical?
Yes. The biggest visual upgrades are curbless showers, coordinated grab bar finishes, and clean-lined accessories. When safety features match the room’s overall style, they read as intentional design.
Is a curbless shower always possible?
Not always. It depends on floor framing, drain location, and how much you are willing to open up. In some remodels, a low-threshold shower pan is the practical compromise that still improves access.
What’s the smartest universal design upgrade on a budget?
Add wall blocking for grab bars during any gut remodel, choose lever hardware, and improve lighting. If you can add one more, a handheld shower on a slide bar is a high-impact daily-use upgrade.