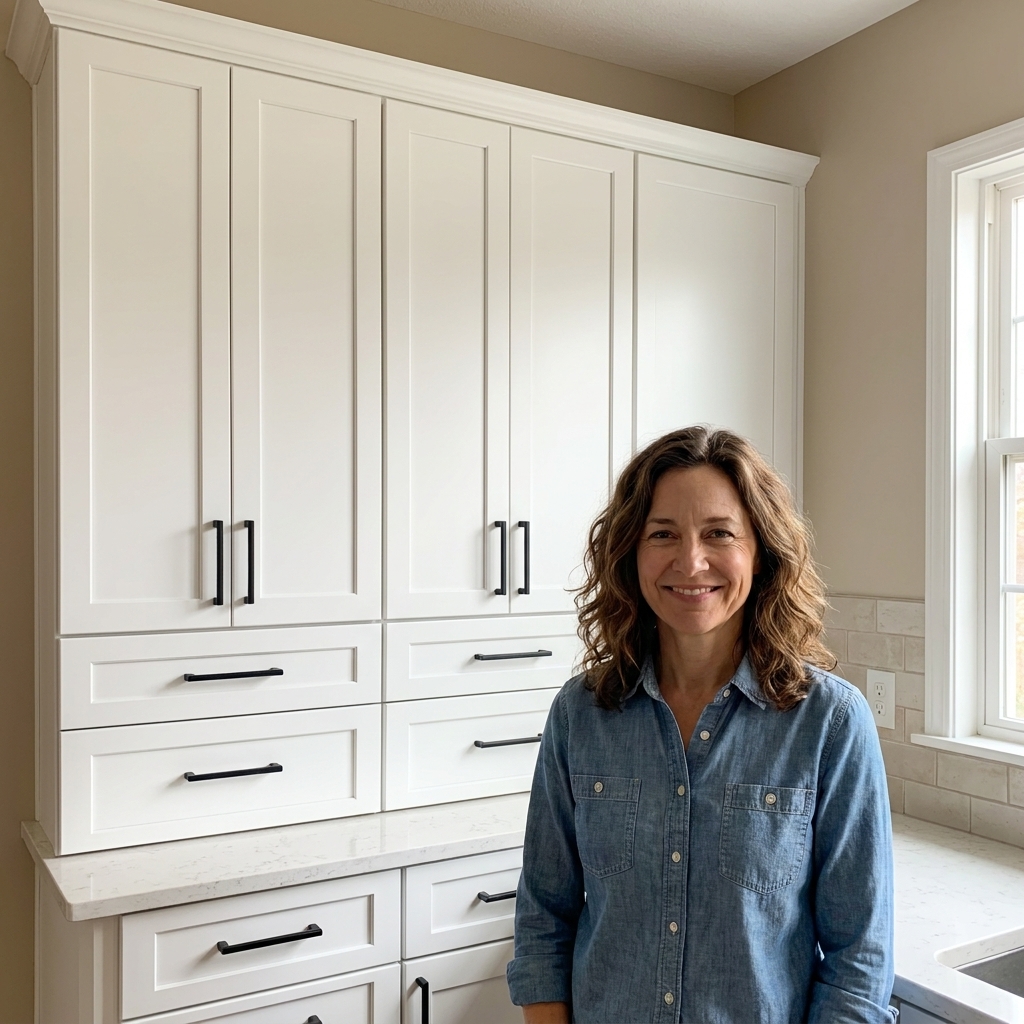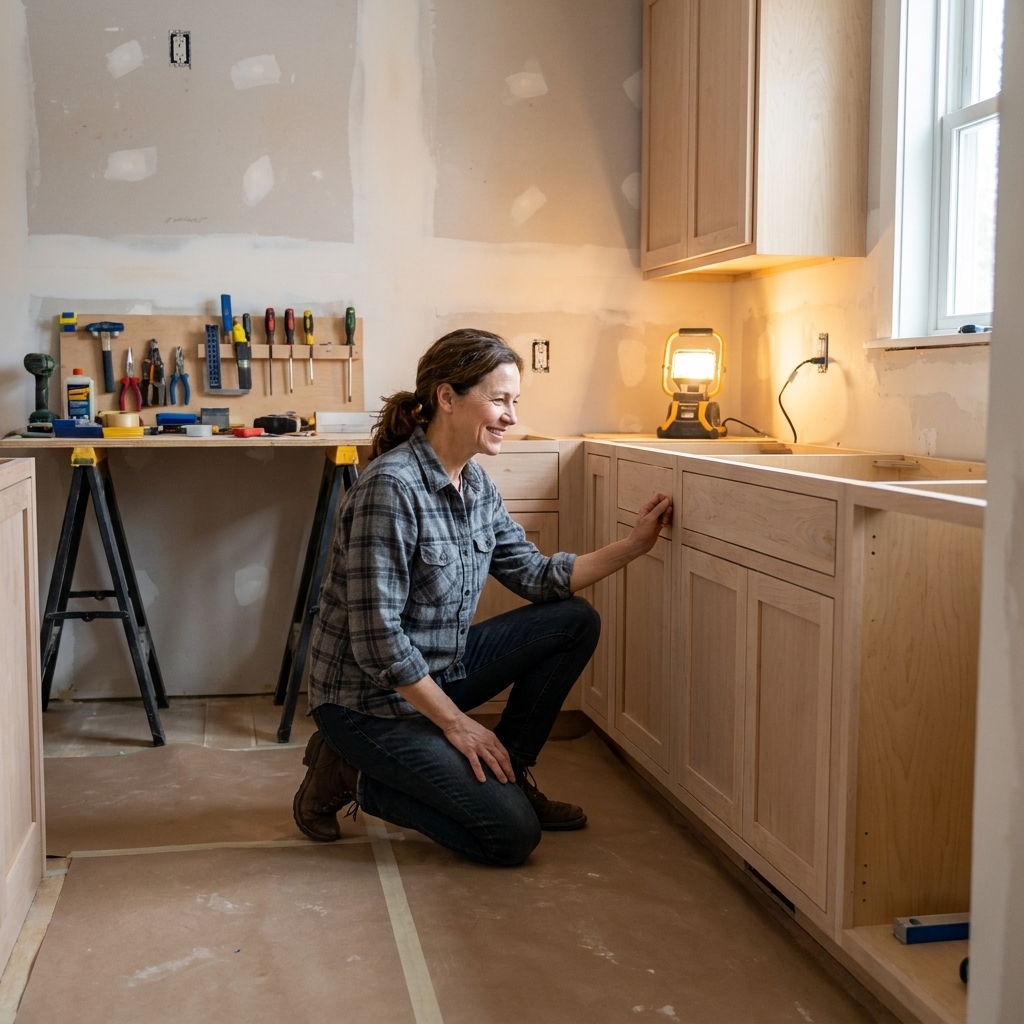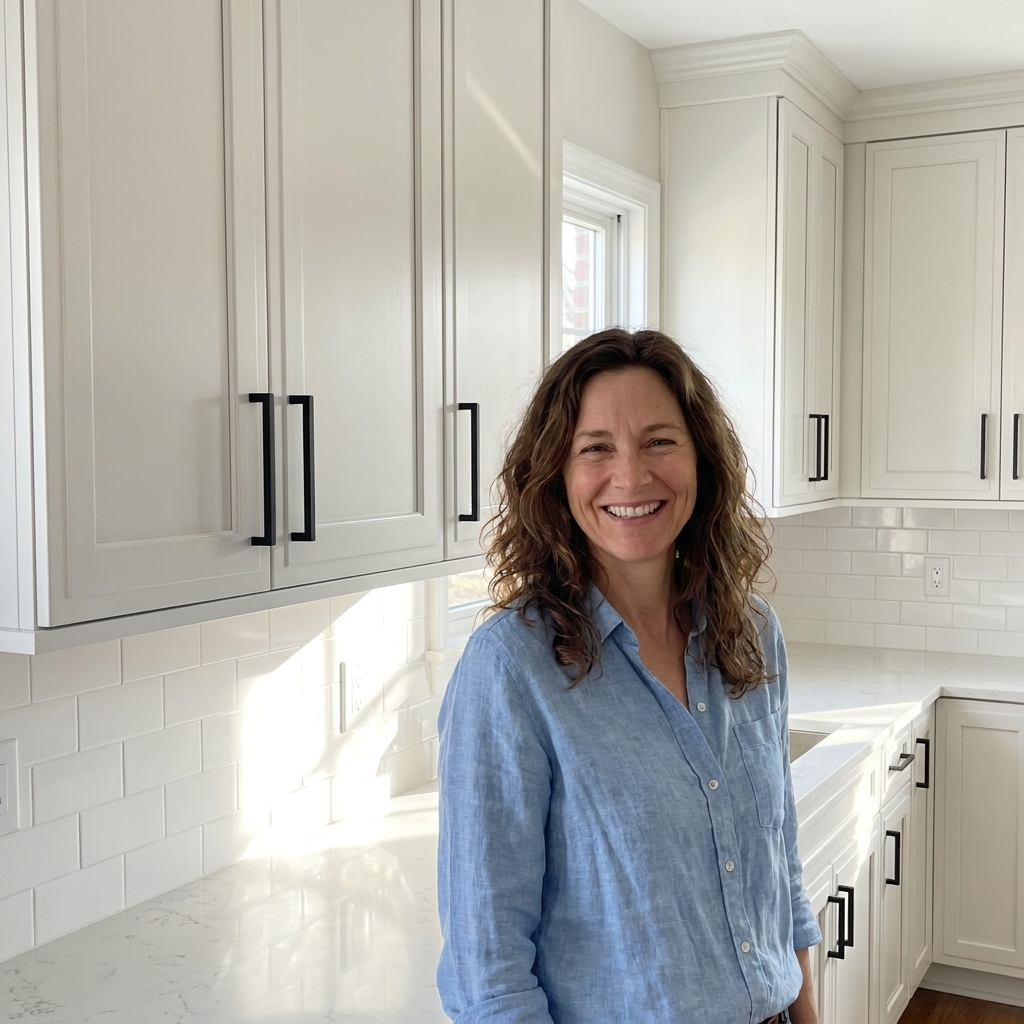
From degreasing to primer to topcoat, this step-by-step guide covers the products, safety, and techniques that deliver smooth, durable painted cabinets that ...
New cabinet hardware is one of the fastest ways to make a kitchen or bathroom feel updated. But it is also one of the fastest ways to spot DIY regret when pulls sit slightly crooked, land at different heights, or the drill bit blows out the back of a door. The fix is not “a steadier hand.” It is a simple system: measure the right thing, confirm your pull spacing, and use a cabinet hardware jig so every hole lands in the exact same spot.
I spent years in design-build watching homeowners fall into the same trap: they buy gorgeous pulls first, then try to make them work on existing holes. Sometimes that works. Often, it turns into toothpicks, wood filler, and a long afternoon. Let’s do it the clean way.
Before you buy anything: check what you have
1) Knob or pull?
Knobs use one hole. Pulls use two holes, and those two holes must match the pull’s center-to-center spacing (also called C-to-C).
2) New hardware that matches existing holes (best case)
If you are replacing pulls with pulls, measure your existing center-to-center distance. If you buy the exact same C-to-C size, you can typically reuse the holes with no drilling. That is the easiest upgrade in the world.
3) New hardware that does not match existing holes
If you are changing sizes or switching from knobs to pulls, plan on drilling new holes. You may also need to fill old holes, especially on drawer fronts and painted doors where old holes will remain visible.
Quick reality check: “Close enough” does not work with cabinet hardware. A pull that is off by even 1/16 inch will fight you during install and look slightly twisted forever.
Tools and supplies that make this job feel easy
- Cabinet hardware jig (a clamp-on drilling guide)
- Drill (a driver works, but a drill gives better control)
- Bits: a brad-point bit in a size that matches your screws and hardware spec (many 8-32 installs use 3/16 inch as a clearance hole, but always confirm)
- Painter’s tape (helps prevent chipping and makes marks visible)
- Sharp pencil or fine marker
- Combination square or small ruler (for confirming measurements)
- Clamps (many jigs include their own, but extra clamps help)
- Scrap wood backing block (prevents blowout)
- Awl or nail set (to dimple the mark so the bit does not wander)
- Safety glasses (and hearing protection if you want it)
- Vacuum and a soft cloth
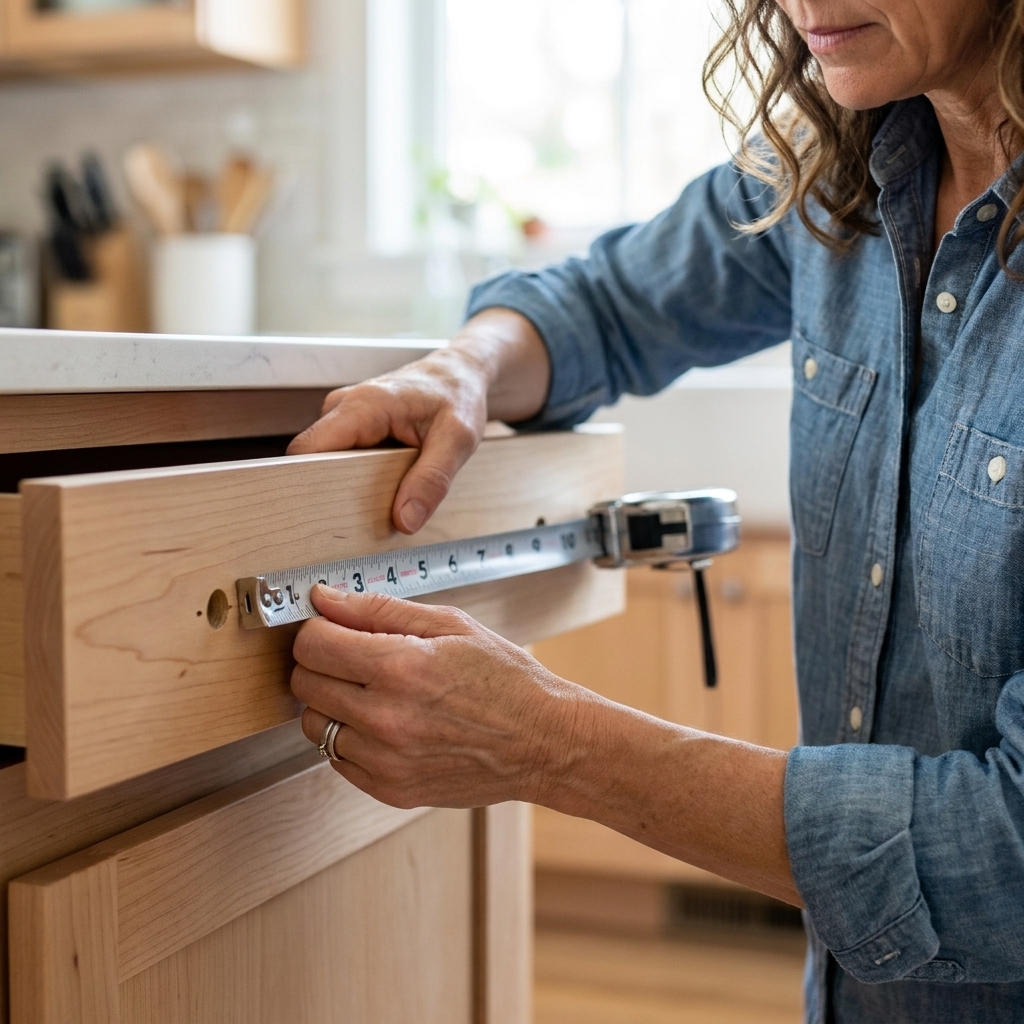
How to measure pulls correctly (center-to-center)
Here is the measurement that matters for pulls:
Center-to-center (C-to-C) = the distance from the center of one screw hole to the center of the other.
Measuring existing holes
- Measure from the center of the left hole to the center of the right hole.
- If measuring “center” feels fussy, measure from the inside edge of one hole to the inside edge of the other. That gives the same C-to-C number.
Common pull sizes (do not assume)
Some common C-to-C sizes are 3 inches (76 mm), 96 mm, 128 mm, and 160 mm, but cabinetry is full of surprises. Measure at least two doors and two drawers. I have absolutely seen a kitchen where a few drawers were drilled differently.
Plan placement: where knobs and pulls should go
This is the part that makes hardware look intentional instead of randomly installed. If you are copying what you already have, you can skip ahead. If you are changing style or layout, use these guidelines as a starting point.
Upper cabinet doors
- Most pulls or knobs land on the lower corner of the door, opposite the hinge.
- A classic look is placing the hardware roughly 2-1/2 to 3 inches up from the bottom edge of the door and 2-1/2 to 3 inches in from the side edge.
- If you have Shaker doors, an easy way to make it look “built-in” is to align the knob or pull to the centerline of the stile (the vertical frame piece), not just a random distance from the edge.
Base cabinet doors
- Place hardware near the upper corner of the door, opposite the hinge.
- Common starting point is 2-1/2 to 3 inches down from the top and 2-1/2 to 3 inches in from the side.
- Shaker tip applies here too: centering on the stile reads clean and consistent.
Drawers
- Most pulls are centered left-to-right.
- Vertically, many homeowners prefer pulls centered on the drawer front, but you can also place them slightly higher for a more modern look. The key is consistency across the whole room.
Designer trick that saves your sanity: Pick one door and one drawer to be your “standard,” tape on the hardware temporarily, and live with it for a day. Open it. Stand back. Make sure it feels good in your hand before you commit to drilling 40 holes.
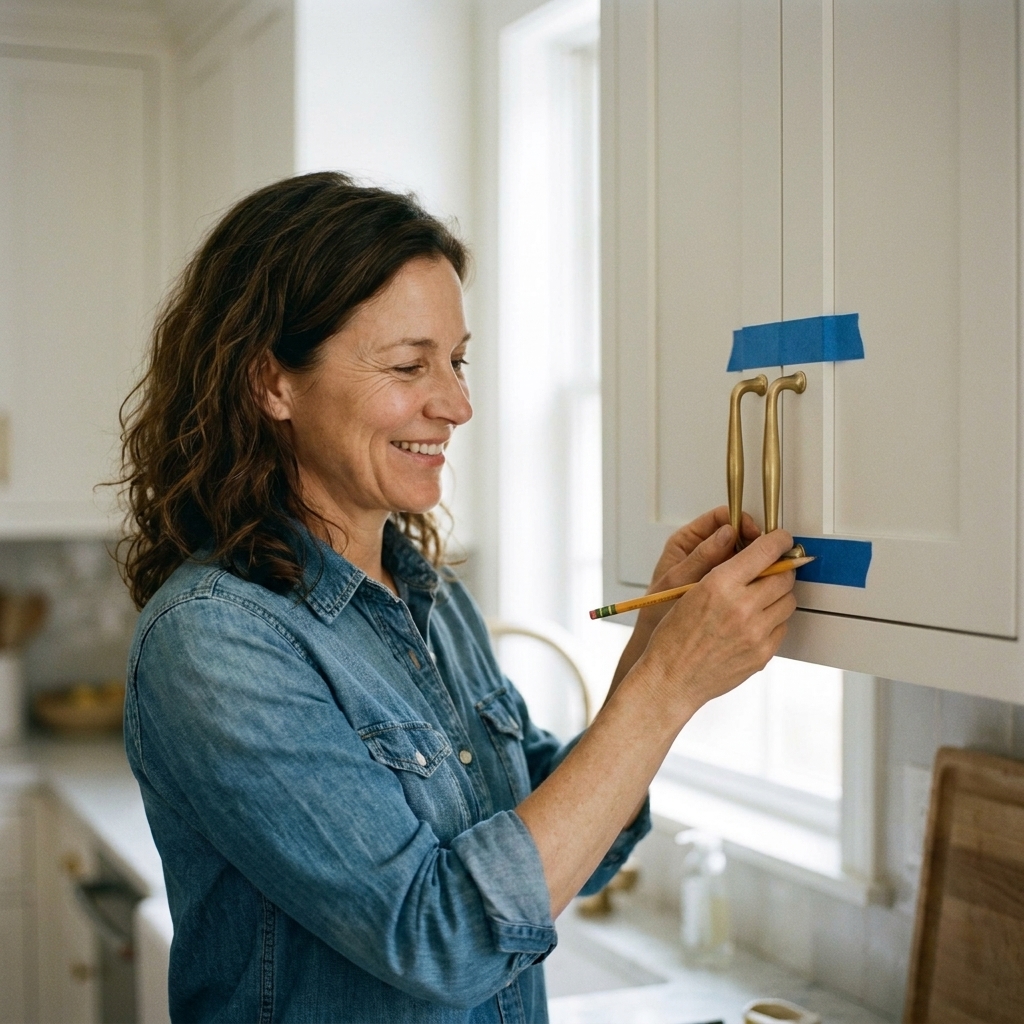
Using a cabinet hardware jig (step-by-step)
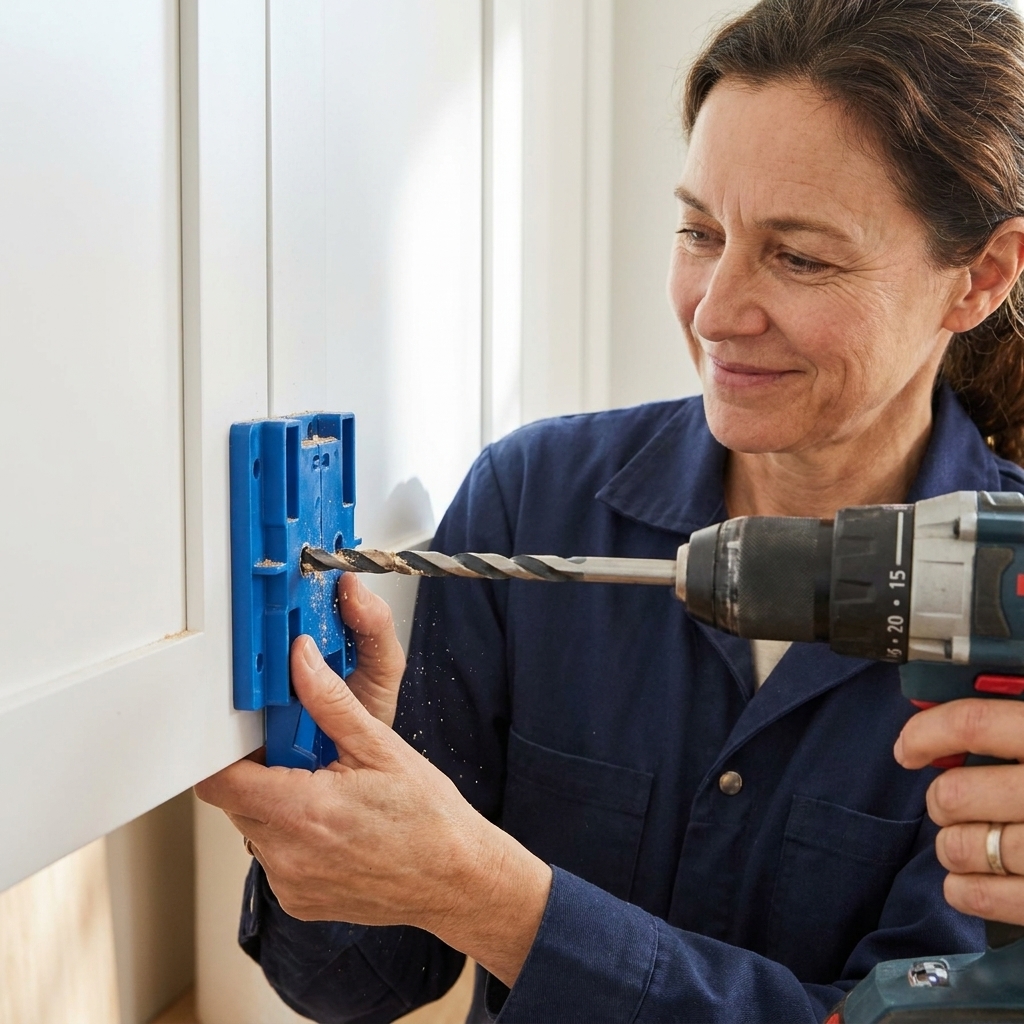
A hardware jig is basically training wheels for drilling perfect hardware holes. It references off the edge of the door or drawer so every hole repeats accurately.
Step 1: Set up the jig for your hardware
- Adjust the jig to your chosen measurements (distance from top, bottom, and side edges).
- Set the drilling guides to match your pull’s C-to-C spacing, or set a single guide for a knob.
- Tighten everything down. A loose jig is how “identical holes” become “why is that one weird.”
Step 2: Secure the work and protect the finish
- If you can, remove doors and drawers and lay them flat on a padded surface. It is safer and more accurate.
- Apply a small piece of painter’s tape where each hole will be drilled.
- Mark your drill points on the tape if your jig design requires it.
Step 3: Clamp and double-check
- Clamp the jig firmly to the door or drawer front.
- Confirm the jig is referencing the correct edge (it is easy to accidentally flip for left vs right doors).
- Open and close the door mentally: are you on the hinge side or the pull side? Confirm now.
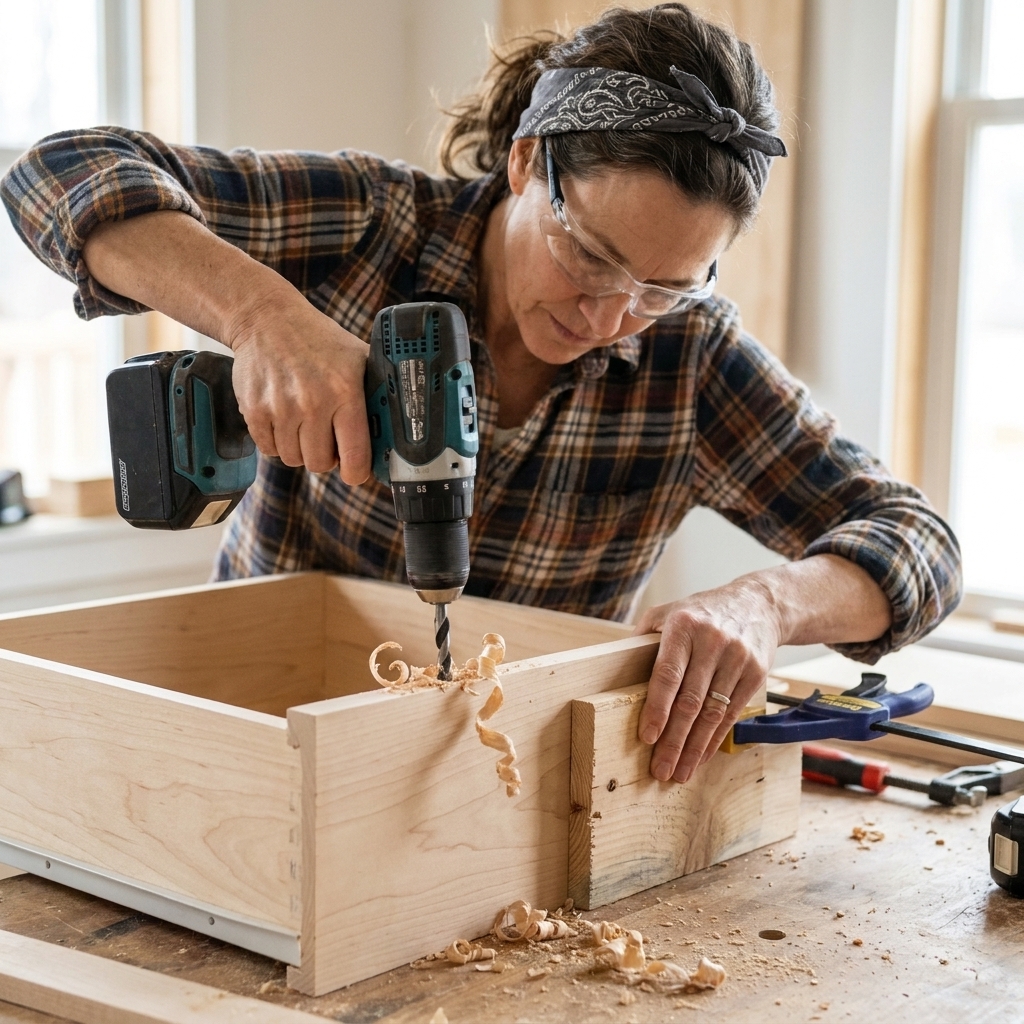
Step 4: Use a backing block
Hold a scrap wood block tight to the back side where the bit will exit, or clamp it if possible. This reduces blowout, especially on painted doors and veneer.
Step 5: Drill clean holes
- Start the drill slow, let the bit bite, then drill steadily.
- Keep the drill square to the face. Most jigs help guide this, but your body can still tilt the drill.
- As you break through, reduce pressure. Let the bit cut, not punch.
Step 6: Test fit before moving on
Before you drill 20 more holes, install one pull with its screws. Make sure it sits flat and aligns the way you expected.
Drilling without a jig (if you must)
If you are only doing a couple of doors, you can get decent results without a jig, but you have to slow down and be methodical.
- Make a paper template from one door that you love, then transfer it to the others.
- Use a combination square to keep measurements consistent.
- Dimple the marks with an awl so the bit does not wander.
- Always use a backing block.
That said, if you are changing hardware across an entire kitchen, a jig is cheaper than replacing a door you accidentally blew out.
Choosing drill bits and screws
Do not guess the screw type
A lot of cabinet hardware uses 8-32 machine screws, but not all of it. Some brands use 10-24, and some imported hardware uses metric. The only safe move is to check the packaging, the manufacturer listing, or simply test the screw in the pull before you drill anything.
Measure thickness before you pick screw length
Most cabinet doors are around 3/4 inch thick, but drawer fronts can be thicker, especially with a false front or a heavy profile. If you want a clean install, measure the actual thickness with a tape or calipers.
- As a rough starting point, many pulls ship with screws that work for a 3/4-inch door.
- If the screw bottoms out before the pull tightens, swap to a shorter screw.
- If you need a touch more reach, a thin washer can help, but do not use it as a band-aid for the wrong screw length.
Bit sizing tip
You want the screw to slide through the hole without forcing. Too tight and you risk cracking paint or pulling the screw off-angle. Too loose and the hardware can shift.
If you are unsure, drill a test hole in scrap wood using the bit you plan to use and run a screw through it. Better yet, follow the hardware manufacturer’s recommended hole size if they provide one.
If a hole is slightly off
It happens, especially when you are dealing with older cabinet faces, tiny reveals, or hardware that is not machined perfectly.
- If the pull is only fighting you slightly, you can fine-tune the hole with a hand reamer, a small round file, or a step bit. Go slow and remove the minimum material needed.
- If you find yourself elongating the hole so much that the washer or screw head will not cover it, stop. Patch the hole and re-drill cleanly. That is almost always the better-looking fix.
Fixing old holes (when you change hardware style)
Sometimes you are switching from knobs to pulls, or moving pulls for a better layout. Old holes are normal. The best repair depends on your cabinet finish.
Painted cabinets
- Fill old holes with a high-quality wood filler or two-part filler for durability.
- Sand flush after it fully cures.
- Prime the patched spot, then touch up paint.
Stained cabinets
- Stain-grade repairs are tricky. Even a good filler can show.
- Consider hardware that covers the old holes (a backplate) or choose a pull length that spans the old and new hole locations when possible.
If you are dealing with expensive stained cabinetry and a lot of hole changes, this is one of those moments where a pro’s experience is worth the call.
Bathroom notes
Bathrooms are small, bright, and full of reflective surfaces. That means crooked hardware is easier to spot. It also means finishes matter.
- Choose corrosion-resistant finishes if your bathroom runs steamy. Look for solid brass, stainless, or high-quality plated hardware from reputable brands.
- Mind door swings and tight clearances near a vanity mirror or wall. Test that your pull does not smack anything when a door opens.
- Go easy on aggressive cleaners once installed. Many finishes hate ammonia and abrasives.
Common mistakes (and how to avoid them)
- Mixing up left and right doors: Always reference hinge side before drilling.
- Not using a backing block: This is how you get chip-out on the back of the door.
- Measuring pull length instead of hole spacing: Pulls are typically specified by C-to-C. Always confirm the listed hole spacing.
- Eyeballing alignment across drawers: Use the jig for every single one. Consistency is what makes it look professional.
- Overtightening: Snug is good. Cranking down can strip threads or dent softer wood.
Quick FAQ
Can I put longer pulls on existing holes?
Yes, as long as the new pull has the same center-to-center measurement. Overall length can be longer.
Should pulls be horizontal or vertical?
Most drawers get horizontal pulls. Tall pantry doors sometimes get vertical pulls. There is no code rule here, just what feels good and looks balanced.
What if my cabinet doors are thin?
If you have thinner doors (common on some builder-grade cabinets), be careful with screw length. If the screw bottoms out before the pull tightens, swap to shorter screws.
Do I need to remove doors to drill?
Not always, but it can make the job easier and safer. For doors, I like to remove them, lay them flat on a padded surface, and drill with a backing block. For drawers, remove the drawer box and drill the drawer front while it is stable.
My simple workflow for a whole kitchen
- Sort hardware by size and location (uppers, bases, drawers).
- Pick one door and one drawer as the “approved” placement.
- Set the jig once and lock it down.
- Drill and install in batches, checking every 5 to 10 pieces for consistency.
- Do a final tighten pass at the end.
If you take your time on the first two pieces, the rest goes surprisingly fast. And when you step back, you get that satisfying “wow, it looks brand new” moment without the stress.