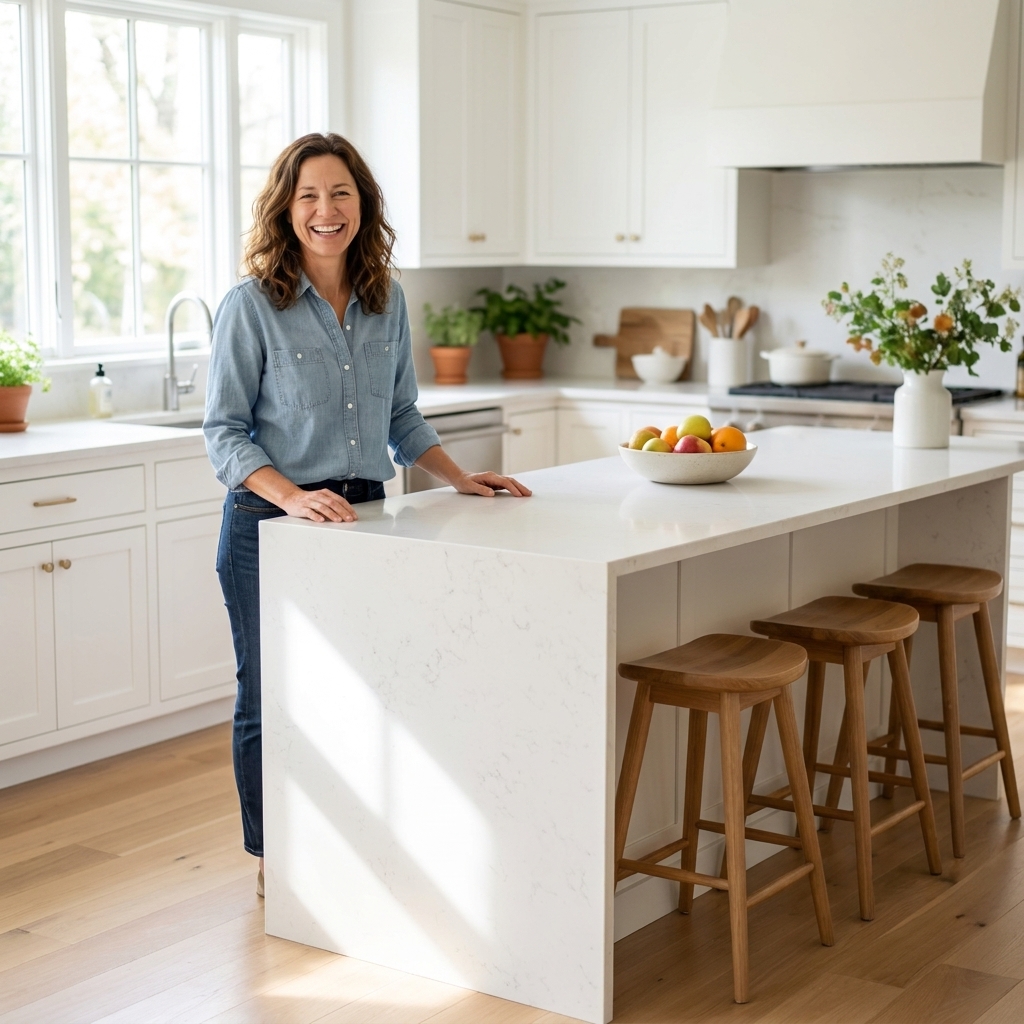
A step-by-step plan for combining ambient, task, and accent lighting so your kitchen feels warm, looks intentional, and lights your real prep zones.
Mixing metal finishes in a kitchen can look intentional, modern, and a little elevated, or it can look like you ran out of matching pulls halfway through the install. The difference is not “having an eye.” It is having a plan.
After years of kitchen and bath design and more hardware installs than I can count, here’s the approach I use: pick a clear lead finish, choose a supporting finish (or two), and echo them on purpose. That’s it. Let’s make it simple and foolproof.

The 60-30-10 guideline
If you only remember one design guideline, make it this one. Designers often use the 60-30-10 idea for color, and it translates well to finishes when you treat metals like a palette, not a matching set.
- 60%: Your dominant finish. Usually this is the one you see most often, typically cabinet hardware (pulls and knobs) or lighting.
- 30%: Your secondary finish. Often plumbing (faucet) or lighting, depending on what your dominant finish is.
- 10%: Your accent finish. A small pop like pendants, a pot filler, open-shelf brackets, or bar stools.
In real kitchens, the “percentages” are not a math problem. They’re a gut check. If your eye lands on one finish first, another finish second, and the third finish feels like a deliberate accessory, you nailed it.
Start with what you cannot change
Before you buy a single pull, take inventory of the metal finishes already locked into your kitchen. I call these your “anchoring metals.”
- Appliances (stainless, black stainless, panel-ready, white, etc.)
- Sink (stainless, fireclay with a metal grid, granite composite)
- Cooktop and range (watch for brass or chrome knobs and trims)
- Door hardware (especially if the kitchen opens to a main hallway)
- Existing lighting (if you are not replacing it)
Good news: stainless appliances often behave like a neutral. The caveat is that not all “stainless” reads the same. Some black stainless runs warmer, some stainless-look coatings skew gray, and some brushed stainless has a golden cast. If your brass looks odd next to your appliances in person, trust your eyes and adjust your brass tone, or use brushed nickel as a bridge.
Pick your hero finish
When clients tell me, “I love all of them,” I ask one question: What do you want to feel first when you walk in?
- Warm and inviting: brass, champagne bronze, antique brass
- Crisp and clean: chrome, polished nickel
- Modern and grounded: matte black
- Soft and versatile: brushed nickel, satin nickel
Most kitchens look best when cabinet hardware is the hero, because it is repeated so many times. If you choose brass pulls, you’ve instantly established warmth. If you choose matte black pulls, you’ve instantly established contrast.
Choose a supporting finish
Your supporting finish should either:
- Match the undertone (warm with warm, cool with cool), or
- Act as a neutral bridge (stainless and brushed nickel are the peacekeepers of the metal world).
Warm vs cool undertones
- Warm metals: brass, gold, bronze, copper
- Cool metals: chrome, nickel, stainless, polished steel
- Neutral-ish: matte black (reads neutral), brushed nickel (often neutral), stainless (often neutral)
You can mix warm and cool, but do it deliberately and give both finishes more than one moment in the room. The mistake is one lonely warm finish that shows up once and looks like an afterthought.
Finish names vary by brand
One of the most common real-world problems is that finish names are not standardized. “Champagne bronze” from one brand can look pink, while “champagne bronze” from another looks like muted brass.
If you can, buy from the same brand and collection for items that sit near each other (faucet, soap dispenser, air gap, RO faucet, pot filler). If you are mixing brands, order samples and compare them side by side in your kitchen lighting before you commit.
Winning combinations
These combos are popular because they balance contrast and cohesion. If you are nervous about mixing, start here.
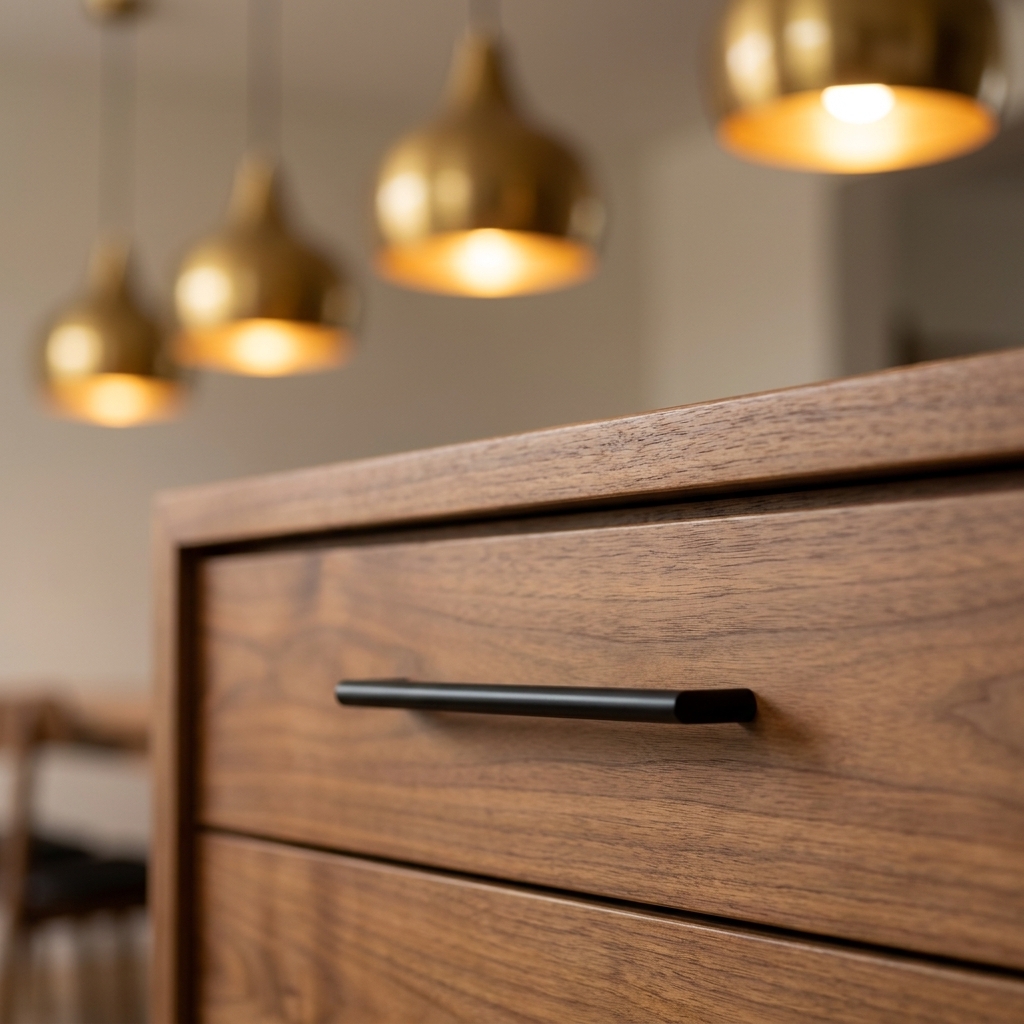
Brass + matte black
This is my go-to for a kitchen that wants to feel modern but not cold. Typically:
- Use matte black for cabinet hardware (it grounds the whole space).
- Use brass for lighting and/or the faucet as the “jewelry.”
Pro tip: If your kitchen has warm wood tones, brass will look especially natural.
Brushed nickel + brass
Soft, classic, and very livable. This works beautifully in transitional kitchens.
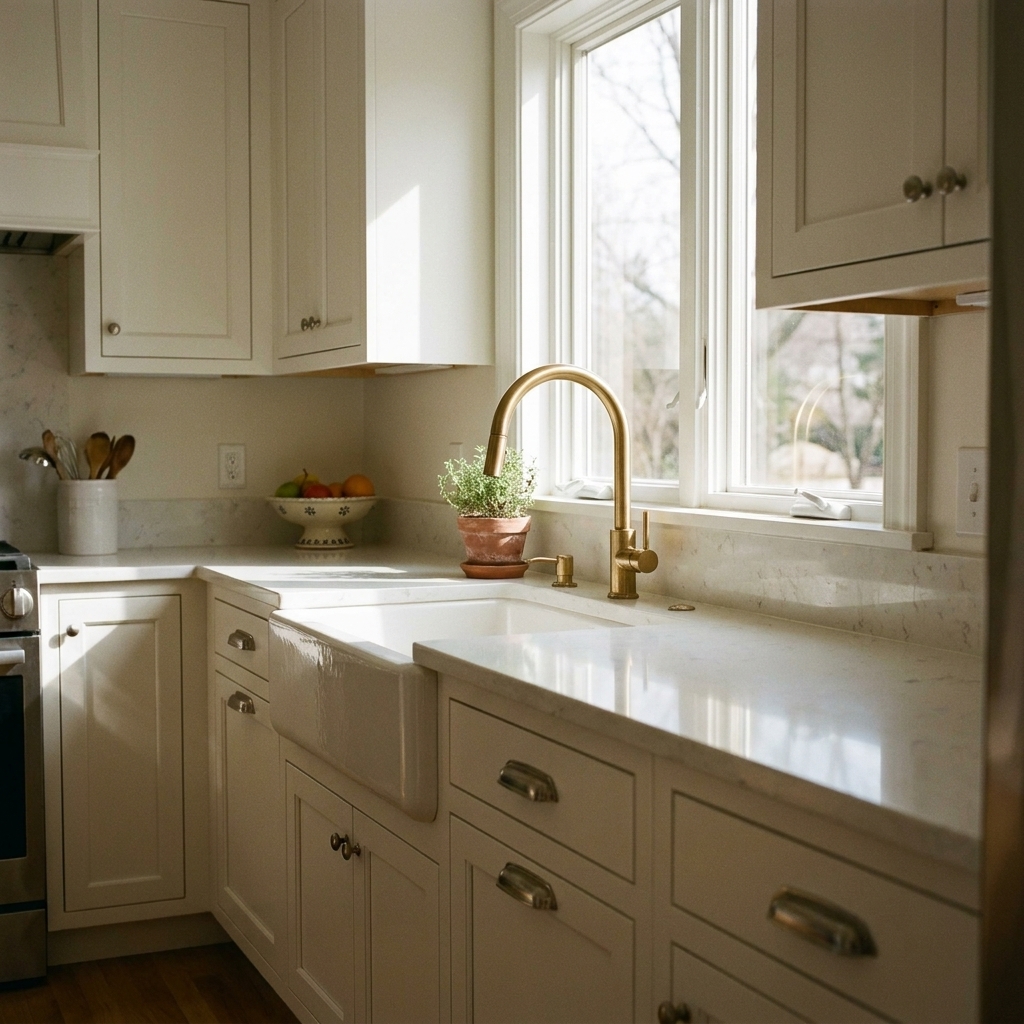
- Let brushed nickel live on the faucet and possibly the cabinet pulls.
- Add brass in pendants or a few accent knobs for warmth.
Watch out: Keep the brass tone consistent. Do not mix yellow brass with very pink champagne bronze unless you test samples in your lighting.
Chrome + matte black
Clean, graphic, and great for kitchens with white cabinets or a little industrial vibe.
- Use chrome where you want sparkle (faucet, maybe pendants).
- Use matte black for hardware to add structure.
My rule: If you have chrome elsewhere in the house (doorknobs, bathroom accessories), chrome is a smart choice for continuity.
Stainless + almost anything
If you have stainless appliances, you have a built-in neutral metal most of the time. That gives you flexibility. Just remember: stainless does not replace repetition. You still need to echo your chosen hardware and lighting finishes at least a couple times.
Keep it from looking messy
1) Use each finish at least twice
This is the easiest “secret.” If you use brass once, it looks accidental. If you use it three times, it looks designed.
- Brass faucet? Add brass in pendant lights or bar stool frames.
- Matte black pulls? Bring black into lighting, a range hood detail, or open-shelf brackets.
2) Keep the sheen consistent
Shiny and matte can mix, but they should mix intentionally. A common stumble is combining polished brass hardware with satin brass lighting and then adding oil-rubbed bronze somewhere else. That’s not layered. That’s confusing.
Pick one direction:
- Mostly matte and satin finishes (calmer, more forgiving), or
- A controlled amount of polished (adds sparkle, shows fingerprints and spots faster).
3) Match the metal to the job
In a working kitchen, durability matters.
- Cabinet pulls: choose something that hides fingerprints and feels good in your hand. Matte black, brushed nickel, and satin brass are usually forgiving, but finish quality matters and some matte blacks show oils more than you expect.
- Faucets: think about water spots. Brushed finishes often look cleaner day to day than high polish, especially with hard water, but coatings vary by brand.
- Lighting: you can go bolder here because it’s not touched constantly.
4) Let stone and tile do some work
Stone and tile often contain both warm and cool notes, and that gives you permission to mix metals. For example:
- Marble-look quartz with soft gray veining supports brushed nickel and matte black beautifully.
- A creamy backsplash tile supports brass and bronze naturally.
Do not forget the small metals
These are the “mystery metals” that can ruin an otherwise clean plan because they live in the same sightline as your faucet and hardware.
- Sink accessories: drain, disposal flange, strainer basket, bottom grid
- Faucet add-ons: soap dispenser, air gap, filtered water (RO) faucet
- Appliance details: range knobs, handle trims
- Cabinet details: hinges (especially on inset cabinets), latches
If you are going for a polished, intentional mix, make these choices early. Otherwise you end up “stuck” with one odd finish that looks accidental.
Hardware mixing ideas
If you want a mixed look but worry about chaos, these are safe layouts that still feel special.
Option A: Uppers vs lowers
This works best when:
- Your uppers and lowers are different colors, or
- You have a strong visual break (like a full-height backsplash or open shelving).
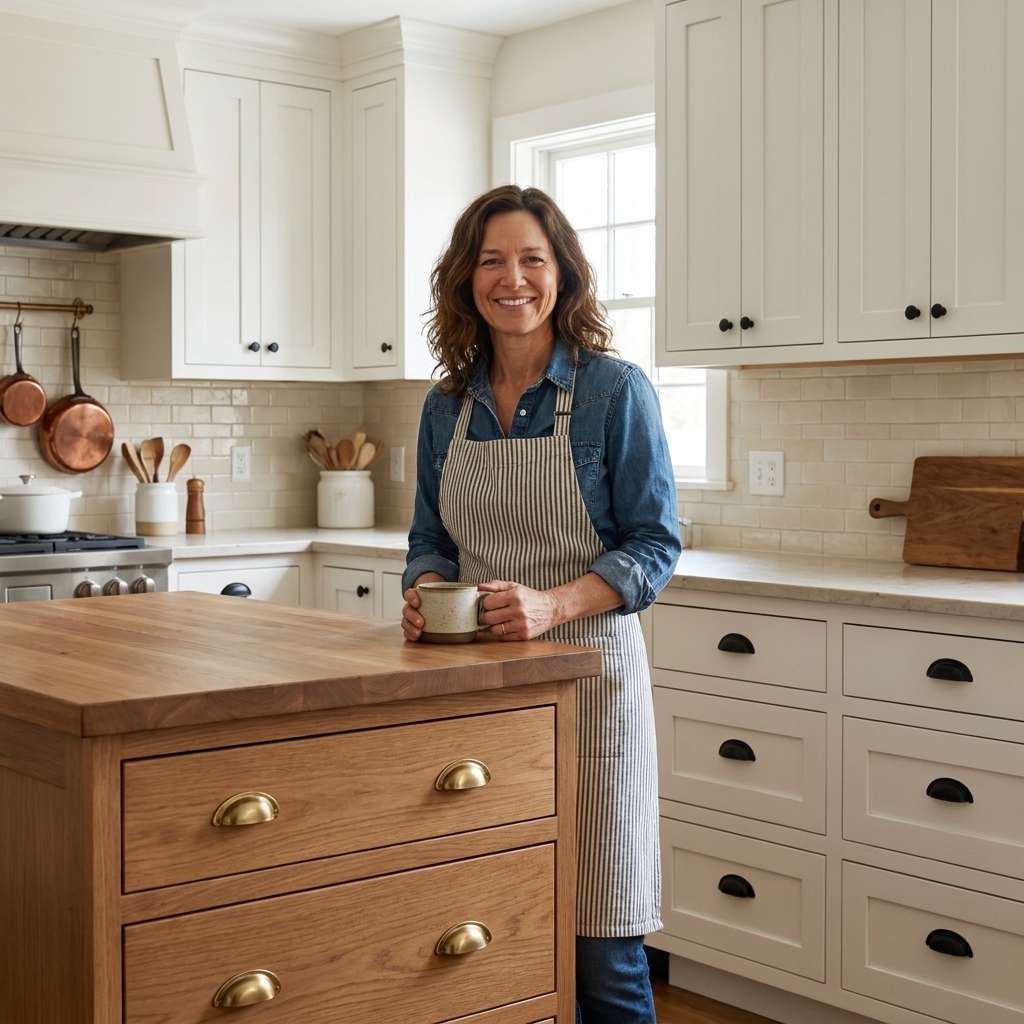
Example: brass knobs on white uppers, matte black pulls on a navy island.
Option B: Knobs vs pulls
This is classic, but do it with purpose.
- Use pulls where you open things constantly (trash pull-out, big drawers).
- Use knobs where it’s lighter duty (upper doors).
Then connect each finish to something else in the room.
Option C: Island as the accent
Let the perimeter cabinets be your dominant finish and make the island the “jewelry.” It’s a great way to try a bolder finish without committing to 40 pulls.
What should match
Homeowners ask this constantly: Does the faucet have to match the cabinet hardware? No. But it should relate.
My practical rules
- Faucet and pot filler usually look best matching because they read as a set. If you are doing an eclectic or collected look, you can mix them, but do it knowingly and repeat both finishes elsewhere.
- Faucet and sink do not have to match. Stainless sink with a brass faucet is a normal, high-end look.
- Pendant lights should connect to either the faucet finish or the cabinet hardware finish, ideally not a third random metal unless you are using a clear dominant-secondary-accent plan.
- Cabinet hardware and door hardware can differ, but if your kitchen is open to the rest of the home, consider continuity on the main floor.
Common mistakes
Too many finishes
If your kitchen has chrome, brushed nickel, brass, and matte black all competing, it will feel busy. The fix is usually simple: choose the two that best support your cabinet color and countertop, then replace the odd one out (often one light fixture or one set of knobs).
Almost-the-same finishes
Brushed nickel and chrome can look like a mismatch rather than a mix because they’re closely related but not identical. If you want two cool metals, consider:
- Chrome + matte black (more contrast), or
- Brushed nickel + matte black (softer contrast).
Not enough repetition
If you love brass but only have a brass faucet, add one more brass moment. Swap in brass pendants, add a brass picture light over art, or use brass shelf brackets.
Ignoring undertones
Warm white cabinets (creamy) love brass. Cool white cabinets (crisp) love chrome, nickel, and black. You can bend the rule, but if something feels “off,” undertones are usually why.
Decision checklist
- Step 1: List your anchoring metals (appliances, sink, range trims).
- Step 2: Choose your hero finish (usually cabinet hardware).
- Step 3: Choose a supporting finish (often faucet or lighting).
- Step 4: Add one small accent finish only if the room needs it.
- Step 5: Make sure each finish shows up more than once.
- Step 6: Order 1 to 2 sample pieces and test them in your kitchen lighting before buying the full set.
That last step saves more regret than anything else. Metals shift dramatically under warm LEDs at night versus daylight at 10 a.m.
FAQ
Can I mix three metal finishes in a kitchen?
Yes, as long as one is clearly dominant, one is secondary, and the third is a true accent. Keep the third finish limited to a couple items so it reads like jewelry, not clutter.
Is matte black going out of style?
Matte black is less trend and more neutral at this point, especially on hardware. It works best when you balance it with warmer materials like wood, warm whites, or brass.
What finish hides fingerprints best?
In my experience, brushed nickel, satin brass, and many matte blacks are forgiving. That said, coating quality and your household matter. Some matte black finishes show hand oils, and polished finishes show smudges and water spots fastest.
Should cabinet hardware match stainless appliances?
It can, but it doesn’t have to. Stainless appliances are common enough that they usually behave like a neutral background. Choose hardware based on your cabinet color and the vibe you want, then tie it back in with lighting or the faucet. If your stainless leans warm or dark, test samples first.
Bottom line
Mixing metals is not about breaking rules. It is about building a coordinated set of choices. Pick a hero finish, add a supporting finish, and repeat them on purpose. Keep a third metal to a true accent if you use it at all.
If you want the simplest, most reliable combo to start with, go matte black hardware + a brass or brushed nickel faucet, then echo that second finish in your lighting. It’s one of those decisions that looks designer without requiring designer stress.