Choosing between one wide basin and a double bowl? Here’s how each sink layout performs for prep, soaking, dish piles, and disposals, with cabinet fit tips.
I grew up holding a flashlight for my dad under kitchen sinks, watching him curse (lovingly) at leaky basket strainers and swollen particleboard. Years later, after designing and managing kitchen remodels for a living, I can tell you this: the “right” sink often comes down to one decision most homeowners do not realize they are making.
Not single bowl vs. double. Not stainless vs. fireclay. It is how the sink mounts to the countertop.
Undermount and drop-in (also called top-mount) sinks can both be great. They just behave differently at the counter edge, and that affects cleaning, cost, timing, and what countertops you can use.
The basic difference
Drop-in (top-mount)
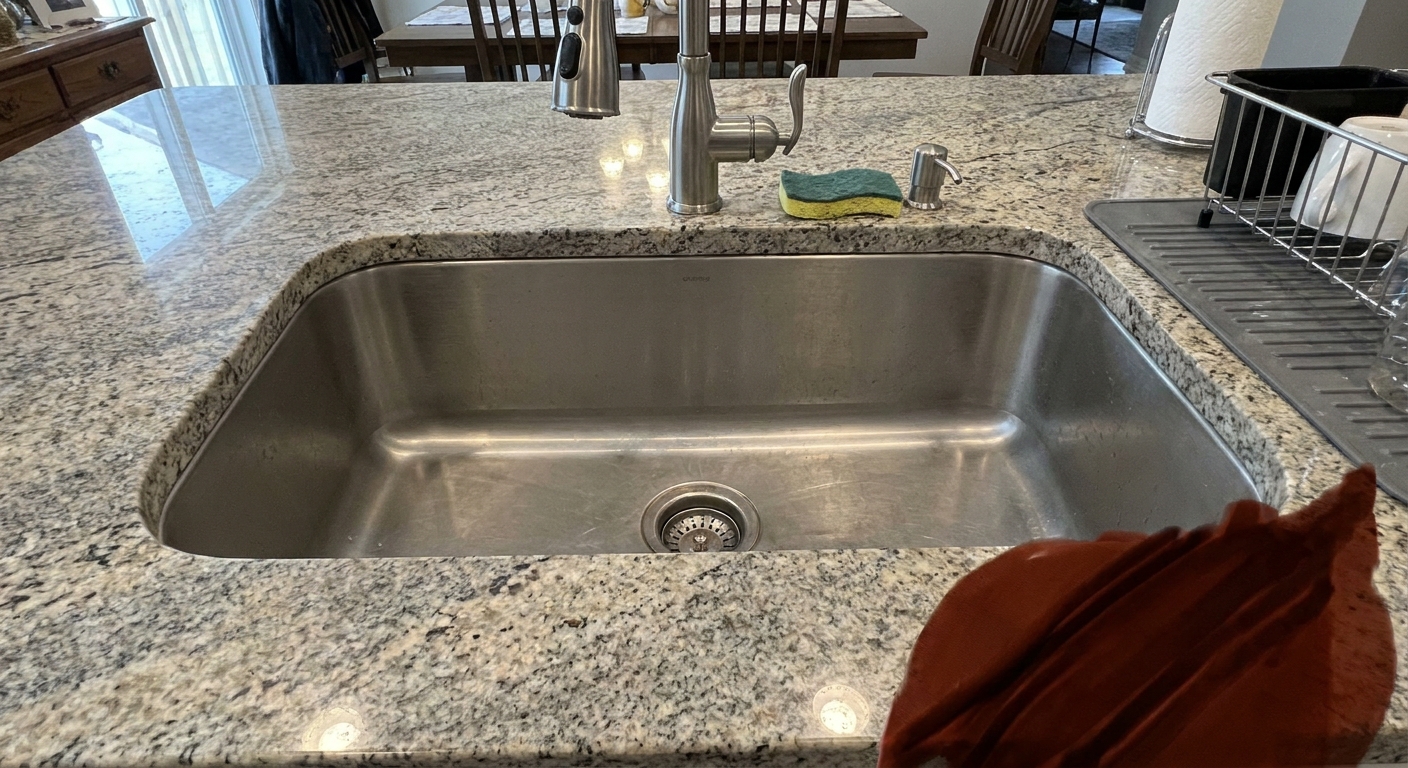
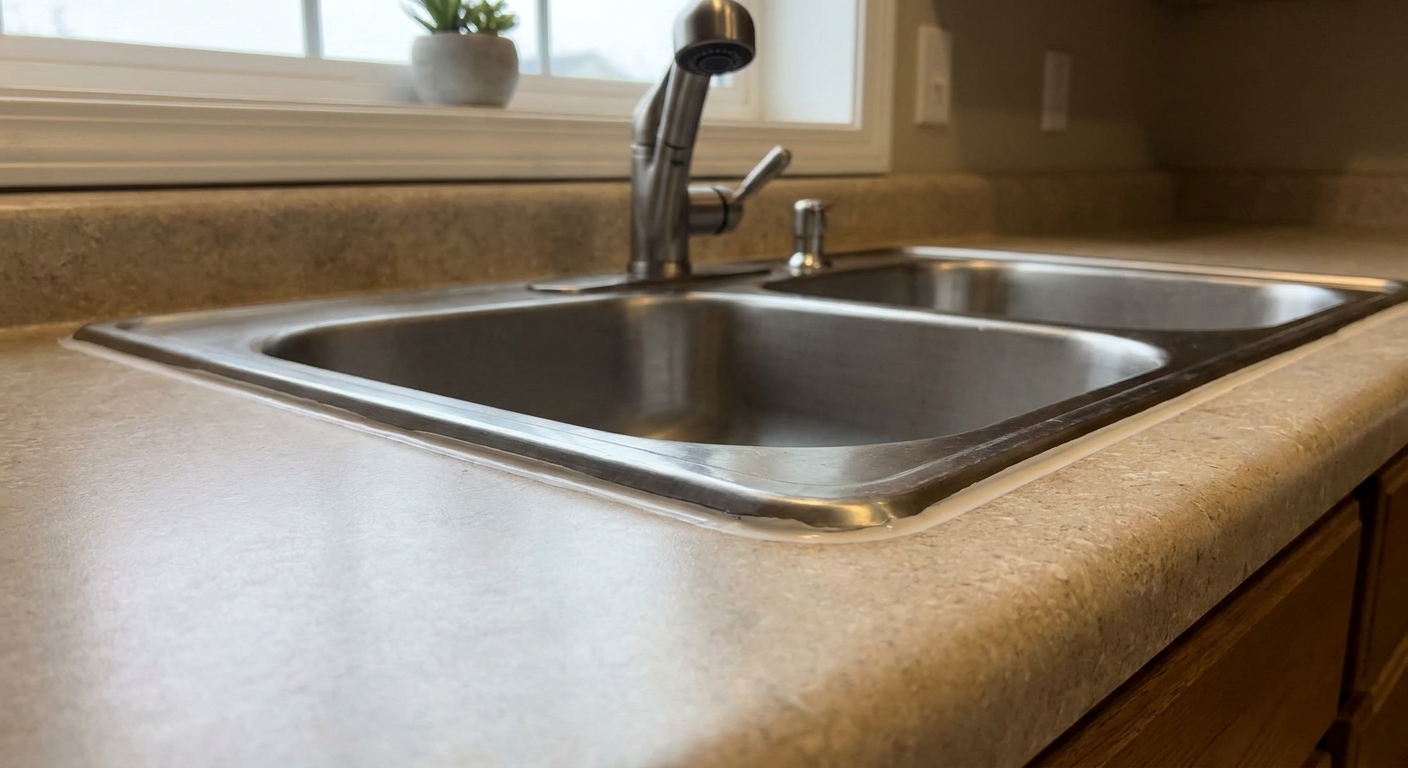
A drop-in sink has a visible rim or flange that sits on top of the countertop. The sink drops into the cutout from above, then gets clipped or screwed tight from below. Silicone under the rim helps seal water out.
Undermount
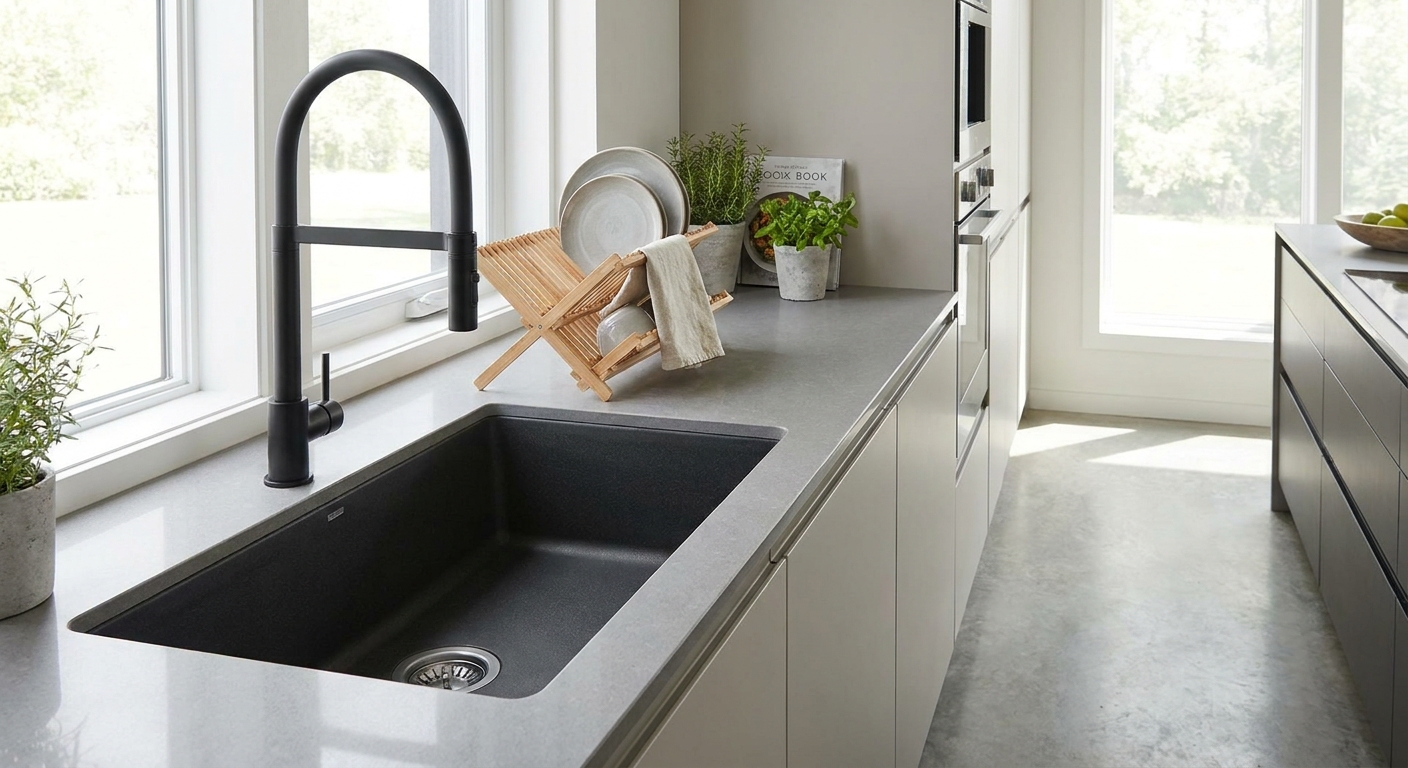
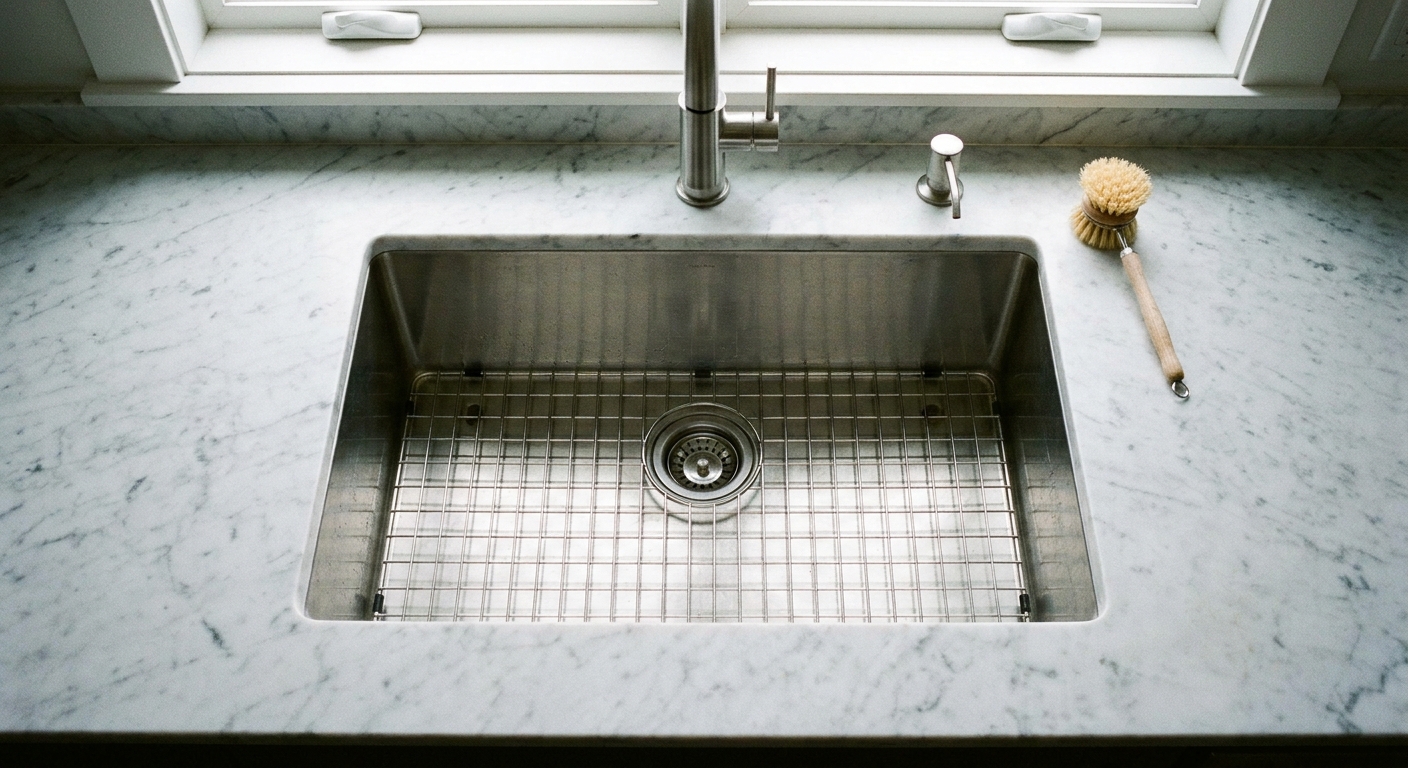
An undermount sink mounts to the underside of the countertop. The counter cutout is exposed, and the sink is attached with a mix of silicone, mechanical clips, and sometimes a two-part adhesive used as a supplemental bond. There is no rim on top to see or wipe around.
If you remember nothing else: drop-in sinks use the countertop surface to carry the rim. Undermount sinks rely on the countertop material and mounting hardware to suspend the sink from below.
How each one mounts
Drop-in mounting: rim + clips
- Cutout in the countertop is slightly smaller than the sink rim.
- Sink lowers in from above and rests on its rim.
- Sealant (usually silicone) sits between rim and countertop.
- Clips tighten from below to pull the rim snug.
Because the rim is doing a lot of the work, drop-ins are generally more forgiving on older cabinets and slightly out-of-square cutouts.
Undermount mounting: seal + mechanical support
- Cutout is visible and must be cleanly finished because you will see the edge from above.
- Sink is lifted into place from below.
- Silicone bead seals between sink flange and the countertop.
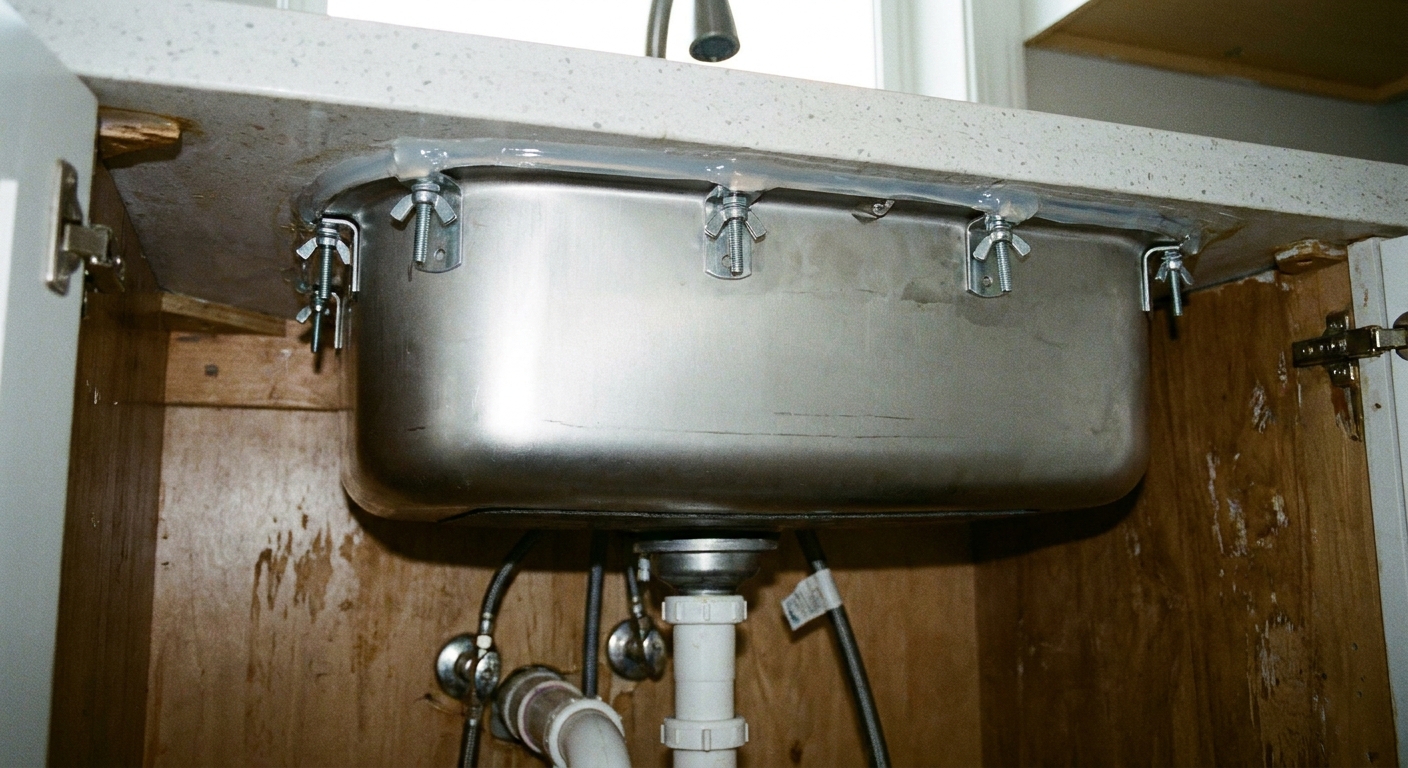
- Clips, brackets, rails, or a support frame hold the sink tight while the sealant cures and long-term.
In the real world, I like to see undermounts supported by something more than just “a few clips and hope.” A quality install uses the sink manufacturer’s hardware or a proven bracket system, especially on larger or heavier sinks. Adhesives should be treated as backup, not the whole plan.
Countertop compatibility
Here is the rule of thumb I used in design-build: if your countertop material cannot safely have an exposed, sealed cut edge, it is not a great undermount candidate.
Best materials for undermount sinks
- Granite, quartz, quartzite: The most common undermount pairings. Strong, stable, and the cut edge can be finished and sealed.
- Solid surface (like Corian): Excellent with undermounts, often with very clean seams when fabricated well.
- Concrete: Can work, but fabrication quality and sealing matter a lot.
Materials that are usually drop-in territory
- Laminate: More on this below, because it is the big one.
- Tile countertops: Drop-in is often simpler to detail, easier to repair later, and more forgiving around uneven surfaces. Tile can still be vulnerable to water where grout, edge trim, or backer meets the sink, so good detailing and grout maintenance matter either way.
- Butcher block or wood: You can undermount, but it is high maintenance because the exposed cut edge around the sink is where water lives. Many homeowners are happier with a drop-in or a carefully detailed flush setup and a very disciplined sealing routine.
If you are choosing your countertop at the same time as your sink, decide the mount style early. It influences how the fabricator finishes the cutout and, in some cases, the timing of the install.
Undermount reveals
With an undermount sink, the countertop cutout can be positioned three main ways relative to the sink bowl. Fabricators call this the reveal.
Negative reveal
The countertop slightly overhangs the sink opening. It hides the sink edge.
- Pros: Sleek look, hides the flange line.
- Cons: A small lip can catch grime if the overhang is too aggressive or inconsistent.
Zero reveal
The countertop edge aligns right to the sink opening. Clean and modern when done precisely.
- Pros: Easy wipe-in, crisp look.
- Cons: Requires careful fabrication. Inconsistent cutouts look sloppy fast.
Positive reveal
The sink edge is visible from above, like a thin outline around the opening.
- Pros: Makes it easier to visually check the seal line, and some people like the framed look.
- Cons: That exposed ledge can collect buildup if you are not wiping it regularly.
If you want my designer take: zero reveal is the easiest to live with day-to-day when the fabricator is good. If you are worried about tolerances or have a very busy stone pattern, a slight negative reveal can disguise tiny inconsistencies. Positive reveal is fine, just be honest with yourself about whether you will wipe that edge.
Install timing
This surprises people: the “when” can be different for undermounts and drop-ins.
Drop-in: commonly after the countertop
Many drop-in sinks are installed after the countertop is set, because the sink simply lowers in from above. This makes them friendly for:
- DIY swaps
- Quick refresh projects
- Situations where the counter is already installed and staying
In some remodel sequences, a contractor may set a drop-in earlier for workflow reasons, but the point is the same: you do not need to suspend it from the underside of a finished cutout.
Undermount: often coordinated with fabrication
Undermount sinks are frequently coordinated as part of the countertop process, because:
- The fabricator needs the sink model to cut the opening precisely.
- The reveal choice affects how they cut and finish the edge.
- Many shops like to mount undermount sinks in the shop for quality control, while others do it on-site routinely.
Either approach can be done well. The key is coordination. If your sink is delayed, your countertop schedule can get stuck waiting.
Cleanup at the rim
Drop-in cleanup
The biggest downside of a drop-in is the rim. Crumbs, coffee grounds, and gunk collect at the edge where the rim meets the counter. You can clean it, of course, but it is an extra step and the caulk line can discolor over time.
Undermount cleanup
With an undermount sink, you can swipe mess straight into the bowl without catching a rim. That is why so many busy cooks love undermounts. The tradeoff is you need a well-done seal and secure mounting, because a failed bond is not just annoying, it is a real problem.
In my own kitchen design meetings, I used to frame it like this: drop-in is easier to install, undermount is easier to wipe.
Laminate countertops
Laminate deserves its own section because it is where homeowners most often get steered wrong. Laminate is typically a thin plastic surface over a wood-based substrate like particleboard, MDF, or sometimes plywood. Water and those substrates are not friends.
Why undermount is tricky with laminate
- The cut edge is vulnerable: An undermount exposes the underside edge around the sink opening, which is exactly where splashes and drips happen.
- Swelling risk: Once particleboard swells, it does not really “dry back” to normal. It can permanently distort the edge and loosen the mount.
- Seal maintenance: Even if you get a specialty laminate undermount setup, it relies heavily on a perfect seal that you keep perfect.
So what should you do on laminate?
For most laminate counters, my practical recommendation is: choose a quality drop-in sink and spend your energy on a great faucet and smart sink accessories. You will get a durable, water-resistant edge and an installation that makes sense for the material.
There are niche solutions like integrated sink systems or specialty edge treatments that can reduce risk, but they are not the standard in many markets and can be hard to service later. If you are set on undermount for the wipe-in convenience, it may be a sign to put that budget toward upgrading the countertop material.
Weight and cabinet support
This is the part people forget: the countertop is not the only thing doing work. Your sink base cabinet and the mounting method matter, especially as the sink gets heavier.
- Heavy sink materials like cast iron and many fireclay models can put real stress on undermount hardware and cabinet rails.
- Big single bowls add weight in a hurry once they are full of water, a stockpot, and dishes.
- Better support can look like a rail system, a full sink cradle, or a manufacturer-approved bracket kit tied into the cabinet walls, not just clips at the countertop.
If you are ordering a heavy sink, I always recommend asking, “What is carrying this load long-term?” and making sure the answer is more than silicone.
Cost and complexity
Sink price varies wildly either way, so focus on the install and the details around it.
Drop-in typically costs less to install
- Cutout tolerances are more forgiving because the rim hides the edge.
- Less specialized mounting hardware and labor.
- Easier replacement later without disturbing the countertop.
Undermount typically costs more to install
- More precision in cutting and finishing the countertop opening.
- More labor and hardware to mount securely.
- Coordination with the fabricator and scheduling around countertop work.
One simple way to think about it: undermount often adds fabrication steps plus time under the cabinet for hardware and support.
A small but real budget note: undermounts can also nudge you toward accessories like a bottom grid, because exposed bowls show wear and scratches more readily. Not required, just common.
Warranties and responsibility
Before you assume “my plumber will figure it out,” check two things:
- Sink warranty: Some manufacturers require specific mounting methods or approved bracket systems, especially for heavier materials.
- Countertop warranty: Some fabricators will not warranty a sink cutout or installation if the mounting is adhesive-only or if someone else installs the sink without their sign-off.
It is not about drama. It is about knowing who owns the detail if something fails in year three.
What about farmhouse sinks?
Apron-front (farmhouse) sinks confuse people because they get cross-shopped with undermounts. The quick clarity is this: many farmhouse sinks are not true undermounts. They are often supported by the cabinet, a platform, or a custom cradle, with the countertop cut and fit to them.
If you are considering an apron-front sink, treat it like its own category and confirm cabinet requirements early. It can be a fantastic choice, it just needs the right base cabinet and support plan.
Who should choose which?
Choose an undermount sink if you:
- Have (or are installing) stone, solid surface, or concrete countertops that can support an exposed, finished cutout.
- Value easy wipe-in cleanup and a seamless look.
- Are already doing a countertop project and can coordinate sink selection early.
- Have a trusted fabricator or installer who will use proper support hardware, not just adhesive.
Choose a drop-in sink if you:
- Have laminate counters, tile counters, or any surface where the cut edge near water is a risk.
- Want simpler installation or expect a future DIY swap.
- Are refreshing a kitchen without replacing the countertop.
- Prefer a forgiving setup for slightly imperfect cabinets or existing cutouts.
Design-wise, both can look great. The best choice is the one that matches your countertop material, your tolerance for maintenance, and how you actually use the kitchen on a Tuesday night.
Quick checklist
- What countertop material do you have? If it is laminate, default to drop-in.
- Is the countertop being fabricated now? If yes, undermount is easier to plan correctly.
- Do you want a specific undermount reveal? Tell your fabricator before they cut.
- Who is responsible for mounting the sink? Clarify whether it is the fabricator, plumber, or GC.
- What is supporting the sink long-term? Ask about clips, rails, brackets, or a cradle, not just silicone.
- Is the sink heavy? If you are choosing cast iron, fireclay, or an extra-large bowl, confirm cabinet support and warranty requirements.
FAQ
Can I switch from a drop-in to an undermount without replacing the countertop?
Usually, no. Undermount requires a clean, finished cut edge and access for proper mounting. With laminate especially, it is not a good candidate. With stone, it can sometimes be done, but it depends on the existing cutout size, the condition of the edge, and whether mounting hardware can be installed safely.
Are undermount sinks more likely to leak?
Leaks are usually about the drain plumbing, not the mount style. The mount style issue is the sink-to-counter seam. With a good silicone seal and proper mechanical support, undermount seams hold up very well. With a rushed install, that seam can fail and let water into the cabinet.
Does the countertop have to come off to replace an undermount sink?
Not always, but it can be more involved than a drop-in replacement. Access, mounting method, and sink size all matter. This is another reason I push for solid, serviceable mounting hardware from day one.