
A practical, contractor-informed look at touchless and voice-activated kitchen faucets: features, power needs, installation realities, costs, and who should ...
If your kitchen faucet is wobbly, crusty at the base, or dripping no matter how many times you try to tighten things up, it is usually faster to replace the whole thing than to keep chasing repairs. The good news: a standard single-hole or multi-hole kitchen faucet swap is one of the most satisfying under-sink projects you can do, and it is totally beginner-friendly if you go in with the right tools and a clean plan.
This is the exact process I used as a kitchen and bath designer and PM when homeowners wanted a quick upgrade before countertops or a full remodel. We will shut the water off safely, remove the rusty old faucet without shredding your knuckles, and install a modern pull-down faucet with clean, drip-free connections.
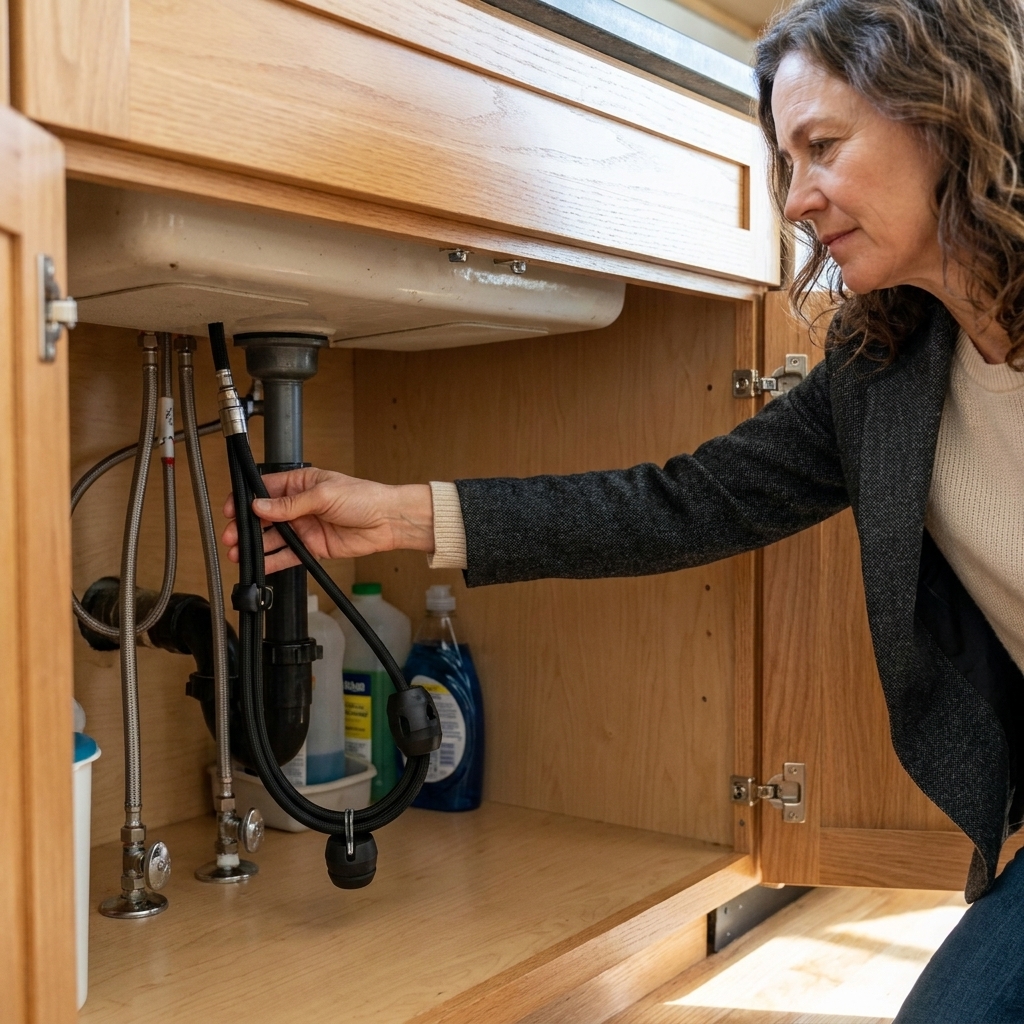
Before you start: confirm what you are installing
Take 60 seconds to look at what you have now. It determines how smooth your hour goes.
- Sink holes: Many pull-down faucets are single-hole. If your sink has 3 holes or 4 holes (common if you have a separate sprayer, soap dispenser, or air gap), you may need a deck plate to cover the extras.
- Shutoff valves: Under the sink you should see two small valves (hot and cold). Plumbers often call these angle stops. If they are missing, stuck, or leaking, plan extra time. You can still replace the faucet, but you may need to shut off the house water.
- Supply lines and fittings: Many modern pull-down faucets include integrated supply lines. Some models do not, and some use different shank connections (for example, 1/2 inch IPS/NPSM) that require separate connectors. Open the box and confirm what your faucet actually comes with before you start.
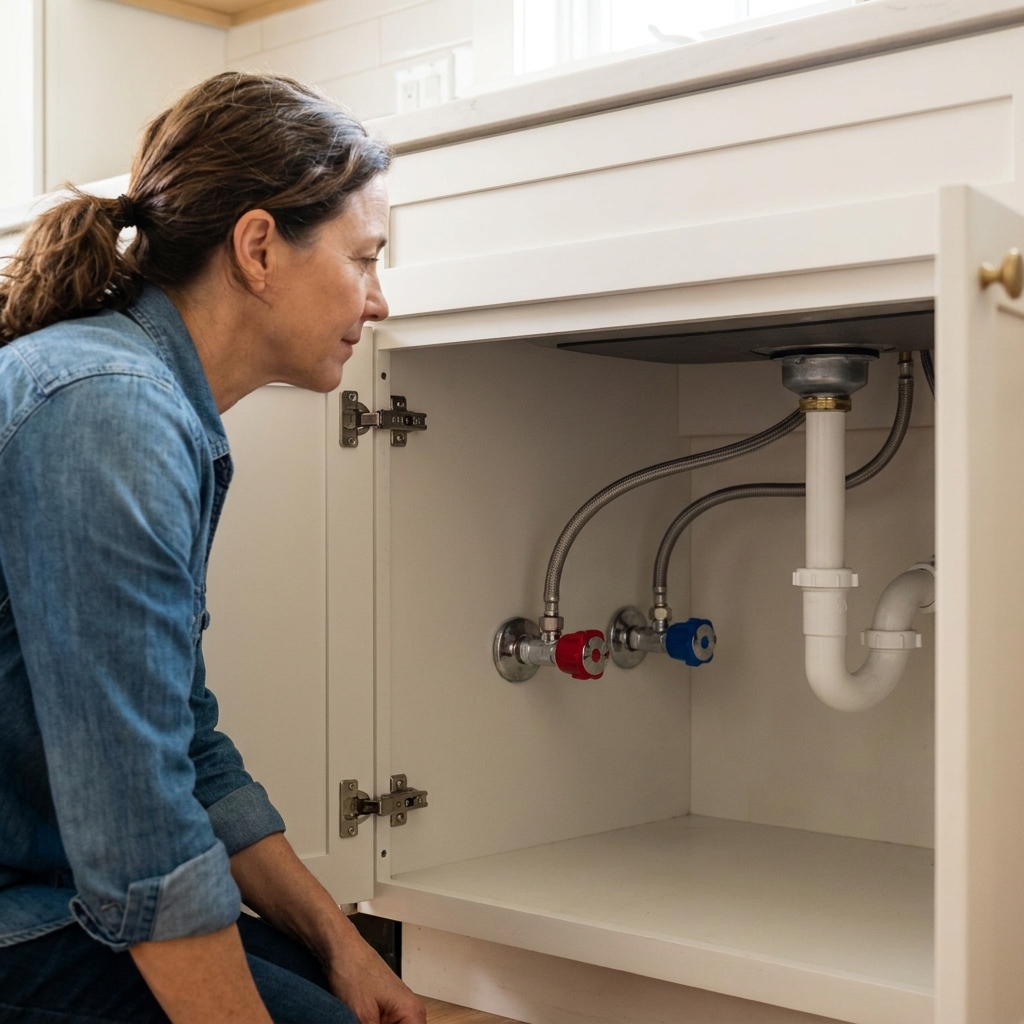
Tools and supplies (grab these first)
Having everything within arm’s reach is what keeps this under an hour.
- Adjustable wrench or two (or a small set of open-end wrenches)
- Basin wrench (highly recommended for tight spaces)
- Bucket or small pan
- Towels or a rag
- Flashlight or headlamp
- Painter’s tape (optional, protects finishes while you work)
- Penetrating oil (for rusty mounting nuts)
- Putty knife or plastic scraper
- Non-abrasive cleaner
- Sealant: Plumber’s putty or 100% silicone (use what your faucet manufacturer specifies)
- New faucet (and deck plate if needed)
Nice-to-have for stubborn faucets: a small wire brush, deep socket set, or an oscillating multi-tool with a metal blade if a nut is completely seized (more on that below).
Quick safety note: If you have a garbage disposal, unplug it (or switch it off at the breaker) before you work in that cabinet. And if you are cutting seized hardware, keep kids and pets away and take your time. Under-sink spaces are cramped, and rushing is how hoses and fingers get nicked.
Step 1: Clear the cabinet and protect the space (3 minutes)
Empty the cabinet so you are not doing yoga around cleaning bottles. Lay a towel down to catch drips and protect the cabinet bottom. Put a bucket under the angle stops and supply lines.
Pro tip from someone who has bumped her head on too many sink bowls: tape a small flashlight inside the cabinet facing up. It makes everything under the sink less miserable.
Step 2: Shut off the water safely (5 minutes)
Turn off the hot and cold angle stops under the sink by turning them clockwise until they stop. Do not muscle them past their natural stop.
Relieve pressure and confirm the stops actually work: Turn the faucet on and let it run until it stops. If water keeps flowing steadily after 10 to 15 seconds, your stops are not fully closing. You may need to shut off the home’s main water supply to proceed.
If a valve is stuck: Try gently working it back and forth a tiny amount. If it will not budge, do not force it to the point of breaking. That is the moment to shut off the house water and plan on replacing the angle stop soon.
Dishwasher note: In many homes the dishwasher supply tees off the hot angle stop. If yours does, plan to check that tee connection for drips when you turn the water back on.
Step 3: Disconnect supply lines (5 minutes)
With a bucket ready, use a wrench to loosen the nuts connecting the supply lines to the angle stops.
- Hold the valve body steady with one wrench if it wants to twist.
- Expect a small amount of water to drain from the lines.
If your current faucet has a pull-out sprayer with a separate hose, disconnect that as well.
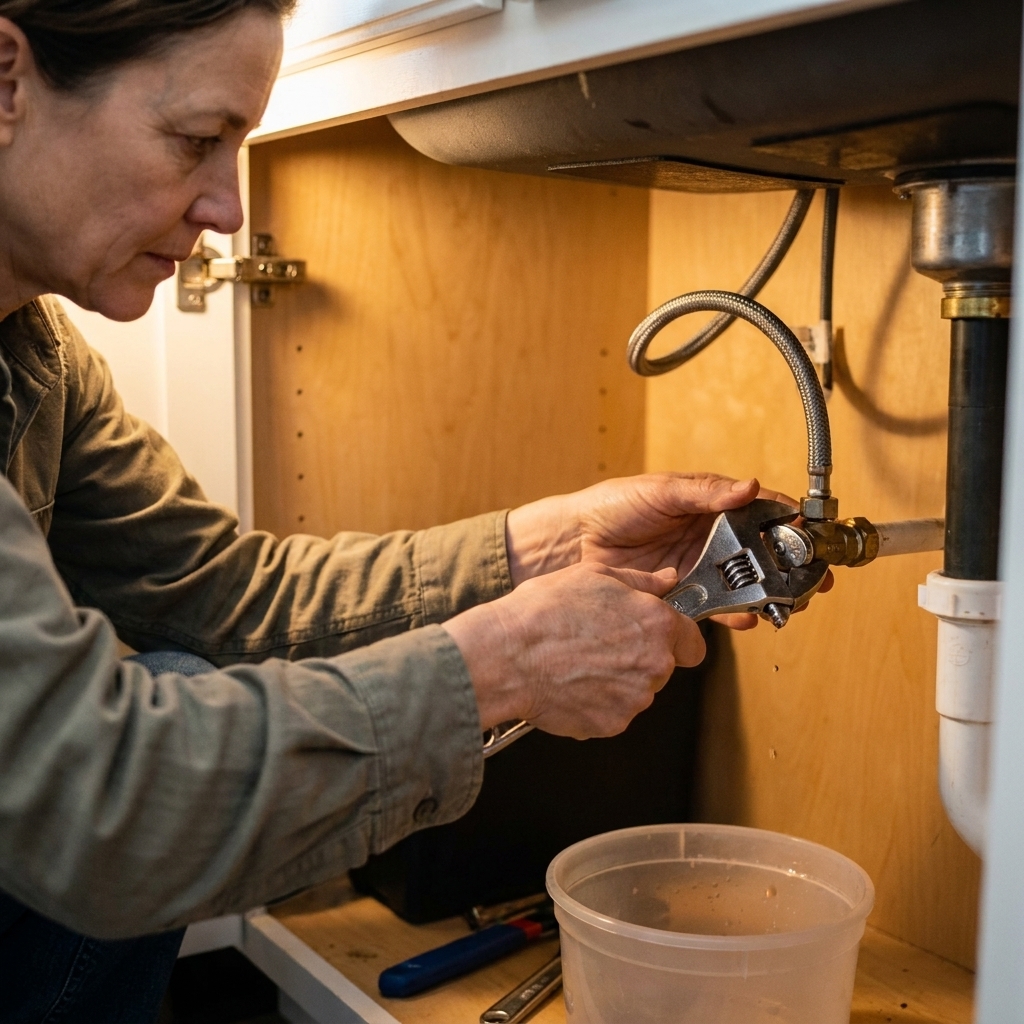
Step 4: Remove the old mounting hardware (10 to 20 minutes)
This is the part that can make or break your one-hour goal. Old faucets are usually held by a mounting nut, a mounting bracket, or both. They live up under the sink, directly beneath the faucet body.
How to remove it the easy way
- Use a basin wrench to loosen the mounting nuts in tight spaces.
- If you can reach it comfortably, an adjustable wrench works too.
Rusty faucet? Here are my go-to tricks
- Penetrating oil: Spray the mounting nut and let it sit 5 to 10 minutes.
- Wire brush: Knock off loose rust so the wrench can bite.
- Back-and-forth motion: Tiny tightening then loosening movements can break corrosion.
- Last resort: If the nut is fused and you cannot remove it, carefully cut the mounting hardware with an oscillating multi-tool. Protect the sink and cabinet surfaces, and be mindful of nearby supply lines. Go slow and controlled.
Once the hardware is off, lift the faucet straight up from above the sink. If it feels glued down, rock it gently and break the seal from old putty or mineral buildup.
Step 5: Clean the sink deck (5 minutes)
A new faucet will only look as good as the surface it sits on. Scrape away old plumber’s putty or silicone, then clean the area thoroughly. Mineral rings hide under faucet bases all the time.
Quick checklist:
- No old putty chunks
- No silicone ridges
- Surface dry and smooth
- No grit that could scratch finishes

Step 6: Install the new pull-down faucet (10 to 15 minutes)
Every faucet brand has its own sequence, so keep the instructions nearby. That said, most pull-down faucets follow this pattern.
1) Set the deck plate if you are using one
If your sink has extra holes, place the deck plate over the holes. Some use a foam gasket. Others call for a thin bead of silicone. Follow your manual so you do not trap water under the plate long-term.
2) Feed lines and seat the faucet
From above the sink, feed the faucet’s supply lines and pull-down hose through the hole(s). Seat the faucet base flat on the sink. Take a moment to align it straight. This is the easiest time to make it perfect.
3) Secure from below
From inside the cabinet, install the rubber washer, metal washer, and mounting nut or bracket (order varies). Tighten until the faucet is snug and does not rotate, but do not crank it so hard you warp a stainless sink.
4) Connect the pull-down hose and weight
Snap or thread the pull-down hose connection per the manufacturer. Install the hose weight on the marked section of hose so the sprayer retracts smoothly. Confirm it does not hit the P-trap or snag on supply lines.
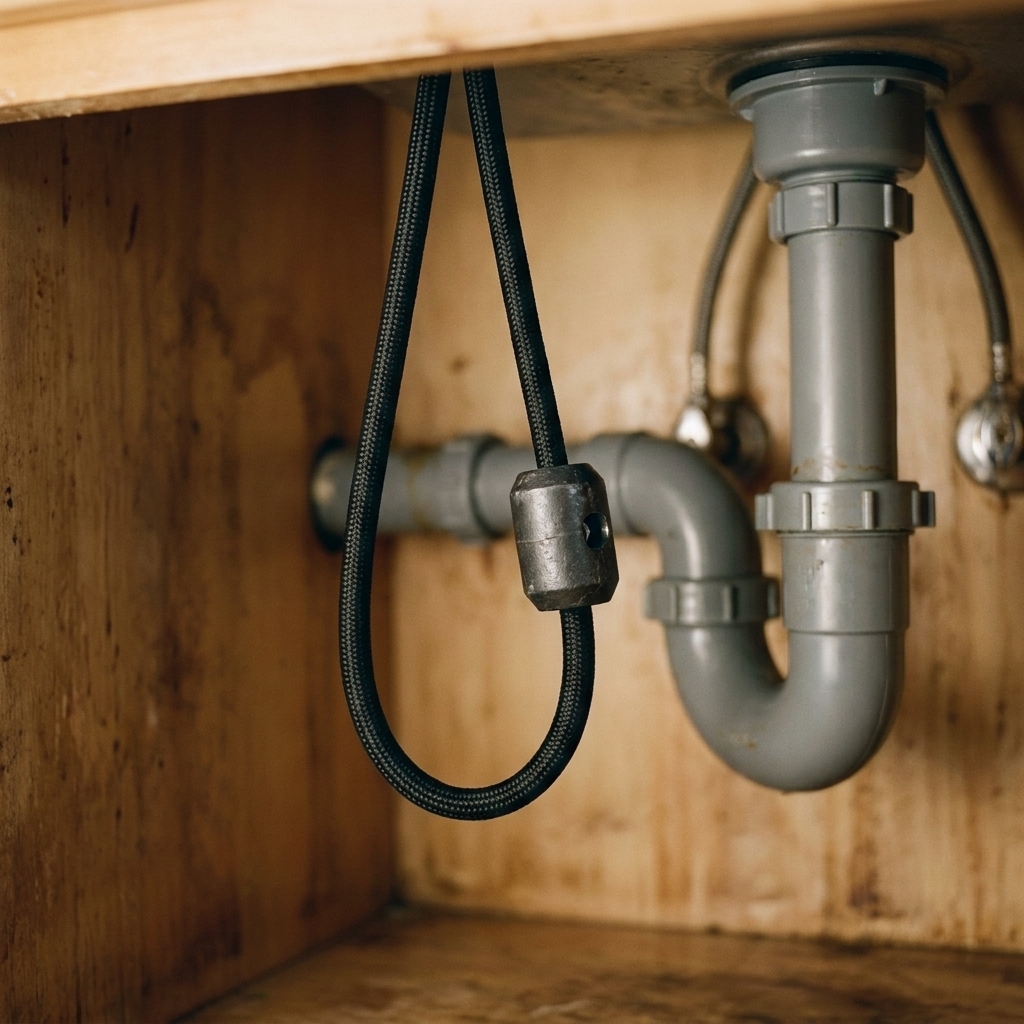
Step 7: Hook up water lines (5 to 10 minutes)
Connect hot and cold supply lines to the angle stops. The most common valve outlet is 3/8 inch compression, but older installs can be 1/2 inch or something more unusual. If you are buying new braided lines or adapters, verify the valve size first.
Tighten by hand first to avoid cross-threading, then snug with a wrench.
- Do not overtighten. Compression connections at the angle stop seal with a ferrule. Other connections (common on faucet-supplied lines) seal with a rubber gasket inside a swivel nut. Either way, cranking too hard can damage the seal and create leaks.
- Check hot vs. cold. Typically, hot is on the left and cold is on the right as you face the sink.
About thread tape: Do not use Teflon tape on compression connections. If your faucet includes a threaded connection that specifically calls for tape or sealant, follow the manufacturer’s instructions.
Step 8: Turn water back on and check for leaks (5 minutes)
Slowly open each angle stop (cold and hot). Take your time. Sudden pressure can reveal a weak connection fast.
With the faucet still off, check under the sink for drips at each connection, including any dishwasher tee.
Turn the faucet on and run water through both hot and cold. Switch spray modes if your faucet has them.
Flush per the manual: Many installs release a little debris. Your manufacturer may tell you to flush with the aerator removed. If flow seems low, remove the aerator, rinse it, and reinstall.
Leak check tip: Wrap a dry paper towel around each connection for 10 seconds. Even a slow seep shows up immediately.
Troubleshooting common hiccups
My shutoff valve leaks after I touched it
This happens with older angle stops. First, try gently tightening the packing nut (the small nut behind the valve handle) by about 1/8 turn. Do not overtighten. If it still leaks, or if the stem looks badly corroded, replacement is usually the safer move. Place a bowl under it and keep cabinet contents out of the way until you can swap the valve.
The faucet wiggles
Usually the mounting nut is not fully snug, or the rubber washer is not seated flat. Re-check alignment from above, then tighten the mounting hardware from below.
Low water pressure after install
- Make sure the angle stops are fully open.
- Check for a kinked pull-down hose under the sink.
- Remove and clean the aerator.
The sprayer will not retract
Confirm the weight is installed in the correct spot and the hose has a clear path. The most common issue is the weight bumping into the P-trap or getting caught on a supply line.
When to call a pro
I am all for confident DIY, but pause and call a plumber if:
- You cannot shut the water off at the fixture or main
- The angle stops are corroded or the pipes move when you loosen fittings
- You see signs of active cabinet water damage, mold, or a soft cabinet floor
- Your setup involves unusual adapters, older galvanized piping, or a weird custom sink mounting situation
Paying for a clean, safe fix is always cheaper than repairing a swollen cabinet base and a soaked subfloor.
My under-an-hour checklist
- Clear cabinet, towel down
- Shut off hot and cold, relieve pressure
- Disconnect supply lines, bucket ready
- Remove mounting hardware (basin wrench is your best friend)
- Lift faucet, clean sink deck thoroughly
- Install new faucet and deck plate
- Connect pull-down hose and weight
- Hook up hot and cold lines
- Turn water on slowly, paper-towel leak test
FAQ
Do I need plumber’s putty or silicone under the faucet?
Use what the manufacturer specifies. Many modern faucets seal with a foam or rubber gasket and do not need putty. If your instructions call for silicone, use 100% silicone. Do not mix and match unless you know the faucet is designed for it.
How tight should supply line connections be?
Hand tight first, then snug with a wrench. If it leaks, tighten a tiny bit more. Overtightening is a very common cause of damaged fittings and persistent drips.
Can I reuse my old supply lines?
If they are in great condition and the fittings match, sometimes yes. In practice, braided lines are inexpensive and I usually replace them during a faucet swap for peace of mind, especially if the old lines are more than a few years old or show any corrosion.
What if my sink has extra holes but my new faucet is one hole?
Use the deck plate that comes with the faucet or buy the matching plate made for your model. It will cover the extra holes cleanly and prevent water from collecting around the base.