Step-by-step instructions to shut off the water, remove an old corroded faucet, and install a pull-down kitchen faucet. Includes tool list, stuck-nut tricks,...
I grew up holding the flashlight for my dad under sinks, and if there is one universal truth down there, it is this: the “easy swap” is only easy when you plan for the parts you cannot see. A bathroom faucet replacement is absolutely DIY-friendly, but the pop-up drain and supply lines are where most first-timers get tripped up.
This walkthrough covers removing a centerset, widespread, or single-hole faucet and installing a new one, plus the pop-up drain assembly. I will also show you how to match the hole count on your vanity top and when a deck plate can save the day.
Before you buy: match your faucet to the holes in your vanity
Bathroom faucets are usually one of these three types:
- Centerset (4-inch): Three holes close together, usually combined into one faucet body. Most common in builder-grade bathrooms.
- Widespread: Three holes spaced farther apart, with separate hot handle, spout, and cold handle.
- Single-hole: One hole for the faucet body, often a single lever.
Count your holes first. Look at the sink or countertop behind the faucet. If you see three holes, you need either a centerset or widespread, depending on spacing and the faucet style you choose. If you see one hole, you need a single-hole faucet.
Can a deck plate cover extra holes?
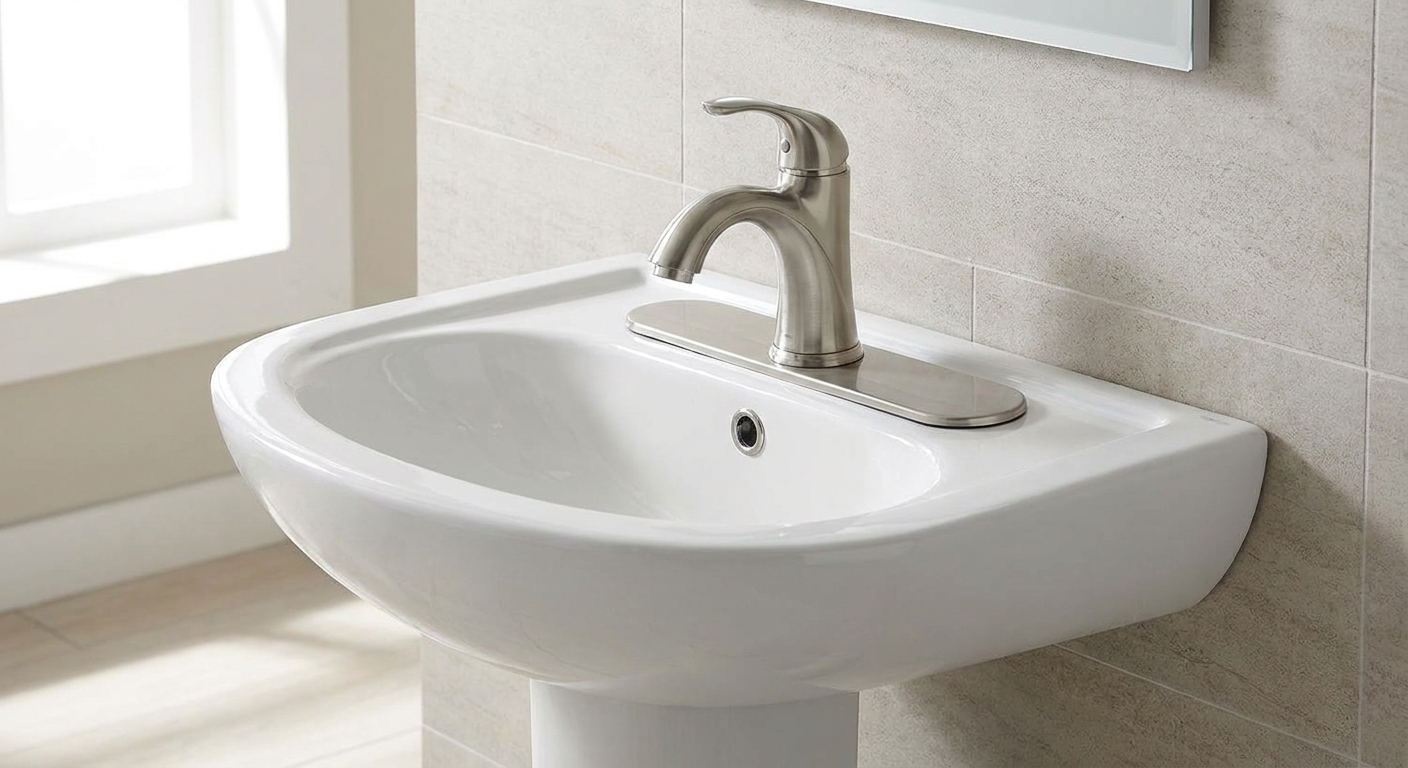
Yes, sometimes. A deck plate (also called an escutcheon plate) is the long base plate that sits under a single-hole faucet to cover two extra holes.
- If your sink has three holes but you want a single-hole faucet, buy a faucet that includes a deck plate, or buy the brand’s matching plate.
- If your sink has one hole, you generally cannot install a centerset or widespread without drilling the sink or countertop, which I do not recommend for most homeowners.
Quick reality check: Some three-hole sinks have holes that are too wide or too far apart for a random universal deck plate to cover cleanly. If you are trying to hide existing holes, stick with the deck plate made for your faucet model whenever possible.
Tools and supplies you will actually use
- Adjustable wrench or two (or a basin wrench for tight spaces)
- Channel-lock pliers
- Bucket and old towels
- Flashlight or headlamp
- Painter’s tape (optional, for protecting finishes)
- New faucet (and deck plate if needed)
- New supply lines (recommended, unless yours are nearly new and in perfect shape)
- Plumber’s putty or silicone (use what your drain instructions specify)
- Pop-up drain assembly (often included with the faucet, but not always)
- Penetrating oil (helpful on older corroded nuts)
My pro habit: I almost always replace the supply lines during a faucet swap. They are inexpensive, and reusing older braided lines is not worth the risk of a surprise leak later.
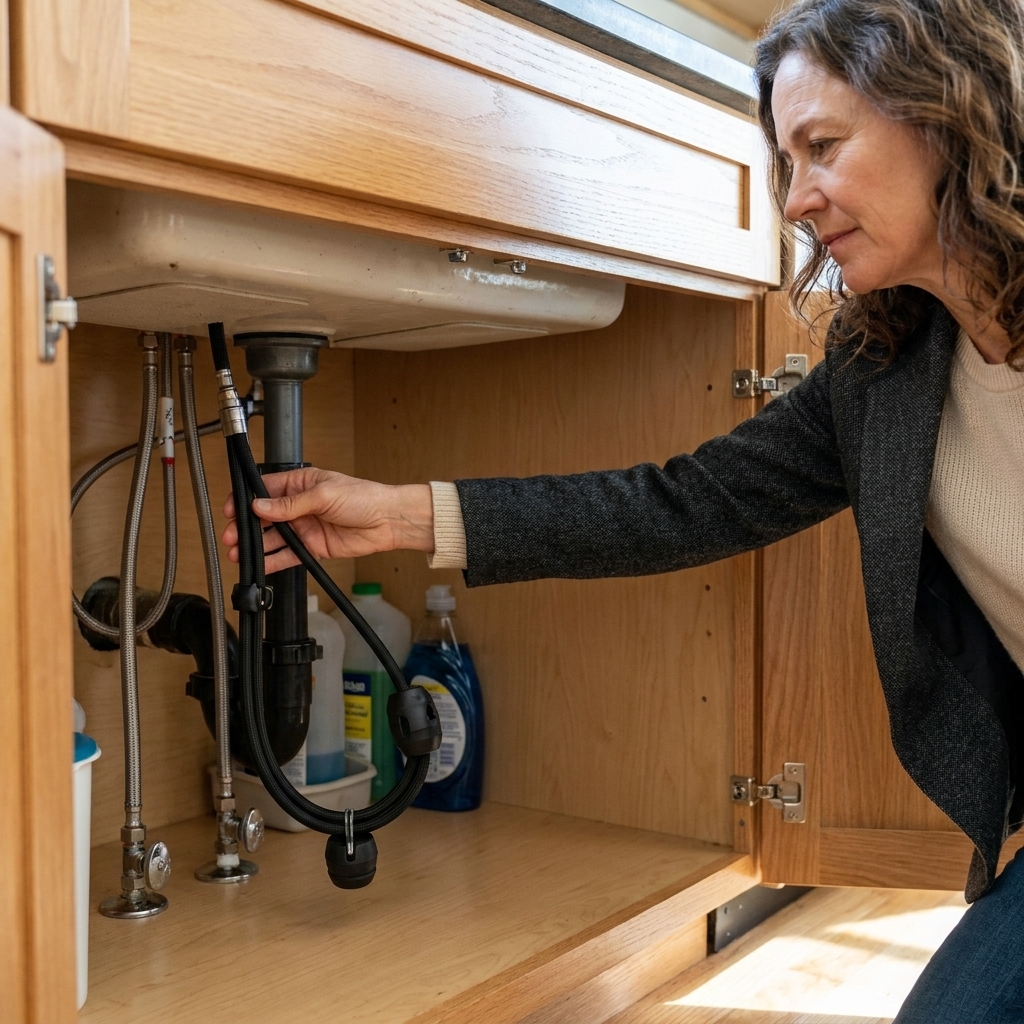
One detail that saves a second hardware-store trip: Check the size at your shutoff valves before you buy lines. Most modern bathroom stops are 3/8-inch compression, but some older setups are different. Match the valve outlet to your new faucet’s inlet, and grab the right adapters if you need them.
Step 1: Shut off the water and prep the workspace
- Clear out the vanity. Give yourself space to work and protect anything you do not want to get wet.
- Turn off both shutoff valves under the sink (hot and cold). Turn clockwise until snug.
- Relieve pressure by turning on the faucet. Keep it on until the flow stops.
- Plug the drain opening with a rag so small parts do not drop into the abyss.
If your shutoff valves do not turn, stop here. Forcing old valves can create a bigger plumbing problem than the faucet ever was. In that case, it is smarter to replace the valves or call a plumber.
Step 2: Disconnect supply lines
Place a bucket under the connections. Then:
- Use a wrench to loosen the nut that connects each supply line to the shutoff valve.
- Disconnect the other end of each line from the faucet shank(s).
Have towels ready. Even with the valves off, you will get some water drips from the lines and the faucet body.
Step 3: Remove the old faucet
From inside the vanity, locate the mounting hardware holding the faucet to the sink or countertop.
Centerset
Most centersets are secured with mounting nuts, a mounting bracket, or a mounting plate system. Loosen the hardware and lift the faucet out from above.
Widespread
Widespread faucets usually have separate mounting nuts for each valve (hot and cold) and for the spout. Disconnect any quick-connect hoses between parts, then loosen the mounting nuts and lift each piece out.
Single-hole
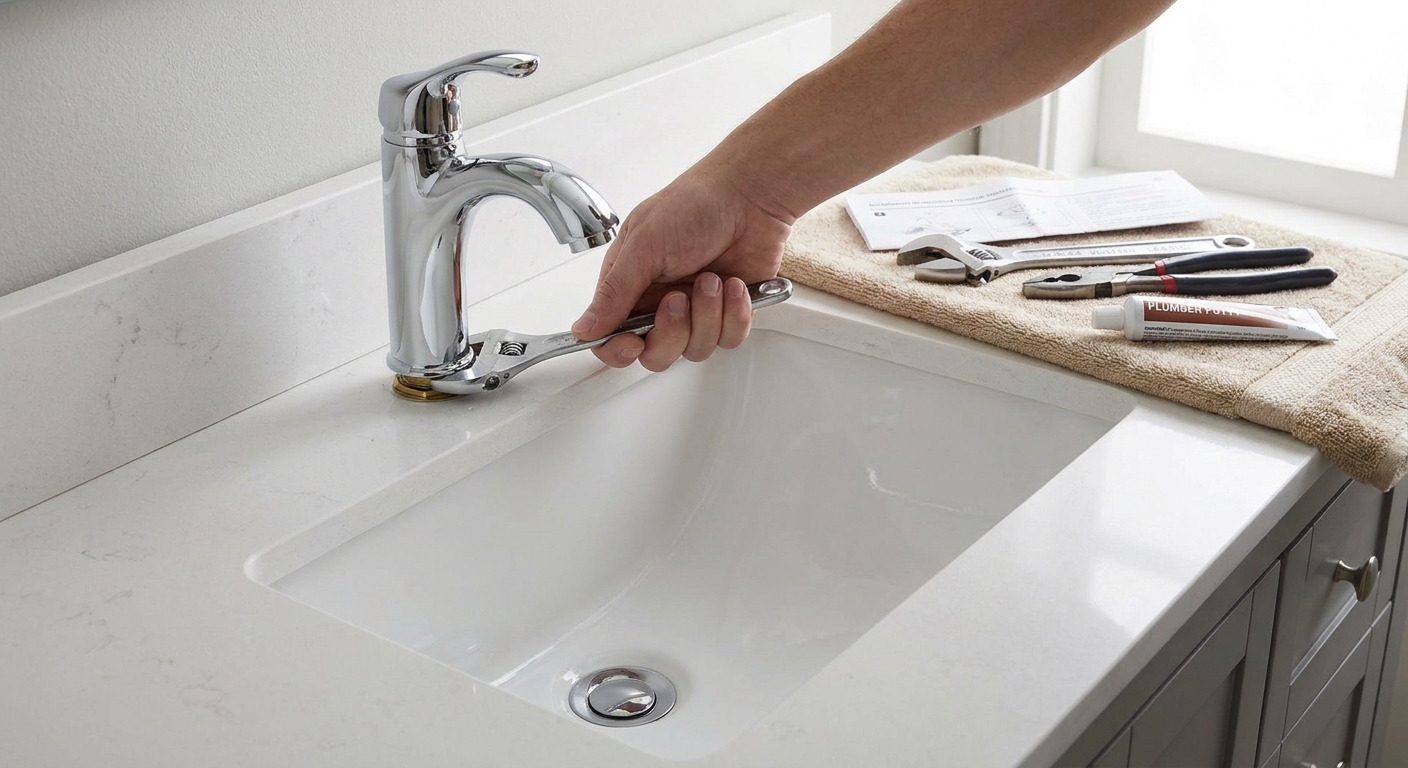
Single-hole faucets are typically held with one large nut or a mounting bracket system. Remove the nut or bracket and lift the faucet out.
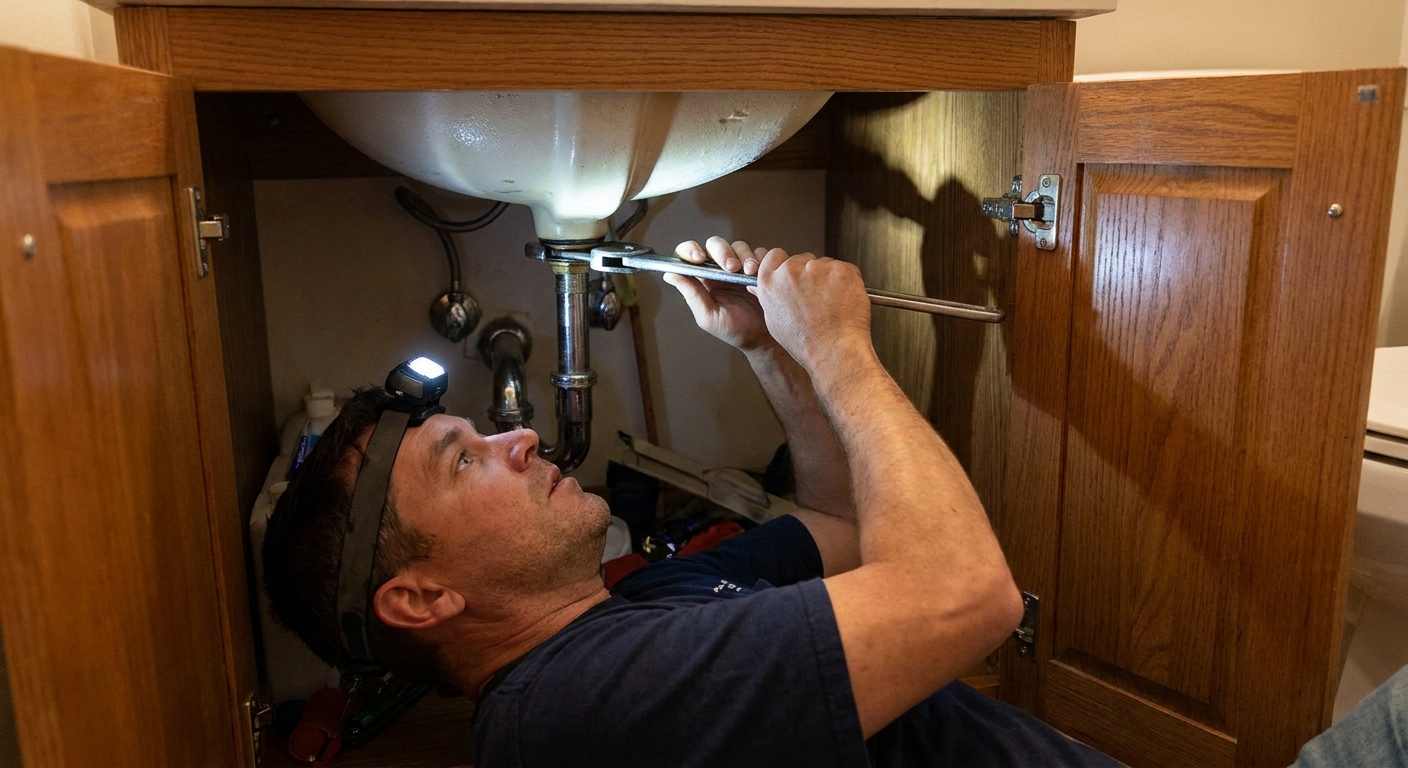
Stuck hardware tip: If the nuts are crusty and will not budge, a little penetrating oil and 10 minutes of patience can be magic. A basin wrench also helps in the tightest spots.
Once the faucet is out, clean the sink deck thoroughly. Old putty and mineral buildup prevent the new faucet from seating correctly, and that can create tiny leaks that drive you nuts later.
Step 4: Remove the old pop-up drain
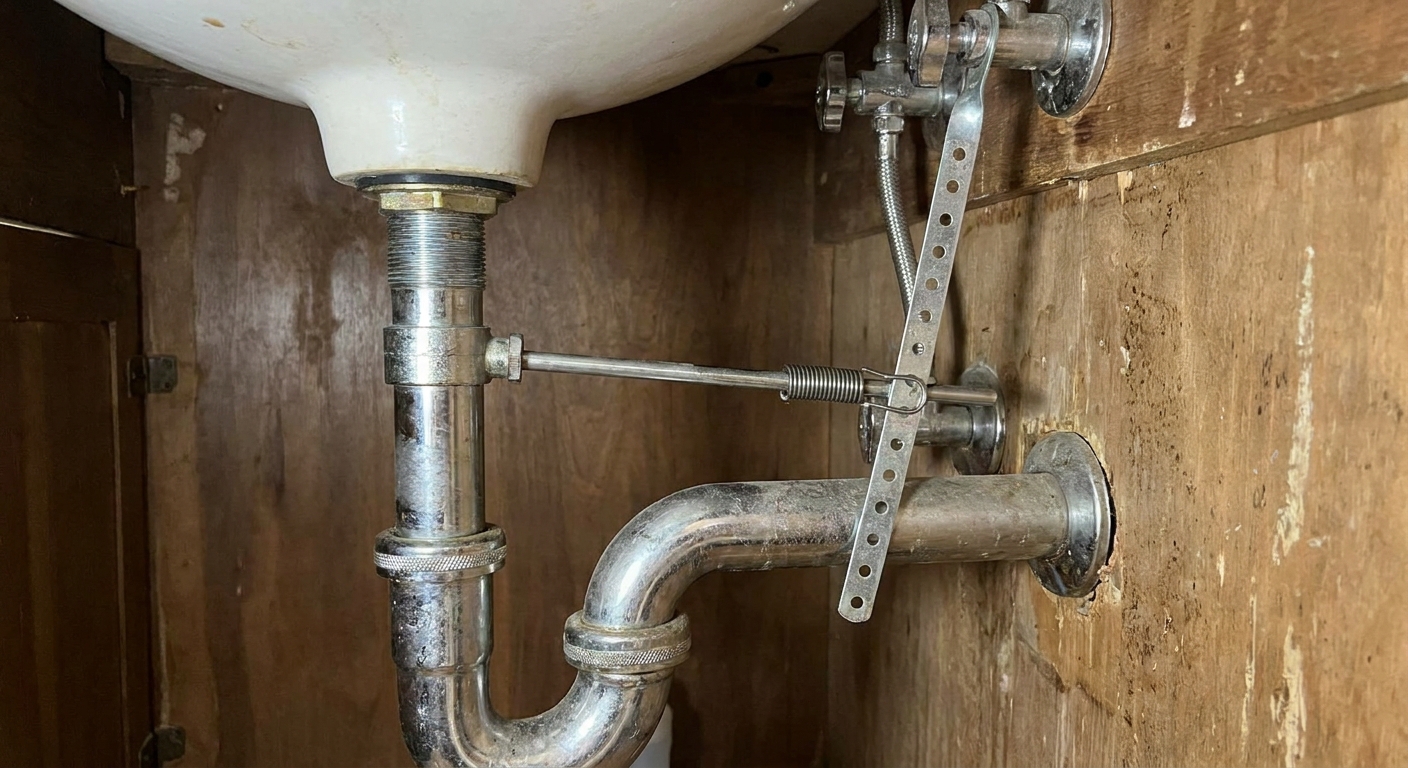
The drain assembly has a few key parts: the pop-up stopper, the pivot rod (the horizontal rod that goes into the drain body), and the lift rod strap (the perforated vertical piece connected to the faucet lift rod).
- Under the sink, unscrew the pivot rod nut from the drain body and pull the pivot rod out.
- Remove the P-trap if you need more room. Place a bucket underneath and loosen the slip nuts.
- Unscrew the locknut holding the drain body to the sink, then remove the drain flange from above.
Clean away old putty or silicone from the sink drain opening. A clean surface matters here because the drain flange is one of the most common leak points.
Step 5: Install the new faucet
Your faucet instructions matter because brands vary. That said, the general order is consistent.
- Dry fit first. Set the faucet and deck plate (if using) on the sink to make sure everything aligns and sits flat.
- Install the gasket or apply sealant as directed. Many faucets use a foam or rubber gasket and do not need putty. If the manufacturer calls for silicone, use a small, neat bead.
- Drop the faucet into the hole(s) from above.
- Secure from below with the mounting bracket and nuts. Tighten evenly until the faucet is stable and the gasket is compressed. Do not over-tighten. You can crack vitreous china and you can stress thinner vanity tops.
Clever cabinetry note from someone who has bonked her head under too many vanities: If you have a shallow drawer or tip-out tray in the vanity, check clearance before you fully tighten everything. Supply lines and faucet shanks can interfere with storage accessories.
Step 6: Connect the supply lines
There are two common situations:
- New faucet with standard threaded connections: Attach the supply lines to the faucet shanks first (usually easiest), then to the shutoff valves.
- Faucet with quick-connect hoses: Click the hoses in place per the manufacturer directions, then connect the hose ends to the shutoff valves.
Important: Start every connection by hand for a few turns to avoid cross-threading. Then finish with a wrench.
Also important: Do not use plumber’s tape on true compression connections (the common 3/8-inch compression style found on many angle stops). The seal is made by the compression surfaces, not by tape on the threads. If your shutoff valve outlet is actually threaded (IPS/NPT style) or your faucet instructions specify thread sealant, follow the valve and faucet directions.
Tighten by hand first, then use a wrench for the final firm turn. Once the water is back on, re-check and tighten a touch only if you see a seep.
Step 7: Install the new pop-up drain
Many faucet kits include a pop-up drain, but not all do. Some sinks also use a push-button stopper instead. Confirm what your faucet came with before you start.
Install the drain flange
- From above, place plumber’s putty under the drain flange if the instructions call for putty. If they call for silicone, use silicone instead. Do not mix products unless the instructions explicitly allow it.
- Insert the drain body down through the sink drain hole.
- From below, install the rubber gasket and washer in the correct order, then thread on the locknut and tighten.
Reconnect the pivot rod and stopper
- Drop the stopper into the drain from above.
- Insert the pivot rod through the drain body so it catches the stopper’s opening.
- Tighten the pivot rod nut.
- Connect the lift rod strap to the pivot rod with the small spring clip, then connect the faucet lift rod to the strap. Adjust so the stopper opens and closes smoothly.
If you removed the P-trap, reinstall it now and snug the slip nuts. Make sure the washers are seated correctly. A backwards slip-joint washer is a classic slow leak.
Step 8: Turn the water back on and do leak checks
This is where you go from “installed” to “done.” Turn on the shutoff valves slowly, then test in two rounds: supply connections first, then drain.
Check the faucet supply connections
- With the faucet still off, inspect the connections at the shutoff valves and at the faucet shanks for any immediate dripping.
- Turn the faucet on to run hot and cold water, one at a time, and look again.
- Run your finger around each nut. A slow seep is easier to feel than to see.
Check the drain flange and pop-up
- Fill the sink halfway with water, then let it drain while you watch the drain body, pivot rod nut, and P-trap connections.
- Close the stopper again and fill the sink. Let it sit for a couple of minutes. Then check under the sink for moisture. A leak at the drain flange often shows up during a standing-water test.
If you find a drip, start by tightening slightly. If a drain flange leak persists, the flange may need to be removed and reset with fresh putty or silicone.
Common hiccups
The new faucet does not cover old marks
This happens when the old faucet had a larger footprint. A deck plate can sometimes hide the outline. If not, you may be looking at gentle cleaning and polishing, or in some cases replacing the sink or top if the finish is etched. When you clean, skip abrasives on plated finishes. A mild cleaner and a soft cloth are the safer choice.
My shutoff valves leak after I touched them
Old angle stops can start dripping at the packing nut when they are turned. Sometimes you can snug the packing nut a touch. If the valve continues to leak or will not shut off fully, replacement is the right fix.
Pop-up stopper is sticky or will not seal
Usually it is an adjustment issue with the lift strap connection. Reposition the spring clip to change the stopper travel. Also confirm the pivot rod is actually catching the stopper correctly inside the drain.
Widespread faucet hoses are a mess
Before tightening everything permanently, loosely arrange hoses so they do not kink and do not rub sharply on the cabinet. A gentle curve is your friend.
When to call a pro
- You cannot shut off the water at the fixture shutoff valves
- The shutoff valves are corroded, leaking, or stuck
- Your drain piping is glued PVC that would need cutting to remove the trap
- You discover a cracked sink, rotted vanity top, or water-damaged cabinet floor
There is zero shame in tagging in a plumber for the parts behind the wall or in the cabinet. Your goal is a beautiful faucet swap that does not become an emergency.
Quick final checklist
- Faucet matches hole count or uses a proper deck plate
- Faucet mounting hardware tight and faucet aligned straight
- Supply lines match your valve and faucet sizes, and are not kinked
- No drips at supply nuts (valves and faucet shanks)
- Pop-up opens and closes smoothly
- No leaks at the drain flange, pivot rod nut, or P-trap
Once everything stays dry through a full hot-and-cold run and a full sink drain test, you are done. And next time you lean into that vanity with a flashlight, it will be because you are proud, not because something is dripping.