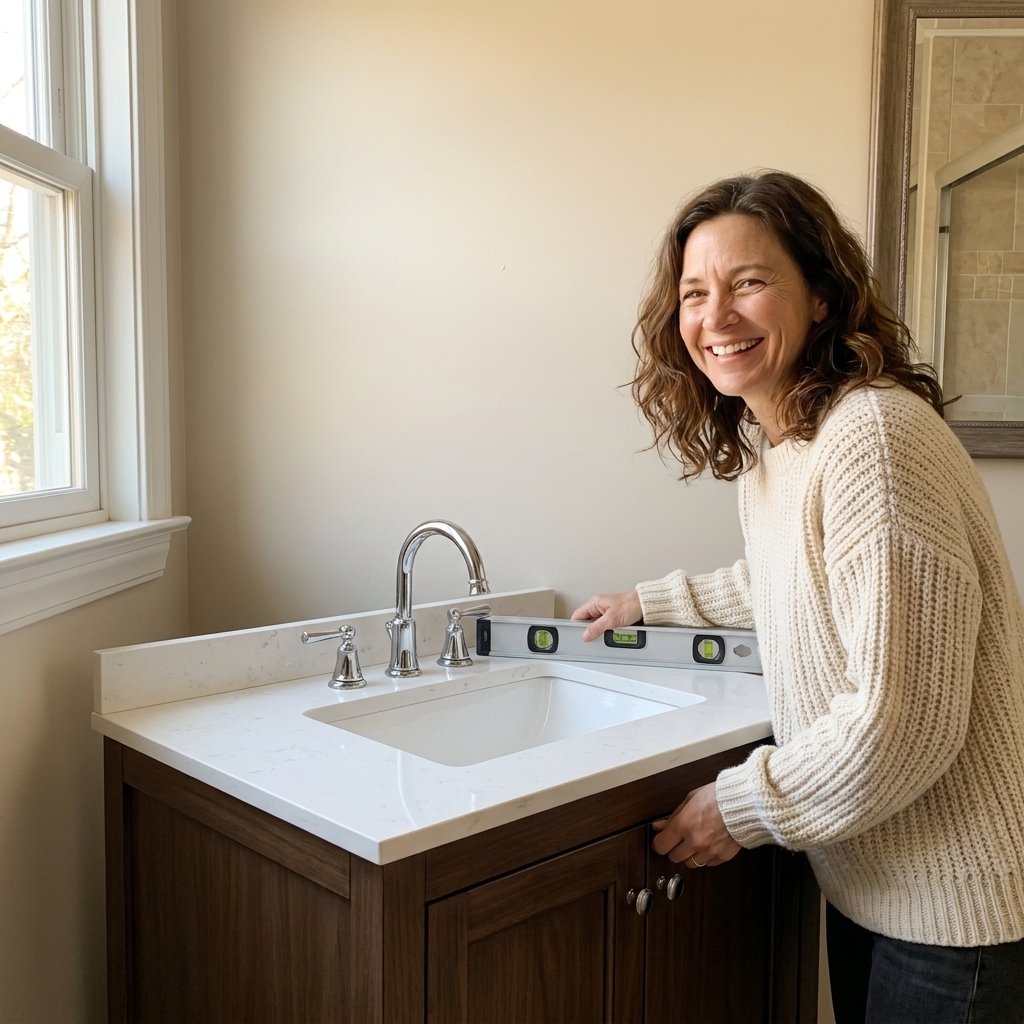
A step-by-step vanity swap guide with real-world plumbing tips, wall and floor fixes, and finishing details so your new vanity looks built-in, not DIY.
Swapping a toilet looks intimidating until you do it once. It is mostly careful prep, a little heavy lifting, and knowing the couple of spots where people accidentally create leaks. I grew up handing my dad a flashlight under sinks, and toilets were always his “quick calls” that turned into long days when the flange was broken or the seal was mishandled. This guide will keep you out of that mess.
If you can lift safely and you are comfortable turning off a valve, you can absolutely do this and save a solid chunk of plumbing labor. If your bathroom has a history of leaks through the ceiling below, recurring clogs you cannot explain, or an old cast iron setup with signs of corrosion or movement around the flange, skip the hero act and call a pro early.
Quick fit check before you buy: Measure your rough-in (below), and also confirm round vs elongated bowl, comfort height vs standard, and whether you have room for the tank to clear the wall and trim. Those little compatibility details are what keep “simple” installs simple.
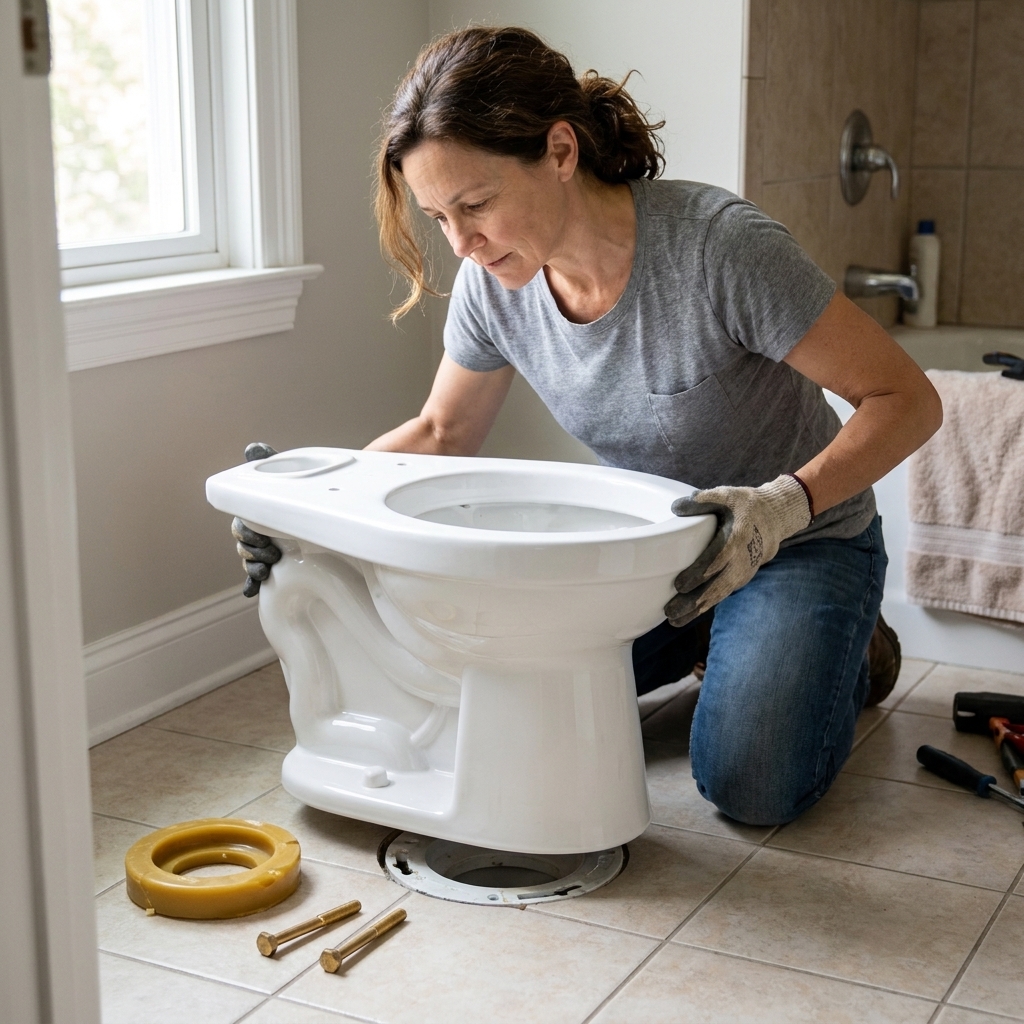
Tools and materials
Many toilet problems happen because someone improvised with the wrong parts. Gather everything first so you are not running to the store mid-install with a bathroom out of commission.
Tools
- Adjustable wrench and/or 1/2-inch wrench
- Flathead screwdriver
- Putty knife or plastic scraper
- Utility knife
- Bucket and small cup or sponge
- Old towels or rags
- Rubber gloves
- Level (torpedo level is fine)
- Caulk gun (optional but recommended)
Parts and supplies
- New toilet (bowl and tank, or one-piece)
- New toilet supply line (recommended, sized to your shutoff and toilet)
- New wax ring or wax-free seal (more on choosing below)
- New closet bolts and washers (often included with the seal kit)
- Toilet shims (plastic)
- Painter’s tape (optional, helps keep things tidy)
- Bathroom caulk (mildew-resistant, color-matched to your toilet or floor)
Pro tip: If your shutoff valve looks corroded or you have to muscle it to turn, plan on replacing it before you put the new toilet in. A stuck or leaking valve can ruin a “simple” DIY day.
Before you start
Confirm rough-in
Most toilets are 12-inch rough-in, meaning the center of the closet flange and bolts is about 12 inches from the finished wall behind the tank. Measure from the finished wall (not the baseboard) to the center of the closet bolts or flange. Baseboard thickness can throw off measurements if you use it as your reference point. Common rough-ins are 10, 12, and 14 inches. Buy the right toilet for your rough-in or you will be fighting poor fit and wall gaps.
Pick the right seal
Wax ring is the classic and very reliable when installed correctly. Wax-free seals can be great for DIYers because they are more forgiving if you have to lift and reset the toilet, but they must match your flange height and toilet outlet shape. Always follow the toilet and seal manufacturer instructions if they differ from general advice.
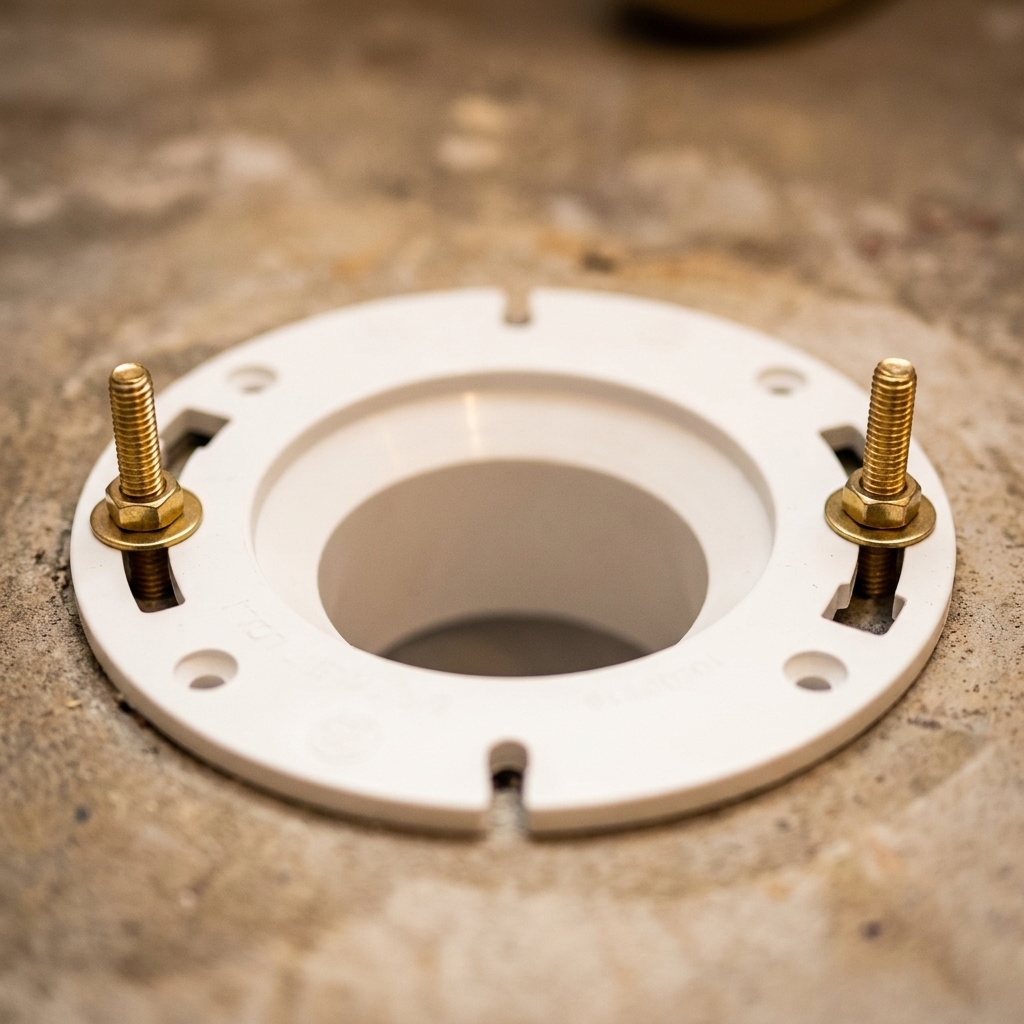
Flange height matters. A common target is the top of the flange sitting roughly level with the finished floor, or up to about 1/4 inch above it.
- If the flange sits about level with the finished floor, a standard wax ring is usually fine.
- If the flange is slightly below the floor, use an extra-thick wax ring or the correct wax ring style for your setup. A flange extender kit is often the cleaner fix.
- If the flange is significantly low or the floor was built up with new tile, consider a flange extender kit instead of stacking wax rings.
About stacking wax rings: Some plumbers double up wax in the field, but it is a common DIY trouble spot. For homeowners, a single correct-thickness ring or a flange extender is the safer play.
Step 1: Shut off water and drain
Turn off the shutoff valve behind the toilet by turning it clockwise until it stops.
Flush the toilet to empty the tank and bowl as much as possible.
Hold the handle down to force as much water out of the tank as you can.
Sponge or cup out the remaining water from the tank, then the bowl. Get it as dry as practical to avoid drips during removal.
If the shutoff valve will not fully stop the water: You may need to shut off the house main temporarily. Do not proceed with an unreliable valve. That is how bathrooms get flooded.
Step 2: Disconnect the supply line
Place a towel and a small bucket under the shutoff valve. Unscrew the supply line nut at the bottom of the tank, then at the shutoff valve if you are replacing the line (recommended). A little water is normal.
Skip reusing the old supply line unless it is fairly new and in perfect shape. They are inexpensive, and a fresh line reduces the odds of a surprise leak.
Step 3: Prep the area
Before you start lifting porcelain, make the job less messy and less stressful.
- Lay down towels or a drop cloth to protect the floor.
- Clear your carry path out of the bathroom.
- Plan a landing spot for the old toilet (contractor bag or thick towel).
Trap water tip: Even after sponging, the bowl trap holds water. When the toilet is free, tilt it carefully over a bucket to drain what you can before carrying it through the house.
Step 4: Remove the tank (optional)
If you have a two-piece toilet, taking the tank off first makes the bowl much easier to lift.
Inside the tank, you will typically see the bolt heads with rubber washers. Under the tank, you will see the nuts on those tank bolts.
Hold the bolt heads steady inside the tank (if needed) and remove the nuts under the tank with a wrench.
Lift the tank straight up and set it on a towel in a safe spot.
One-piece toilets are heavier but have fewer connections. If you have a one-piece, skip this step.
Step 5: Unbolt and break the seal
Pop off the decorative caps at the base and remove the nuts from the closet bolts.
Use a gentle rocking motion to break the seal. Do not pry against tile with a screwdriver. Protect your floor.
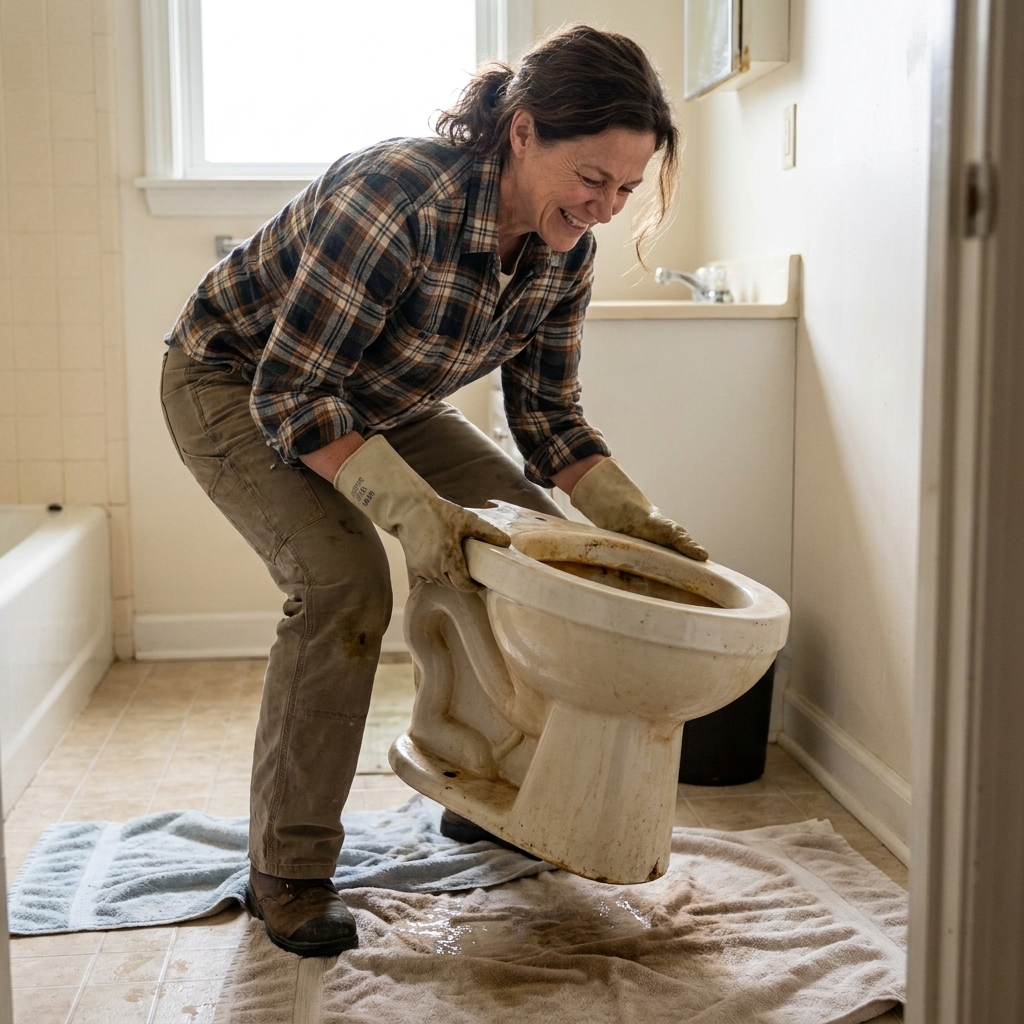
Lift the toilet straight up. Set it on a contractor bag or thick towel.
Lift safely: Toilets are awkward more than they are impossibly heavy. Bend your knees, keep it close, and ask for help if you have back issues.
Step 6: Clean and inspect the flange
Now is the moment that separates a clean DIY win from a slow leak.
Scrape off all old wax from the flange and the underside of the old toilet outlet. Use a putty knife and wipe with a rag.
Plug the drain opening with a rag while you work to block sewer gas and prevent dropped hardware. Do not forget to remove it later.
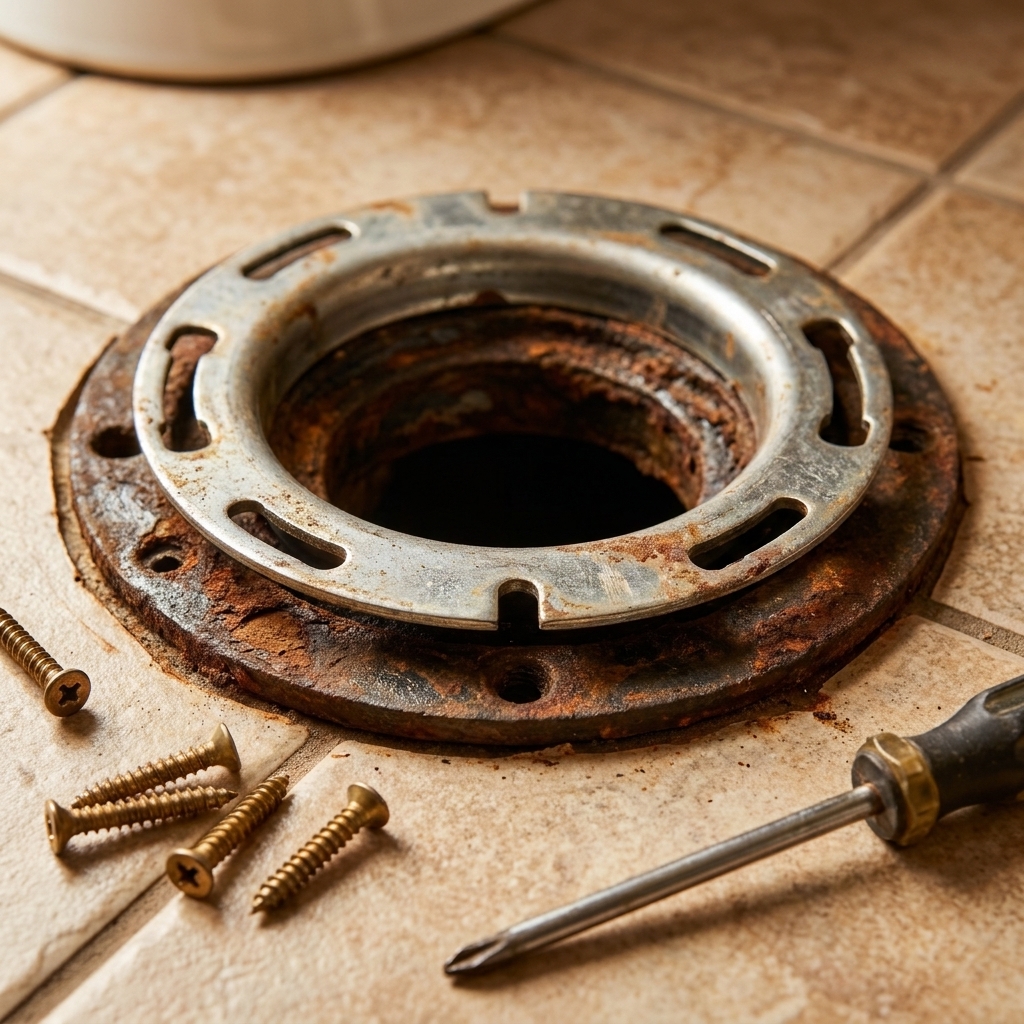
Inspect the flange for cracks, rust, loose screws, or a flange that sits too low.
Check the subfloor for soft spots or staining around the flange. If the floor is compromised, stop and repair the floor first. A new toilet will not fix rot.
What good looks like
- Flange solidly attached to the floor
- Flange top roughly level with the finished floor (or slightly above)
- Closet bolt slots intact and able to hold bolts tight
Common fix: A loose flange often needs new flange screws into solid framing, or a repair ring. If you cannot make the flange rigid, you cannot make the toilet leak-free.
Quick health note: Wear gloves, keep the drain plugged while you work, and disinfect the floor around the flange before you set the new toilet.
Step 7: Dry-fit the new toilet
Before you commit to a seal, set the new bowl onto the flange without a wax ring to confirm:
- The closet bolts line up cleanly
- The toilet sits flat or can be shimmed solidly
- The tank clears the wall and does not hit trim
- The supply line reaches comfortably
Lift the bowl back off and set it aside.
Step 8: Install new closet bolts
Slide the new closet bolts into the flange slots. Use the included plastic retainers or washers to keep them upright and in position. The bolts should be parallel to the wall and spaced evenly.
Step 9: Set the wax ring or seal
This is where people either win or create leaks.
If you are using a wax ring
- Some installers press the wax ring onto the underside of the toilet outlet. Others set it on the flange. My preference for DIY is to set the ring on the flange so you can visually confirm it is centered.
- Keep the wax at room temperature so it seats properly.
- Do not stack two standard wax rings. If the flange is low, use the correct thickness ring or a flange extender kit.
If you are using a wax-free seal
- Follow the kit instructions carefully, especially for flange height and spacer selection.
- Dry-fit pieces first so you do not discover a mismatch with the toilet hovering in your hands.
Step 10: Lower and seat the toilet
Remove the rag plugging the drain.
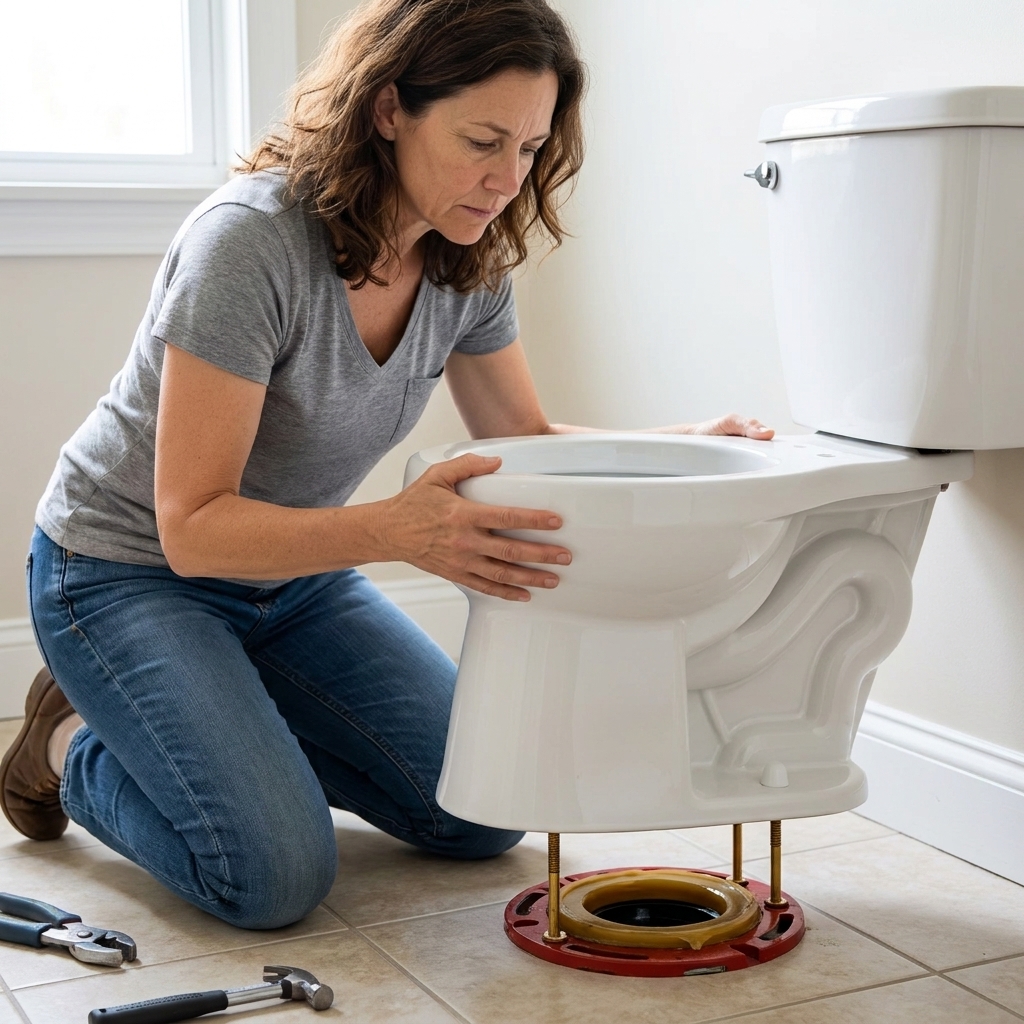
Lift the bowl, align the bolt holes, and lower it straight down. Avoid sliding it around, which can smear wax and compromise the seal.
Once it is down, press firmly with your body weight over the bowl rim to compress the wax. Gentle rocking is okay, but do not twist aggressively.
Rule I live by: The toilet should not be forced. If it is not lining up, lift it back up and re-center the seal. This is why wax-free seals can be nice for first-timers.
Step 11: Tighten the nuts
Add the washers and nuts to each closet bolt (typically a metal washer and nut, depending on your kit). Tighten evenly, alternating side to side. The goal is a stable toilet and a compressed seal without cracking the porcelain.
- Stop when the toilet feels solid and the nuts are snug.
- If the bowl still wobbles, use shims. Do not keep tightening to “fix” wobble.
Shim correctly
Slide plastic shims under the low spots until the bowl is rock-solid. Trim shim excess with a utility knife.
Important: A rocking toilet will break the seal over time. Fix the wobble now, even if it feels minor.
Step 12: Attach the tank
If your toilet has a separate tank:
Install the tank-to-bowl gasket (usually included) on the flush valve outlet.
Set the tank on the bowl, align bolts, and hand-tighten the nuts on the tank bolts.
Tighten each side gradually, alternating left and right, until the tank feels stable and level. Do not over-tighten. Porcelain can crack, and replacement tanks are not cheap.
If your toilet came preassembled or is one-piece, skip this step.
Step 13: Connect the supply line
Attach the supply line to the shutoff valve first, then to the fill valve on the bottom of the tank. Hand-tighten, then give a small additional turn with a wrench. Do not over-tighten.
Make sure the line is not kinked and is not rubbing hard against the wall or floor.
Step 14: Turn water on and test
Slowly turn the shutoff valve counterclockwise to open.
Let the tank fill. Watch the supply line connections closely.
Flush 2 to 3 times. Check:
- Base of toilet all the way around
- Tank bolts and tank-to-bowl connection
- Supply line at both ends
- Shutoff valve packing nut area
My favorite test: Lay a few squares of dry toilet paper around the base. Even a tiny seep will show up immediately.
Step 15: Caulk the base
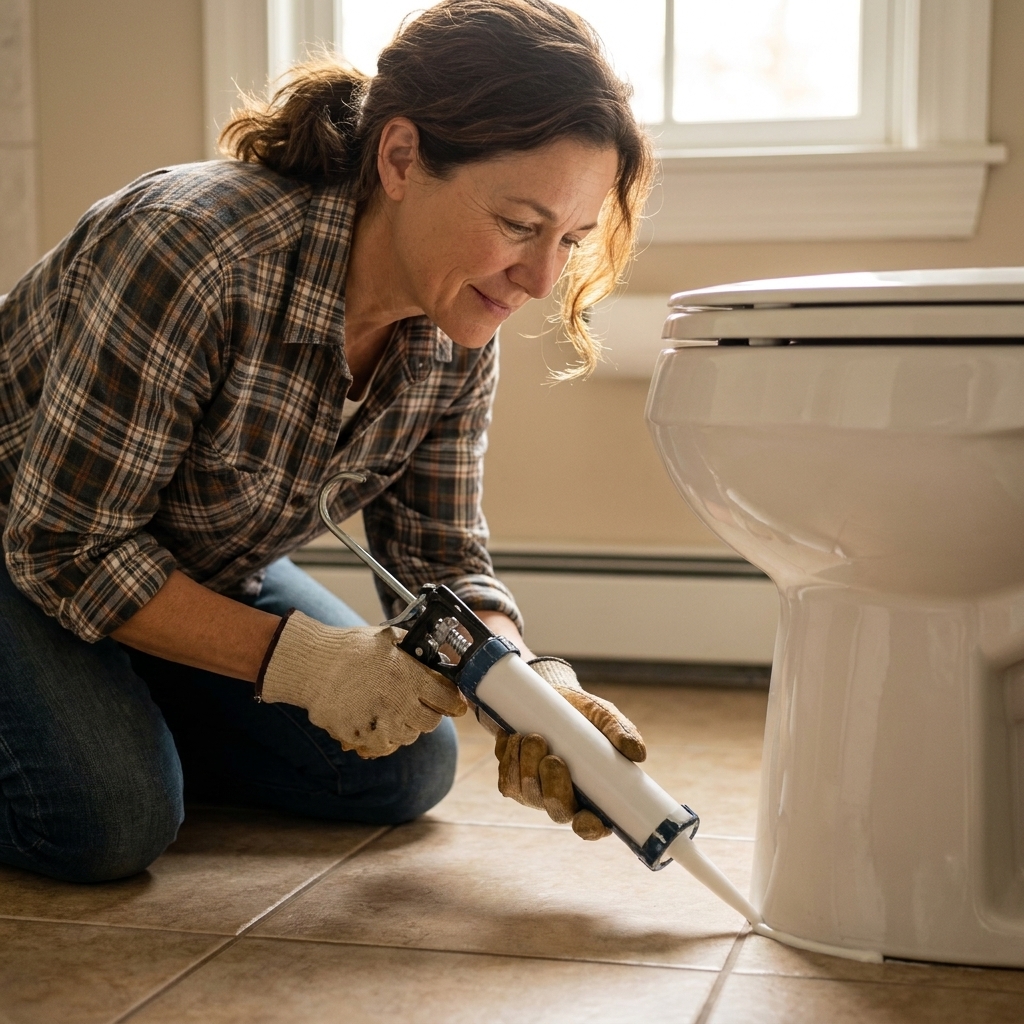
In many areas, caulking around the toilet base is recommended for hygiene and to prevent mop water from going under the toilet. Some local codes require it, and requirements vary by jurisdiction, so check your local rules. Some pros skip caulk entirely for easier leak detection. The homeowner-friendly compromise is:
- Caulk around the front and sides of the toilet.
- Leave a small gap at the back (about 2 inches) so that if there is ever a leak, you will see it instead of trapping water under the toilet.
Install the bolt caps after trimming the bolts (if needed) and once you are happy with the final alignment.
Disposal and cleanup
Old toilets are bulky but usually accepted at many construction and demolition debris facilities. Some municipalities accept them with bulky-item pickup. If the toilet is clean and in good shape, a local reuse store may take it.
Bag the old seal material and rags. Disinfect the floor around the flange area. Wash tools with hot soapy water. Then wash your hands like you mean it.
Troubleshooting
My new toilet rocks a little
Shim it. A tiny wobble will become a broken seal. Use plastic shims, not wood. After shimming, snug the bolts again gently.
Water is leaking at the base after flushing
That usually means the seal failed or the flange height is wrong. Turn off water, drain, remove the toilet, replace the wax ring or reset the wax-free seal, and reassess flange height. Also confirm the toilet is not rocking.
Water is leaking under the tank
Check the tank-to-bowl gasket placement and tank bolt washers. Tighten evenly. If it still leaks, you may have a mis-seated gasket or cracked part.
The shutoff valve drips after I touched it
Often the packing nut needs a slight snug, or the valve is failing. If you are not comfortable replacing it, this is a great moment to bring in a plumber. A reliable shutoff is not optional.
The toilet will not flush well
Confirm the tank water level is set to the manufacturer line and that the flapper chain has a little slack. If it is a new toilet and performance is poor, double-check that no packaging material is stuck in the trapway and that the bowl is seated properly.
When to call a pro
- Flange is cracked, broken, or significantly below the finished floor
- Signs of subfloor damage or mold
- Old cast iron drains with visible corrosion, movement, or a failing flange connection
- You cannot get a leak-free seal after a second attempt
- The shutoff valve or supply plumbing is failing
There is no shame in tapping out on flange repairs. That is the hidden “behind the wall” part of the job, and it is where water damage gets expensive fast.
Quick checklist
- Water off, tank and bowl drained
- Area protected, carry path cleared
- Old toilet removed, flange cleaned and inspected
- Closet bolts installed straight
- Correct seal selected for flange height
- Toilet lowered straight down, no sliding
- Bolts tightened evenly, toilet shimmed solid
- Supply line connected with no kinks
- Multiple flushes, full leak check
- Caulk front and sides, leave a gap at back
If you made it through that list, you just did a real plumbing install. Put your tools away and enjoy the most unglamorous upgrade in the house, which is also one of the most satisfying.