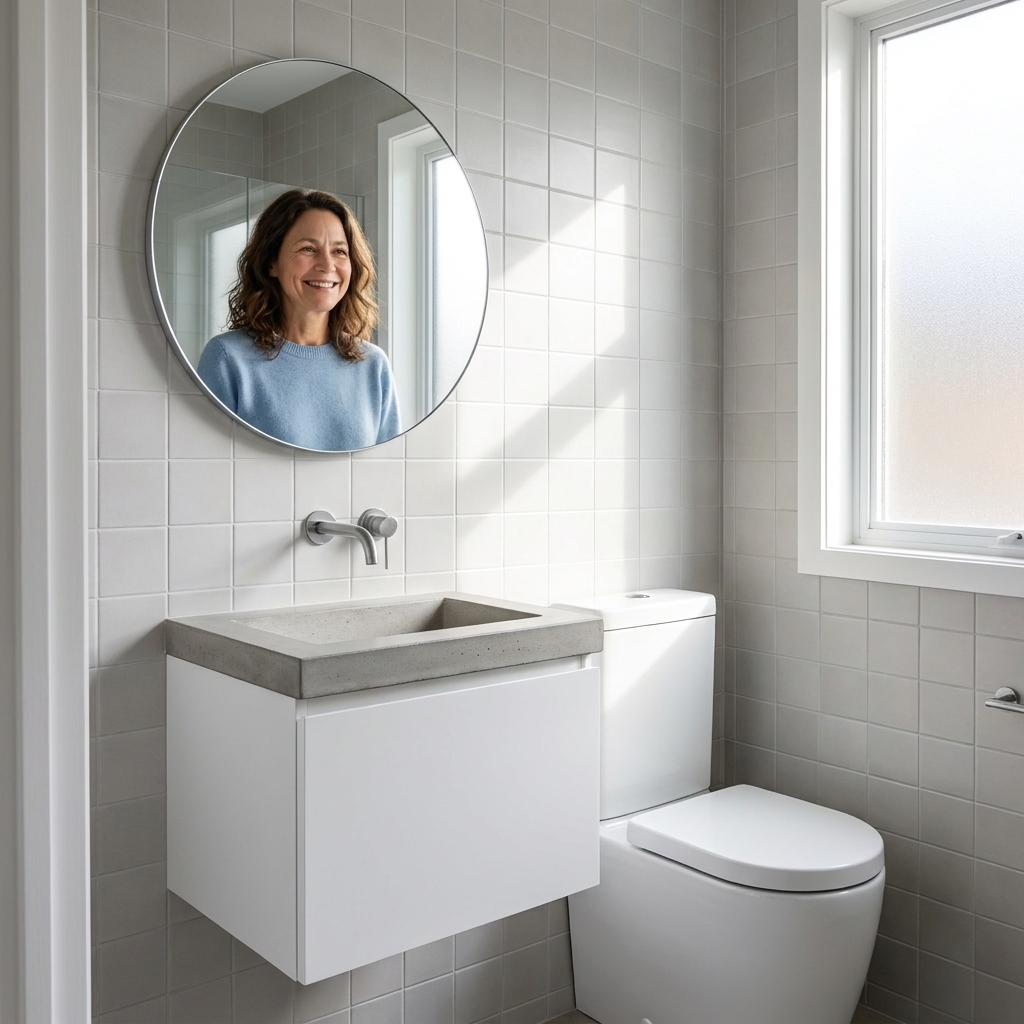
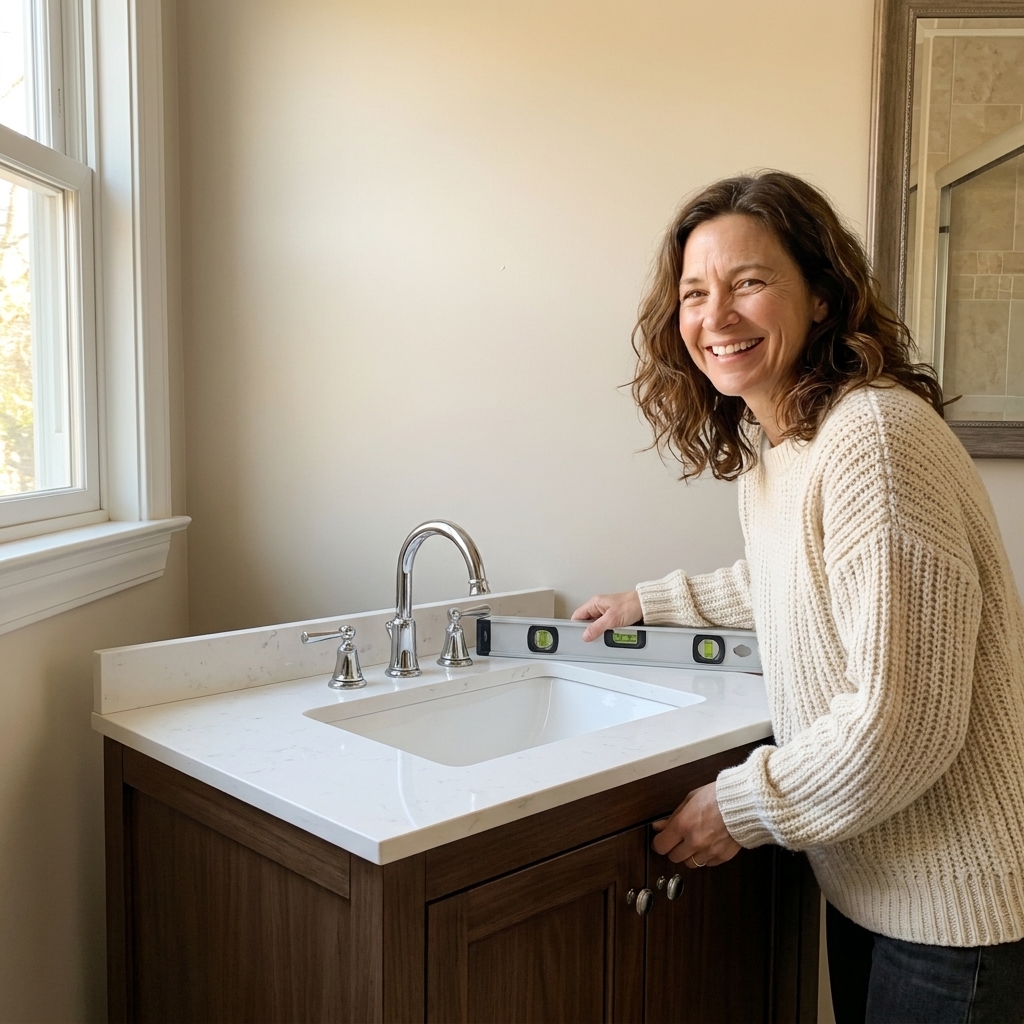
A step-by-step vanity swap guide with real-world plumbing tips, wall and floor fixes, and finishing details so your new vanity looks built-in, not DIY.
I grew up holding the flashlight for my dad under bathroom sinks, so I learned early that a vanity is not just a pretty cabinet. It is a box that has to cooperate with doors, drawers, a toilet, your elbows, and a stubborn drain line that was installed in 1987 and has not moved since.
If you are replacing a vanity, the fastest path to a smooth project is getting three things right: width, depth, and plumbing location. This guide will walk you through standard bathroom vanity sizes, the clearances that actually matter, and a simple measuring routine for alcoves and rough-ins, including how to handle an off-center drain.
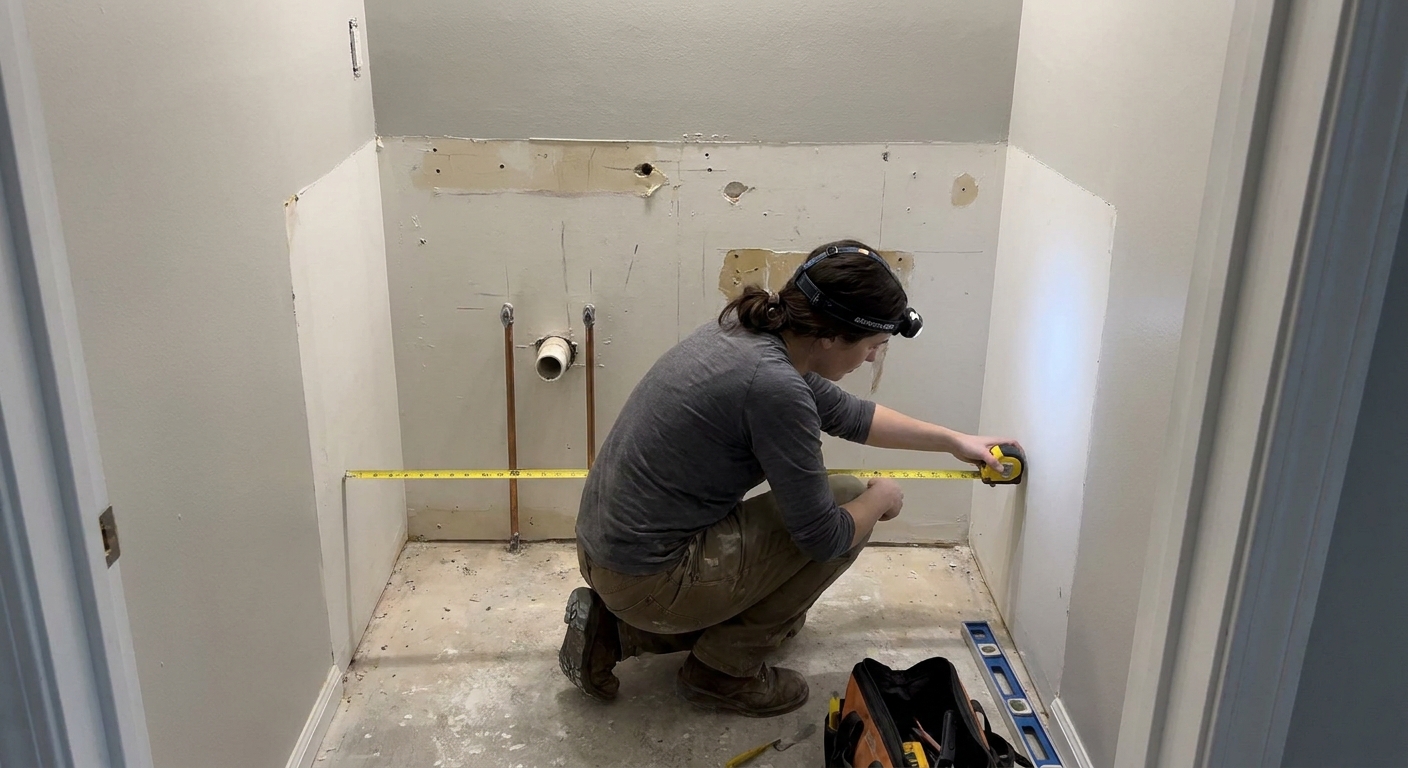
Standard bathroom vanity sizes (common widths and depths)
Vanity sizes sound standardized, but in the real world you will see two categories:
- Cabinet size (the box)
- Top size (the countertop), which may be the same size or slightly larger with a small overhang
Always confirm both, especially in tight alcoves where even a 1/2 inch overhang can cause problems against a wall or door casing. Also measure to finished surfaces, meaning the face of tile, drywall, and any added panels, not the studs.
Common vanity widths
- 18 inches: ultra-tight powder rooms or tiny guest baths
- 24 inches: small bathrooms, common apartment size
- 30 inches: very common, good balance of storage and elbow room
- 36 inches: common in guest and primary baths
- 42 inches: wider single vanities, often in primaries
- 48 inches: large single vanity or compact double vanity (often tight for two adults at once)
- 54 inches: generous single or more comfortable compact double vanity
- 60 inches: the classic double vanity size
- 72 inches: large primary bath double vanity
Common vanity depths
Depth is where projects get tricky because bathrooms love narrow walkways.
- Standard depth: 21 inches (cabinet) and often 22 inches (top) depending on the counter overhang
- Reduced depth: 18 to 20 inches (great for tight clearances)
- Wall-hung depths: commonly 18 to 21 inches, but vary widely by brand
One practical note: the “real” depth you feel includes anything that sticks out, like countertop overhang and bulky drawer pulls.
Common vanity heights
Vanity height affects comfort and mirror placement.
- Traditional height: 30 to 32 inches (more common in older homes)
- Comfort height: 34 to 36 inches (most common in newer installations)
If you are reusing an existing mirror or medicine cabinet, height is the detail that can surprise you. Measure from the finished floor to the bottom of the mirror and make sure the new faucet and backsplash will not collide.
Clearances that make a vanity feel good
In design-build, I used to say: a vanity can be “technically installed” and still be miserable to live with. These clearances help you avoid the daily shoulder bumps and drawer jams.
Space in front of the vanity
- Good target (comfort): 30 to 36 inches of open floor space in front of the vanity
- Tight but workable: about 24 inches in a small powder room
Those numbers are comfort guidance, not a universal code requirement. If your vanity faces a tub, shower glass, or a door swing, the depth you choose matters just as much as the width.
Door and drawer clearance
There is no universal number because hardware and room layout vary, but these rules keep you safe:
- Check the door swing path of the bathroom door and any nearby closet door. A deeper vanity can steal swing clearance fast.
- Plan for drawers to fully extend without hitting a toilet, radiator, or door casing. Deep drawers plus a tight side wall is a regular headache.
- Leave breathing room at side walls when possible. If the vanity is tight to a wall, drawers with side pulls can scrape knuckles, and door hinges can rub paint.
Vanity next to a toilet
If a toilet sits beside the vanity, think in two ways: common code minimums and comfort. Codes vary by jurisdiction, so confirm local requirements.
- Common minimum planning rule: aim for at least 15 inches from the toilet centerline to the side of the vanity or wall next to it (often discussed as 30 inches total clear width).
- Comfort rule: 18 inches from the toilet centerline feels noticeably better, especially for adults and kids helping kids.
Quick way to check: find the center of the toilet (the bolt caps get you close), measure to where the vanity side will land, and compare it to those targets.
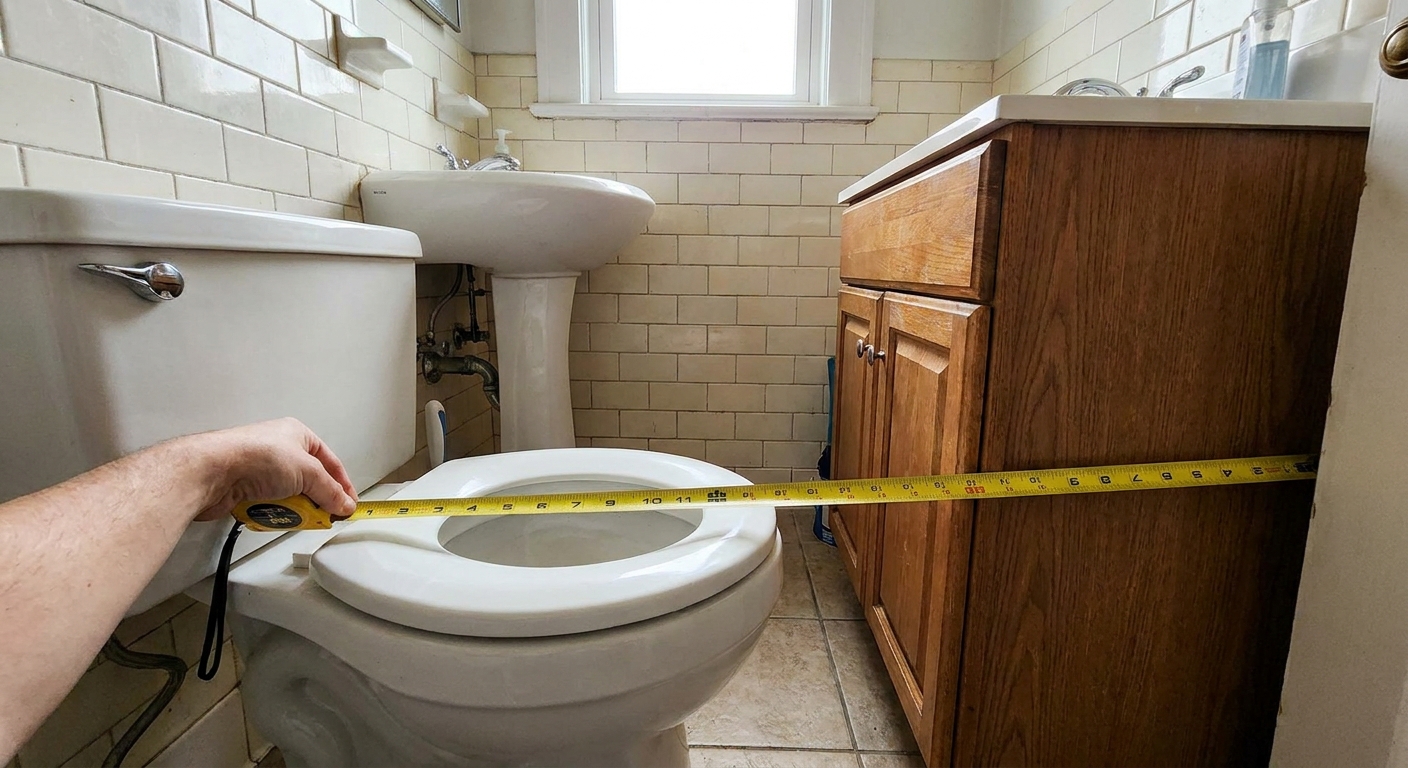
How to measure a vanity alcove
An alcove vanity is any vanity that sits between two walls. It looks clean, but it is also where measurement mistakes show up immediately.
Tools that help
- Tape measure (25 feet is fine)
- Small level or a phone level app
- Notepad, plus a pen that writes on dusty hands
- Optional: painter’s tape to mark wall-to-wall width lines
Step 1: Measure width in three places
Walls are rarely perfectly parallel, especially in older homes with plaster or multiple tile layers.
- Measure wall-to-wall at the floor
- Measure wall-to-wall at countertop height (about 34 to 36 inches up)
- Measure wall-to-wall higher up (around mirror height)
Use the smallest measurement as your planning number. If you get 36 1/4 inches at the floor and 35 7/8 inches at counter height, you plan for 35 7/8 inches.
Step 2: Build in wiggle room
In an alcove, I rarely recommend ordering a vanity that is exactly the same width as the wall-to-wall measurement.
- Safe wiggle room: leave about 1/4 inch to 1/2 inch total (split between both sides)
- Tile walls or very wavy walls: you may need up to 3/4 inch total
You can hide small gaps with scribe trim, filler strips, or a neat bead of color-matched caulk depending on the finish. What you cannot hide is a cabinet that will not slide into the space.
Step 3: Measure depth and pinch points
Depth is not just “wall to front.” Look for the things that will interfere:
- Door casing and baseboard: a standard-depth vanity can bump into thick trim unless it is notched or the trim is modified.
- Countertop overhang and hardware: that extra 1/2 inch to 1 inch can be the difference between comfortable and cramped, especially if the vanity sits near a door swing.
- Radiators and heat registers: older baths sometimes have them right where you want your toe kick.
- Shower curb or tub apron: measure the walkway where your body moves, not just the open floor.
In tight rooms, switching from a 21-inch cabinet to an 18-inch reduced-depth cabinet can change the entire feel of the bathroom without sacrificing much function.
Step 4: Note out-of-square conditions
If the walls bow or the floor slopes, write it down. A vanity can be leveled with shims, but if the floor drops dramatically, you may need more toe-kick coverage or trim planning to keep it looking finished.
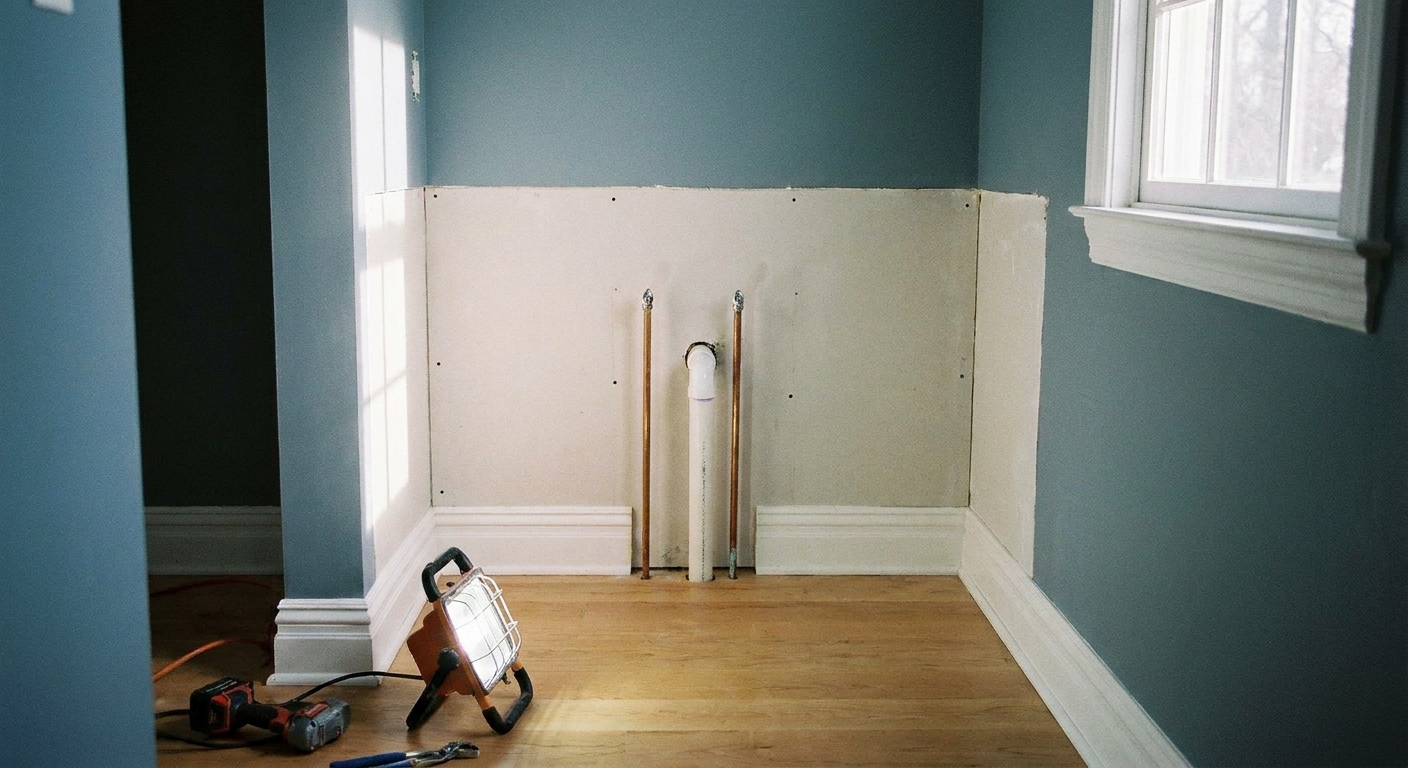
How to measure plumbing rough-in
This is the behind-the-walls reality part. Even if you are buying an off-the-shelf vanity, you need to know where your plumbing sits so the cabinet can be cut properly or so you can choose a model with enough open space inside.
What to measure
- Drain location: center of the drain stub-out from the wall (or from the floor if it comes up through the floor)
- Water supply locations: where the hot and cold shutoffs come out of the wall or floor
- Height from finished floor: to the center of the drain and to the shutoffs
- Left-right offset: distance from the left wall (or right wall) to the center of the drain
- Stick-out: how far the stubs protrude from the wall or floor
Step-by-step routine
- Pick a reference wall. In an alcove, choose the left wall and measure everything from that wall so you do not confuse yourself later.
- Measure to the drain center. Measure from the left wall to the center of the drain stub-out.
- Measure drain height. Measure from the finished floor to the center of the drain.
- Measure each shutoff. From the left wall to each shutoff, then from the finished floor up to each shutoff.
- Measure stick-out. Note how far the stubs protrude, especially if your vanity back is finished or tight.
Typical rough-in ranges
Homes vary, but here are common ballparks so you can spot oddities. Treat these as typical, not guaranteed.
- Drain height: often around 16 to 20 inches above the finished floor when the drain comes out of the wall.
- Supply shutoffs: often around 8 to 12 inches above the finished floor.
Keep the concepts separate in your notes: height (up-down) and offset (left-right). A drain can be a normal height and still be way off-center, which is what causes cabinet and drawer conflicts.
Important: if you are switching from a pedestal sink to a vanity, expect to do more plumbing adjustment than a simple vanity swap. Pedestals often hide rough plumbing that is not positioned for a cabinet box.
Powder room vs. primary bath
I have designed a lot of both, and the “right” vanity size is not only about what fits. It is about how the room is used.
Powder room priorities
- Depth matters more than width. A reduced-depth vanity (18 to 20 inches) can make a tiny powder room feel twice as comfortable.
- Storage is usually secondary. You may only need room for soap, extra toilet paper, and a few cleaning items.
- Door swing conflicts are common. Powder rooms are often off hallways and packed into tight footprints. Always check the door arc against the vanity corner.
Primary bath priorities
- Counter space and daily flow matter. If two people use the space, a wider top, more drawers, or a double vanity can reduce morning bottlenecks.
- Drawer function matters more than you think. Deep drawers are great, unless the plumbing forces awkward U-shaped cutouts that steal half the storage.
- Comfort clearances win. Primaries feel best when you can step back from the sink, open drawers fully, and not brush past the toilet.
If budget is tight, I would rather see you choose a slightly smaller vanity that preserves comfortable clearances than cram in a big cabinet that makes the whole room feel like an obstacle course.
What to do with an off-center drain
Off-center drains are incredibly common. Sometimes the original installer centered the drain on the room, not the sink. Sometimes a wall was furred out. Sometimes the toilet location forced the vanity to shift. None of this is a dealbreaker.
Option 1: Choose an open-center vanity
Vanities with double doors and an open center (instead of stacked drawers) are the most forgiving. You can make a clean cutout in the back panel and still have usable storage.
Option 2: Match the sink bowl to the drain
If you are buying a vanity and top separately, you may be able to select a sink bowl position that aligns better with the existing drain. Some tops place the bowl slightly left or right, especially on narrower widths.
Option 3: Confirm drawer and plumbing space
With drawer bases, the drain often conflicts with the top drawers. Many quality vanities have a plumbing-friendly drawer design, but you still need to confirm measurements.
- Ask for interior specs showing drawer clearance and the open plumbing zone.
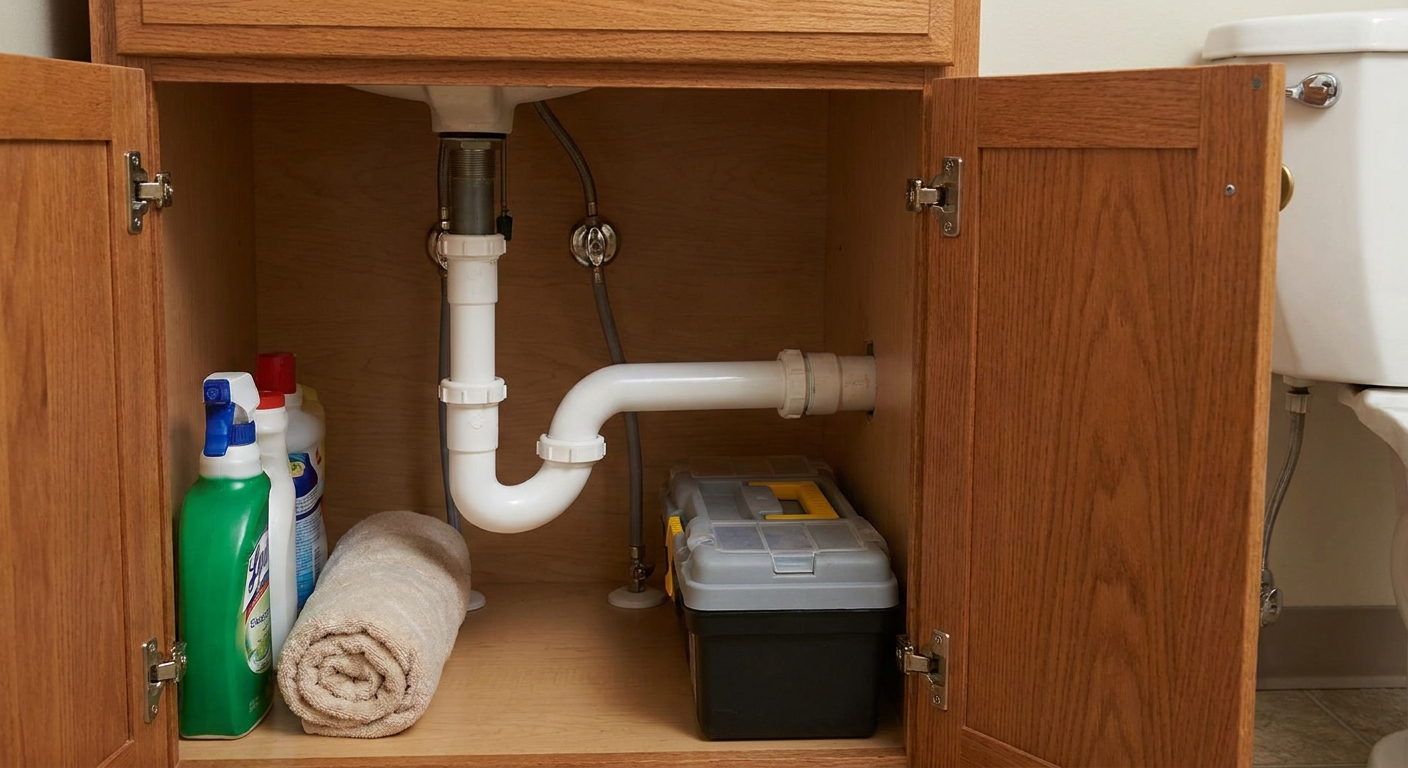
- Plan for a trap that needs real space, not just a tiny hole.
- Know that offset traps and space-saving configurations exist, but they still have to be code-compliant. When in doubt, ask your plumber before you buy a drawer-heavy vanity.
Option 4: Move the drain
If you are already opening walls for tile, electrical, or new lighting, relocating a drain to center it on the sink can be money well spent. It can also restore full-depth drawers, which is a daily quality-of-life upgrade.
My practical rule: if the off-center drain forces you into a vanity you do not like, or it steals the drawers you are paying for, talk to your plumber about shifting it. You may be surprised how reasonable it is when the wall is open.
Choosing the right size
- Replacing a vanity in the same spot: match the old width unless you are intentionally fixing clearance problems. Measure anyway, especially in alcoves.
- Small bath feels cramped: keep width similar but consider reduced depth.
- Toilet feels tight next to the vanity: prioritize toilet-to-vanity clearance before you size up.
- Want more storage: look for drawer-heavy layouts, but confirm plumbing compatibility.
- Between two walls: do not order exact wall-to-wall width. Build in wiggle room.
FAQ
Is a 36-inch vanity standard?
Yes, 36 inches is one of the most common vanity widths for guest and primary bathrooms. It is widely available in both single-sink and furniture-style designs.
What is the most common vanity depth?
About 21 inches for the cabinet, with many tops landing around 22 inches depending on the overhang. In tight bathrooms, 18 to 20 inches reduced depth can make the room noticeably easier to use.
How much space do I need between a toilet and a vanity?
A common minimum is at least 15 inches from the toilet centerline to the side of the vanity or adjacent wall. If you can get to 18 inches, it will feel more comfortable. Local codes vary, so verify requirements where you live.
Should the vanity be wall-to-wall in an alcove?
Not exactly. Plan for a small amount of wiggle room so the cabinet can slide in and be leveled. Small gaps can be finished neatly, but a too-tight cabinet can stall your entire project.
Can I keep my existing plumbing when I replace a vanity?
Often yes for a like-for-like replacement, especially if you choose a similar cabinet style. The two common complications are an off-center drain (especially with drawer bases) and switching from a pedestal sink to a vanity.
My parting advice before you hit “add to cart”
Write down your smallest wall-to-wall alcove width, your target vanity width (with wiggle room), and your drain center measurement from a reference wall. Those three numbers prevent most vanity regret.
If you are stuck between two sizes, choose the one that preserves clearance and daily comfort. A bathroom that functions well always feels more “high end” than a bathroom that is stuffed to the edges.