A beginner-friendly, contractor-approved guide to removing old silicone and laying a clean, professional caulk bead that stays put and fights mold.
I grew up holding the flashlight for my dad under sinks and behind toilets, so I learned early that the “pretty” parts of a bathroom only stay pretty when the gritty details are handled well. Shower grout is one of those details. When grout starts cracking, crumbling, or looking permanently dingy, you do not have to rip out tile to fix it. In many cases, you can regrout the shower without removing the tile and get a surround that looks crisp again.
This guide walks you through a true regrout, meaning you will remove the failed grout and replace it, while leaving the tile in place.
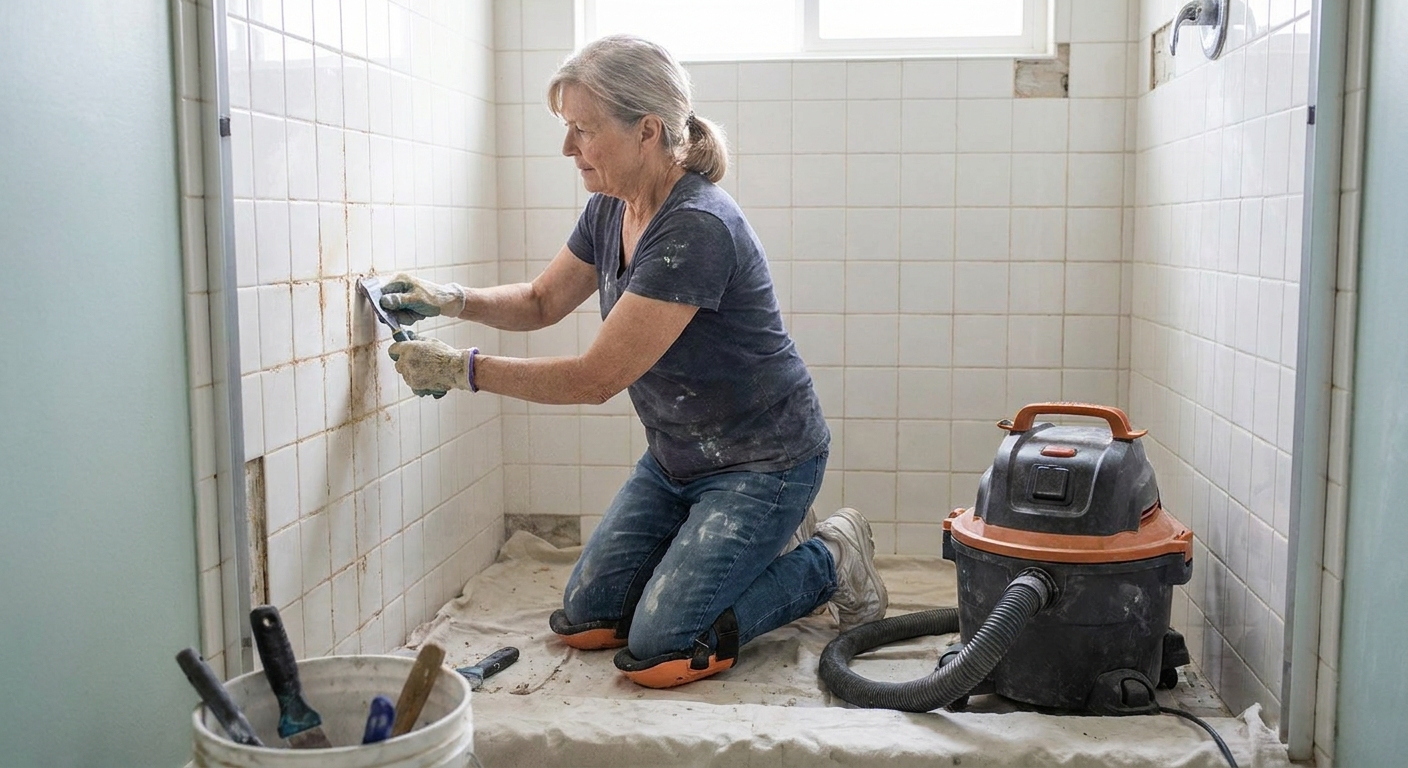
When regrouting is the right fix
Regrouting is a good DIY project when the tile is still firmly bonded and the grout problems are mostly cosmetic or localized.
Good candidates
- Hairline cracks or small missing sections in grout joints
- Grout that is stained, rough, or pitted, but the tiles are solid
- Powdery grout that rubs off in small amounts, especially in high splash areas
When to pause and reassess
- Loose, hollow-sounding tiles or tiles that move when pressed
- Large areas where grout is missing down to the setting bed
- Cracks that mirror straight through multiple tiles, which can signal movement
If the tile is loose, regrouting will not solve the underlying issue. You need the tile bonded properly before fresh grout can last.
Tools and materials
Grout removal options
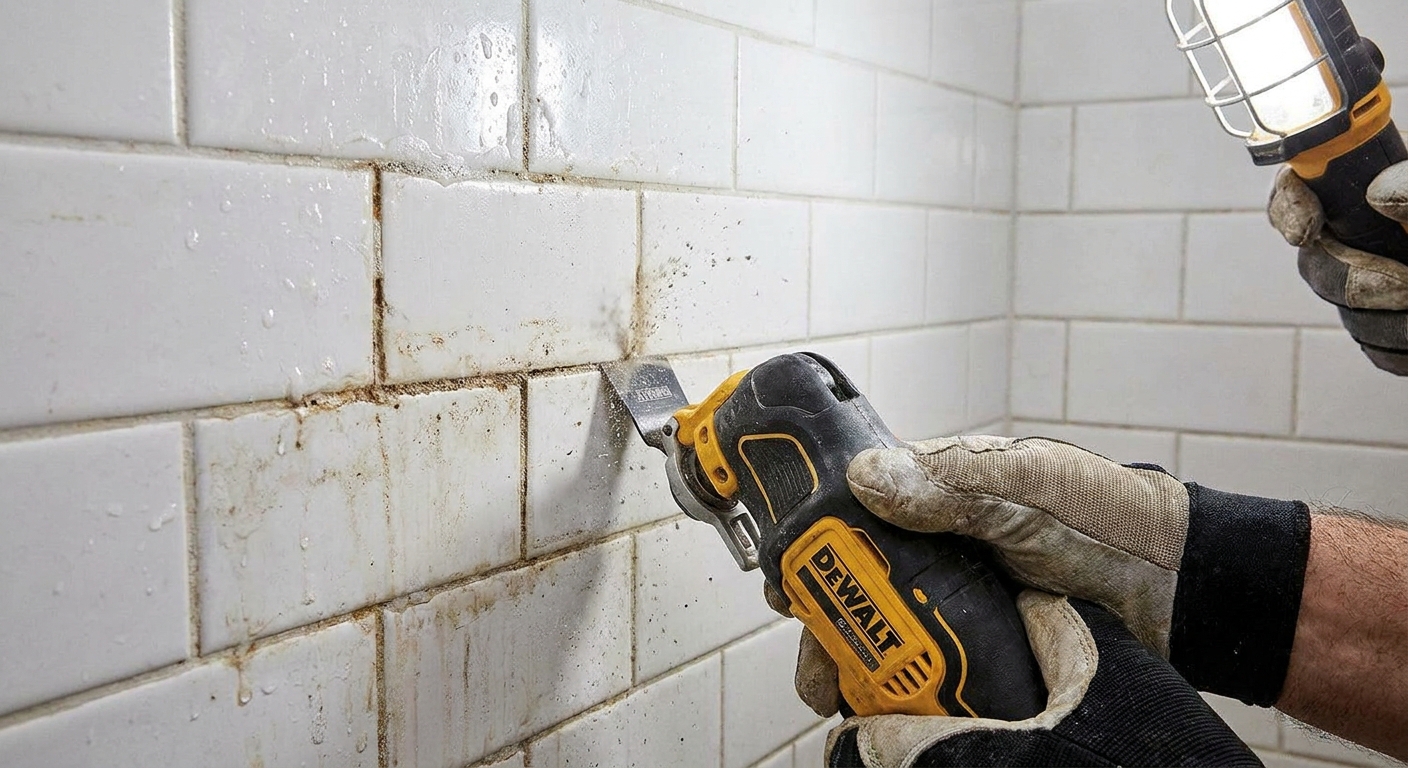
- Oscillating multi-tool with a carbide grout blade: Fast, great for long runs, but easy to nick tile edges if you rush.
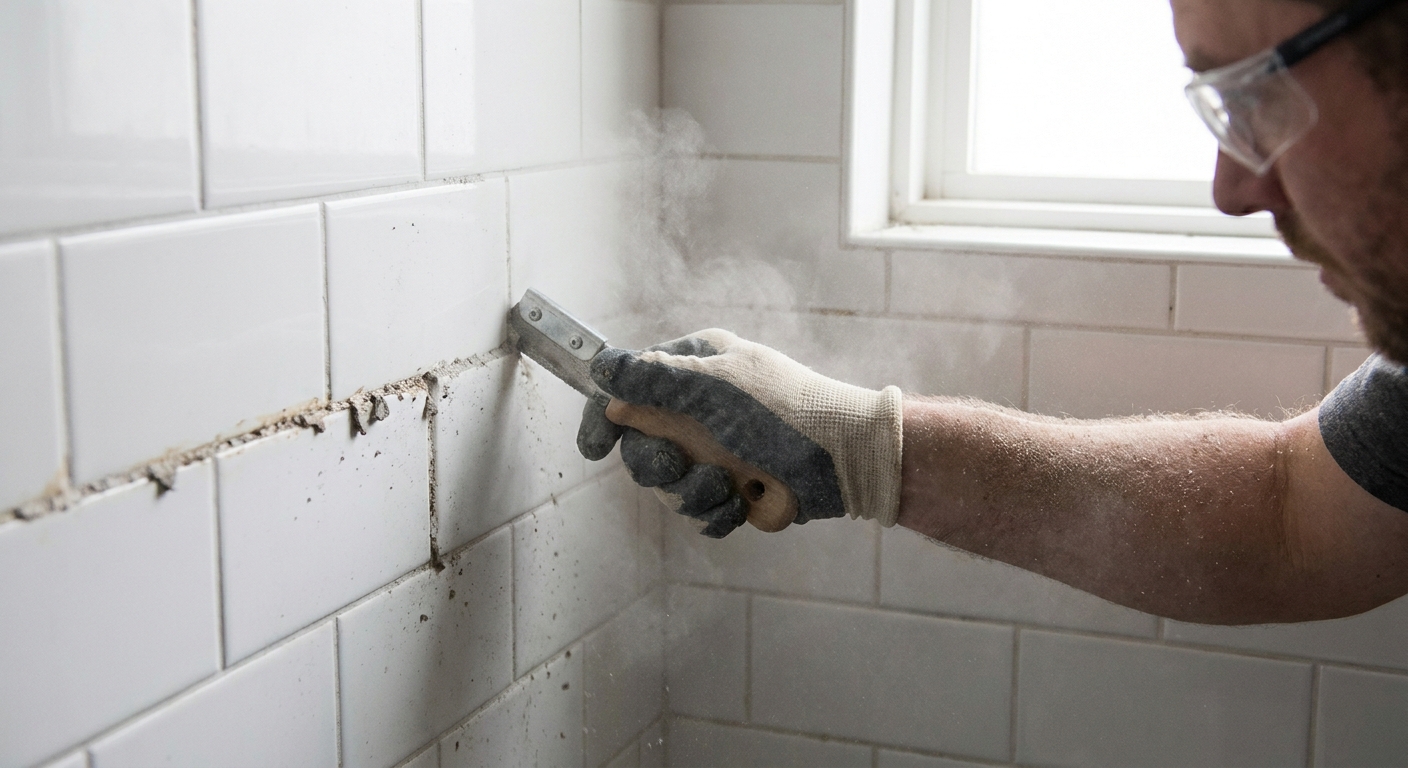
- Manual grout saw: Slower, very controlled, budget-friendly, and my go-to for beginners or soft wall tile.
Other supplies
- Shop vacuum with a narrow nozzle or crevice tool
- Utility knife (for tight spots)
- Painter’s tape (to protect tile edges if you are nervous)
- Safety glasses, a properly fitted respirator or quality dust mask, and hearing protection (especially with power tools)
- HEPA vacuum or HEPA filter if you have one (grout dust can contain silica)
- Grout float
- Two buckets (one for clean water, one for rinsing)
- Grout sponge and microfiber towels
- Rubber gloves
- Plastic sheet or drop cloth (to protect the drain and keep debris out)
- 100% silicone caulk (color-matched if you want it to disappear)
Pick the right grout for your shower
Choosing the correct grout is half the battle. The “best” grout depends on joint width, tile type, and what you are comfortable installing.
Sanded, unsanded, epoxy, single-component
- Unsanded cement grout: Best for narrow joints, typically 1/8 inch or smaller. Smoother texture, easier to force into tight joints.
- Sanded cement grout: Best for wider joints, typically 1/8 inch and larger. Stronger in larger gaps because the sand helps prevent shrinkage and cracking.
- Epoxy grout: Highly stain-resistant and very durable. Great for showers, but it is less forgiving to install and clean. Working time is shorter, cleanup is more intense, and you have to be organized.
- Single-component grout (premixed): Often acrylic or urethane-based. Convenient and stain-resistant, and many do not need sealing. The tradeoff is cost and product-specific rules about where they can be used.
My practical rule: If your shower joints are right around 1/8 inch, check the grout manufacturer’s label. Some “fine” sanded grouts are designed to work well in that in-between zone.
Water vs additive
Some cement grouts allow (or require) a liquid additive instead of water for improved performance. If your grout calls for an additive, use it. If it does not, do not freelance. This is one of those times where the bag wins.
Color tip that saves regret
Matching old grout color is tough because grout lightens as it cures and existing grout has years of wear. If you are regrouting a whole shower, pick the color you actually want now. If you are spot-fixing, you may need a few test boards to get close.
How deep to remove old grout
This is the step that makes regrouting last.
- Rule of thumb: aim to remove grout to a depth of about 1/2 to 2/3 of the tile thickness, if practical.
- Minimum: remove enough to create a solid channel for the new grout to lock into. On many showers, that is roughly 1/8 to 3/16 inch, but wider joints usually benefit from more depth.
- If you hit firm resistance and the remaining grout is solid and well-bonded, do not chase it to the backer. The goal is a clean, stable channel, not a demolition job.
Important: This depth guidance is about getting a good mechanical bond. Follow your grout manufacturer’s instructions and use common sense for your tile thickness.
Also important: You are removing grout in the flat field joints. At corners and where walls meet the floor or tub, those are movement joints. Do not grout those. Plan to seal them with 100% silicone after the grout cures.
Step-by-step: regrout in place
1) Prep the shower
- Clear out bottles, mats, and anything that will collect dust.
- Give the tile a regular clean so you are not grinding soap scum into the joints.
- Protect the drain so chunks of grout do not end up where they do not belong.
- Let everything dry fully.
- Mask off edges you are worried about with painter’s tape, especially with glossy tile.
2) Remove the old grout
Safety note: Cutting out cement grout creates fine dust. Work with ventilation, wear respiratory protection, and vacuum frequently. A HEPA setup helps if you have it.
If you are using a manual grout saw: Use steady back-and-forth strokes, keeping the blade centered in the joint. Let the tool do the work.
If you are using an oscillating tool: Use a light touch and a shallow angle. Start slow. It is better to make two gentle passes than one aggressive pass that chips tile.
- Work in sections, like a 3 by 3 foot area.
- Vacuum as you go so you can actually see your depth and avoid re-cutting dust.
3) Clean out the joints thoroughly
New grout does not like dust.
- Vacuum all joints carefully.
- Wipe tile with a barely damp microfiber cloth to pick up remaining powder (avoid flooding the joints).
- Let joints dry again unless your grout manufacturer specifically recommends slightly damp joints for cement grout. Different products vary.
4) Deal with corners and plane changes
If your shower corners are currently grouted or caulked, you have two jobs:
- Remove what is there so the corner joint is clean and sound.
- Do not refill it with grout. Save corners and wall-to-floor joints for 100% silicone after the grout has cured.
This one detail is a big reason “my grout cracked again in a month” stories happen. Showers move a little. Corners need flexibility.
5) Mix grout to the right consistency
Follow the bag instructions exactly. For cement-based grout, you want a thick, peanut-butter-like consistency that holds its shape on the float without slumping.
- Mix in a clean bucket.
- Let it slake (rest) if the instructions call for it, then remix.
- Do not add extra water later to “loosen it up.” That weakens grout and can cause color issues.
6) Pack grout into joints
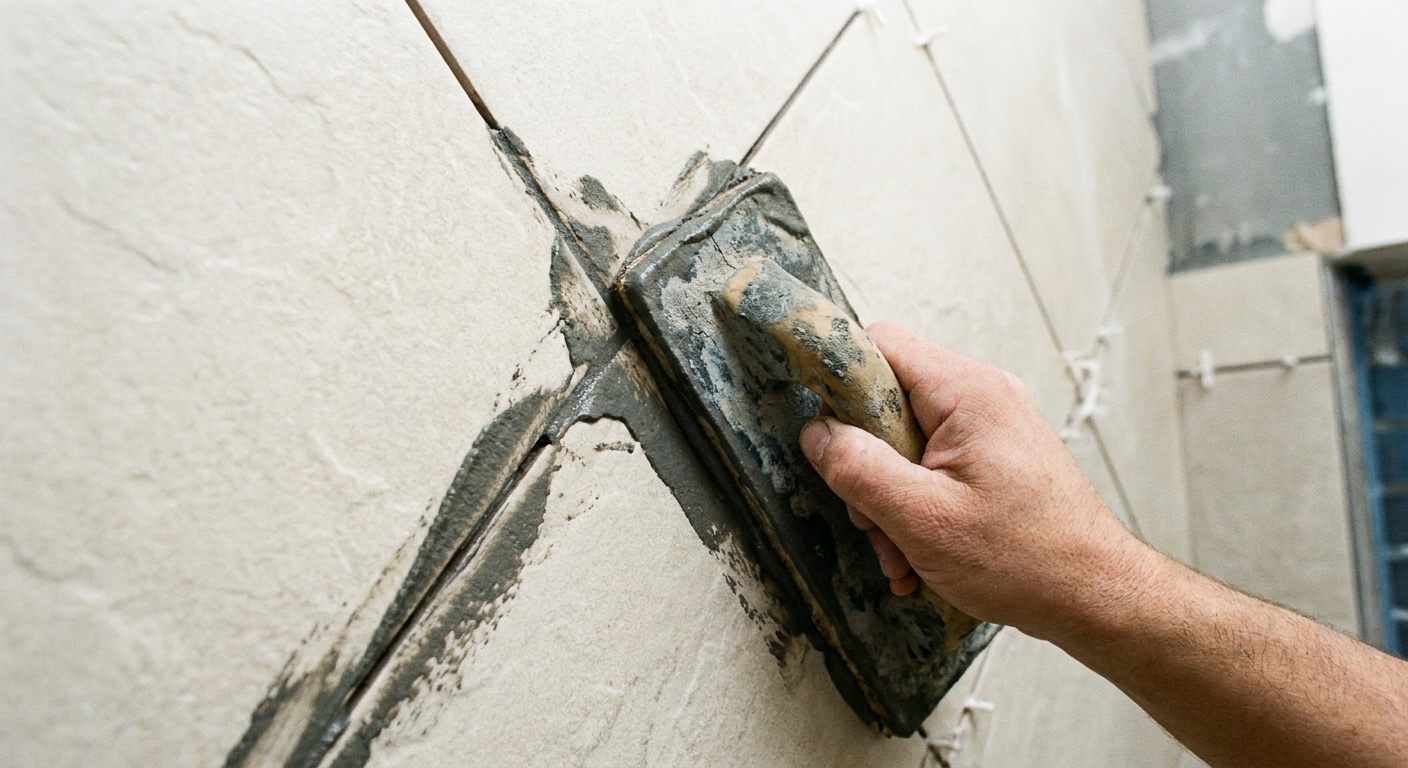
Use a rubber grout float and work diagonally across the joints so you do not dig grout back out.
- Press firmly. You are packing joints, not frosting a cake.
- Do a small section at a time so cleanup stays manageable.
- Scrape excess grout off the tile surface with the float held at a steep angle.
7) Initial cleanup (the sponge stage)
This is where most DIY regrouts go sideways: cleaning too early, too wet, or too aggressively.
- Wait until the grout starts to firm up slightly, per the manufacturer’s timing. It should not smear like paste when you touch it lightly.
- Use a grout sponge that is damp, not dripping.
- Wipe lightly in long strokes, rinse the sponge often, and change water when it gets cloudy.
- Shape joints gently. Do not dig into them.
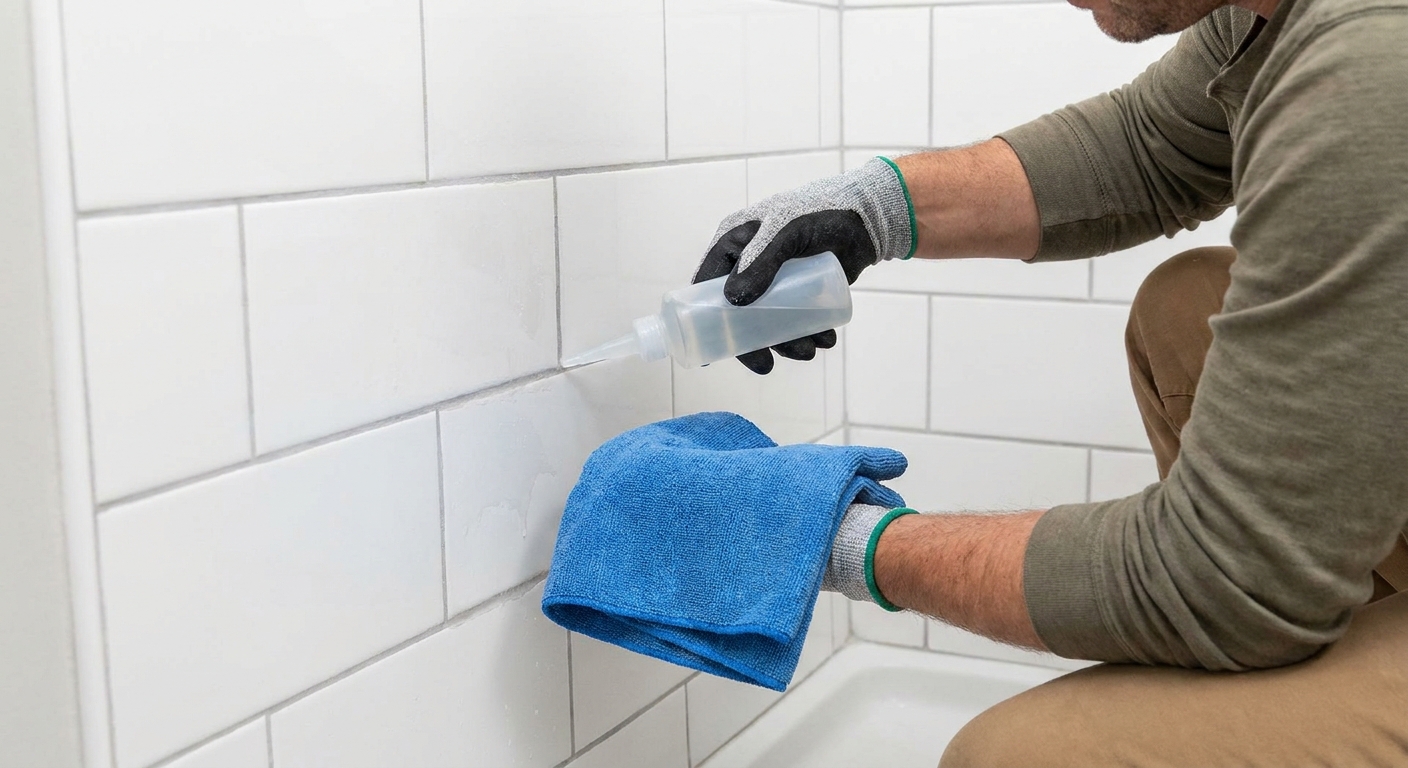
8) Final haze removal (microfiber stage)
After the first cleaning, you will usually see a light film on the tile. Once the grout has set a bit more, buff with a dry microfiber towel.
If haze persists after cure, check your grout manufacturer’s recommendations for haze removal timing and method. Different grouts behave differently, especially epoxy and single-component products.
Cure time and shower downtime
Fresh grout needs time to harden properly. This is not the moment to “just take a quick shower.”
- Follow the grout label for cure time before water exposure.
- Keep the bathroom ventilated, but avoid blasting a fan directly at very fresh grout if the manufacturer warns against rapid drying.
If you are regrouting a family’s only shower, plan your timing. I have seen many great grout jobs ruined by one rushed, steamy shower too soon.
Caulk the corners after grout cures
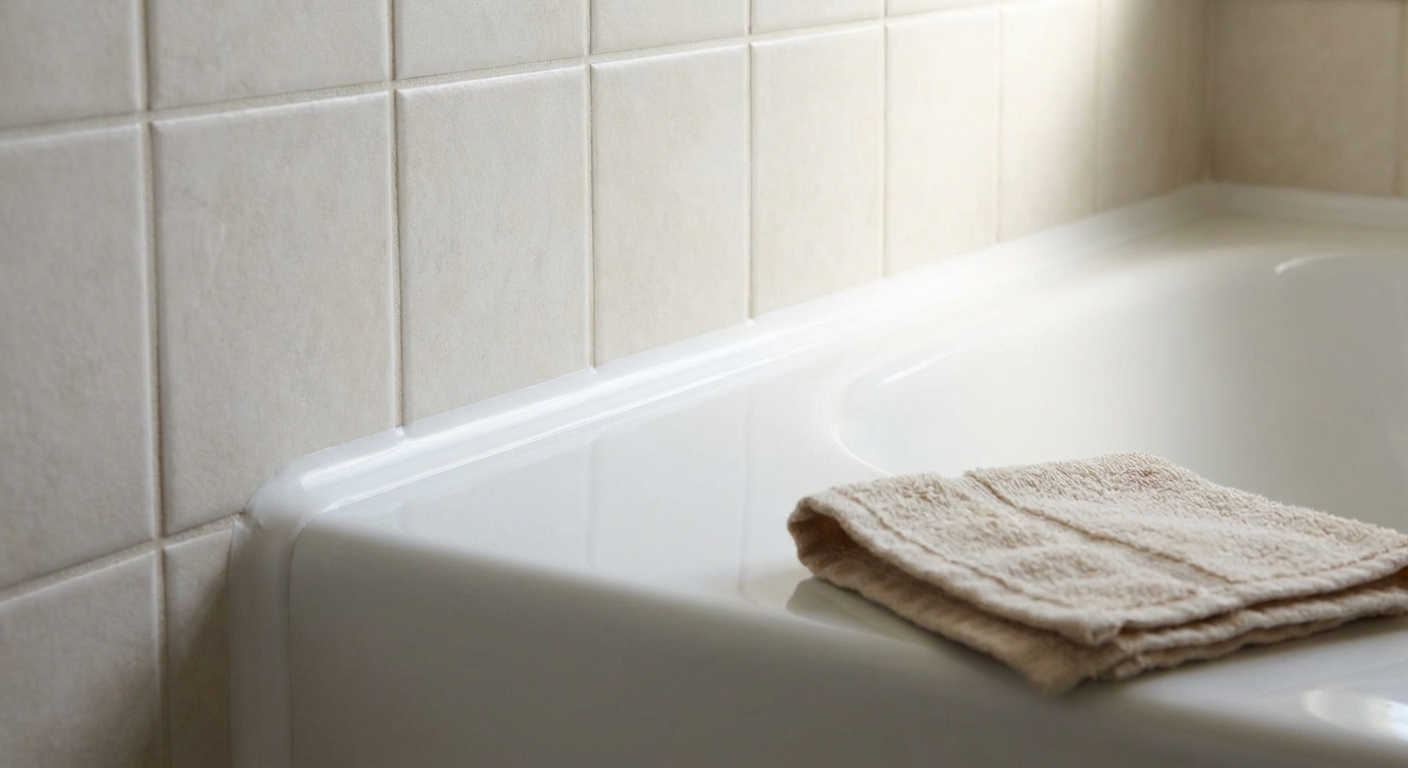
Once your grout has cured per the label, seal the movement joints with 100% silicone:
- Use silicone at inside corners, along the tub or shower base, and anywhere the wall meets the floor.
- Use painter’s tape for clean lines, tool the bead smoothly, then pull tape right away.
- Let silicone cure before getting it wet, per the tube instructions.
This is the clean, durable finish most showers are missing.
Do you need to seal the grout?
It depends on the grout type.
- Most cement-based grouts: Yes, sealing is typically recommended once fully cured. Sealer helps with staining and cleaning, especially in a shower.
- Many modern “stain resistant” or “single component” grouts: Often do not require sealer. Sealing them can be pointless or even problematic, so check the label.
- Epoxy grout: Typically does not need sealing.
Also, be smart about compatibility. Some sealers are not recommended for certain natural stones or specialty tile finishes. If you are working with stone, verify the sealer is stone-safe and test in an inconspicuous area.
When you do seal, apply it carefully so you coat the grout, not the tile. Wipe any excess from tile faces right away.
Oscillating tool vs manual saw
Choose an oscillating multi-tool if:
- You are regrouting a large shower and want speed
- You have steady hands and patience
- You can control dust with frequent vacuuming
Choose a manual grout saw if:
- You are new to grout removal
- Your tile has delicate glazed edges you want to protect
- You are doing a smaller repair and do not mind elbow grease
My designer-builder opinion: For most DIYers, the manual saw is the safer starting point. You can always switch to power once you feel confident and understand how the grout is behaving.
Common mistakes to avoid
- Not removing enough old grout: Shallow skim coats fail. Remove enough for a real bond.
- Cleaning with too much water: Over-wet sponges can wash out color and weaken joints.
- Working too big of an area at once: Grout can skin over. Do smaller sections and stay organized.
- Ignoring product instructions: Cure times and cleanup windows are grout-specific. The bag wins.
- Grouting corners and plane changes: Those joints should be silicone, not grout.
- Letting debris go down the drain: Protect the drain and vacuum often.
Troubleshooting
If grout cracks again quickly
Fast cracking usually points to movement, poor tile bond, or corners that were grouted instead of caulked. Regrouting alone will not fix loose tile or a shifting substrate.
If you see white, chalky haze
That can be efflorescence or leftover grout haze. Start with manufacturer-approved cleaning methods for your grout and tile type. Avoid harsh acids unless you are 100% sure your tile and stone can handle it.
If mildew keeps coming back
Regrouting helps, but showers also need airflow. Run the fan, squeegee water, and make sure you are not trapping moisture behind bottles and corner shelves.
When to call a pro
If tiles are loose, walls feel spongy, you suspect water damage, or cracking is widespread and pattern-like, it is worth getting an experienced tile pro to assess the system, not just the grout.
FAQ
Can I just put new grout over old grout?
Not for a lasting result. New grout needs depth and clean, solid edges to bond. Removing the old grout to create a stable channel is the reliable approach.
How long does regrouting a shower take?
For an average tub surround, plan a day for removal and prep, plus time for grouting and cleanup. Cure time adds additional no-shower downtime based on the grout you choose.
Will regrouting fix discoloration and mildew stains?
Regrouting replaces the stained material, so it can dramatically improve appearance. If staining is coming from surface buildup, a deep clean may help, but crumbling or permanently discolored grout is a strong case for replacement.
What if I chip a tile edge during grout removal?
Small chips can sometimes be visually minimized once grout is installed, especially with similar grout color. The best strategy is prevention: go slow, keep blades centered, and use controlled pressure.
My best living-through-it tip
Set up a tiny “grout station” before you start: two buckets, sponge, microfiber towels, vacuum, and a trash bag in one spot. Regrouting is one of those jobs where staying organized is the difference between a satisfying Saturday project and a dusty, chaotic weekend you never want to repeat.
If you take your time on removal, keep your joints clean, respect cure time, and finish corners with silicone, you can get a shower that looks freshly installed without removing a single tile.