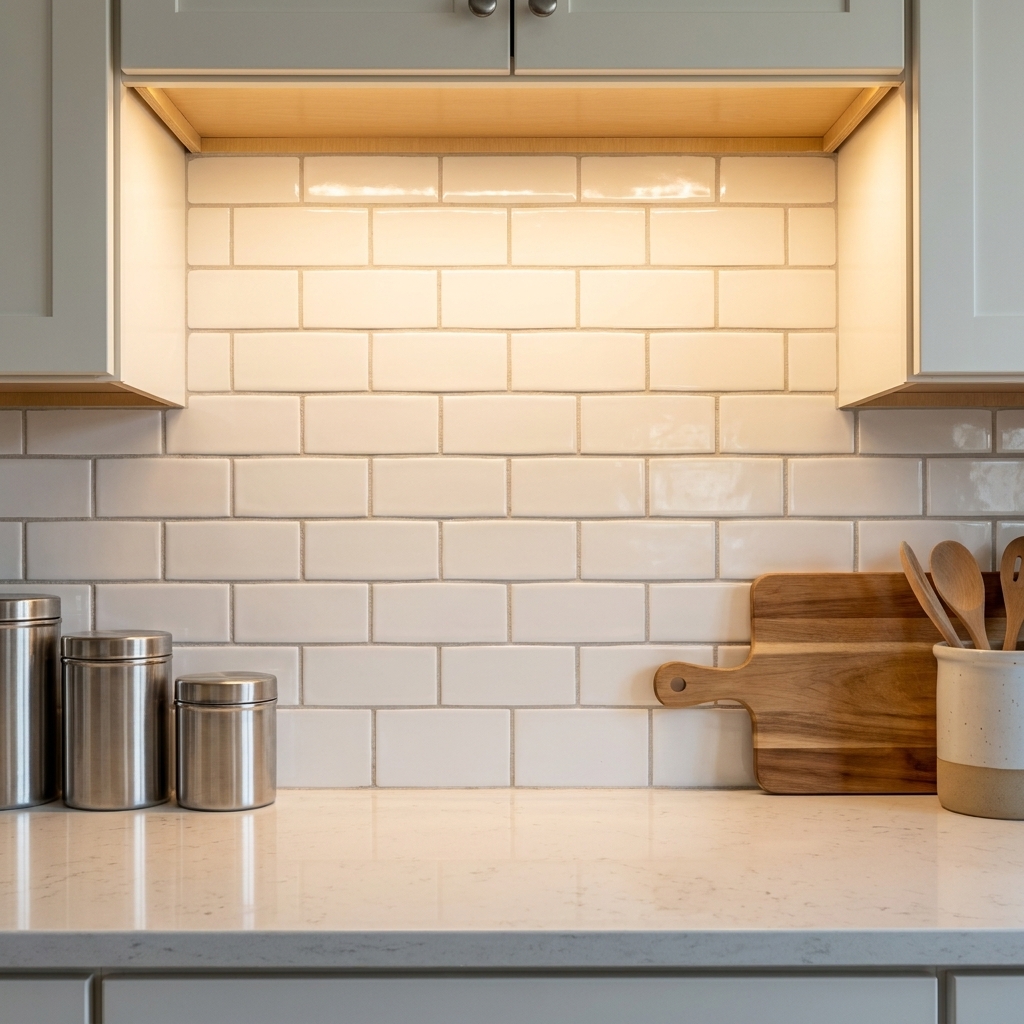
A practical buyer’s guide to backsplash materials, with pros, cons, cost ranges, durability, and cleaning advice from a former kitchen and bath designer.
Subway tile is popular for a reason: it’s timeless, forgiving, and it makes even a basic kitchen feel finished. The trick is not the tile itself. It’s the prep, the layout, and keeping everything clean as you go. If you can measure carefully, stay organized, and resist the urge to rush the cure times, you can absolutely knock this out over a single weekend.
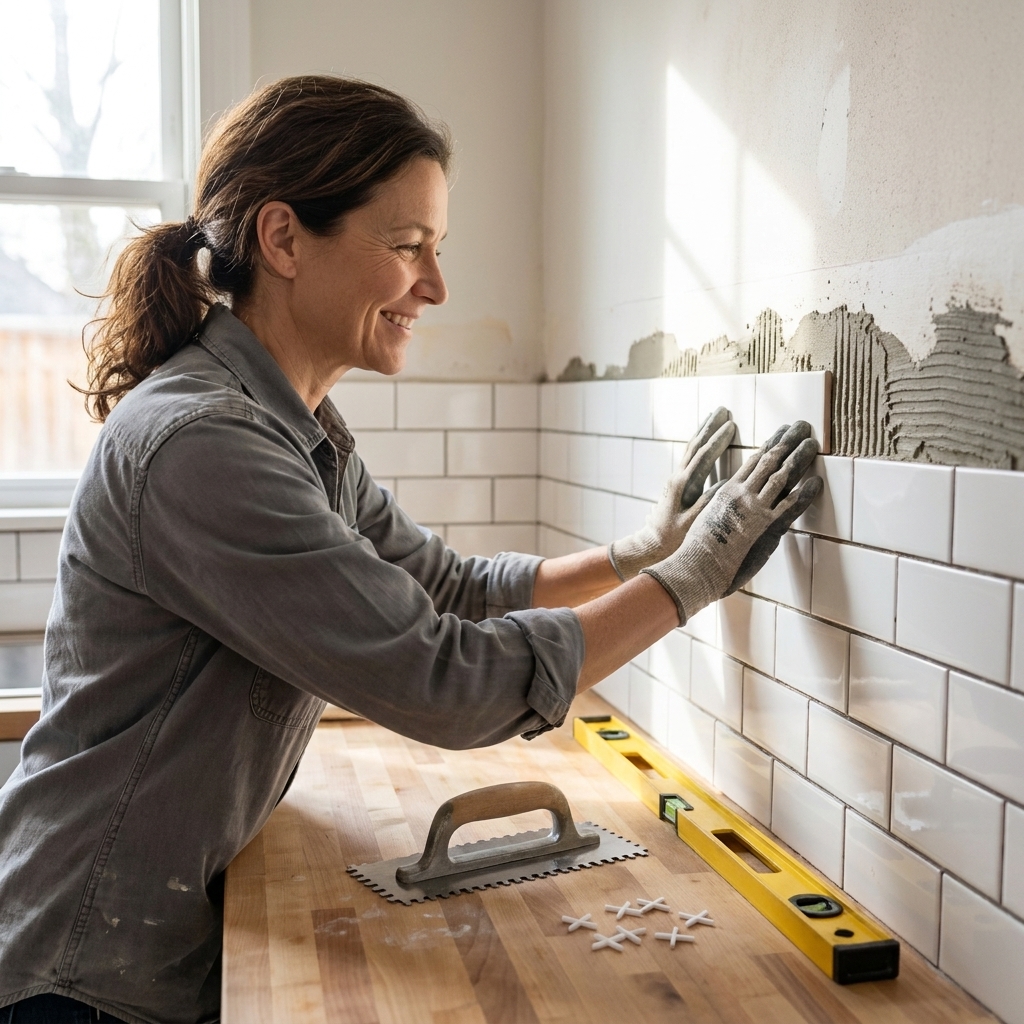
This guide assumes you’re tiling on painted drywall behind a standard countertop and under upper cabinets. I’ll call out the moments where people usually get stuck, like how to start your first row, what to do around outlets, and how to avoid that dreaded wavy grout line.
Before you start: plan your weekend
Typical timeline
- Day 1 morning: Protect surfaces, remove outlet covers, prep drywall, plan layout
- Day 1 afternoon: Set tile
- Day 2 morning: Grout (or later if your mortar needs more cure time)
- Day 2 afternoon: Caulk, reinstall outlets, final clean
How much tile to buy
Measure the backsplash area (length x height) and add 10 percent for waste. If your layout has lots of cuts (many outlets, a window, fancy pattern), bump that to 15 percent. Keep a few extra tiles for future repairs. The exact shade lot matters with white tile, so having spares is gold.
Tools and materials
Tools
- Tape measure, pencil, and a straightedge
- 4-foot level or laser level (laser is amazing for backsplashes)
- Utility knife and putty knife/scraper
- Notched trowel (typically 1/4 in x 1/4 in square notch for 3x6 subway tile)
- Trowel or margin trowel for mixing and scooping
- Tile spacers (1/16 in or 1/8 in are most common)
- Tile cutter (manual score-and-snap) and/or wet saw
- Tile nippers or an angle grinder with a diamond blade (optional but helpful for odd notches)
- Rubber grout float
- Grout sponge and microfiber cloths
- Caulk gun
Materials
- Subway tile and matching trim/bullnose (if needed)
- Thin-set mortar (or premixed mastic for dry areas, see note below)
- Grout (sanded or unsanded depending on joint size)
- Grout sealer (if using cement-based grout that requires sealing)
- Silicone or siliconized acrylic caulk (color-matched if possible)
- Painter’s tape and rosin paper or a drop cloth
- Outlet extenders (spacers) and longer 6-32 outlet screws (often needed)
Thin-set vs mastic
In most kitchens, either can work, but here’s my contractor-leaning rule of thumb:
- Use thin-set mortar if your wall isn’t perfectly flat, you’re using heavier tile, you want maximum durability, or you’re near a heat source (like behind a range).
- Use mastic if you want easier handling for a small, simple backsplash in a dry area away from heat. Mastic is grabby and beginner-friendly, but avoid organic mastic in areas with sustained heat or lots of steam. Many products have temperature limits and specific restrictions behind ranges.
Also: use white thin-set behind white or light tile and light grout, and anytime you’re working with translucent or glass tile. For some tile and backer combinations, polymer-modified thin-set is required, so check the tile and adhesive manufacturer recommendations before you buy.
Step 1: Protect and shut off power
Cover countertops with rosin paper or a drop cloth. Tape off the counter edge and the underside of upper cabinets. Thin-set and grout haze are easy to wipe when fresh and annoying when you discover it later.
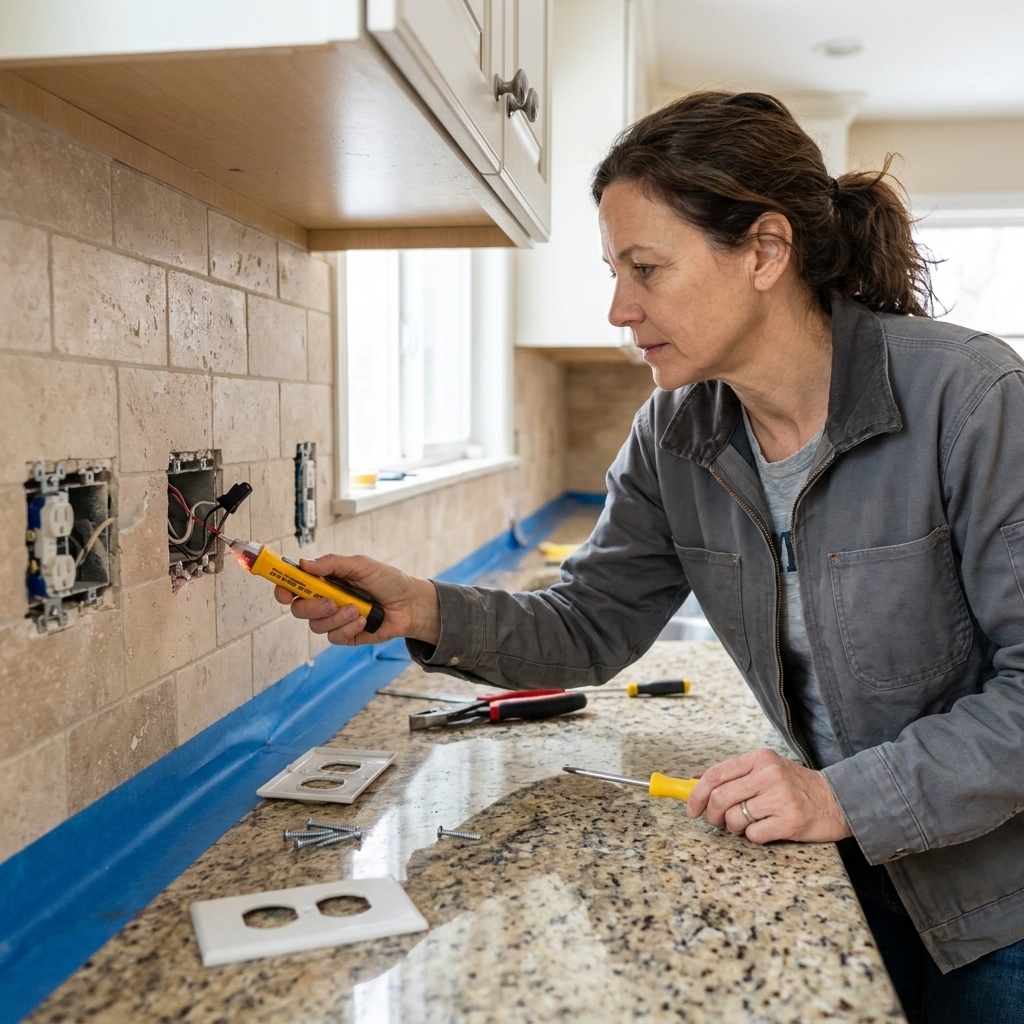
Turn off power to the backsplash outlets at the breaker. Confirm with a non-contact voltage tester before you touch anything.
Step 2: Remove covers and loosen outlets
Take off outlet and switch covers. Back out the screws holding the outlets/switches so the devices can float forward later. Do not disconnect wiring unless you’re comfortable and the power is verified off.
Plan now for outlet extenders. Once tile is installed, outlets often sit recessed and must be brought flush with the new finished surface. This is a common DIY surprise, so it helps to have extenders and longer screws on hand from the start.
Step 3: Prep the drywall
Clean and degloss
Wipe the wall with a degreaser, especially behind the cooktop and near the coffee station. Thin-set does not bond well to kitchen grease. If your wall is glossy paint, scuff it with 120 grit sandpaper to help adhesion.
Patch and flatten
Scrape off any bumps, old caulk ridges, or loose paint. Patch holes and dents. Your goal is a reasonably flat plane, not perfection. Subway tile is small, which helps, but lippage (tile edges not flush) loves a bumpy wall.
Prime if needed
If you exposed torn drywall paper, prime it with a sealing primer. Raw paper can bubble when it meets moisture from mortar.
When to use backer board
For a standard kitchen backsplash in a dry area, painted drywall is usually fine if it’s sound, clean, and prepped. This is not the same as a wet area, like a shower surround, where drywall is generally not appropriate. Local code and manufacturer requirements vary, so if you’re tiling in a high-moisture zone or over questionable surfaces, step up to a cement board or a tile backer panel.
Step 4: Dry layout
This is the step that saves you from skinny slivers and awkward cuts right at eye level.
Find your starting point
- Level reference line: Countertops are often not perfectly level. Do not assume. Use a level to find the highest point of the countertop run.
- Ledger board or first-row support: If your countertop is not dead level, you have two choices. You can start from the countertop and let the grout line follow it, or you can install a temporary straight ledger board (a perfectly straight board screwed into studs) and start from that, then remove the ledger later and install the bottom row last, cutting those tiles to match the countertop. The ledger method looks more intentional because the tile lines stay level.
Pick a pattern
The classic is a 50 percent offset (brick pattern). A 33 percent offset can look a bit more modern and can help avoid noticeable stair-stepping if tiles vary slightly in size. If your tile has any warpage, many manufacturers recommend no more than 33 percent offset.
Center on focal points
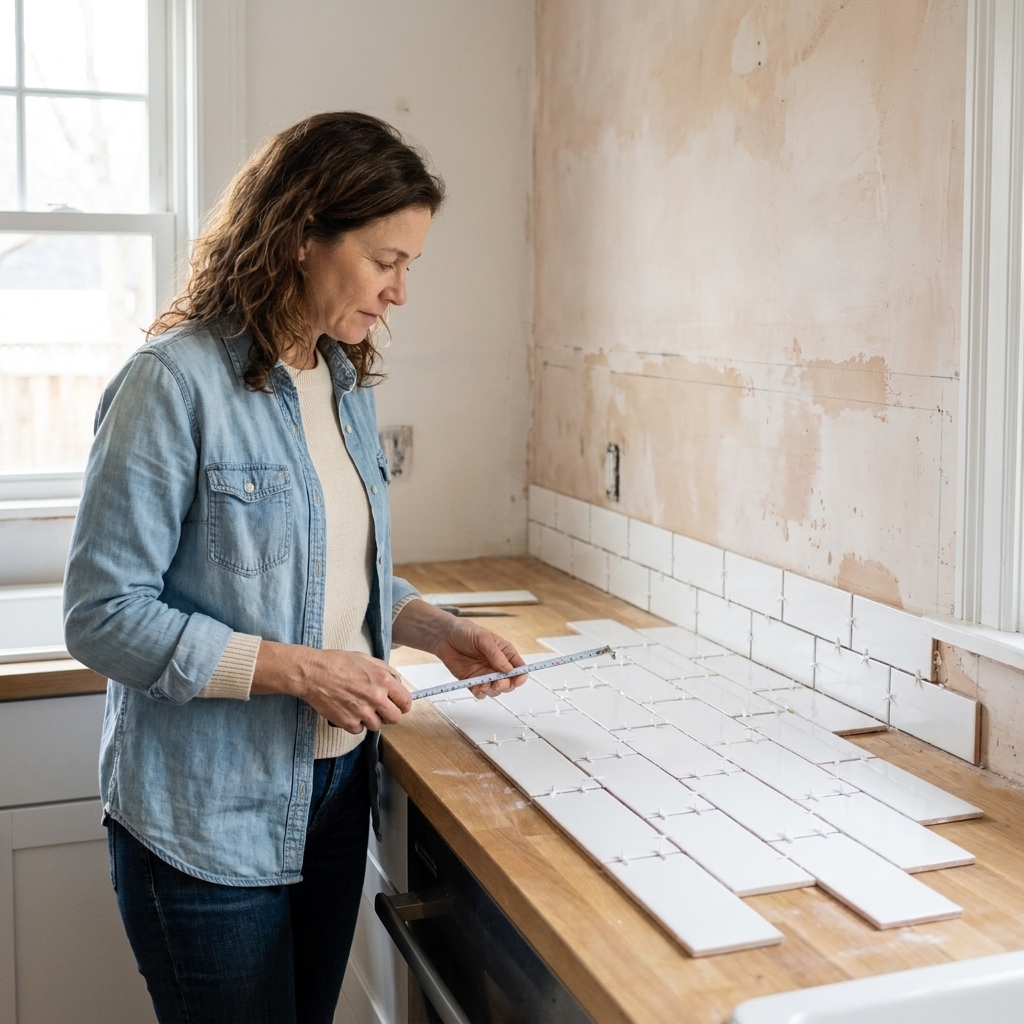
Stand back and identify what people actually see: usually the sink area, the range area, and any open wall between cabinets. Dry-lay a row of tiles with spacers along the counter and see where the cuts land at the ends. Adjust so you do not end up with tiny slivers on one side.
Step 5: Mix and apply thin-set
Mix to the right consistency
If you’re using powdered thin-set, mix small batches. You want a peanut-butter-like consistency that holds ridges but still spreads smoothly. Let it slake (rest) per the bag directions, then remix. That slake time matters for strength and workability.
Spread and notch
Work in sections you can tile within the mortar’s open time (often 10 to 20 minutes, depending on product, temperature, and humidity).
- Use the flat side of the trowel to key in a thin coat onto the wall first.
- Then add more mortar and comb with the notched side, keeping your trowel angle consistent.
Back-butter when needed
If your wall is a little wavy or you need extra bond (common with slightly heavier tiles), skim a thin coat of mortar on the back of the tile. You’re looking for solid coverage, not big blobs.
Do a coverage check
Every so often, pull a freshly set tile back off the wall and look at the mortar transfer. You want strong, consistent coverage, especially behind a range and around any areas that see heat and regular wipe-downs. Adjust your trowel, pressure, or back-buttering if you’re not getting good contact.
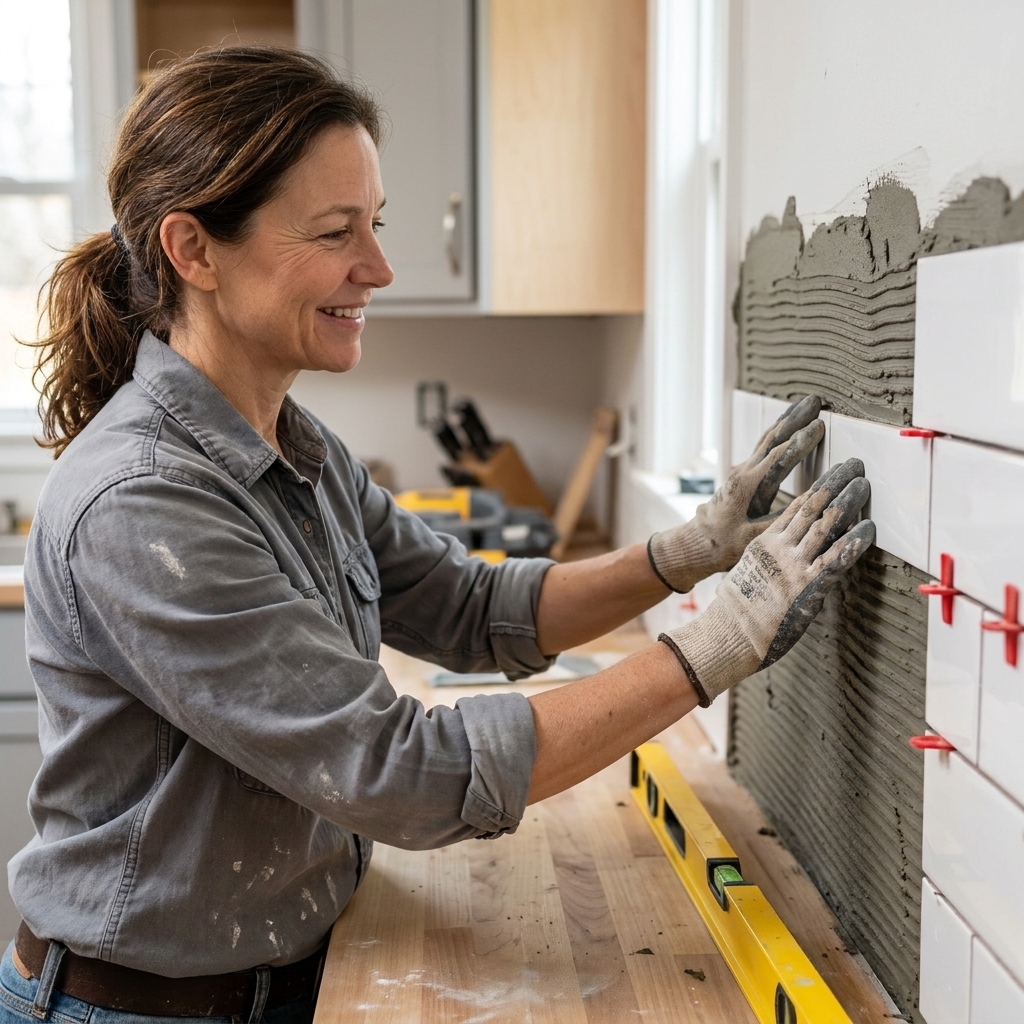
Step 6: Set the first row
Your first row sets the tone for everything above it.
- Start at your chosen reference line or ledger.
- Press tiles into the mortar with a slight wiggle to collapse the ridges.
- Use spacers to keep joints consistent.
- Check for level and plumb every few tiles, not just once.
Pro reality check: Subway tile is famous for being slightly inconsistent in size. If your grout lines start drifting, it’s not you, it’s the tile. The fix is to cheat spacers slightly as you go so the finished lines look straight to the eye.
Step 7: Cut tile cleanly
Straight cuts
A manual score-and-snap cutter works great for standard ceramic subway tile. Score firmly once, then snap. For porcelain (harder) or for repeated perfect cuts, a wet saw is worth the setup.
Outlet and switch cuts
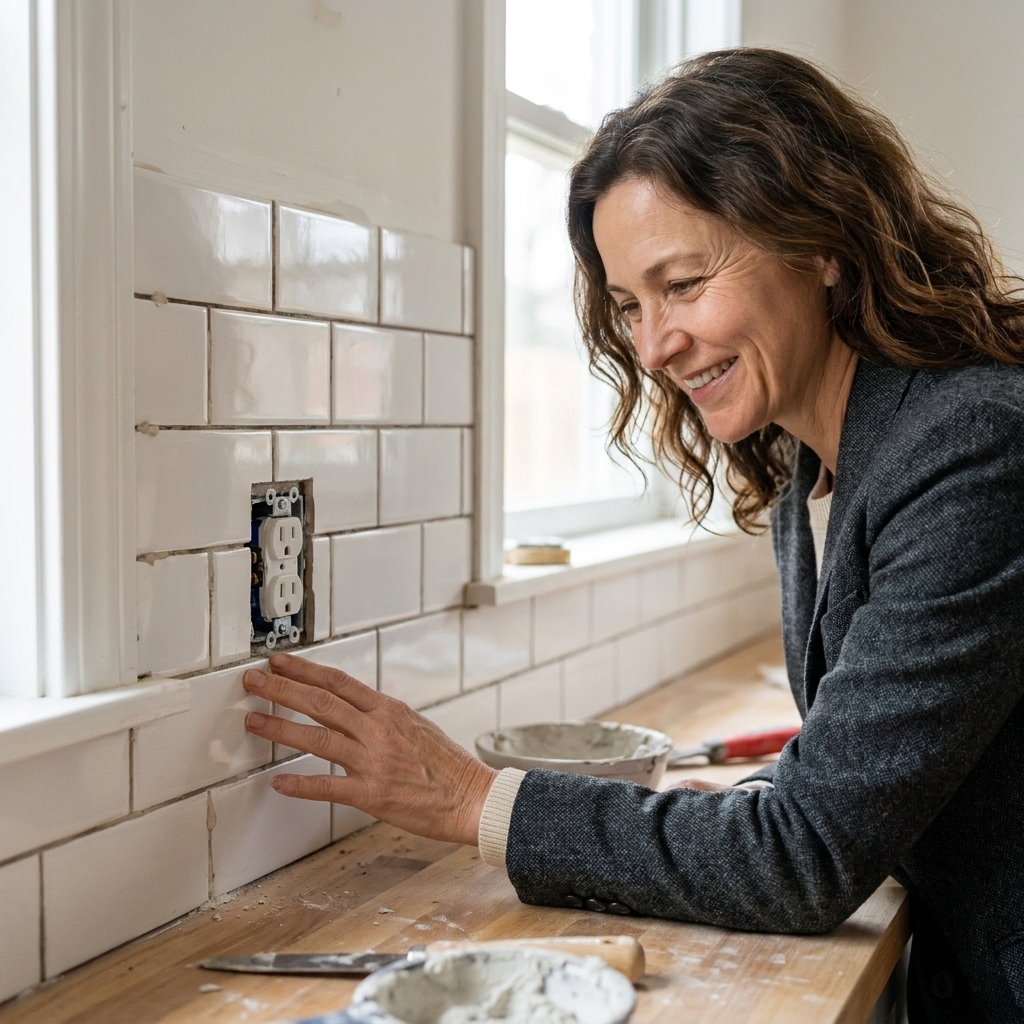
Outlets are where DIY backsplashes look DIY. Take your time.
- Measure from a known tile edge to the outlet box edges.
- Transfer the measurements to the tile carefully.
- Cut notches with a wet saw, an angle grinder, or tile nippers depending on the cut.
Keep cut edges inside the outlet cover footprint when possible. It hides minor imperfections and looks cleaner. Also, do not get aggressive with notches: you want tile trimmed to fit around the box without compromising the box opening or relying on the tile to “space” the device.
Inside corners
Don’t try to wrap tile through an inside corner with perfect edge alignment. Run one wall through to the corner, then start the other wall, leaving a small gap for caulk. Corners move. Grout will crack there eventually.
Step 8: Let it set, then grout
Let mortar cure per the manufacturer instructions. Many are ready for grout in 24 hours, but don’t guess. If you grout too early, tiles can shift and you can end up with grout shading, uneven cure, or even a little efflorescence. Follow the cure times on your mortar and grout products.
Choose the right grout
- 1/8 inch joints or larger: Sanded grout is typically appropriate.
- Less than 1/8 inch joints: Unsanded grout is often recommended.
Check your grout product details because there are modern formulas that bend the old rules a bit.
Apply grout
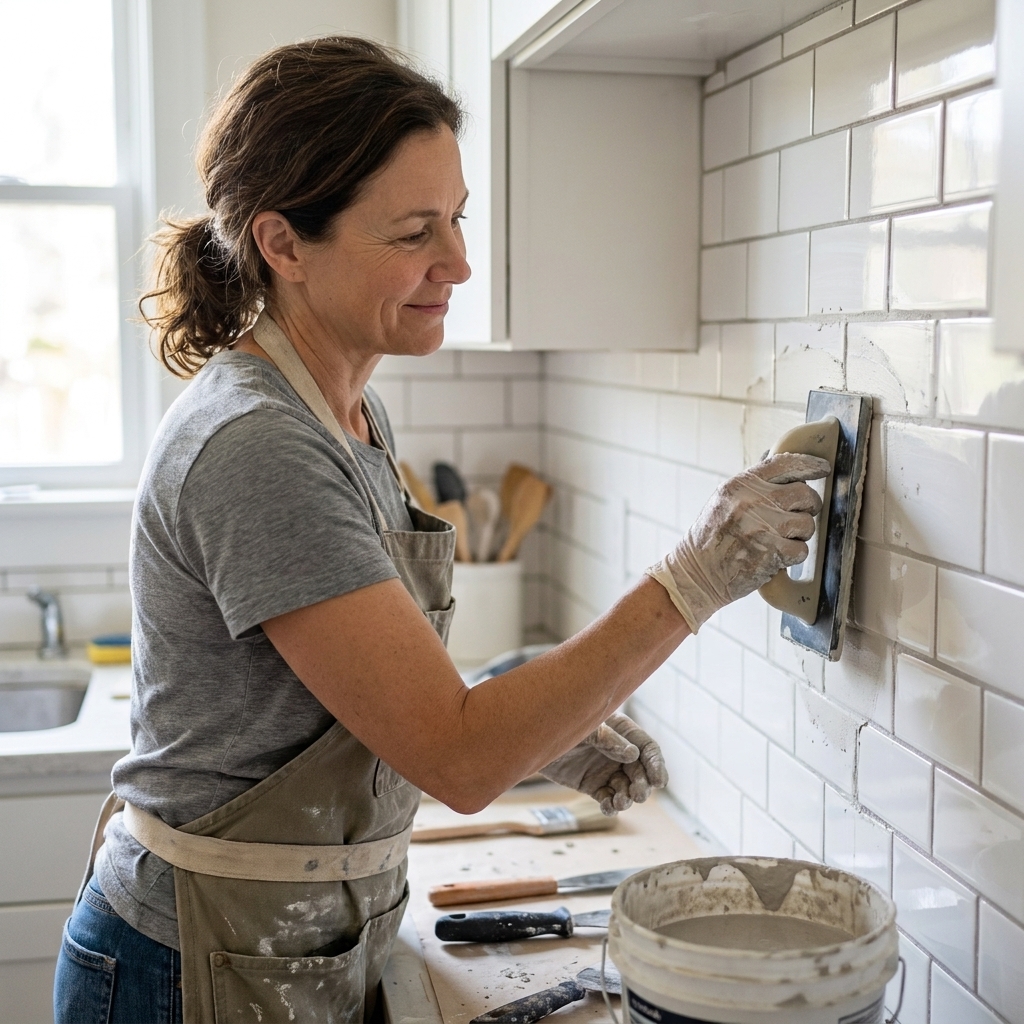
- Use a rubber float to pack grout into joints, working diagonally across the tile.
- Scrape excess off the tile face with the float held at a steep angle.
- After the grout firms up slightly (follow the bag timing), wipe with a damp sponge, rinsing often.
Prevent grout haze
Do a final wipe with a barely damp microfiber cloth once the surface hazes over. If haze remains the next day, a grout haze remover safe for your tile can help, but usually a better final wipe is the cure.
Step 9: Caulk the joints
This is the step that keeps things looking crisp long term.
Use caulk (not grout) at:
- The joint between tile and countertop
- Inside corners where two walls meet
- Where tile meets cabinets or trim, if there is movement potential
Leave a small gap at these change-of-plane joints, about 1/8 inch is typical, so the caulk has room to do its job. If you can get color-matched caulk to your grout, it’s worth it. Apply a smooth, small bead and tool it neatly. Painter’s tape can help you get a razor-clean line, just pull the tape right after tooling.
Step 10: Reinstall outlets
Once the tile is in, outlets must sit flush with the new finished surface. Use outlet extenders as needed. Install longer 6-32 screws if the originals are too short. Then reinstall cover plates.
Safety note: The device yoke should be firmly supported and sit flush with the finished surface. If the electrical box ends up recessed too far back, use a proper box extender or approved solution for your setup. Do not rely on the tile itself as a spacer. If an outlet is loose or crooked, fix it now. Loose devices can arc and cause problems over time.
Seal and final cleanup
If you used a cement-based grout that requires sealing, apply sealer after the grout has cured for the recommended time. Many newer grouts are marketed as stain-resistant and may not require sealing. Always read the specific product instructions.
Finish by cleaning the tile with a pH-neutral cleaner, remove painter’s tape, and step back and admire the fact that you just upgraded the whole kitchen without hiring it out.
Common mistakes
- Skipping degreasing: Mortar does not like cooking oils. Clean first.
- Assuming the countertop is level: It usually isn’t. Establish a level starting line.
- Working too big of an area at once: Mortar skins over. Work within the product’s open time.
- Not checking coverage: Pull a tile occasionally to confirm solid mortar transfer.
- Not checking for lippage: Run your hand over the tile face every few rows and correct as you go.
- Grouting corners and the countertop joint: Those joints move. Leave a gap and caulk them.
- Forgetting outlet extenders: Plan for them so you are not stuck mid-project.
Backsplash FAQ
Can I tile over painted drywall?
Usually yes, as long as the paint is well-bonded, cleaned, and lightly scuffed if glossy. Prime any torn drywall paper or patches before tiling. For wet areas like showers, follow wet-area backer requirements instead of drywall.
Do I need a ledger board?
If your countertop is out of level (many are), a temporary ledger board helps you keep the tile lines level and clean. You remove the ledger after the field tile sets, then cut and install the bottom row to follow the countertop. If your countertop is very level, you can start on the countertop with spacers.
What spacer size looks best?
For a classic look, many people like 1/16 inch to 1/8 inch. Slightly larger joints can look more traditional and help if your tile size varies. The right choice is the one that matches your tile and your style.
How do I finish the edge?
You can use bullnose tile, a matching trim piece, or a metal edge profile (like Schluter). Metal profiles are sleek and beginner-friendly, especially when you do not have matching bullnose.
How long before the kitchen is back to normal?
You can typically use the countertop right away if it stayed protected, but avoid heavy scrubbing on the new tile for a few days. Follow grout cure time before sealing or using strong cleaners.
Remember these three things
- Layout first. Center your focal areas and avoid tiny end cuts.
- Keep it level. Countertops lie. Your level does not.
- Clean as you go. Thin-set blobs and grout haze are easiest to remove immediately.