A practical, contractor-style walkthrough for setting an acrylic shower pan with the right support, leveling it, detailing waterproofing at the flange, and c...
I grew up holding the flashlight for my dad under sinks and behind toilets, so I learned early that water is patient. It does not need a big opening. It just needs one pinhole, one unbanded seam, or one “I will caulk it later” corner to get behind your beautiful new tile.
Tile and grout are not waterproof. Your waterproofing lives immediately behind the tile as a continuous membrane layer, whether that membrane is on the face of the board or part of a traditional pan assembly. It has to be continuous, lapped correctly, and sealed at every seam and penetration. Below is the layer order I use when I am coaching homeowners through a shower build, plus the exact mistakes that most often cause the dreaded hidden leak.
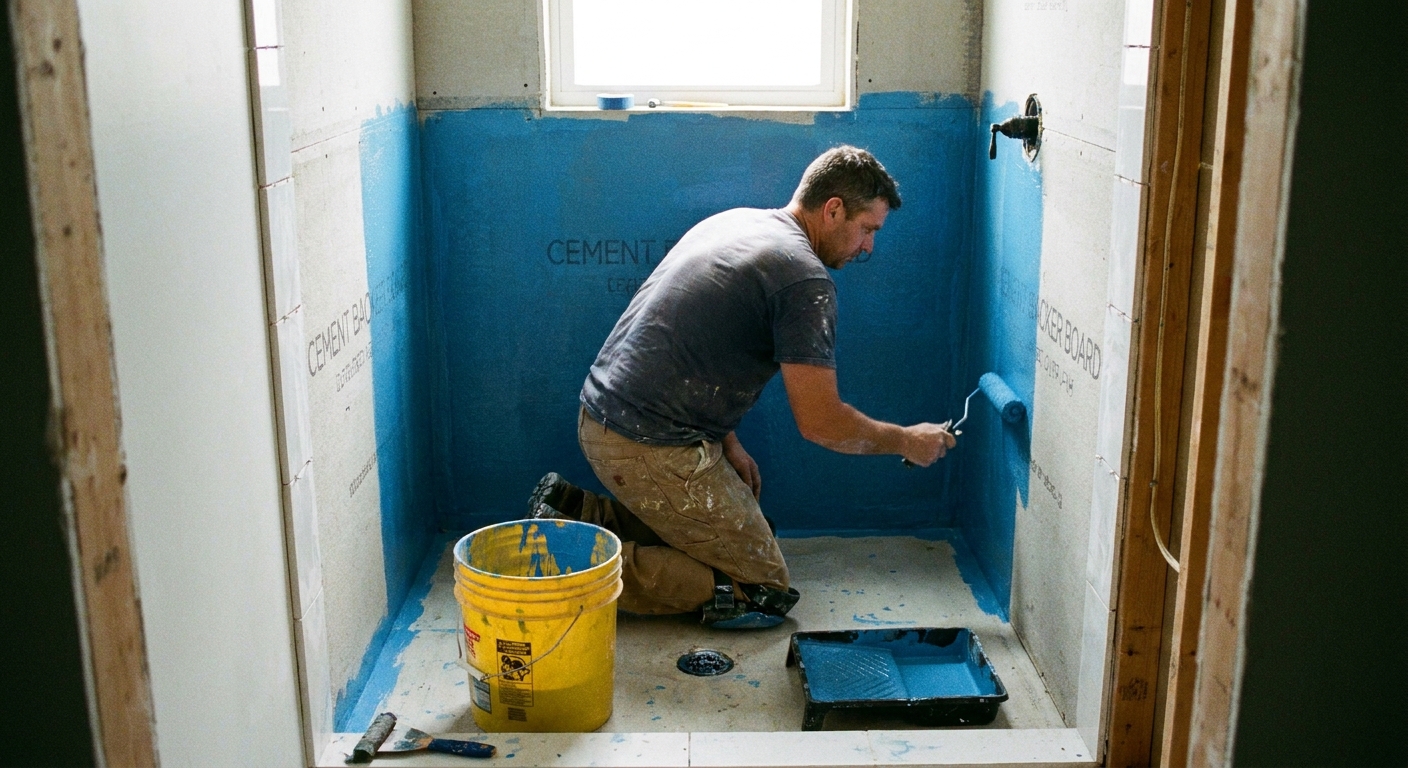
First, pick your waterproofing system
There are two common ways to waterproof shower walls:
- Surface-applied waterproofing: A liquid-applied membrane (paint-on) or a sheet membrane goes on the face of cement board or foam board, directly behind the tile.
- Traditional shower build: A liner is buried in a mortar bed on the floor, while walls may have a moisture barrier behind cement board.
For most modern showers, I strongly prefer surface-applied waterproofing because it keeps water at the surface, helps the shower dry faster, and is easier to detail around niches and benches.
One rule that matters more than brand: do not mix and match systems unless the manufacturers specifically allow it. Pick one method and follow that playbook all the way through.
Also important: do not install a behind-the-board plastic moisture barrier and a surface membrane on the same wall. That is how you can trap moisture in the assembly.
The correct layer order (walls and niche)
Here is the order I want you thinking in, from studs outward to tile.
1) Framing and blocking
- Make sure studs are plumb and in plane, especially at corners and around the niche. Flat walls make waterproofing and tile work dramatically easier.
- Add solid blocking anywhere you will need it later, like for a glass door hinge, grab bars, or a handheld shower slide bar.
- For a recessed niche, frame it square and stiff. Wobbly framing equals cracked grout lines down the road.
2) Backer board or approved substrate
Most tiled showers use cement backer board or a foam tile backer board approved for wet areas. Regular drywall is not a shower wall substrate unless you are using a system specifically rated to go over it.
- Install panels to the requirements of your chosen system.
- Leave required gaps between boards and at changes of plane.
- Use the correct fasteners, and keep fasteners out of prohibited areas (more on curbs in a bit).
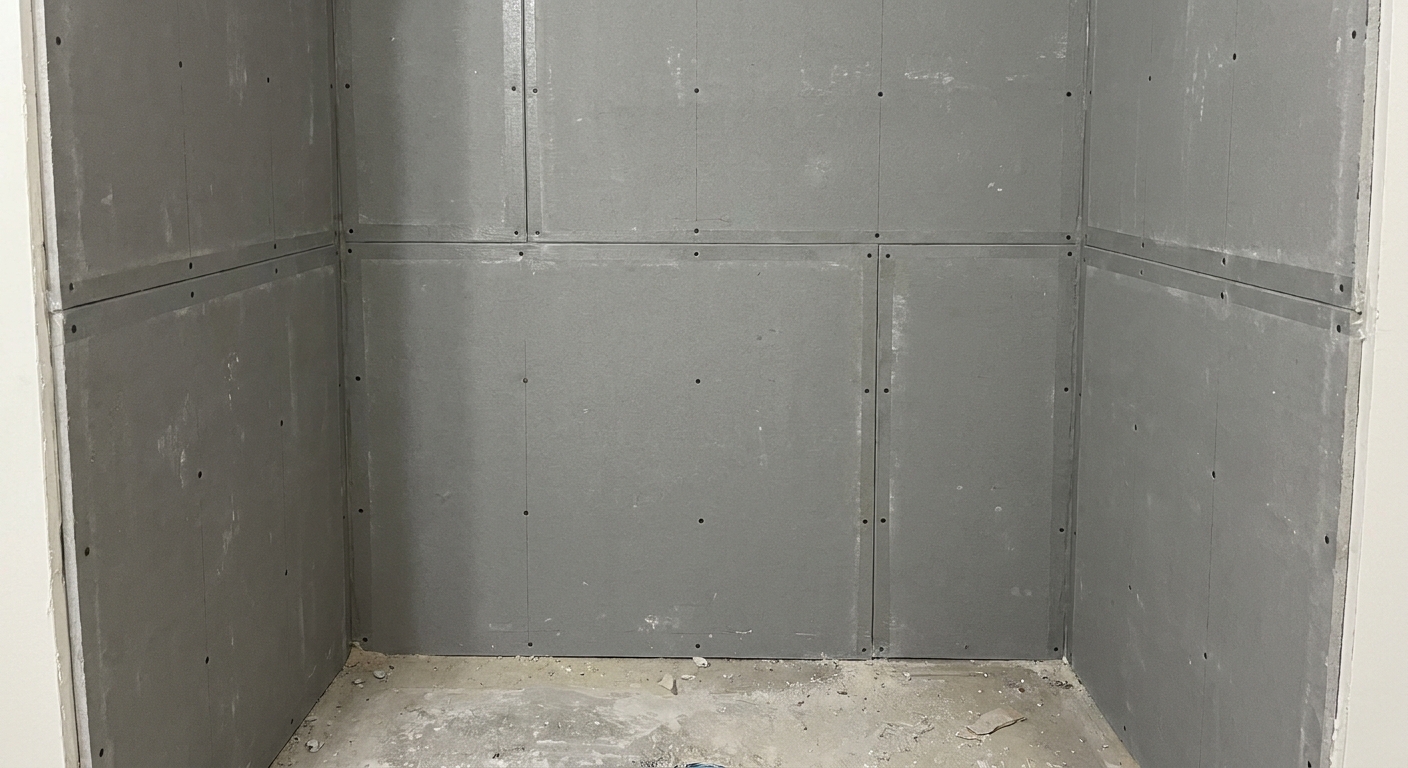
3) Treat board seams and inside corners
This step depends on your waterproofing type, but the goal is the same: stabilize seams so movement does not telegraph through the tile.
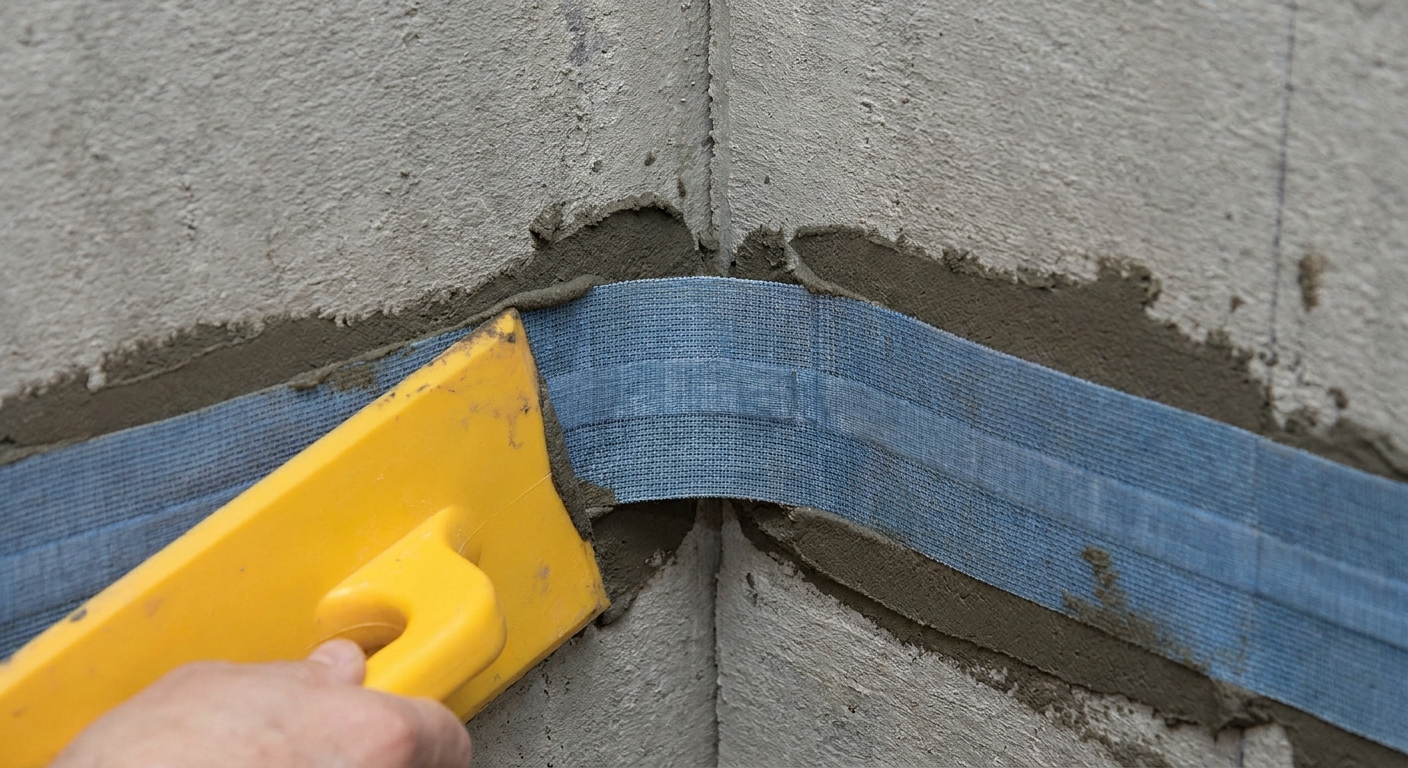
- Some systems want alkali-resistant mesh tape and thinset on seams.
- Other systems use seam banding as the primary seam treatment.
Read your membrane instructions carefully here. This is where “it looked fine” can turn into a hairline crack later.
4) Waterproofing membrane on the surface
Once your substrate is ready, waterproof the entire wet area. That includes:
- All shower walls in the wet zone
- The niche, including the back, sides, top, and bottom
- Bench tops and faces if you have one
- Up and over the curb and down the outside face where required
Liquid-applied membrane: You typically apply multiple coats to reach a specified dry thickness. Too thin is a failure. Many DIY leaks come from rolling it on like paint instead of building the required thickness. If you want to do this like a pro, use a wet film thickness gauge and hit the numbers your product calls for.
Sheet membrane: You embed it in thinset, then overlap seams per the system requirements and detail corners with preformed pieces or careful folding. With sheet systems, overlaps and corner detailing are not optional. They are the system.
Pan to wall connection (do not skip)
Most shower leaks I investigate are not in the middle of a field tile. They are at the handoffs, especially where the wall waterproofing meets the receptor or pan.
Surface systems with a flange
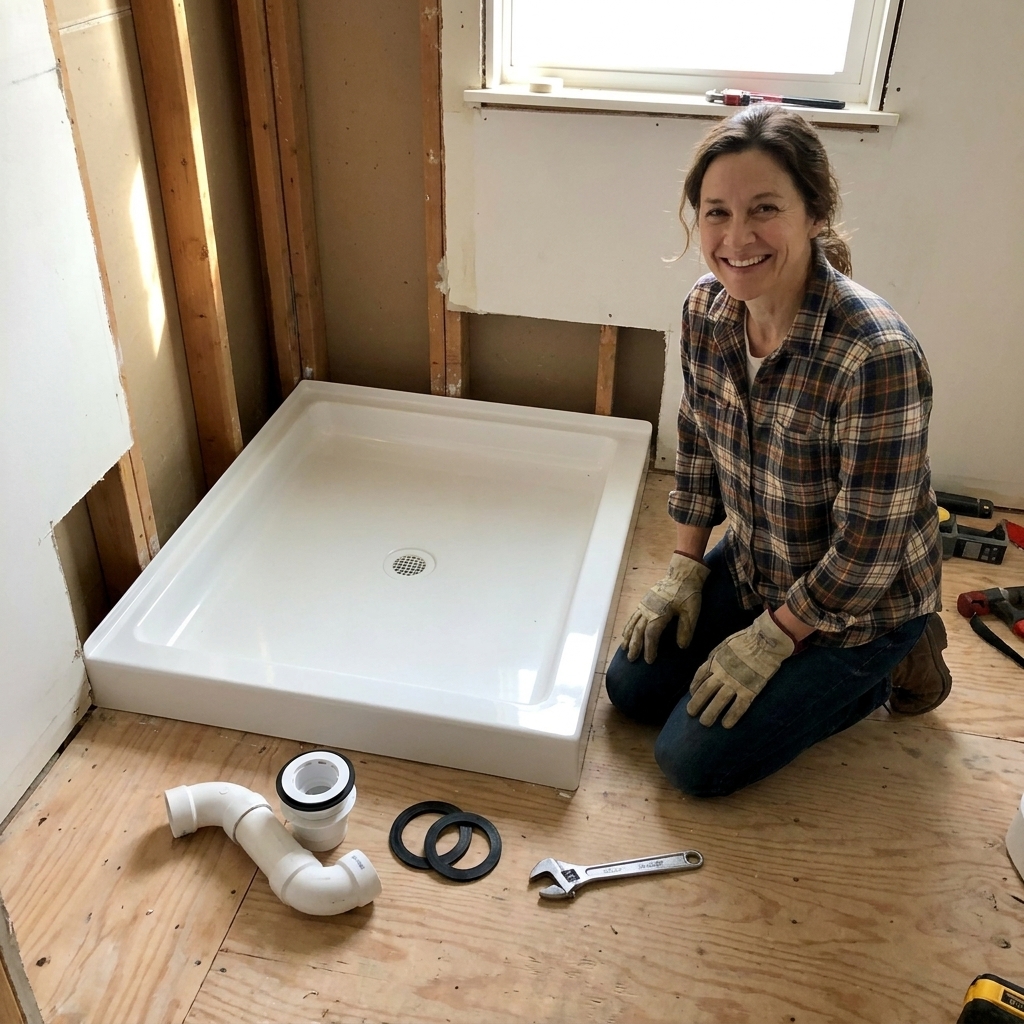
If you have a bonding flange drain or an integrated receptor flange, the wall membrane typically ties into that flange using the manufacturer’s method. The goal is simple: water that gets behind tile still lands on waterproofing that drains where it is supposed to drain.
Traditional liners
If you are building a traditional liner pan, the big concepts are:
- Pre-slope under the liner so water that gets to the liner moves toward the drain instead of sitting there.
- Protect the drain weep holes so they can actually weep.
- Fastener discipline on walls and curbs so you do not turn the liner into Swiss cheese. Keep fasteners out of the low zones that can see standing water, and follow your liner and local code rules.
How to waterproof seams and corners
Waterproofing fails most often at transitions, not in the middle of a wall. Here is how to treat the high-risk spots.
Banding at board joints
For banding-style systems, apply seam band centered over every board seam. Press it tight so it fully bonds with no fishmouths, bubbles, or loose edges.
- Overlap rules: Follow the manufacturer minimum overlap at seams and intersections. This is not a “close enough” detail.
- No dry spots: Any area of band not fully embedded becomes a capillary pathway.
Inside corners and outside corners
Inside corners (wall to wall, wall to floor, wall to ceiling) move more than you think. Use:
- Preformed corners if your system offers them, or
- Corner banding neatly folded and fully bonded
Outside corners, like at the front edge of a bench or niche return, also need dedicated attention. Corners are where membranes get stretched thin and where people “just paint it a little extra.” Extra is not the same as correct thickness and reinforcement.
Changes of plane are not grout joints
Even with perfect waterproofing, changes of plane in tile work are industry-recommended to be treated with a flexible sealant as a movement accommodation joint, not rigid grout. Plenty of people grout corners anyway and accept hairline cracking, but if your goal is durability, sealant at those transitions is the boring choice that tends to win.
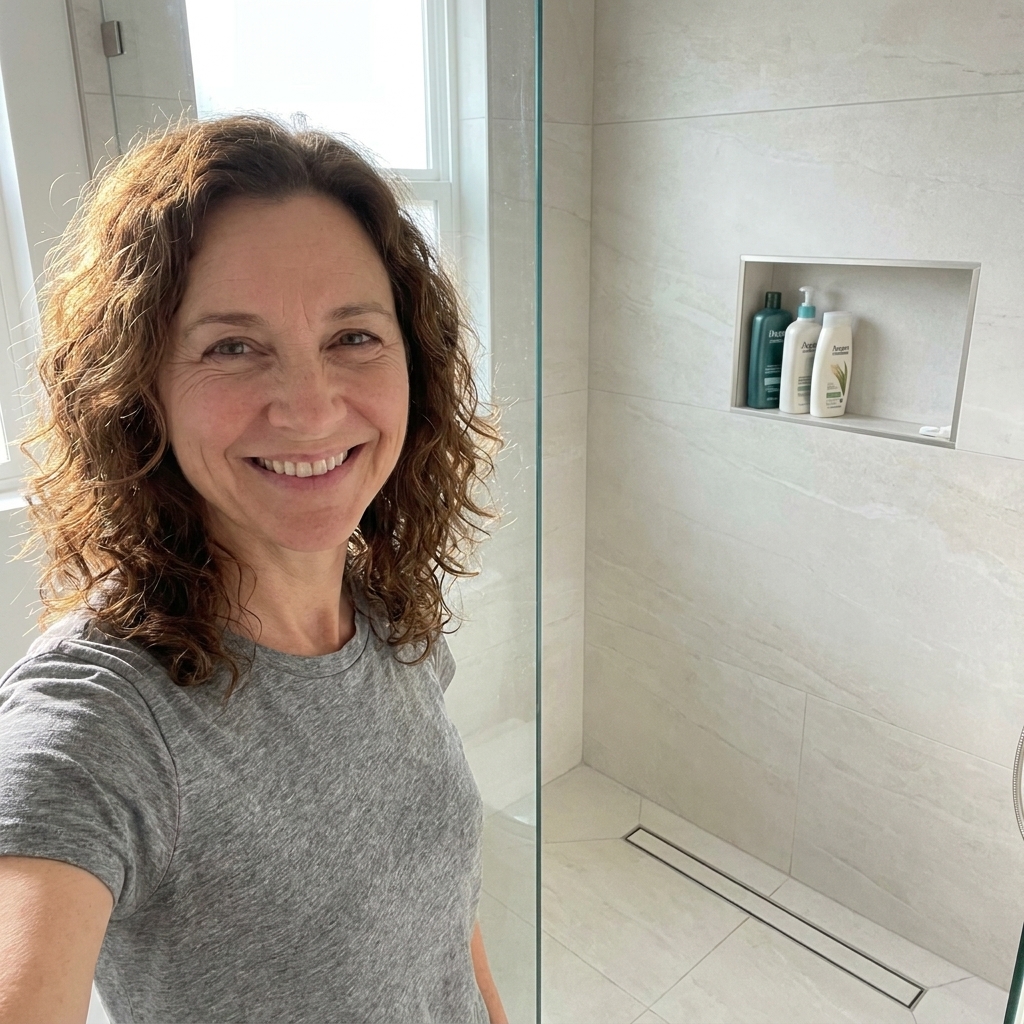
Waterproofing a recessed niche
Niches are wonderful storage, and they are also prime leak territory because they combine corners, shelves, and penetrations in a small box.
What “fully waterproofed niche” means
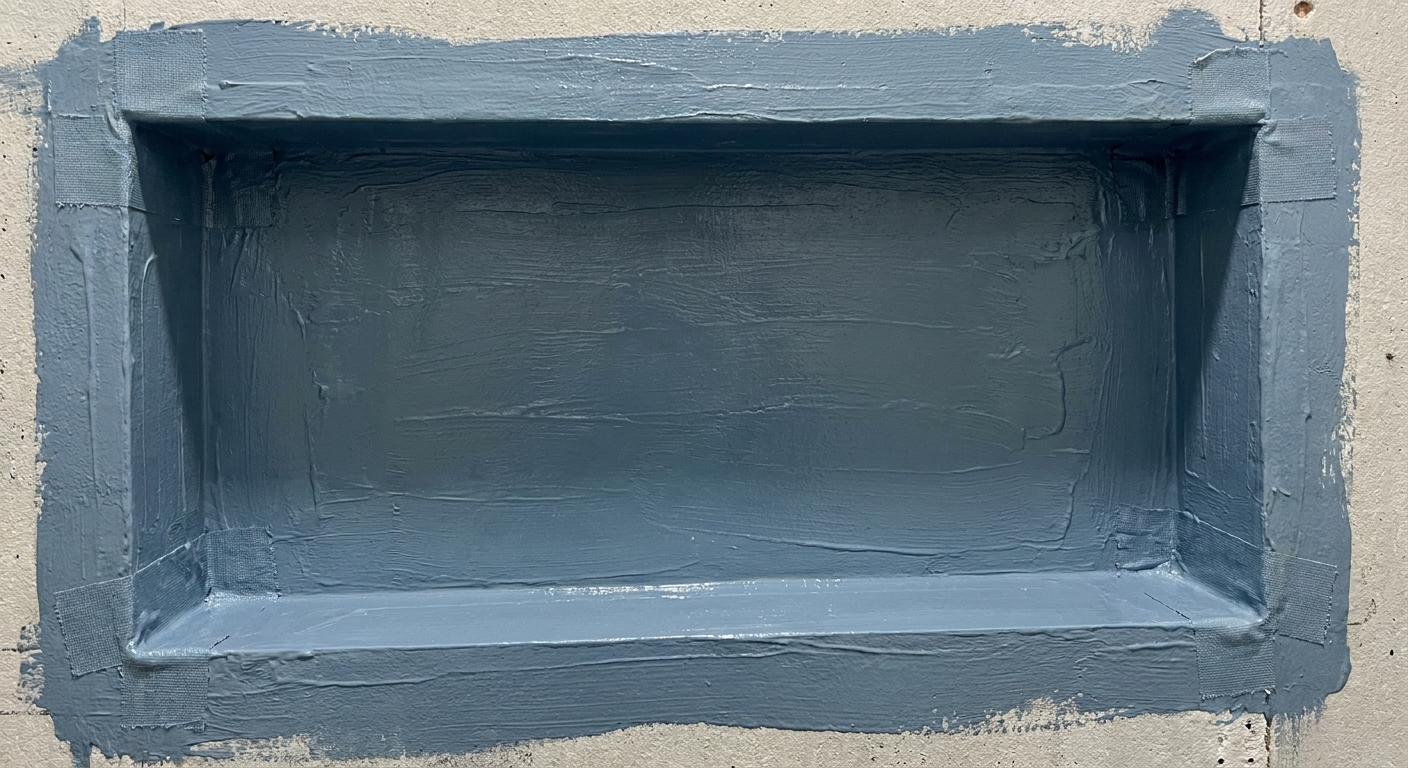
- Waterproof membrane on all five interior faces (back, two sides, top, bottom)
- Reinforced corners at every intersection
- Continuous connection from wall waterproofing into the niche waterproofing
Slope the niche bottom
The niche shelf should have a slight slope toward the shower, so water does not sit against the back seam. You can create this with thinset, a sloped foam niche, or careful substrate prep. This tiny detail prevents a lot of long-term funk.
Common niche mistakes I see
- Membrane stops at the niche edge instead of wrapping into the opening.
- Corner buildup gaps where banding overlaps create a tiny channel.
- No preformed corners and sloppy folds that leave pinholes.
- Fasteners through the niche where they should not be, especially near the bottom.
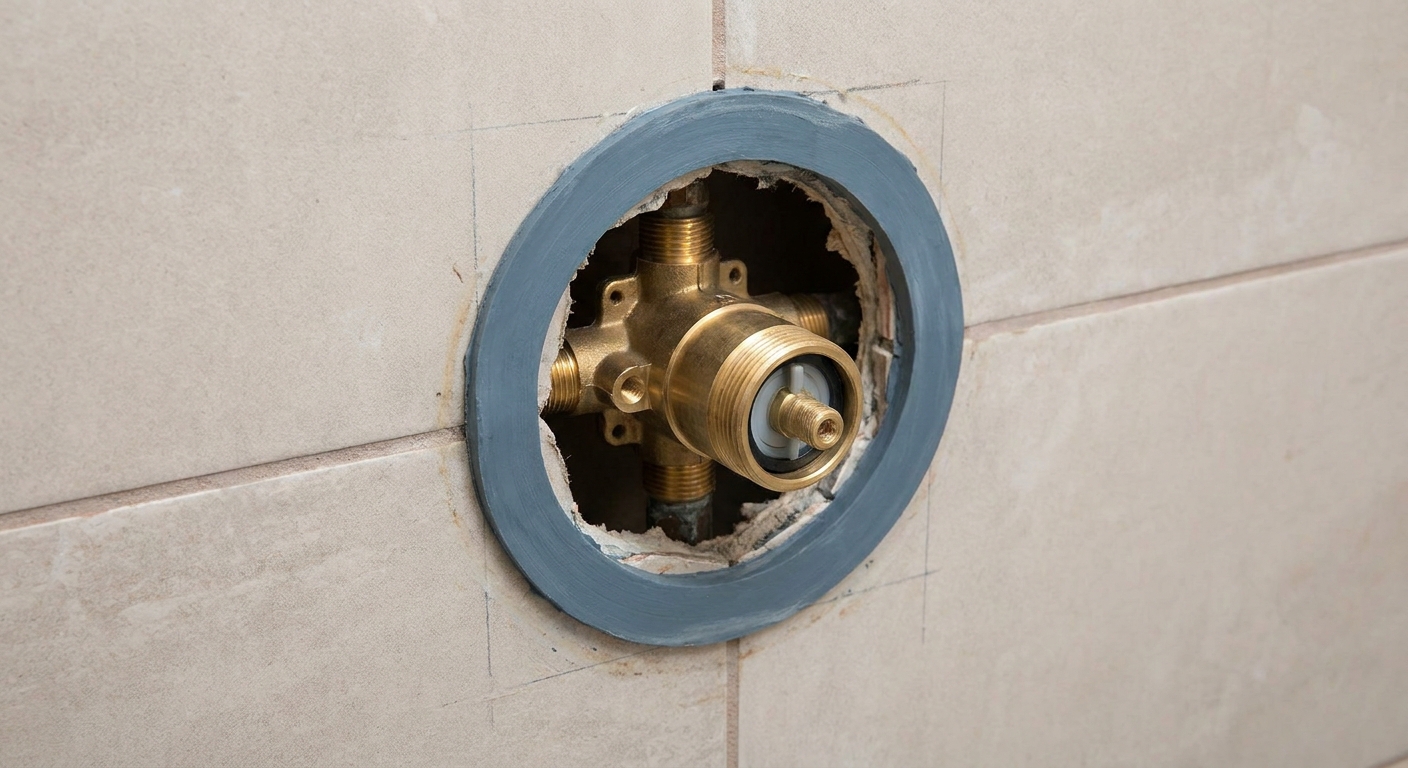
Valve and pipe penetrations
If seams are the number one leak cause, penetrations are a very close second. Every pipe through the wall is an opportunity for water to travel behind tile.
Use the right seals
- Valve seal or gasket designed for your membrane system
- Pipe seals for the shower head arm and body sprays
These seals create a controlled, flexible waterproof connection. Smearing a little membrane around a pipe is not the same thing.
Keep the valve opening tight
Cut the backer board neatly, and do not oversize the hole “for wiggle room.” The trim plate is not waterproofing. It is decoration.
A note on sealant at trim plates
Many pros run a bead of 100 percent silicone around the trim plate, often leaving a small gap at the bottom as a weep point. Check your valve manufacturer guidance and local best practices. The waterproofing behind the wall should still be doing the real work.
The curb
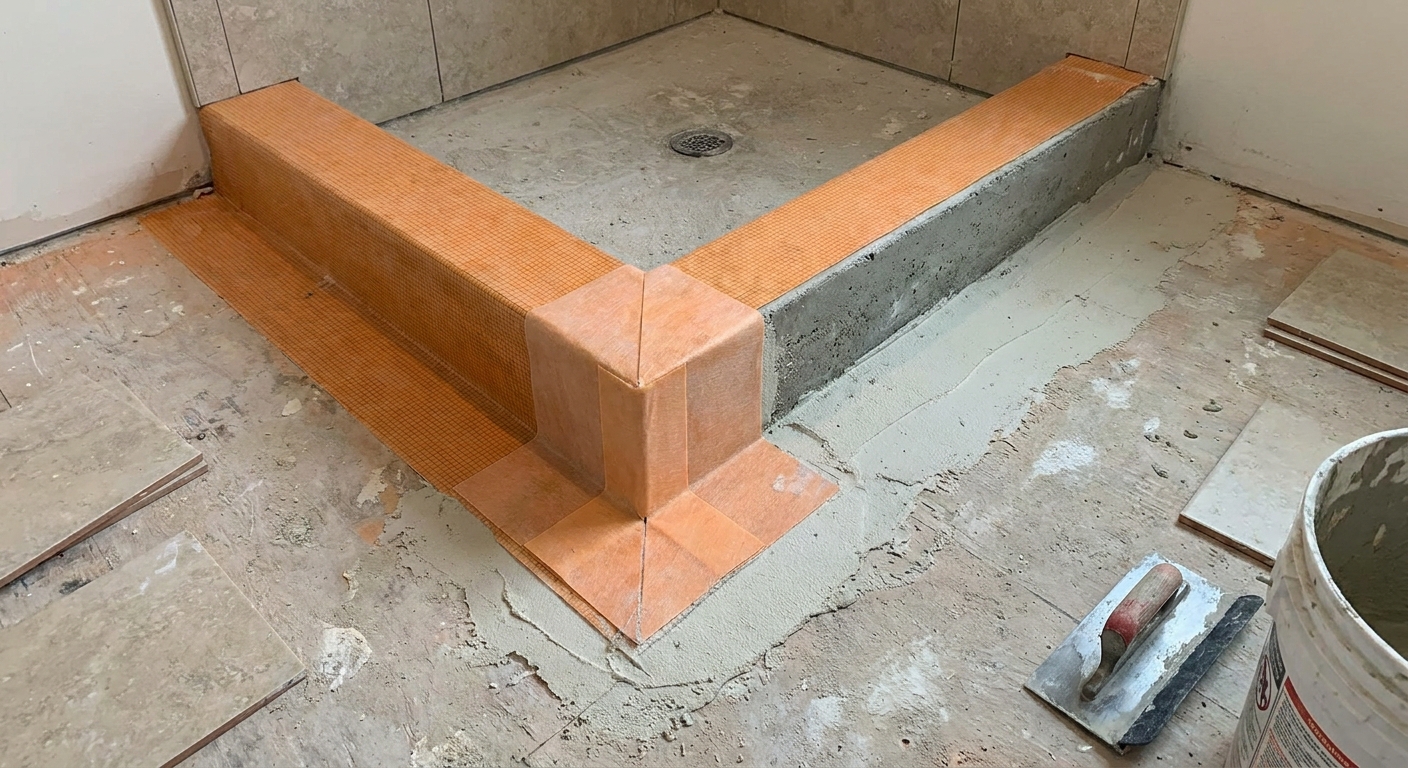
If I could hover over one part of every DIY shower build, it would be the curb. Curbs get stepped on, splashed constantly, and they have multiple planes that need continuous waterproofing.
Key curb rules
- No fasteners through the top or inside face of a traditionally lined curb. This is one of the most common “mystery leaks.”
- Maintain continuous waterproofing up and over the curb. The membrane must connect from shower side to outside face according to your system.
- Preformed corners matter at the curb-to-wall intersections.
If you are using a surface-applied system, detail the curb exactly the way your manufacturer shows, including banding and corners. If you are using a traditional liner, follow the liner rules to the letter and protect it during lath and mud work.
Do a flood test
This is where the grown-up patience pays off. A flood test checks the shower receptor or pan waterproofing and the critical connection at the floor and curb before you cover it up.
When to flood test
Flood test after the pan waterproofing is complete and cured, and before it is covered or obscured by tile and trim. Many people do this before floor tile and before getting too far into the walls, but follow your local code and the membrane manufacturer’s sequence if it differs.
Basic flood test steps
- Plug the drain with a test plug that seals in the drain pipe.
- Fill the pan with water to the depth required by your local code and membrane instructions, typically to just below the top of the curb or threshold.
- Mark the water line.
- Wait the required time (commonly 24 hours, or per local code and membrane instructions).
- Confirm the level does not drop and inspect below or around for signs of moisture.
If it fails, you have learned something incredibly valuable at the cheapest possible time to learn it.
Common mistakes that cause hidden leaks
Here is my personal hit list from years of punch lists and leak investigations. If you avoid these, you are ahead of the game.
- Skipping seam banding or relying on liquid membrane alone over moving board joints when the system requires reinforcement.
- Not meeting minimum overlap at membrane seams, corners, and band intersections.
- Fishmouths and bubbles in sheet membrane or banding that never get fully embedded.
- Membrane applied too thin, especially liquid waterproofing rolled like wall paint instead of built to thickness.
- Pinholes at inside corners, niche corners, and curb corners.
- Unsealed fasteners where required, or fasteners in prohibited curb zones.
- Oversized valve holes and no valve gasket, leaving the escutcheon to “handle it.”
- Pipe penetrations with no pipe seals, just a ring of membrane that cracks with movement.
- No slope on niche bottom or horizontal surfaces, allowing water to sit and find weaknesses.
- Gaps at the pan-to-wall transition, especially where the installer changes materials or brands.
- Traditional pan misses like no pre-slope, clogged weep holes, or fasteners too low on the walls.
My pre-tile waterproofing checklist
Before any thinset hits the wall, I like to do one slow walk-through with a bright work light.
- All seams treated to the system requirements
- Inside corners and outside corners reinforced and fully bonded
- Niche fully wrapped, corners sealed, bottom sloped
- Valve and pipe penetrations sealed with proper gaskets or seals
- Curb waterproofing continuous, corners handled correctly, no prohibited fasteners
- Pan-to-wall connection continuous and detailed the way your system shows
- Membrane cured for the required time
- Flood test completed and passed
If you can check every box, you can tile with a lot more confidence, and a lot less “hope.”
Quick FAQs
Is cement board waterproof?
No. Cement board is water durable, but it is not waterproof. It can absorb moisture and transmit it to framing if there is no membrane.
Can I just use a liquid membrane on the seams and call it good?
Only if the specific system you are using allows that without reinforcement. Many shower failures happen because the installer assumes any liquid membrane automatically replaces seam banding or mesh tape requirements.
Do I waterproof behind the cement board or on the face?
Typically one or the other, not both, because you can create a moisture trap. Most modern showers use surface waterproofing on the face. Follow the instructions for your chosen system.
When do I waterproof the niche?
Treat the niche as part of the wall waterproofing so it becomes one continuous system. I like to pre-plan the sequence so banding and corners overlap cleanly from wall into niche without awkward gaps.
Is a steam shower different?
Yes. Steam showers have different vapor management requirements and typically need a steam-rated system with the correct perm rating, detailing, and sometimes a different board and ceiling approach. If you are building steam, follow a steam-specific method instead of borrowing details from a standard shower.