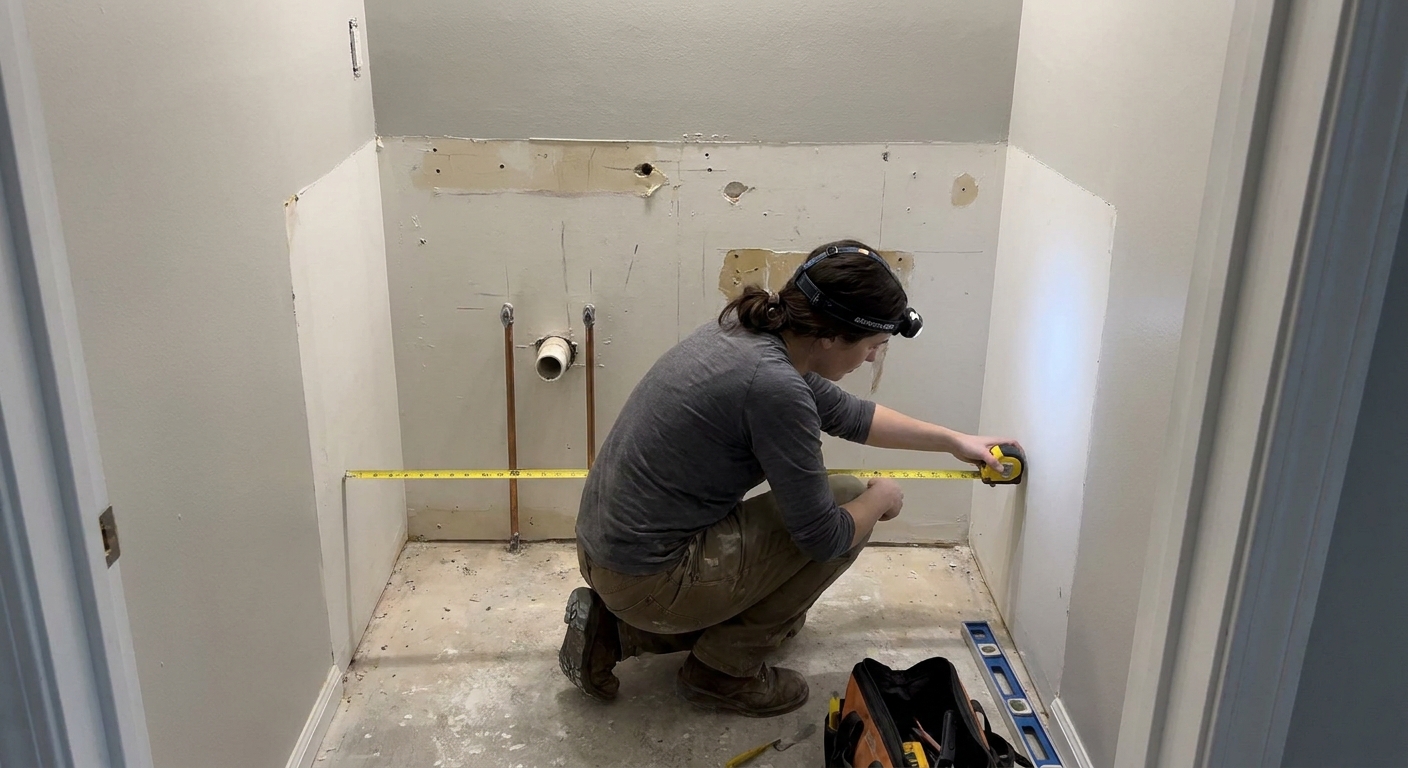
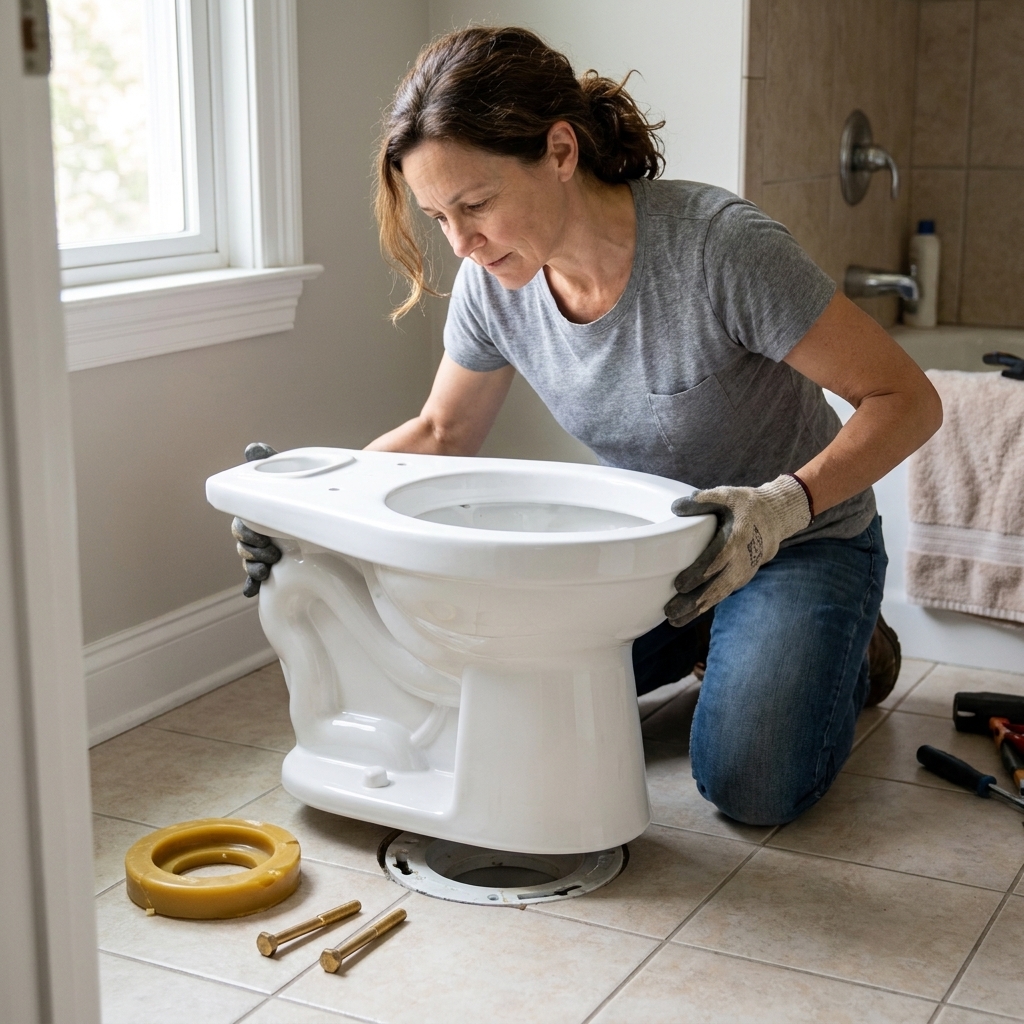
A practical, homeowner-friendly guide to swapping a toilet: shutoffs, draining, rough-in checks, flange inspection, seal choice, bolting, reconnecting, and l...
I grew up holding the flashlight for my dad under sinks and behind toilets, and I learned early that plumbing does not care about your weekend plans. A toilet that is even an inch off can turn install day into a return trip, a scraped knuckle situation, or that awful moment when you realize the tank hits the wall.
The good news is that measuring a toilet rough-in is simple once you know where to measure from and what counts as finished. In this guide, I will show you exactly how to measure for 10-, 12-, and 14-inch rough-ins, how finish materials can change your number, and what your options are if your bathroom is in that in-between zone.
What a toilet rough-in is
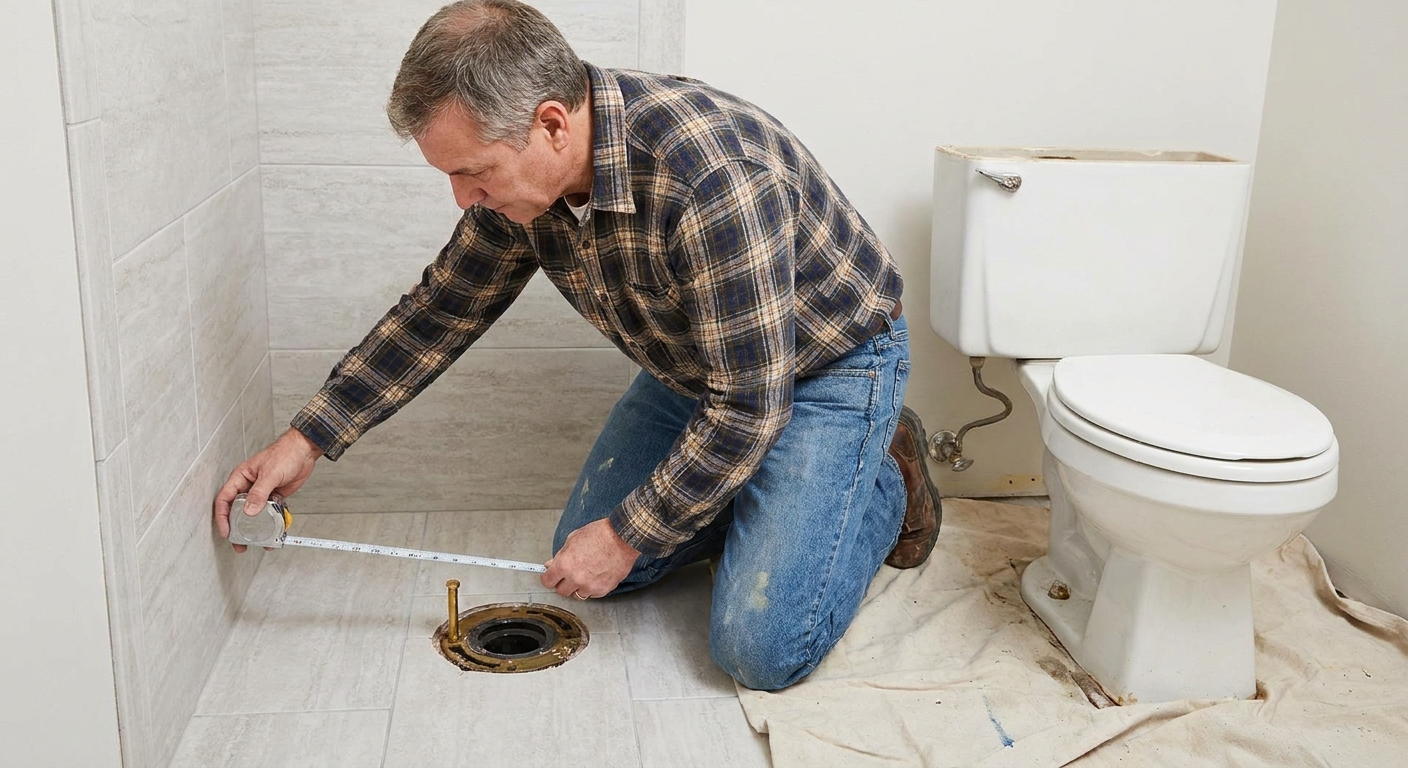
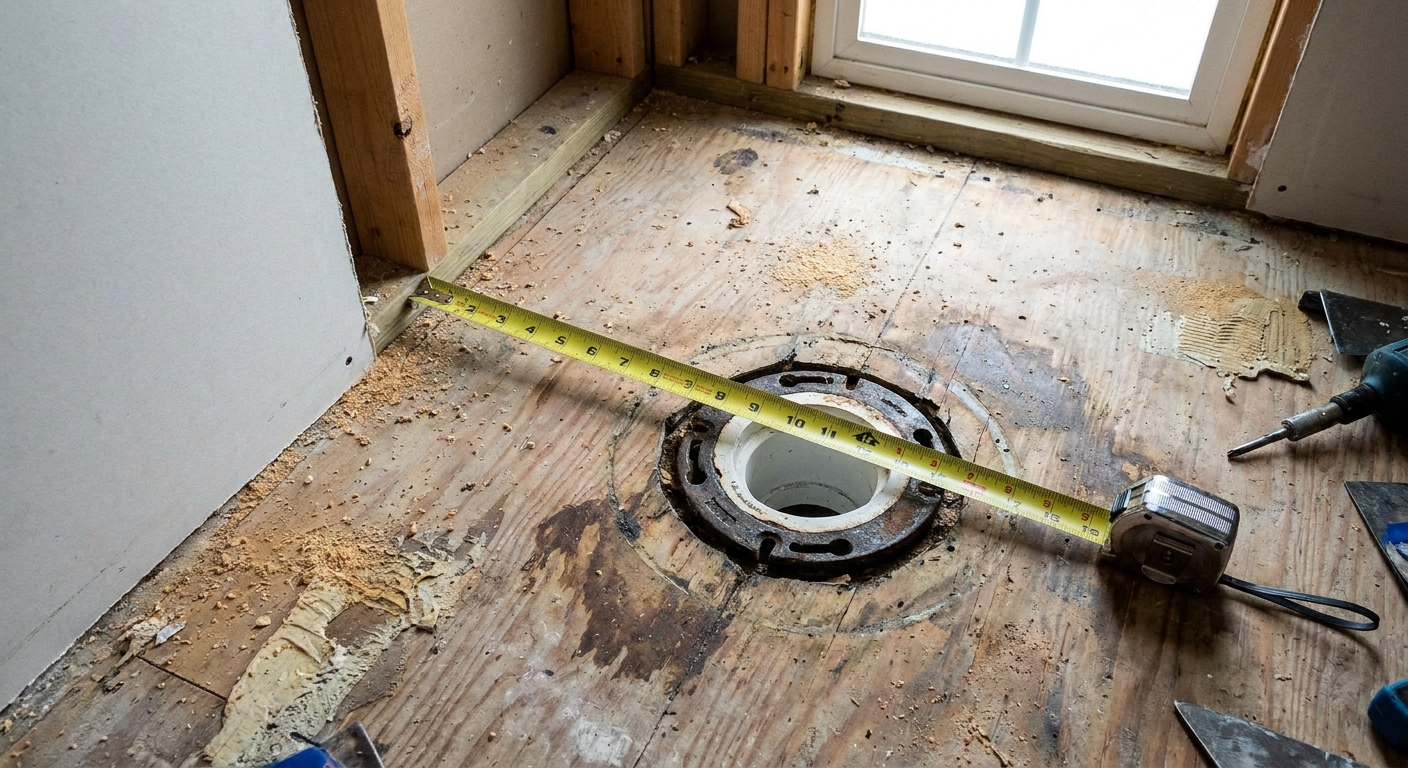
The rough-in is the distance from the finished wall behind the toilet to the centerline of the toilet drain. In most bathrooms, you measure to the center of the closet bolts that hold the toilet down, because those bolts sit on either side of the drain centerline.
Most toilets sold in the U.S. are designed for a 12-inch rough-in. There are also 10-inch and 14-inch rough-in models for tighter or deeper spaces.
Key idea: The rough-in is not “how far the toilet sticks out.” It is the plumbing location that determines what will fit without the tank crowding the wall or leaving an awkward gap.
Tools you need
- Tape measure (a stiff one is easiest)
- Pencil and paper or your phone notes
- Level or straightedge (optional, helpful if the wall is wavy)
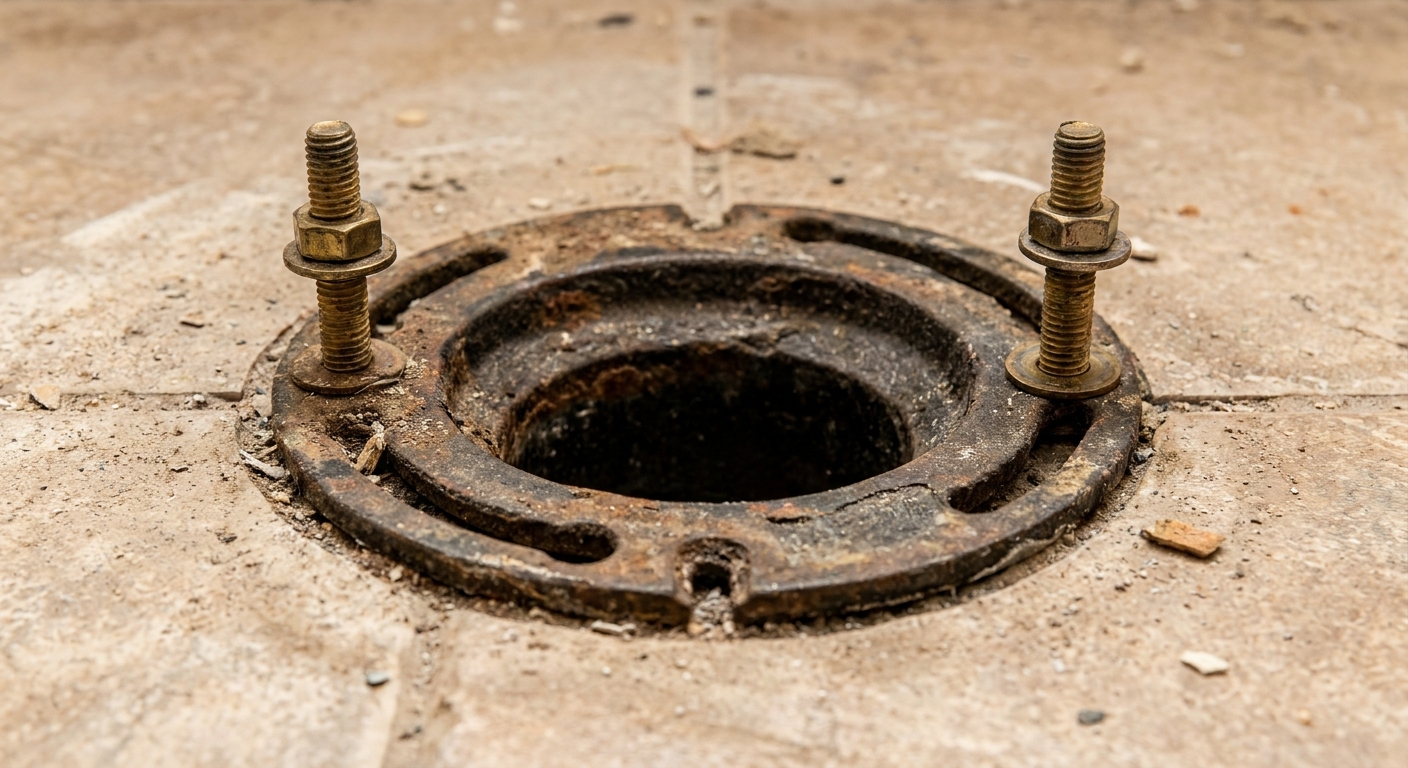
You can measure with the toilet installed, but it is usually easier and more accurate if the toilet is removed, especially if you are already planning a replacement. If you keep the toilet in place, look for the closet bolt caps at the base and measure to the bolt centers as best you can. If you cannot clearly locate the centers, removal gives you the cleanest measurement.
How to measure a rough-in
Step 1: Find the finished wall
Measure from the finished wall surface, not the studs. “Finished” means the surface that will be there when the job is done, typically:
- Painted drywall
- Tile (if tile is on the wall behind the toilet)
- A finished panel surface
If you have baseboard, ignore the part that sticks out. You want the wall plane above it. If the wall behind the toilet has wainscoting, a ledge, or an angle, measure to the plane the tank would actually contact.
Step 2: Measure to the center of a closet bolt
Look for the two closet bolts at the base of the toilet (or in the flange if the toilet is removed). Measure from the finished wall to the center of one bolt, then measure to the center of the other bolt.
If the numbers differ, re-check your wall reference and make sure you are truly hitting bolt center. If they still differ slightly, use the smaller measurement as the conservative number, then confirm fit using the toilet manufacturer’s spec sheet.
Step 3: Record the number and check the spec sheet
In the real world, a “12-inch rough-in” often measures about 11 1/2 inches from finished wall to bolt center. That is common, and many manufacturers design for a little tolerance. Still, toilets vary, so the safe move is to confirm the model’s rough-in requirement and back-of-tank clearance on the spec sheet.
Rule of thumb for buying: If you are genuinely between sizes, checking the spec sheet decides it. When in doubt, the smaller rough-in size can prevent wall interference, but many 12-inch toilets will fit fine at 11 1/2 inches while some will not.
Measuring to the flange center
If the closet bolts are missing, corroded, or clearly off-center, you can measure to the flange center instead.
- Find the circular flange opening.
- Measure from the finished wall to the center of that circle.
This method is also useful if you are mid-renovation and the toilet is already removed. Just remember: the number that matters is the distance to the finished wall you will have when the bathroom is completed.
10 vs 12 vs 14 inches
12-inch rough-in
If your measurement is about 11 1/2 to 12 1/2 inches, you are typically shopping for a 12-inch rough-in toilet. Many bathrooms land at 11 3/4 or 11 1/2 after finishes, and that is normal. If you are tight to the wall, the spec sheet matters more than the label.
10-inch rough-in
If your measurement is around 9 1/2 to 10 1/2 inches, you likely need a 10-inch rough-in toilet. These are common in older homes, small powder rooms, or layouts where the drain was set closer to the wall to gain a little more floor space.
Watch out: Some toilet lines use the same bowl and offer different tanks, carriers, or rough-in kits. Always verify the exact rough-in specification for the specific SKU, and make sure any rough-in kit you are using is listed as compatible with that model.
14-inch rough-in
If your measurement is around 13 1/2 to 14 1/2 inches, a 14-inch rough-in toilet may be the cleanest fit. A 12-inch toilet will often work, but it can leave a visible gap behind the tank that collects dust and looks like an afterthought.
If aesthetics matter and you have the space, ordering the correct 14-inch model can make the toilet look intentionally placed.
Why remodels change rough-ins
This is the part that surprises people during bathroom upgrades: your drain location did not move, but your finished wall surface did. That changes the measurement.
New wall tile
Wall tile plus thinset can easily add 3/8 inch to 3/4 inch of thickness. If tile is going behind the toilet, your rough-in effectively gets smaller by that amount.
Thicker drywall or wall build-outs
Switching from 1/2-inch drywall to 5/8-inch drywall, adding backer board, or furring out a wall to flatten it can all eat into rough-in distance. Even a modest build-out can turn a comfortable 12-inch situation into a tight one.
Baseboards and trim
Baseboard does not usually change the true rough-in, but it can mess with your measuring if you hook your tape against the baseboard instead of the wall plane above it. If the tank hits the wall, it hits the wall, not the baseboard.
New floor tile
Flooring height changes can affect wax ring choice and flange height issues, but they do not change the distance from wall to flange center. The main rough-in change is almost always from the wall side, not the floor.
If your number is weird
Welcome to real houses. Framing is rarely perfect, walls get resurfaced, and plumbers sometimes centered the flange off a reference that no longer exists.
If you measure about 11 inches
This is the classic panic measurement. Here is what I do on projects:
- Double-check you measured from the finished wall surface, not the baseboard.
- Confirm bolt center, not the front edge of the bolt or the toilet base.
- Pull the spec sheet for the toilet you want and look for minimum rough-in and back-of-tank clearance.
In many cases, an 11-inch measurement means a standard 12-inch toilet is too tight, especially after new wall finishes. This is when a 10-inch rough-in model or a toilet with a slimmer tank profile can save the day.
If you measure about 13 inches
A 12-inch toilet will often install, but you may end up with a gap behind the tank. If you want it to look intentional, consider a 14-inch rough-in toilet.
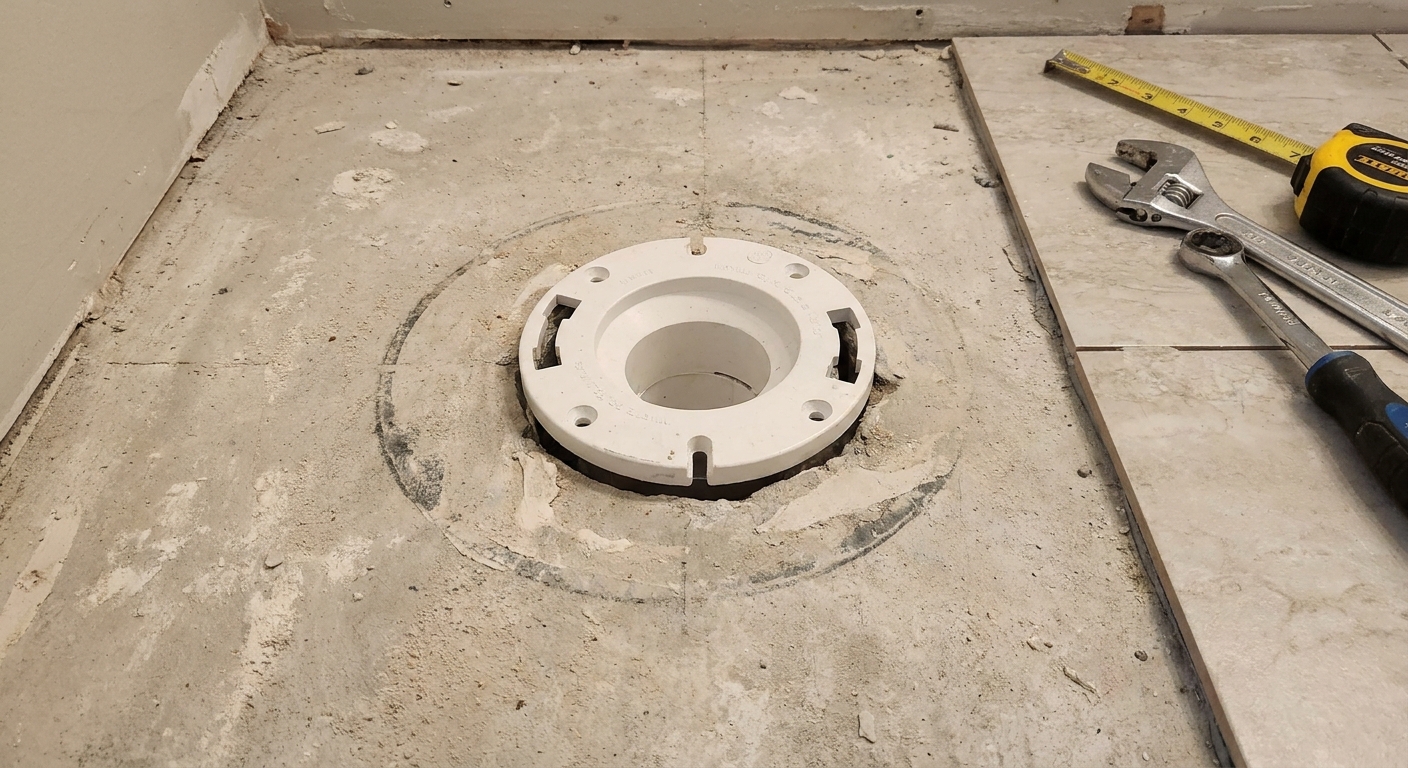
Offset flanges
An offset flange is a specialty flange that shifts the toilet outlet location slightly. The amount varies by model and installation, but it is typically up to about 1 to 2 inches of effective correction.
Offset flanges can help when:
- Your rough-in is short by about an inch and a 12-inch toilet will not clear the wall.
- You need a small correction without opening up a big section of floor.
Offset flanges are not magic
- They do not fix major layout problems.
- They require enough space in the floor system to route the offset.
- They can create tighter turns that are more sensitive to poor installation.
If you are considering an offset flange, it is worth a quick consult with a plumber, especially in older homes where drain lines may be cast iron or where floor framing is tight. When installed well, they work. When installed poorly, they are the kind of shortcut that shows up later as leaks or repeat clogs.
Clearance check
Rough-in is the big one, but I like to confirm a few more dimensions so install day is boring in the best way.
- Tank to wall clearance: Check the spec sheet for the toilet, especially if your rough-in is tight.
- Side clearance: Measure from the toilet centerline to a nearby vanity or wall. Many codes require at least 15 inches from centerline to a side wall or obstruction (30 inches total width), but local requirements vary.
- Front clearance: Many codes call for 21 inches minimum in front of the toilet. More is better if you have it, and local requirements vary.
If you are swapping to an elongated bowl from a round front, also measure how much room you have in front. Elongated is more comfortable for most adults, but only if the room can handle it.
Common measuring mistakes
- Measuring from the baseboard instead of the finished wall plane.
- Measuring to the back of the toilet instead of the bolt center or flange center.
- Assuming every toilet has the same tank shape. They do not.
- Forgetting future wall finishes like tile or wainscoting thickness.
- Relying on “it used to fit” after moving walls, adding tile, or changing drywall thickness.
Quick FAQ
Is a 12-inch rough-in measured to drywall or studs?
To the finished wall. If the bathroom is under construction, measure from what the finished wall will be when complete.
If I measure 11 1/2 inches, is that a 12-inch rough-in?
Usually, yes. 11 1/2 inches is common and still treated as a 12-inch rough-in. If your measurement is tight, confirm the specific toilet’s requirements on the spec sheet.
Can I put a 12-inch toilet on a 10-inch rough-in?
Typically no. The tank will likely hit the wall or sit under stress. You are better off ordering a true 10-inch rough-in model, or using an approved correction method like an offset flange if appropriate.
Can I put a 10-inch toilet on a 12-inch rough-in?
It will usually install, but you will likely have a gap behind the tank. Some people do not mind. In a primary bath, I usually recommend getting the correct rough-in size so it looks finished.
Does new floor tile change my rough-in?
Not the wall-to-bolt measurement. Floor height changes affect flange height and sealing details, but the rough-in distance is about wall location versus flange centerline.
The 30-second takeaway
Measure from the finished wall (not the baseboard) to the center of the closet bolts (or flange center). That number tells you whether you are shopping for a 10-inch, 12-inch, or 14-inch rough-in toilet. If you are remodeling, remember that wall tile, thicker drywall, or wall build-outs can shrink a comfortable 12-inch rough-in into a tight fit, so confirm your pick with the manufacturer’s spec sheet.
If you want, send me your measurement and a quick note about what wall finishes you are adding, and I will tell you which rough-in size is most likely to save your install day.