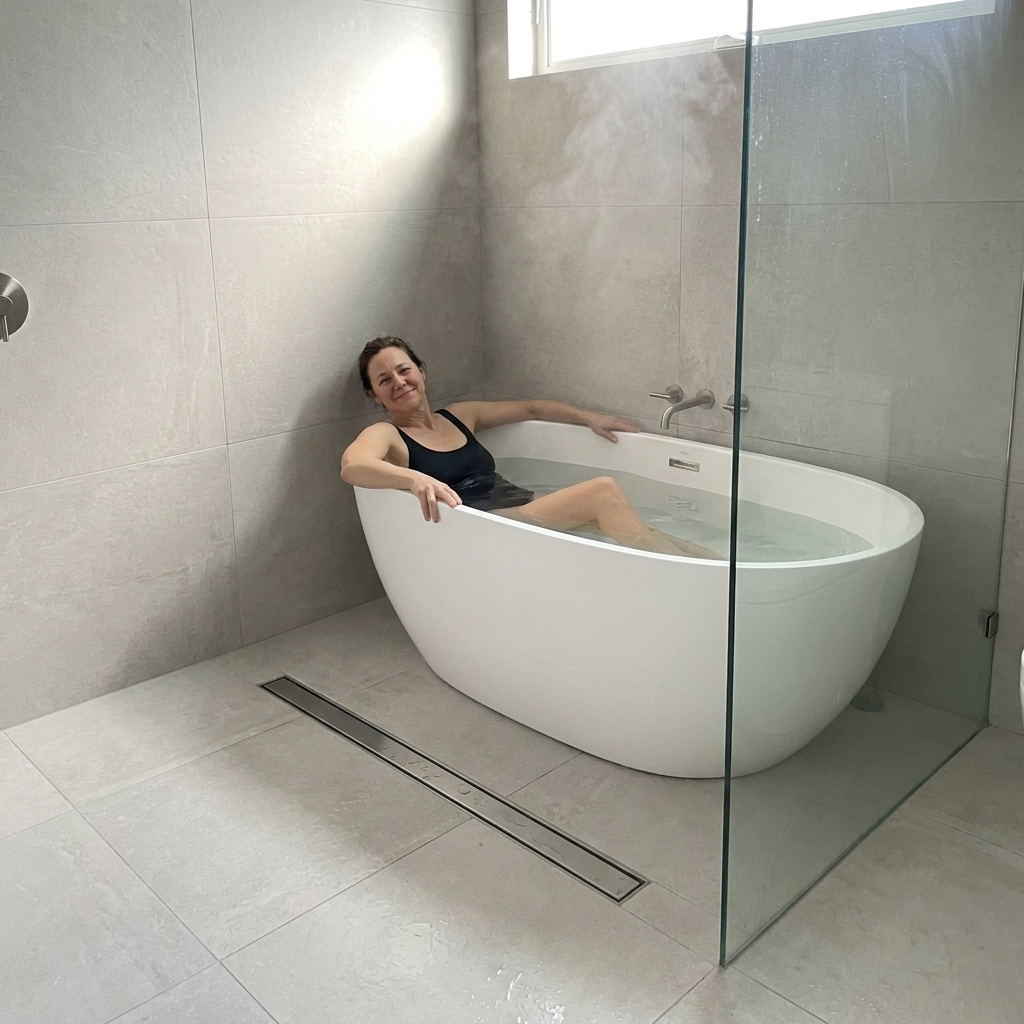
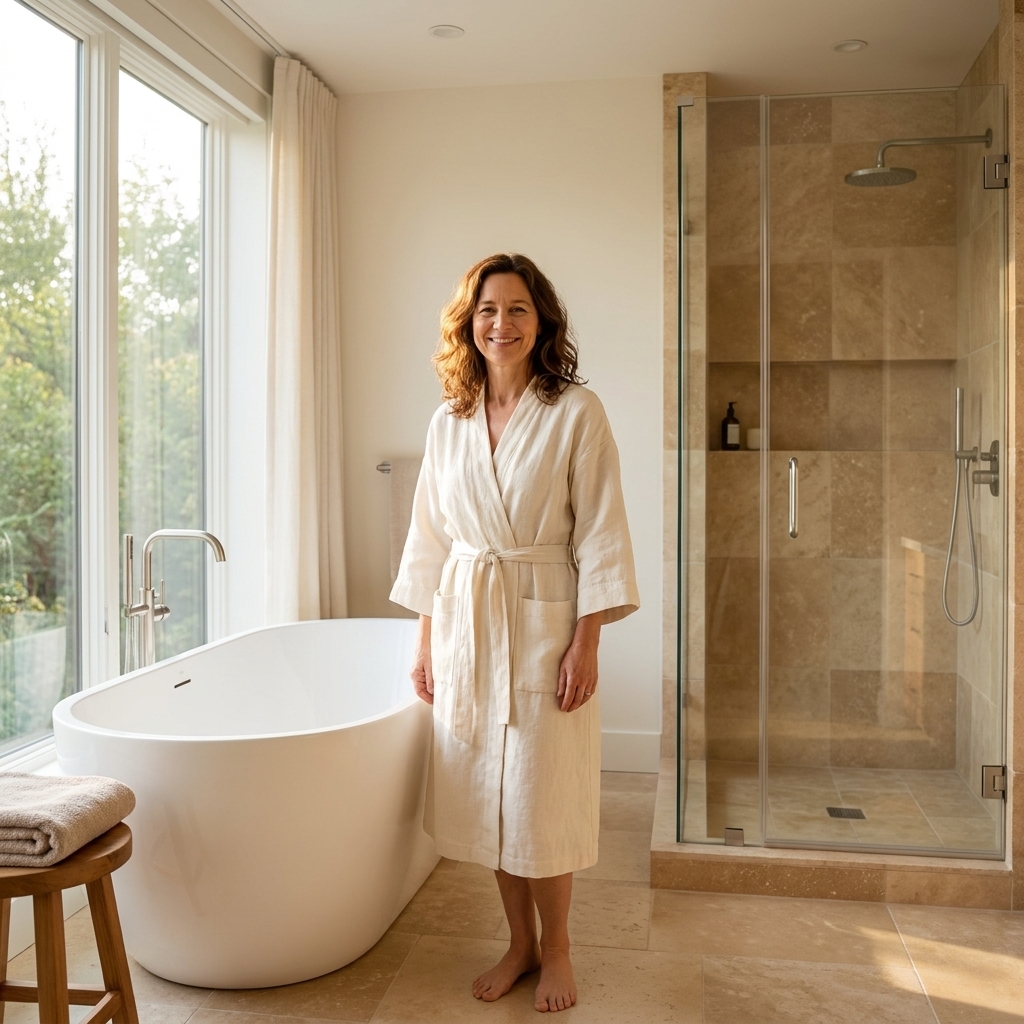
Five real-world master bath layouts featuring freestanding tubs and walk-in showers, with designer-level placement tips, privacy tricks, and must-know cleara...
I grew up holding the flashlight for my dad under bathroom sinks, so I learned early that the stuff you don’t see is what makes a remodel go smoothly. Bathtubs are the same way. The big visual decision (freestanding vs. alcove) is really a planning decision about three things: how much room you truly have, where the drain and faucet rough-ins must land, and whether your floor can carry a heavy, filled tub without bounce.
This piece sticks to layout and plumbing realities so you can choose a tub style that fits your bathroom and your existing infrastructure without surprise subfloor surgery.
The fast takeaway
- Alcove tubs are usually the practical pick for small bathrooms because they tuck into three walls, use a standard wall valve and spout, and often let you keep the drain where it already is.
- Freestanding tubs often force you to plan for walk-around clearances and potentially different rough-ins for the drain and the tub filler (floor-mount, wall-mount, or deck-mount). Some models also push you toward floor reinforcement, especially on older, bouncy second floors.
Clearances to measure
Alcove tub clearances
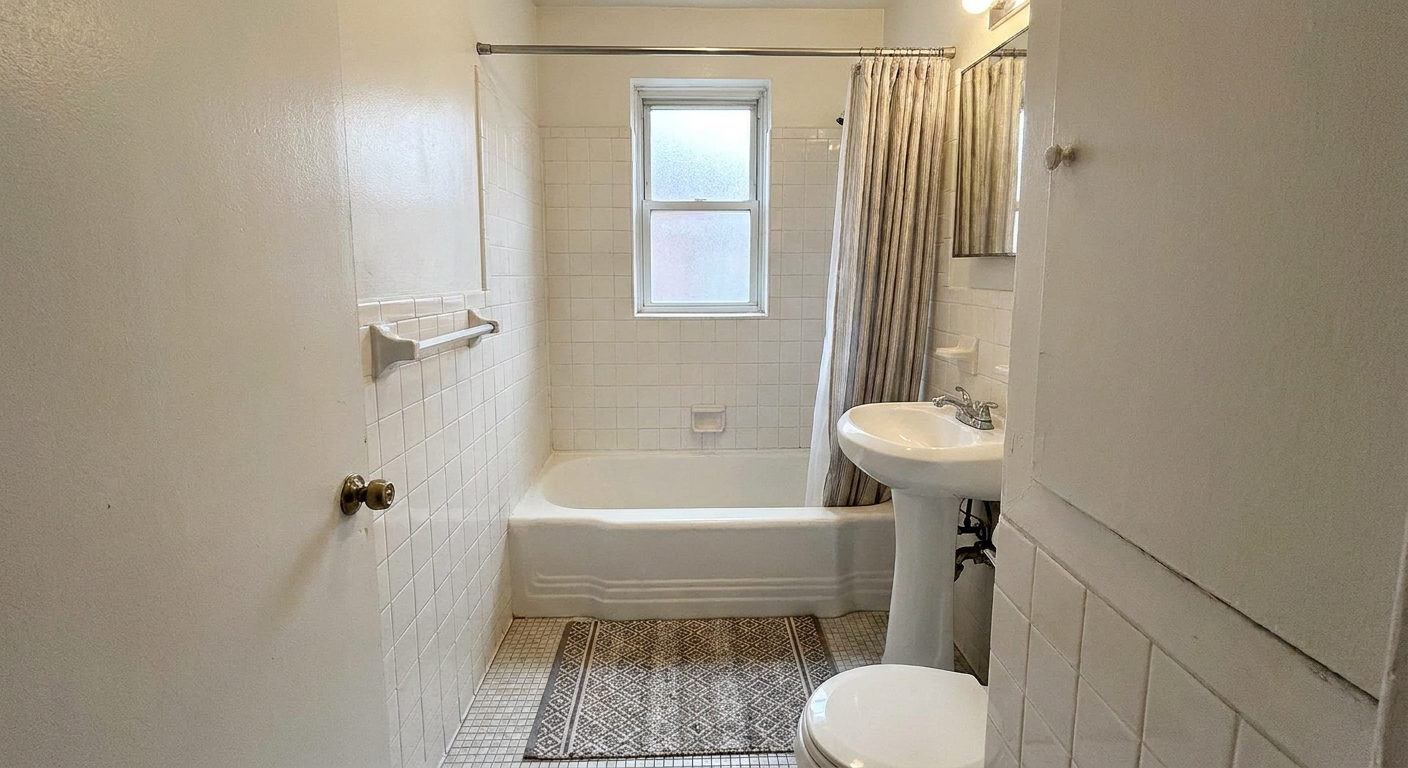
An alcove tub is designed to be installed tight to walls on three sides, then finished with tile or a tub surround. That means the tub itself does not require walk-around space. What you need to plan is the usable space in front of the tub and the width of the alcove.
- Alcove width: Most standard alcove tubs are made for a 60-inch long opening and typically 30 to 32 inches wide. Measure wall-to-wall in at least three spots (front, middle, back). Out-of-square walls are common.
- Front clearance: Plan for comfortable standing room and safe entry. Building codes and common design guidelines in many areas often call for roughly 21 inches of clear floor space in front of fixtures, but local requirements vary and more space feels better if you have it.
- Tile flange space: Alcove tubs usually have an integral tiling flange that tucks behind wall board. That affects how you fur out studs or choose backer board thickness, but it does not demand extra floor area.
Freestanding tub clearances
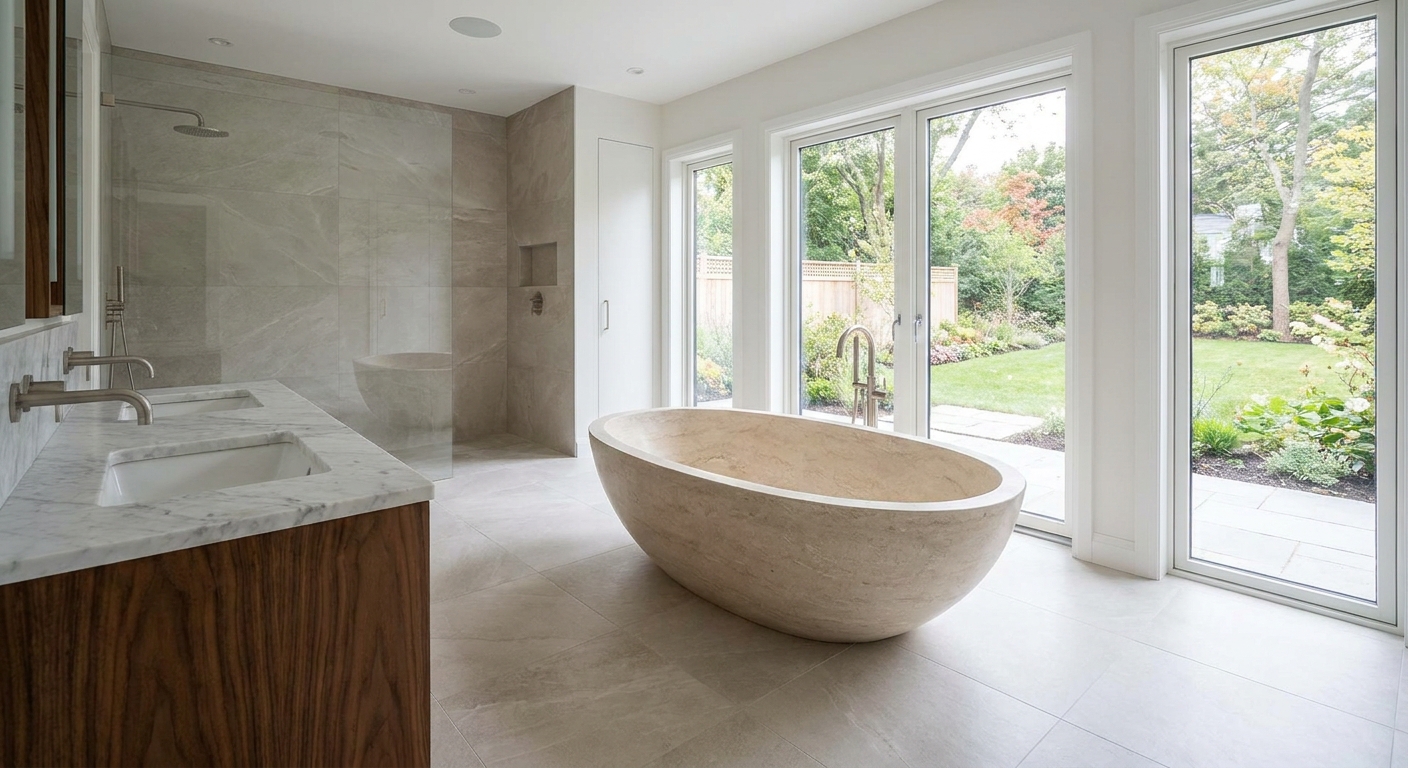
Freestanding tubs look airy because they are surrounded by open space. That open space is not optional in the real world if you want to clean the tub, service plumbing, and not bruise your hips every morning.
- Walk-around space: For cleaning access, I like to see 6 to 12 inches as a practical minimum between the tub and a wall or vanity. If that side is also a regular path of travel, plan more. A comfortable walkway in a busy bathroom is often closer to what you would call an aisle, not a squeeze-through.
- End clearances: Pay attention to the end where you step in. If people will pass the tub end to get to the toilet or vanity, treat it like a traffic lane. If the end is tight, entry feels awkward and it can limit where a filler can go.
- Door swings and traffic paths: Freestanding tubs can accidentally become the pinch point between the door and the vanity. Tape out the tub footprint on the floor and walk it like you live there.
Cleaning and water reality: With a freestanding tub, water does not just stay in the tub. It drips off elbows, splashes off kids, and finds the seams you forgot existed. Plan for a floor you can actually wipe behind and around the tub, and think through how you will keep water from living under the base where you cannot see it.
Plumbing layout basics
This is the part that makes or breaks budgets. The tub style determines whether you can reuse existing rough-ins or whether you are opening the floor and walls.
Alcove tub plumbing
Most alcove tubs are designed around a familiar setup: a drain at one end and a wall-mounted valve with a tub spout and shower head on the plumbing wall.
- Drain location: Often at the front end of the tub (left-hand or right-hand drain options). If you match the new tub’s drain end to the old one, you can frequently keep the drain line where it is, with only minor adjustments.
- Overflow: Built into the tub wall. Common waste-and-overflow kits are straightforward for plumbers, and parts are easy to source.
- Faucet rough-in: Typically a standard shower valve height with a tub spout drop. This is a familiar rough-in for most homes and easiest to service later.
Freestanding tub plumbing
Freestanding tubs come in a few plumbing scenarios, and you want to pick the scenario that best matches what your framing can handle.
1) Floor-mounted filler
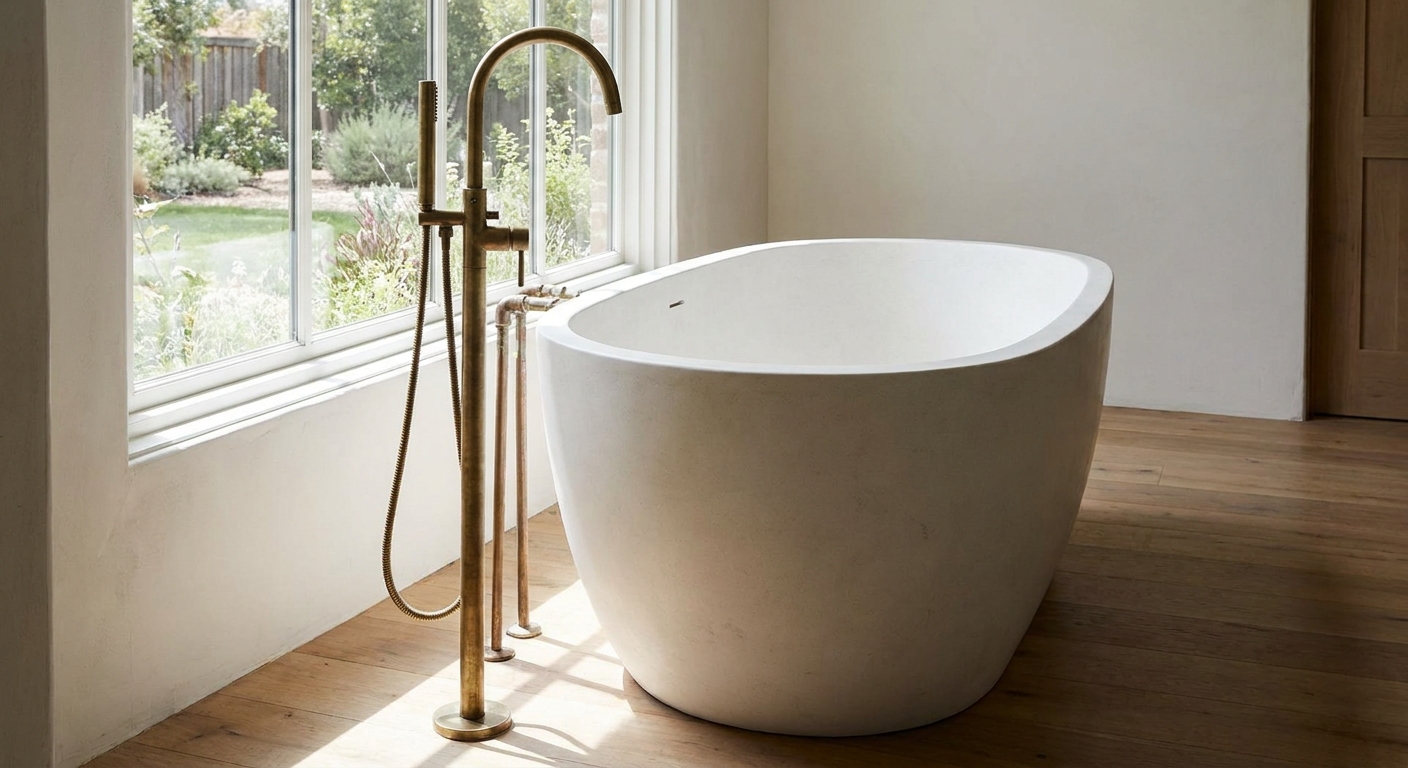
This is the iconic look: a tub filler rising from the floor next to the tub.
- Water supplies: Hot and cold lines must be brought up through the floor to the filler location. This can be straightforward when framing is open from below (unfinished basement, accessible crawlspace) or during new construction rough-in. On a slab, it is easiest to plan before the slab is poured. Retrofitting later can mean cutting and trenching concrete.
- Mounting: Floor-mount fillers need solid blocking and a stable subfloor so the fixture does not wobble over time.
- Shutoffs and service: Know where the shutoff valves will live. Some installs use accessible shutoffs below the floor (when there is access), while others rely on a nearby fixture shutoff strategy. Either way, you want a plan before tile goes down.
2) Wall-mounted filler
If the tub sits near a wall, a wall-mounted tub spout can be a cleaner solution.
- Plumbing wall required: You need a wall close enough to the tub rim for proper reach and to avoid splashing outside the tub.
- Depth and valve placement: Wall thickness and finished tile depth matter. The valve and spout must land within the manufacturer’s allowable range to prevent leaks behind tile.
3) Deck-mounted filler
This is a hybrid approach: the tub looks freestanding, but you build a low deck or partial platform that holds the filler.
- Easier rough-in access: Plumbing can run inside the deck, which can be easier to service than a true floor-mount filler.
- More carpentry: You are trading plumbing complexity for finish work and waterproofing details.
Freestanding drain rough-in
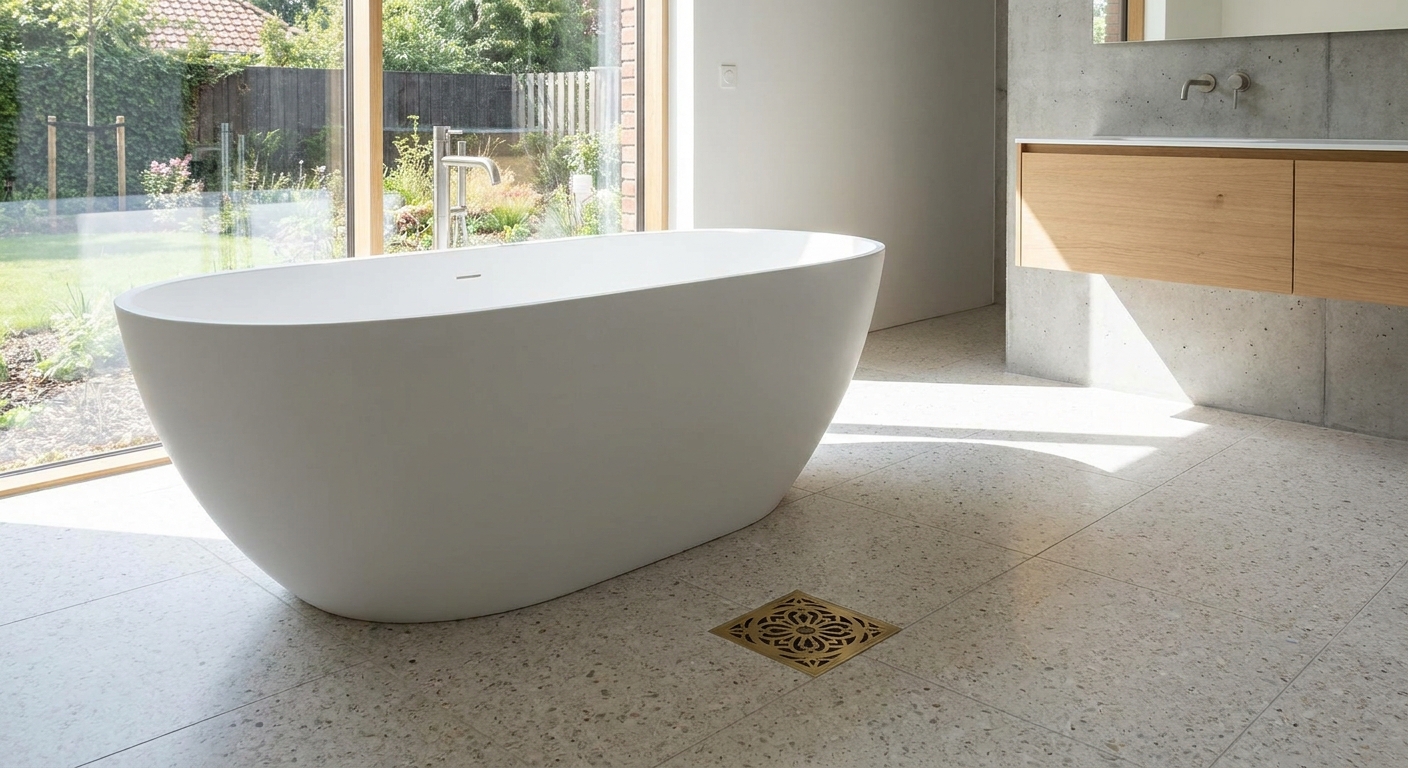
Here is the big gotcha: many freestanding tubs want the drain to pop up in a more central spot under the tub, not tight to a wall like an alcove drain typically is. Some freestanding models are designed to line up with more typical end-drain locations, but you only know that by checking the tub’s diagram.
- Check the spec sheet: Every tub model provides a rough-in diagram showing the drain centerline relative to the tub footprint.
- Expect floor work if it moves: Moving a drain means opening the subfloor. If joists run the wrong direction or the existing trap is in a tight bay, the work can expand quickly.
- Access matters: A first-floor bath over an unfinished basement is the easiest scenario for a freestanding conversion because the plumber can work from below.
A note on "freestanding look" tubs
If you love the style but your room cannot spare the clearance or your plumbing cannot reasonably move, look at skirted or back-to-wall "freestanding look" models. They can deliver a similar vibe while simplifying cleaning access and sometimes keeping the rough-in closer to an alcove-style layout.
Floor support and weight
Homeowners are often surprised by how heavy a tub gets when it is actually being used. It is not just the tub. It is the water plus the person plus the way that load spreads across the floor.
How loads differ
- Alcove tubs usually distribute weight along a long footprint, with support at the apron and along ledger points at the walls. Many homes are already framed with this in mind because alcove tubs have been the default for decades.
- Freestanding tubs, especially cast iron and some solid-surface models, can concentrate load on a smaller base or on a few feet. That is when you start caring about joist size, spacing, span, and subfloor stiffness.
A quick weight reality check
If you want a simple gut-check, remember that water weighs about 8.3 pounds per gallon. A deep soak can add up fast once you factor in the tub itself and the person using it. You do not need to do perfect math, but you do want to respect the fact that this is a real load on a framed floor.
A remodeler-minded checklist
- What is the tub material? Acrylic is usually lighter. Cast iron is heavy before you even add water.
- Where will it sit? Near a bearing wall is generally better than mid-span between supports.
- Is this on a second floor? Upper floors tend to reveal bounce more than slab-on-grade bathrooms.
- How does the floor feel now? If the existing floor already feels springy, a heavier freestanding tub may be the thing that forces reinforcement.
When reinforcement becomes likely
Reinforcement discussions tend to come up when:
- You are choosing a very heavy tub material.
- The tub footprint is small and the load concentrates on a limited area.
- The tub is going on an older framed floor with long joist spans.
- You are also adding heavy finishes nearby (thick tile mortar beds, stone, large-format tile on uncoupling systems).
If any of those are true, it is worth having your contractor confirm framing details and, if needed, consult a qualified professional. It is a lot cheaper to add blocking, sisters, or additional support during an open-floor remodel than after finishes are installed.
When alcove makes sense
I love a beautiful freestanding tub, but I have also watched people try to squeeze one into a bathroom that was never meant for it. Choose an alcove tub when:
- The bathroom is small and you need every inch of open floor area in front of the tub.
- You want to minimize plumbing changes by keeping the drain and valve where they are.
- You want shower function with a standard valve and shower head without special filler planning.
- You want simpler waterproofing because the walls and surround details are common and familiar.
When freestanding is worth it
A freestanding tub can be the right call when the room has breathing space and you are ready to design around the plumbing.
- You have room to clean around the tub and still maintain comfortable pathways.
- You can access plumbing during the remodel (open framing, unfinished basement, or accessible crawlspace) to place the drain and supplies correctly.
- You are ready to plan a tub filler, either floor-mount, wall-mount, or deck-mount, and you have a plan for blocking and serviceability.
- You have verified floor stiffness for the tub you are buying, especially if it is heavy or will sit mid-span.
- You have a service plan for shutoffs and future repairs. It is not glamorous, but it is the difference between an easy fix and a tile demolition.
Measurements to gather
If you do nothing else, collect these measurements and notes before you click “buy.” They prevent the most common mid-project surprises.
- Bathroom floor plan dimensions: overall room length and width, plus door swing.
- Current tub size: length, width, and height, and whether it is a left-hand or right-hand drain.
- Alcove opening width: measure wall-to-wall at the front, middle, and back.
- Drain location: measure from the back wall and the end wall to the drain centerline (and note if it is in the floor or wall assembly).
- Supply access: is there a basement, crawlspace, or finished ceiling below?
- Joist direction: if you can see framing from below, note which way joists run relative to the tub.
- Target filler location (freestanding): decide early if you want a floor-mount or wall-mount filler and confirm clearances at the tub rim.
- Local permit expectations: if you are moving drains, vents, or valves, ask early whether your area expects a permit and inspection. That one phone call can save a week of schedule pain.
Quick FAQ
Can I replace an alcove tub with a freestanding tub without moving plumbing?
Sometimes, but it is not the norm. Many freestanding tubs want a different drain location, and a true freestanding look typically needs a floor-mount or wall-mount filler that your alcove tub may not have. If you find a model whose drain lines up with your existing trap and you are open to a wall-mounted filler (or a deck solution), you may reduce changes, but confirm it with the tub’s rough-in diagram and your plumber.
Does a freestanding tub always need reinforcement?
No. Many acrylic freestanding tubs are reasonably light. Reinforcement becomes more likely with heavier tubs, concentrated bases, older framing, or noticeable floor bounce. The safest approach is to confirm the tub’s filled weight on the spec sheet and compare that to your floor framing conditions during planning.
Is an alcove tub always 60 inches?
60 inches is the most common, but not the only size. There are shorter and longer tubs, plus different widths. The key is matching the tub to the actual alcove opening and wall conditions in your home, not assuming the room is perfectly square.
What is the biggest planning mistake?
Ordering the tub before confirming rough-in requirements and service strategy. Pull the manufacturer’s rough-in diagram, map it onto your framing reality, and decide where shutoffs and access will live before anything gets covered by tile.