A practical breakdown of wet rooms vs. standard bathrooms, including design tradeoffs, waterproofing and slope requirements, comfort tips, maintenance realit...
When clients tell me they want a “spa bathroom,” they usually mean two things: a gorgeous freestanding tub and a walk-in shower that feels like a hotel. The secret is not just the finishes. It is the floor plan. If your tub is stranded in a corner or your shower door smacks the vanity every morning, no amount of marble will make it feel relaxing.
Below are five master bathroom layouts I’ve used (and tweaked) over and over. Each one includes a clear placement idea for a freestanding tub and a walk-in shower, plus the real-world details that keep the room calm, code-friendly, and easy to live with.
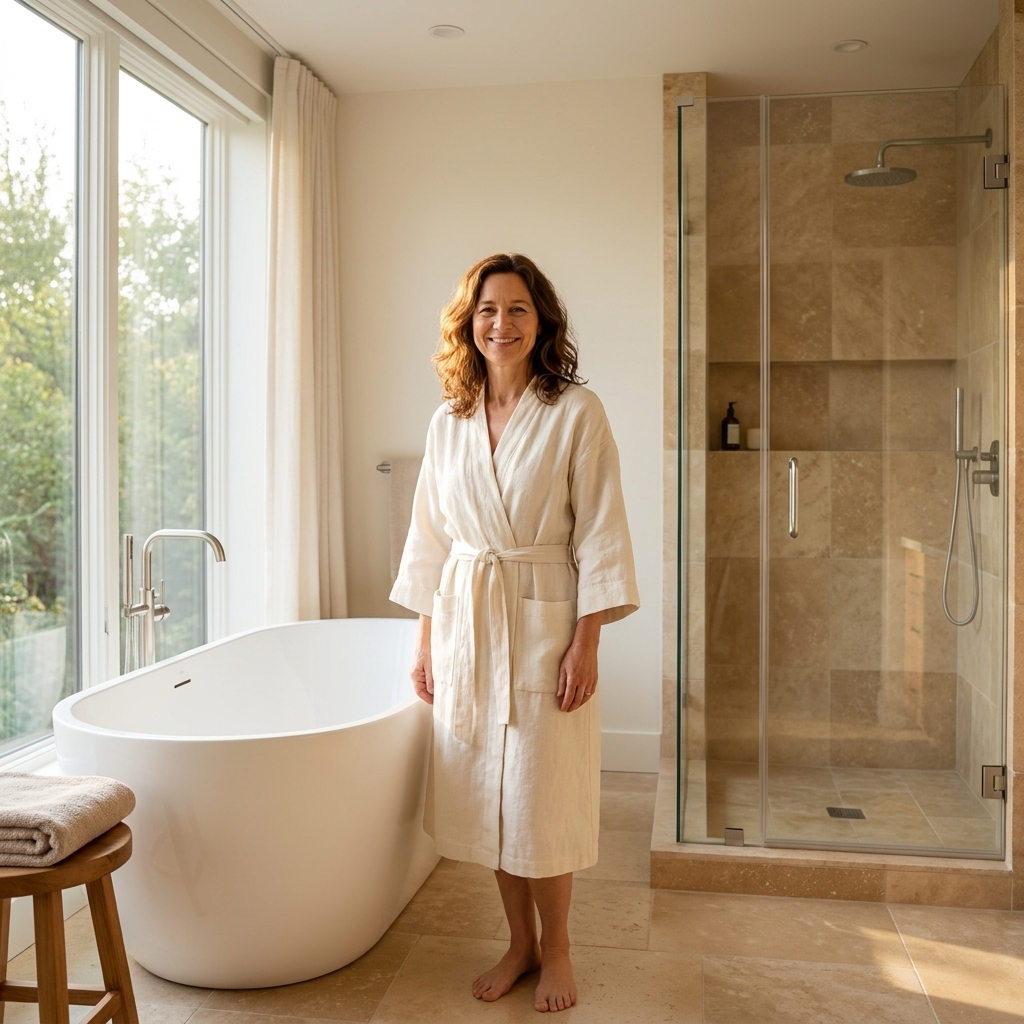
Before you pick a plan: spacing that feels good
I’m going to reference clearances a lot, because “luxury” is often just “nothing feels cramped.” Think of these as common comfort targets, not universal code requirements. Local rules vary, and accessibility goals (and future-you goals) can push these numbers higher. Verify specifics with your local building department and your contractor, especially around waterproofing and ventilation.
- Main walkways: 36 inches clear is a great comfort target for the primary path. You will sometimes see tighter conditions in older homes, but I treat 30 inches as a squeeze I try hard to avoid, especially near doors and wet areas.
- Shower size: Many people are happiest at 42 x 60 inches or larger for a primary shower. That is a luxury target, not a minimum. If you are working with a smaller footprint, you can still build a fantastic shower, just do not sacrifice circulation and door clearance to chase a bigger rectangle.
- Door swings: If a swing door causes chaos, consider a fixed panel with an opening, a pivot door, or (when appropriate) a pocket door for the bathroom entry.
- Tub breathing room: I like about 12 inches from the tub edge to a wall or glass where possible. It is not a magic standard. It is a comfort and cleaning buffer. Always follow the tub manufacturer’s installation requirements and plan for access to the drain and filler.
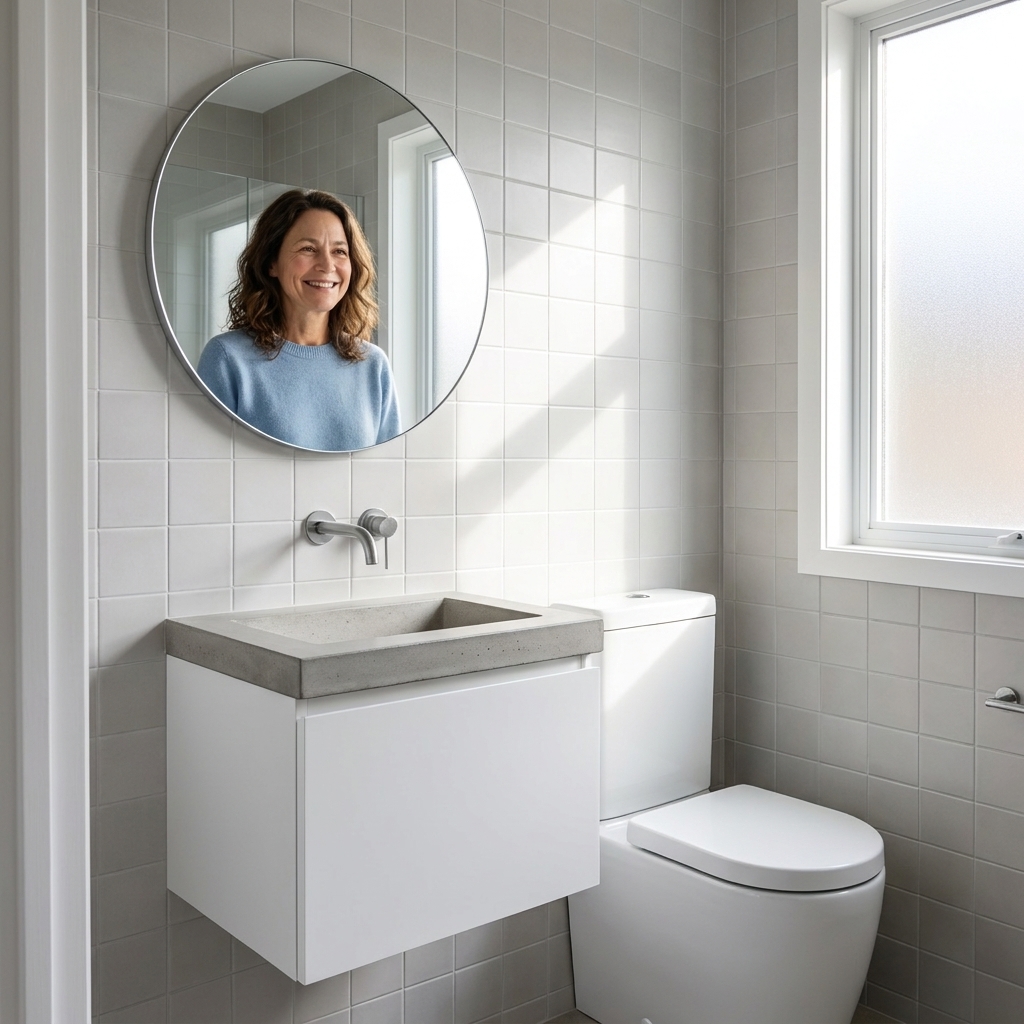
- Toilet privacy: A separate water closet is often preferred for daily life and resale. If it is open to the room, use sightlines and partitions to “hide” it from the entry.
1) Classic split
Best for: long, medium-width primary baths and homeowners who want a balanced, symmetrical feel.
The concept: Place the freestanding tub and the shower on opposite sides of a central aisle, with the vanity (or double vanity) along one long wall. This creates two distinct spa zones without building extra walls.
How it’s arranged
- Walk-in shower: At the far end on the left, ideally full-height tile with a glass door or fixed panel.
- Freestanding tub: Opposite the shower on the right, often near a window if you have one.
- Vanity: Along the long wall, often closest to the entry for easy morning routines.
- Toilet: Tucked behind the vanity wall return, or in a small enclosure near the shower end.
Why it works: The tub becomes a visual focal point, while the shower feels substantial and separate. It also keeps wet zones anchored to perimeter walls, which can simplify plumbing routes in many homes.
Elena’s design tip: If you can, align the tub centerline with a window or a sconce pair. That “hotel symmetry” is doing a lot of heavy lifting.
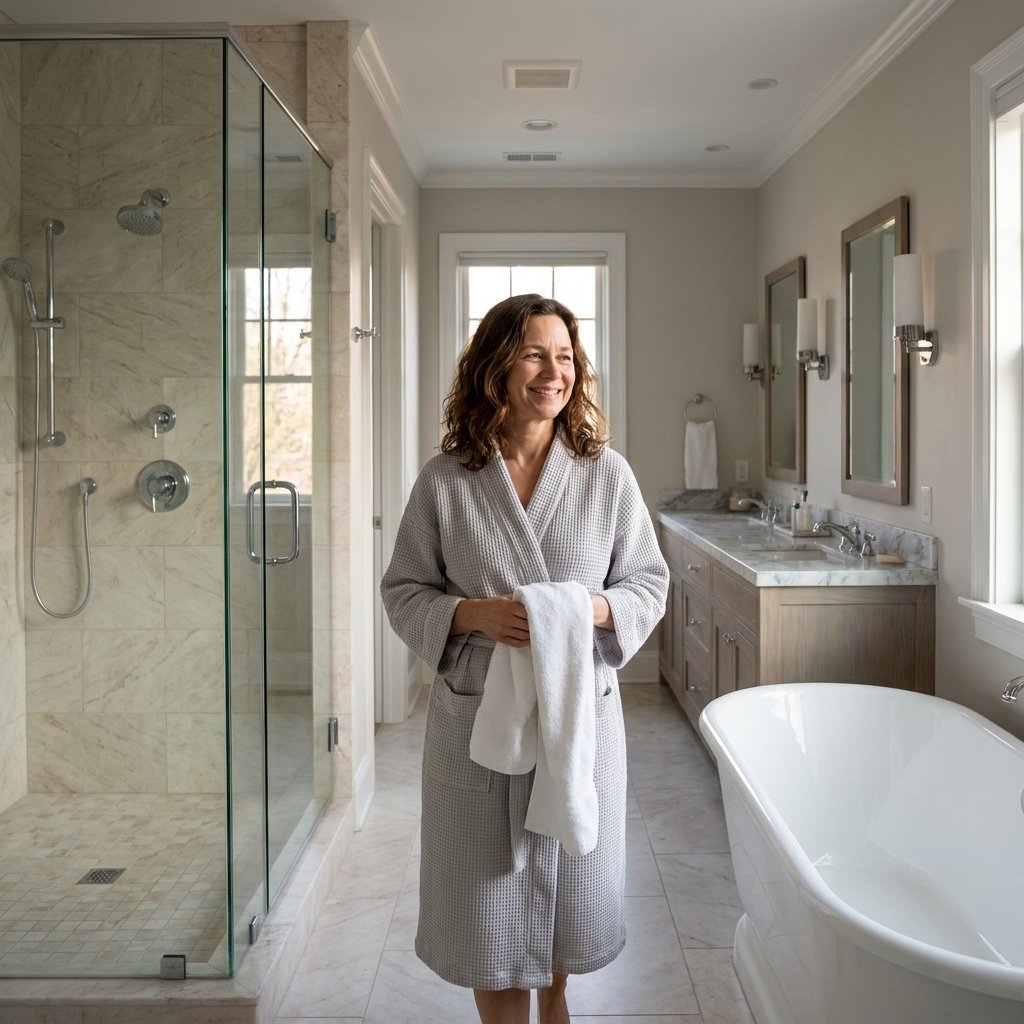
2) Wet room retreat
Best for: homeowners who love a true spa vibe, and bathrooms where you can dedicate a large footprint to the bathing area.
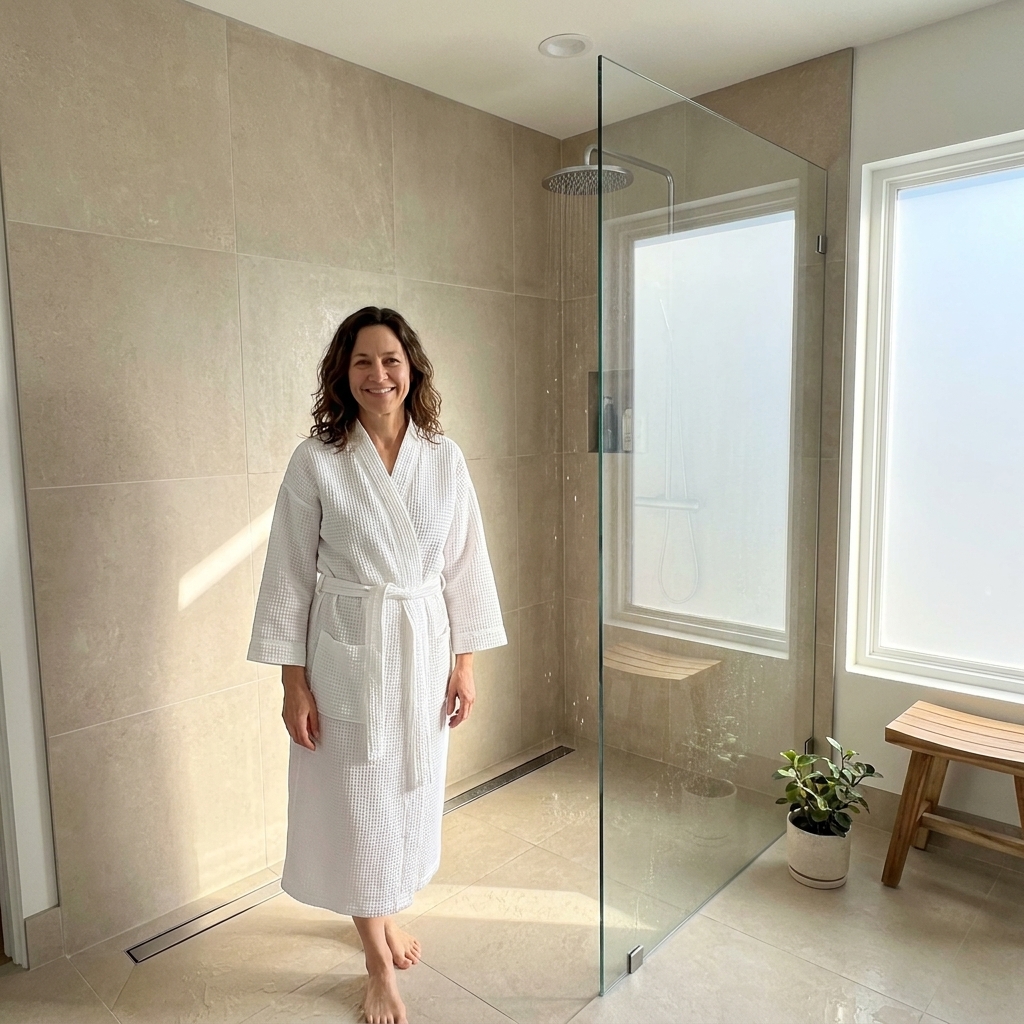
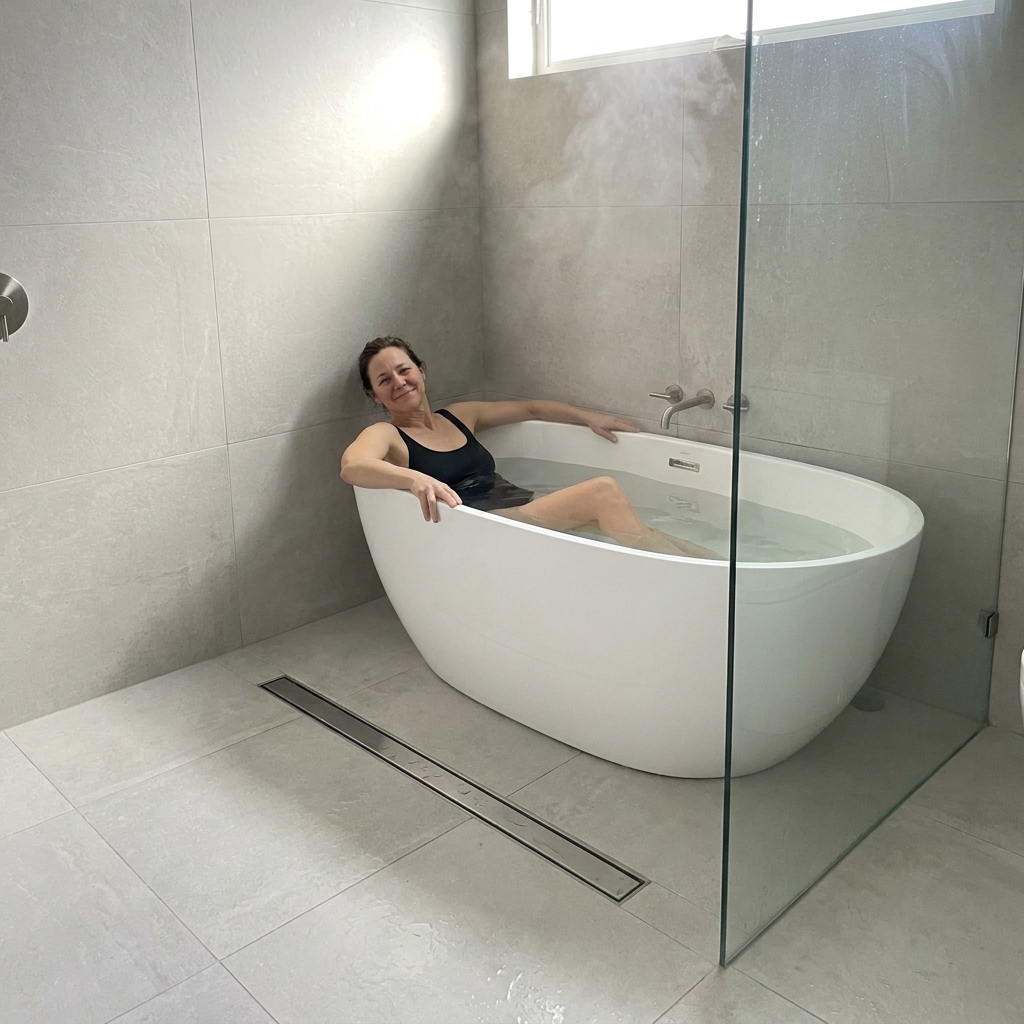
The concept: Create a fully waterproofed wet room where the tub sits inside the same tiled enclosure as the shower. One glass wall and door delivers that boutique-hotel look while keeping the rest of the bathroom drier.
How it’s arranged
- Wet room: A large enclosure along the back wall or one side wall.
- Shower: A ceiling-mounted rain head and or wall shower with a hand shower, positioned so spray stays away from the entry.
- Tub: Freestanding or skirted tub placed along the wet room wall, sometimes under a window (with correct waterproofing and window detailing).
- Vanity and toilet: Outside the wet room, kept in the dry zone.
Why it works: It feels like a dedicated bathing suite. It is also practical when one person showers while the other uses the vanity, because splash stays contained and the room reads more organized.
Reality check from the field: A wet room is not just “more tile.” It is a waterproofing system. Budget for a pro-level membrane, careful drain planning, and glass that fits your ceiling height and out-of-plumb realities. Also, know that glass does not always contain steam perfectly. If you want the rest of the bathroom to stay comfortable, design ventilation like you mean it.
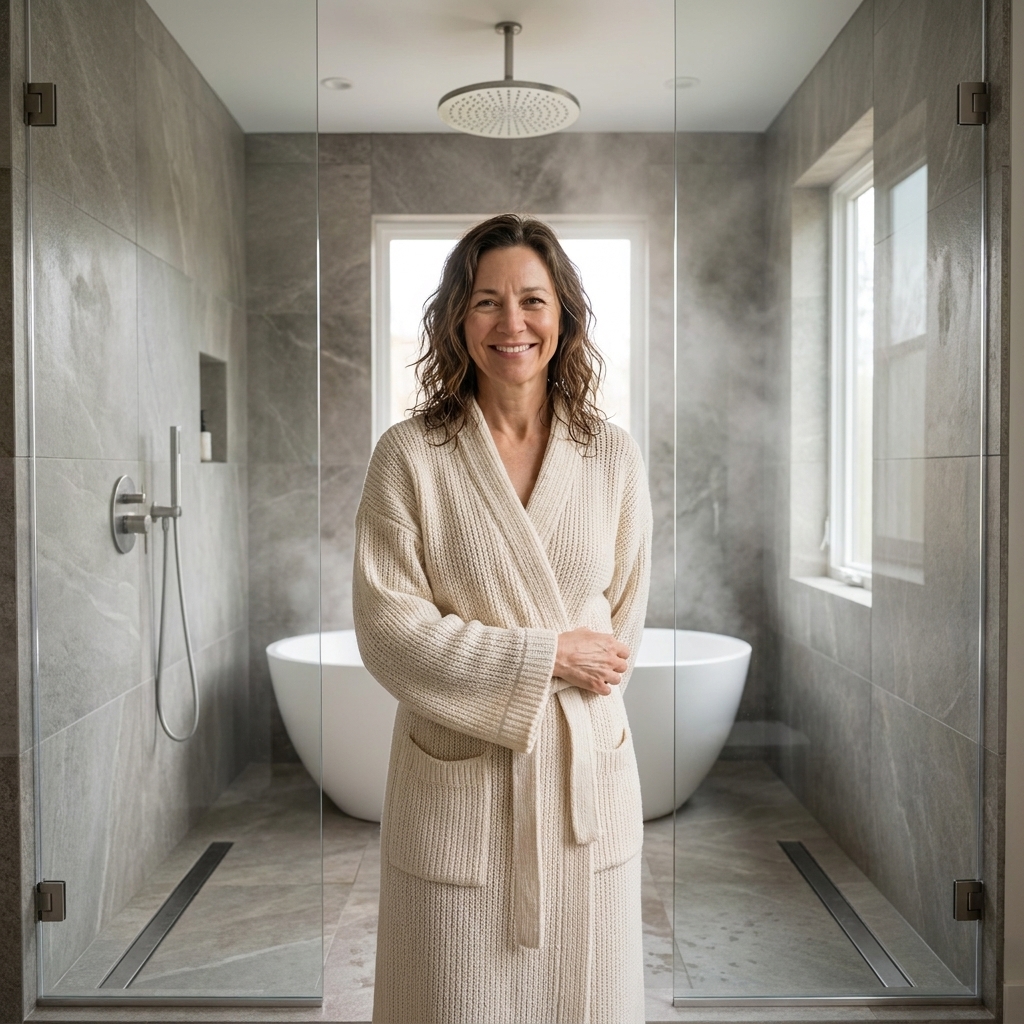
3) Back wall focal point
Best for: bathrooms that are wide enough to stage a feature moment at the far end, and remodels where you want the tub to be the first thing you see.
The concept: Center the freestanding tub on the back wall so it reads like sculpture. Put the walk-in shower to one side, usually tucked into a corner with a glass front. Vanities run along one side wall or both sides depending on width.
How it’s arranged
- Freestanding tub: Centered on the back wall, often with a statement light (properly rated) or flanking sconces.
- Walk-in shower: Back corner, with a fixed glass panel and a door or opening.
- Vanity: Typically closer to the entry, so your daily routine stays out of the wet zone.
- Toilet: Best in a water closet along a side wall to keep it out of the main sightline.
Why it works: The layout naturally creates a processional feel. You enter, you move toward the tub, and everything feels intentional. With warm lighting and strong storage, it reads restorative instead of busy.
Elena’s storage obsession moment: If your tub is the star, keep the clutter offstage. Add a tall linen cabinet near the vanity and a recessed shower niche that is actually sized for real bottles.
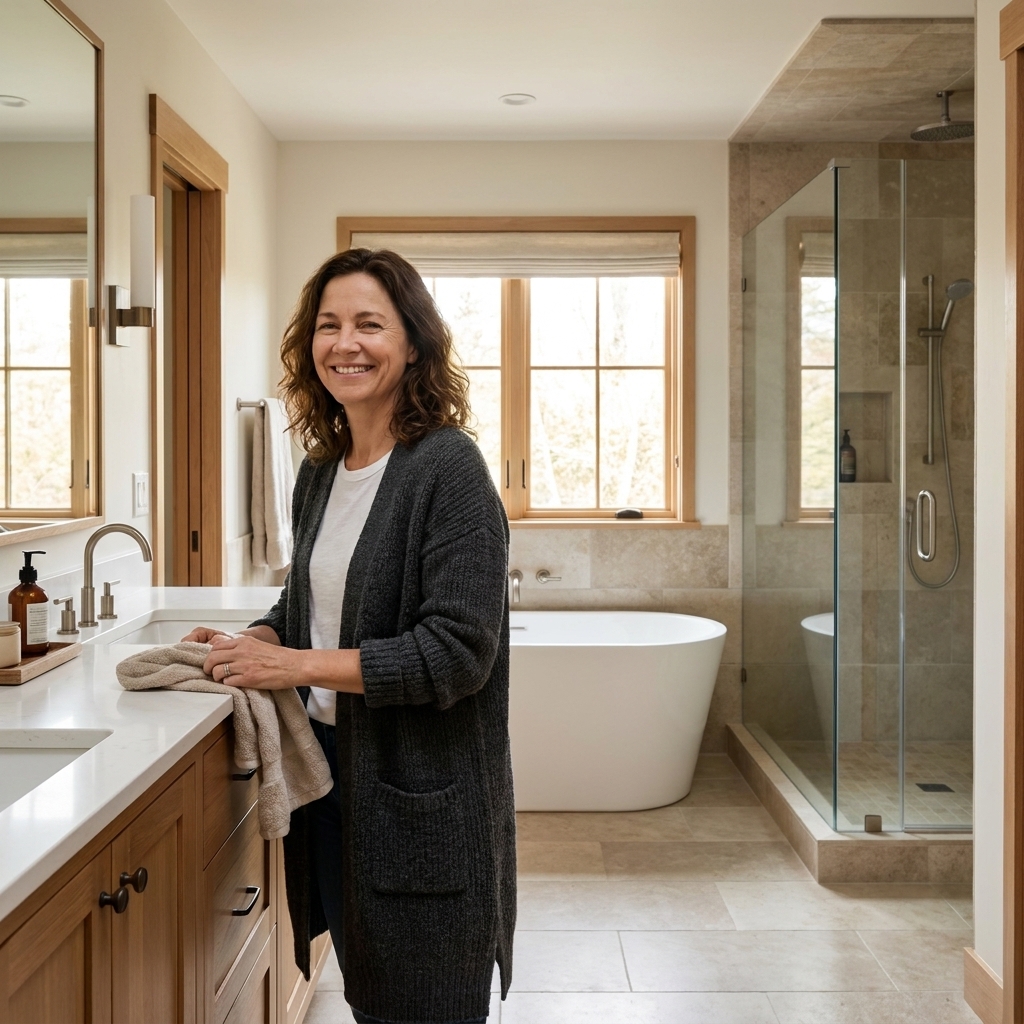
4) L-shaped suite
Best for: odd footprints, additions, or homes where the bathroom wraps around a closet, chimney chase, or structural wall you do not want to touch.
The concept: Use the L shape to separate zones: one leg becomes the wet zone (walk-in shower), the other leg becomes the vanity and tub zone. This can make a tricky space feel naturally organized without extra partitions.
How it’s arranged
- Walk-in shower: Placed in the narrower leg of the L, often with a straight shot for plumbing.
- Freestanding tub: Set into the elbow or the wider nook where it has breathing room.
- Vanity: Along the longer wall, with a clear path from entry to shower.
- Toilet: Often fits nicely around the corner where it is partially screened from view.
Why it works: You get separation without paying for a lot of walls and doors. It can also help keep steam and sound in the wet leg, especially if you add a door at the bend.
Elena’s construction note: In L-shaped baths, lighting can get weird fast. Plan layered lighting: recessed for general, sconces at the mirror, and a dedicated shower-rated light in the wet zone.
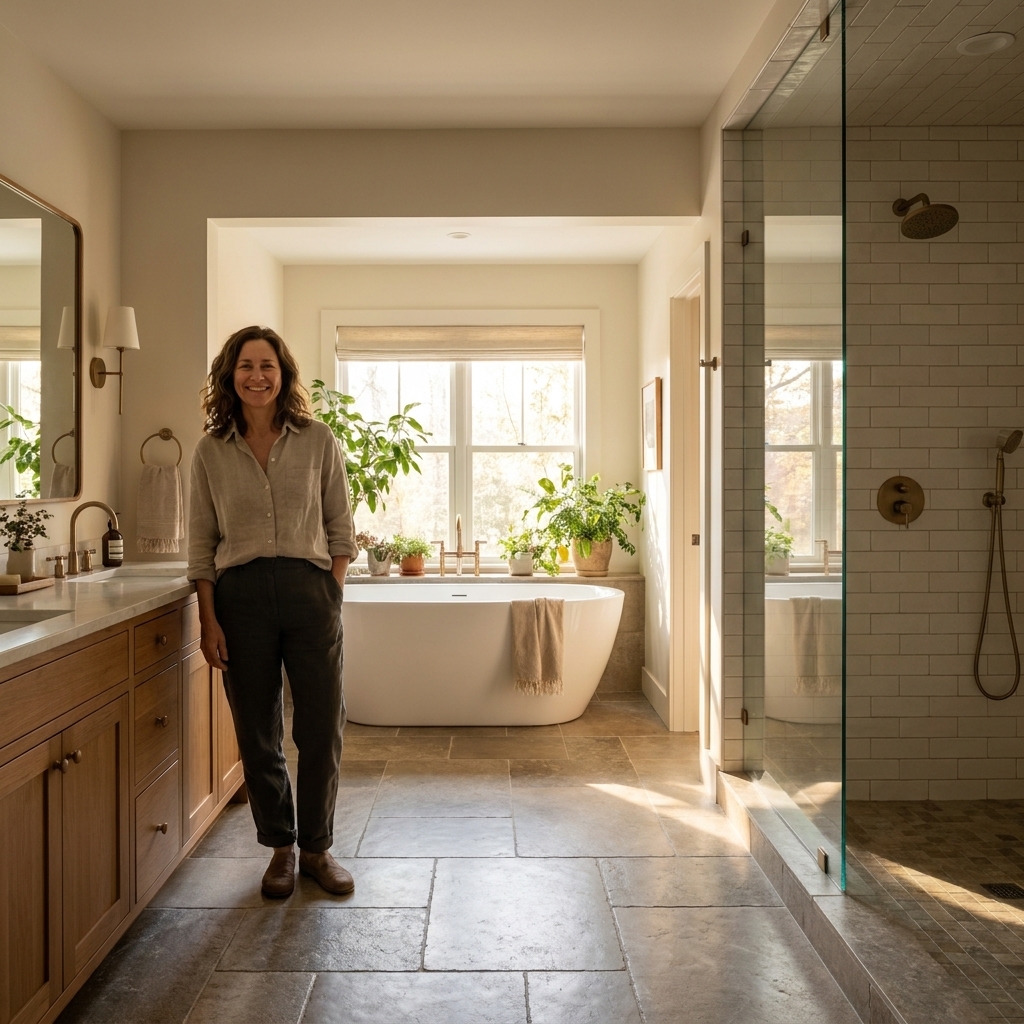
5) His and hers bookends
Best for: larger primary baths where two people need to get ready at the same time, and you want a true suite feel.
The concept: Put the walk-in shower on one end, the freestanding tub on the other, and run dual vanities along the center section (either one long vanity or two separated stations). The toilet is usually in a dedicated water closet near the center for convenience.
How it’s arranged
- Walk-in shower: One end of the room, often oversized with a bench.
- Freestanding tub: The opposite end, ideally near a window or under feature lighting.
- Dual vanities: In the middle zone, sometimes split by a linen tower or makeup niche.
- Water closet: Near the center so it is not next to either spa moment.
Why it works: It reduces morning traffic jams. And aesthetically, it reads high-end because each feature gets its own destination.
Elena’s sanity-saving tip: If you do split stations, give each person a real drawer stack. Doors are fine, but drawers are what keep countertops clear and calm.
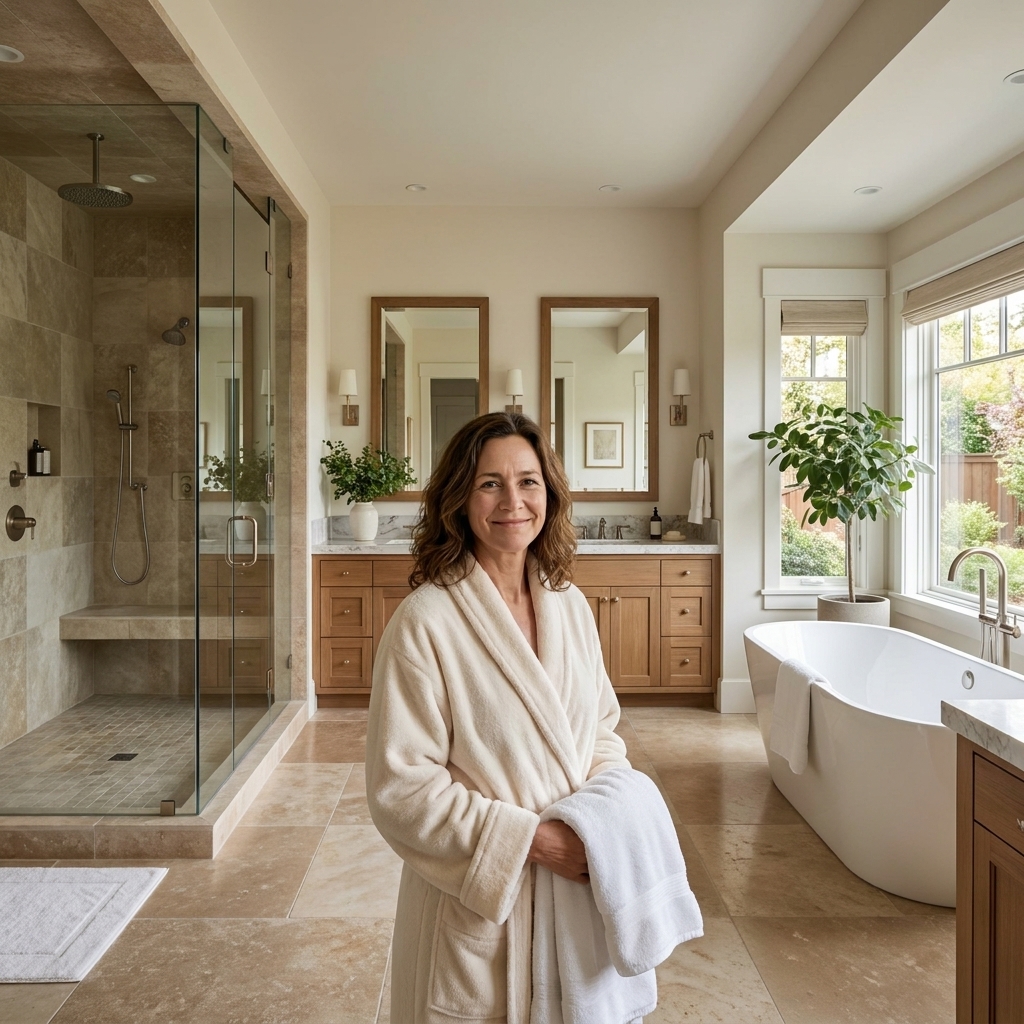
Reality checks to plan early
Beautiful layouts live or die by what is behind the walls and under the floor. A few practical notes I like homeowners to hear before demo starts.
- Plumbing and structure affect cost: Moving a shower is usually easier than moving a toilet. Relocating a toilet often means new drain routing, venting changes, and sometimes structural work. Joist direction and drain location can limit where a curbless shower or linear drain can go.
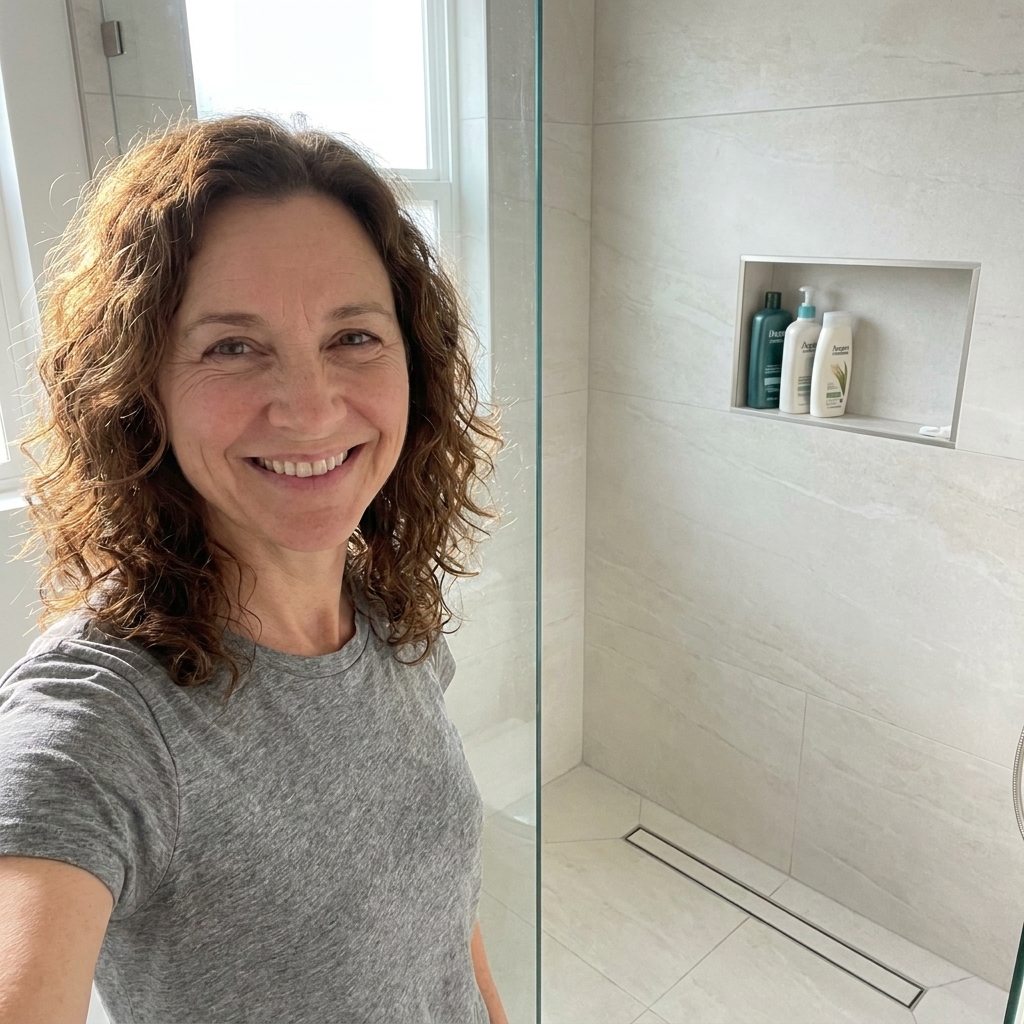
- Curbless showers can require extra build-up: They look seamless, but they need slope and waterproofing. Depending on your framing, that can mean recessing the floor, furring up adjacent areas, or rethinking drain placement.
- Ventilation is not optional: Wet rooms and big showers create more humidity. Plan a properly sized, quiet fan on a timer or humidity sensor, and make sure the room can actually exhaust effectively.
Small upgrades that matter
- Curbless or low-curb shower entry for a cleaner look and easier cleaning (requires careful planning for slope and waterproofing).
- One generous shower niche instead of three tiny ones. Your products will actually fit.
- Heated floors in main walking paths and in front of the tub. It is a splurge you feel daily.
- Quiet ventilation with a fan sized correctly for the room. A loud fan kills the mood.
- Layered lighting on dimmers, with warm color temperature bulbs.
- Storage that disappears, like a recessed medicine cabinet or a tall linen pantry with roll-out trays.
- Slip resistance in wet areas, especially in wet rooms. Choose floor tile with appropriate texture and traction, and be cautious with polished stone where it will get wet.
Quick layout FAQ
Can a freestanding tub go in a small master bathroom?
Sometimes, yes, but it cannot be the only plan driver. If a tub forces a tiny shower or blocks circulation, it will feel stressful. In smaller footprints, consider a slightly smaller tub, a back-to-wall freestanding style, or prioritize the shower if you realistically only soak a few times a year.
Is it okay to put the tub inside the shower area?
That is the wet room approach, and it can be fantastic if it is properly waterproofed and drained. The keys are planning the shower spray path, using slip-resistant floor tile, and designing ventilation so humidity does not linger in the whole room.
Where should the toilet go in a spa-style plan?
Out of the main sightline from the doorway whenever possible. A water closet is ideal. If that is not in the budget, use a partial-height partition, a linen tower, or a smart angle so the toilet is visually quieter.
What about aging in place?
If you want the bathroom to work long-term, give yourself extra clearance where you can, plan blocking in the walls for future grab bars, and consider a curbless shower (with the right structure and slope). Even small choices, like a bench location and a handheld shower, can make the room feel easier and safer without looking clinical.
Pick the best plan for your room
Start by measuring your full footprint and marking the door swing, windows, and any immovable stacks or chases. Once you see what is fixed, these five layouts usually narrow down quickly to one or two that will feel the most calm without wasting square footage. Your dream finishes deserve a floor plan that lets them shine.