A step-by-step plan for combining ambient, task, and accent lighting so your kitchen feels warm, looks intentional, and lights your real prep zones.
Under-cabinet lighting is one of those upgrades that makes your kitchen feel instantly more expensive, even if you install it in one afternoon. It boosts task lighting (goodbye, chopping-in-your-own-shadow), adds a cozy evening glow, and makes countertops look cleaner and more intentional.
The big decision is plug-in vs. hardwired. Both can look professional if you plan the wire path and mounting details first. Below, I’ll help you choose the right system, estimate costs, and install it without cords visibly wandering all over the place.
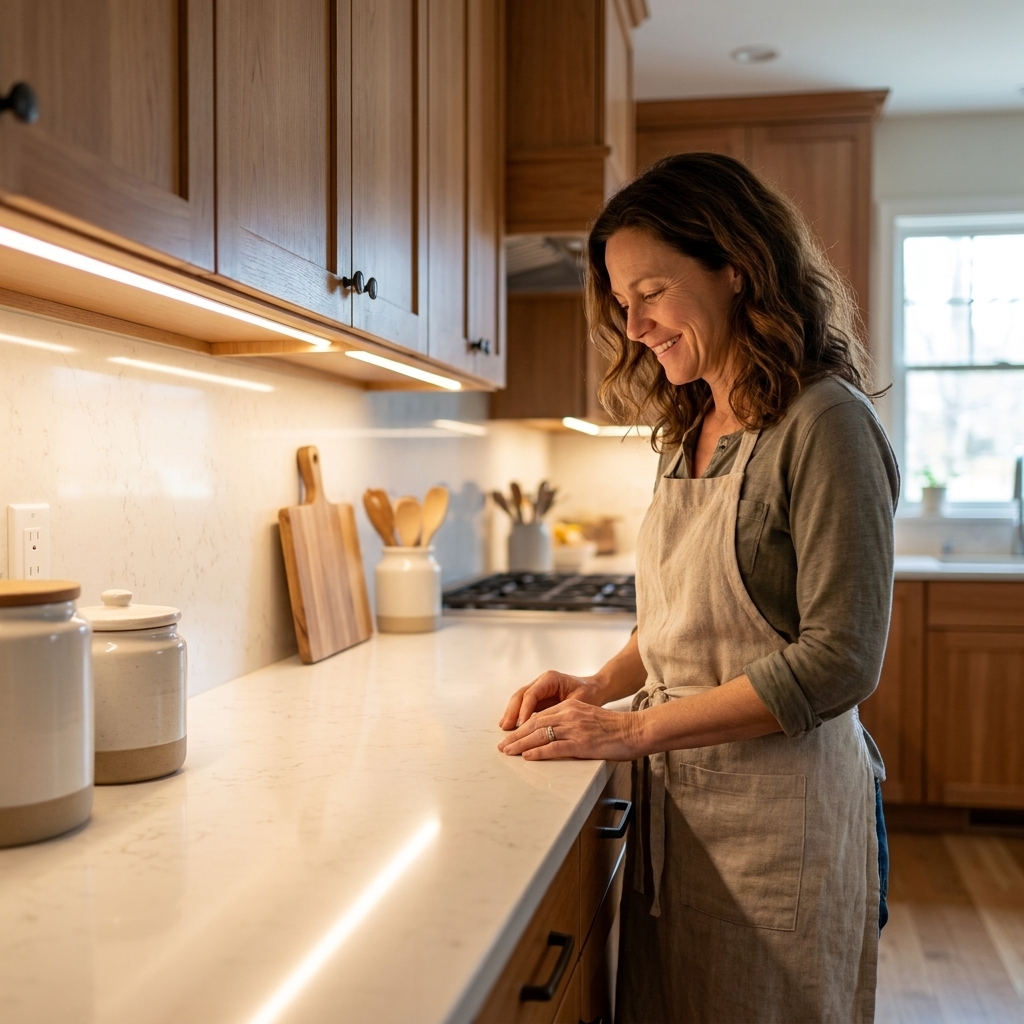
Hardwired vs. plug-in
Most homeowner frustration with under-cabinet lighting comes from one thing: wires you can see. The best choice is the one that works with your kitchen layout, your comfort level with electrical work, and how seamless you want the finish to be.
Plug-in under-cabinet lighting
- Best for: renters, quick upgrades, kitchens with accessible outlets (especially inside a cabinet), DIYers who do not want to open walls.
- Pros: easiest install, no electrician required, simple to change later.
- Cons: you must manage the cord and transformer, and you need an outlet somewhere.
- How it looks best: when you can plug into an outlet inside an upper cabinet, sink base, or pantry, then route wires through small hidden holes.
Hardwired under-cabinet lighting
- Best for: remodels, serious DIYers, anyone who wants the cleanest look long-term.
- Pros: no visible cords, wall switch control is straightforward, higher-end feel.
- Cons: more planning, may require opening drywall or cabinet backs, involves household electrical work and local code requirements.
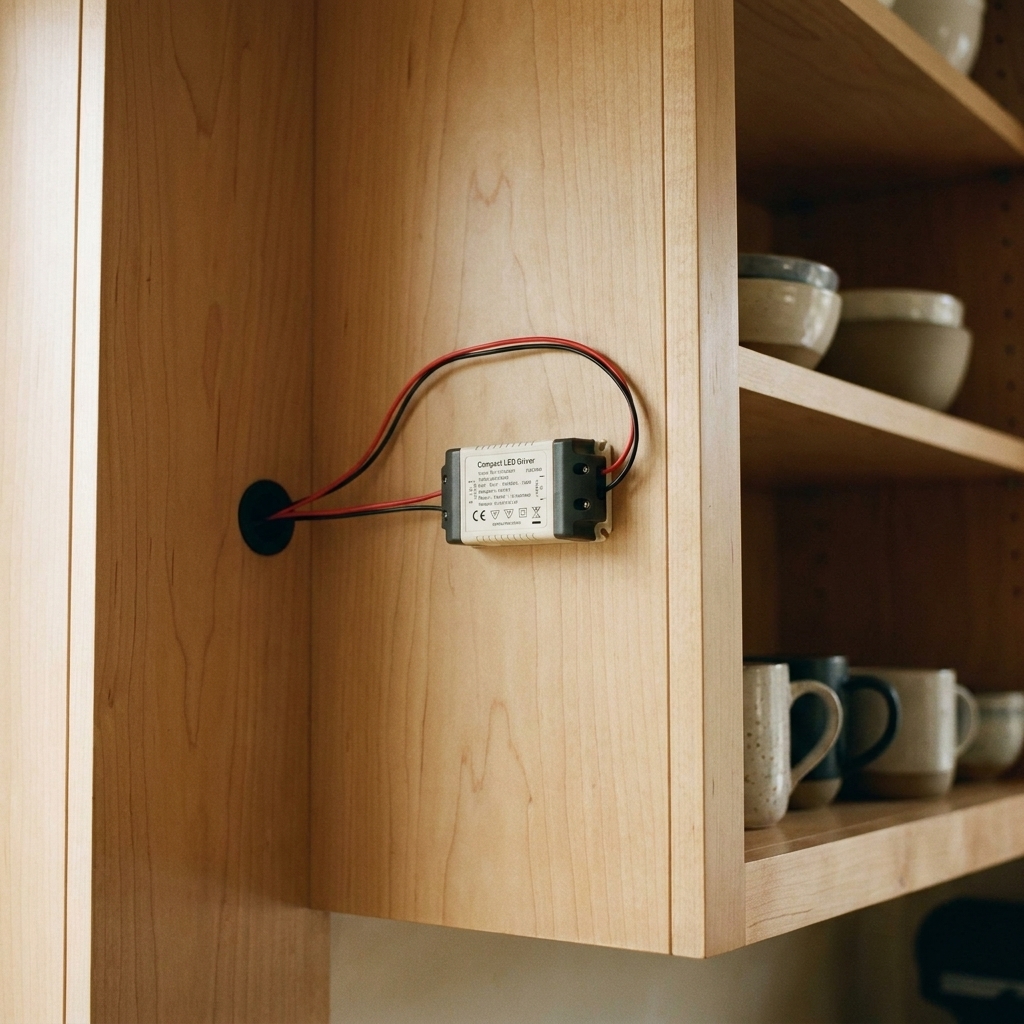
- How it looks best: when you can place a driver (power supply) in a hidden but accessible location and run low-voltage wire neatly to each cabinet run.
Design-build reality check: “Hardwired” does not always mean line-voltage fixtures. Many excellent under-cabinet systems are low voltage, but the driver is hardwired to a junction box. That is often the sweet spot: clean look, safer small-gauge wire under cabinets, and great dimming.
Cost comparison
Prices vary a lot based on brand, features (dimming, tunable white, smart control), and whether you choose pucks, bars, or tape. Here are realistic DIY ranges for an average kitchen with two to three cabinet runs. If you have a larger kitchen, multiple corners, or lots of breaks for windows and hoods, expect to land toward the higher end.
Common LED system types
- LED tape (strip) in an aluminum channel: Best light quality and most even glow when done right.
- LED light bars: A clean, simple option, often linkable, great for beginners.
- LED puck lights: Easy to place, but they create circles of light. Better for display than task lighting unless you use a lot of them.
Typical DIY cost ranges (materials)
- Plug-in LED tape kit: $40 to $150 (basic kits) or $150 to $400 (higher-end, better dimming, better tape, longer runs).
- Plug-in linkable light bars (set of 3 to 6): $60 to $250.
- Plug-in puck kit: $30 to $120.
- Low-voltage hardwired system (driver + tape/bars + wire): $150 to $600 depending on length and features.
- Line-voltage hardwired light bars: often $200 to $800+ for many kitchens, depending heavily on how many fixtures you need, how you handle corners and breaks, and total linear footage (roughly 10 to 25 feet is a common range), plus wiring materials.
Potential add-on costs
- Dimmer: $20 to $80 (make sure it matches LED requirements).
- Aluminum channels with diffusers (highly recommended for tape): $10 to $25 per 3 to 6 feet.
- Wire management: $5 to $25 for clips, raceway, or adhesive mounts.
- Electrician (if you do not DIY line-voltage work): often $200 to $600+ depending on access, adding a switch, and number of runs.
My budgeting tip: If you are using LED tape, do not “save” by skipping the aluminum channel and diffuser. The diffuser softens hotspots, protects the strip, and usually makes the install feel more finished. The channel can help with heat management too, especially with higher-wattage tape, but the visual and durability benefits are the big win for most kitchens.
Choosing the right light
This is where people accidentally end up with either a dim glow (pretty, but not very useful) or a harsh clinical vibe.
Brightness (lumens) guidelines
As a rule of thumb, think in lumens per linear foot, then adjust based on your setup. Cabinet height, counter depth, existing ceiling lighting, and diffuser losses all affect what “enough” looks like.
Also, what you see on the box is not always what lands on the counter. Diffusers, higher mounting, and dark countertops or backsplashes can all reduce delivered light, so plan toward the upper end if your surfaces are dark or your uppers are mounted higher than usual.
- For real task lighting: aim for roughly 200 to 400 lumens per linear foot of counter run.
- For soft evening glow: 100 to 200 lumens per linear foot.
Color temperature (Kelvin)
- 2700K to 3000K: warm, cozy, flattering. My most common recommendation for kitchens that already have warm ceiling lights.
- 3500K: neutral. Great compromise if your kitchen finishes are cool or you want a modern look without feeling sterile.
- 4000K: bright and crisp. Works well in very contemporary kitchens, but can feel stark in traditional spaces.
High CRI matters
Look for CRI 90+ if possible. It makes food look like food (not grayish) and helps countertops read true-to-color, especially with quartz and tile.
Dimming and smart control
- Plug-in systems: may dim with an inline dimmer, remote, or app. Check compatibility before you buy.
- Hardwired systems: can dim at the wall switch, but only if the driver and dimmer are compatible (ELV, TRIAC, 0-10V, etc.). If you want wall-switch dimming, confirm this before ordering.
Plan your runs and power
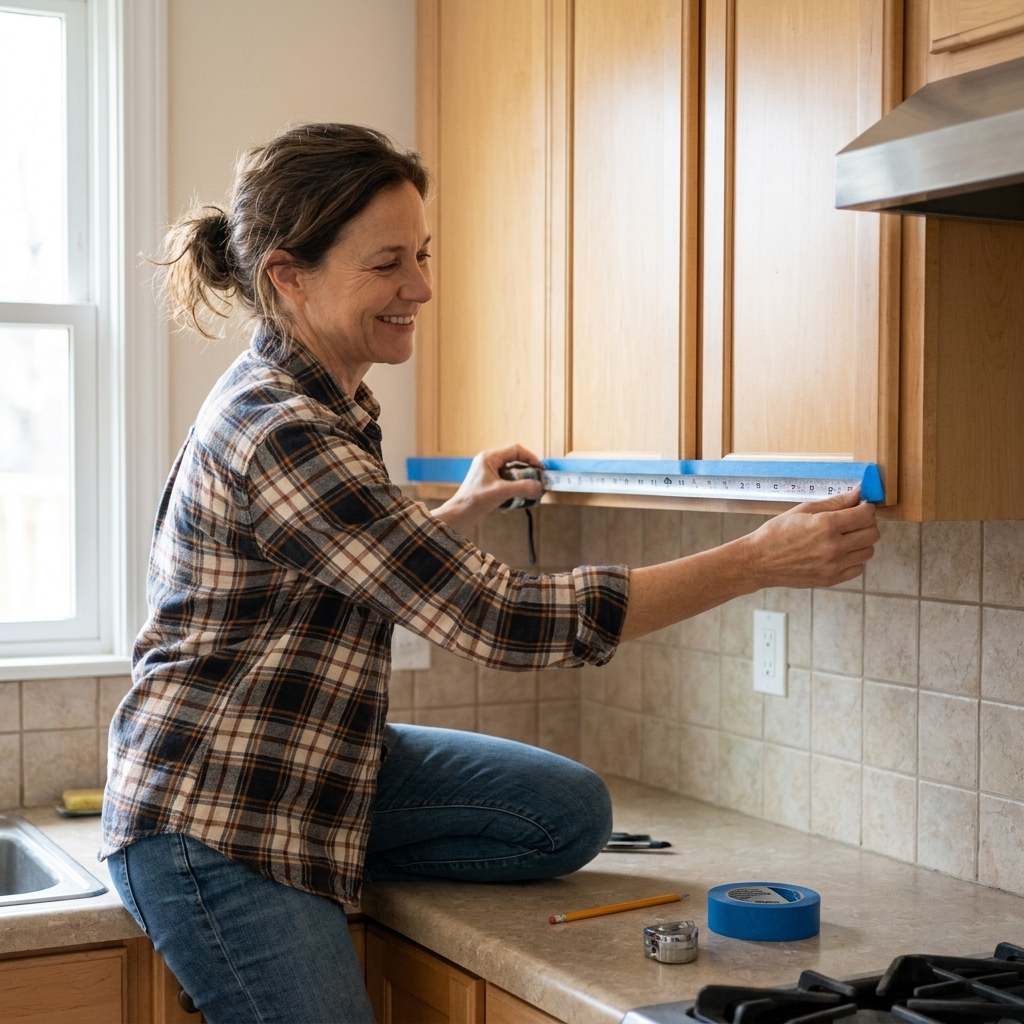
Grab painter’s tape, a pencil, and five minutes. This step saves hours later.
Measure your runs
- Measure the underside length of each upper cabinet run that needs lighting.
- Note gaps where a range hood, microwave, or window breaks the run.
- Decide how you want control (wall switch, smart plug, inline switch, remote).
Find your power source
- Plug-in: locate the outlet you will use. Best case is inside a cabinet. If the only outlet is on the backsplash, plan wire concealment carefully.
- Hardwired: decide where the driver or junction box will live (above cabinets, inside a cabinet, in the basement below, or in an adjacent pantry). It must remain accessible.
Pro planning tip: If your uppers stop at the ceiling with no gap, the “hide the driver above the cabinets” trick will not work. In that case, an in-cabinet driver or a remote driver location (like a pantry) is usually cleaner.
Drivers and long runs
LED systems are simple until they are not. Two issues cause most of the weird behavior people blame on the lights: voltage drop and undersized or bargain drivers.
Tape length and voltage
Maximum run length per power feed is product-specific, so always check the manufacturer specs. As a general reference, 12V tape often wants shorter feeds (commonly around 16.4 feet or 5 meters per run), while 24V tape is usually better for longer, more uniform runs with less visible voltage drop. If you are lighting a long stretch of counter, 24V is often the easier path to even brightness.
Voltage drop basics
- What it looks like: the far end of a run looks dimmer, warmer, or slightly different in color.
- When it happens: long runs, thin wire, high-output tape, or too many segments fed in series.
- How to fix it: keep runs within the manufacturer’s max length, use thicker low-voltage wire when allowed, and feed longer layouts in parallel (multiple home runs back to the driver) instead of daisy-chaining everything.
Driver sizing and placement
- Size with headroom: add up total wattage and choose a driver with about 20 percent extra capacity for reliability and cooler operation.
- Must remain accessible: drivers and junction boxes must remain accessible (not buried behind drywall).
- Heat and moisture: do not tuck a driver right above a range or in a damp sink base unless the driver is listed for that environment. Some are rated for damp locations, many are not. Put it in a dry, ventilated, reachable spot like an upper cabinet or pantry whenever you can.
How to hide wires
You can have the right lights and still end up disappointed if cords are visible. Here are my go-to concealment methods, from easiest to most seamless.
Option 1: Route through cabinets
If you have an outlet inside a cabinet, you can run low-voltage wire through cabinet sides to reach each run.
- Drill a small hole near the back corner of cabinet sides where it will be least visible.
- Use a rubber grommet or sand the edge lightly so the wire is not cut by sharp wood.
- Clip wire along the inside back edge to keep it tidy.
Option 2: Use a paintable cord raceway
For a backsplash outlet you cannot hide, a slim surface raceway can look surprisingly neat if you paint it to match the wall or underside of cabinets.
- Choose a low-profile, paintable raceway.
- Run it tight to the cabinet underside corner line.
- Keep it straight and minimal. A crooked raceway looks unfinished.
Option 3: Hide in a light rail
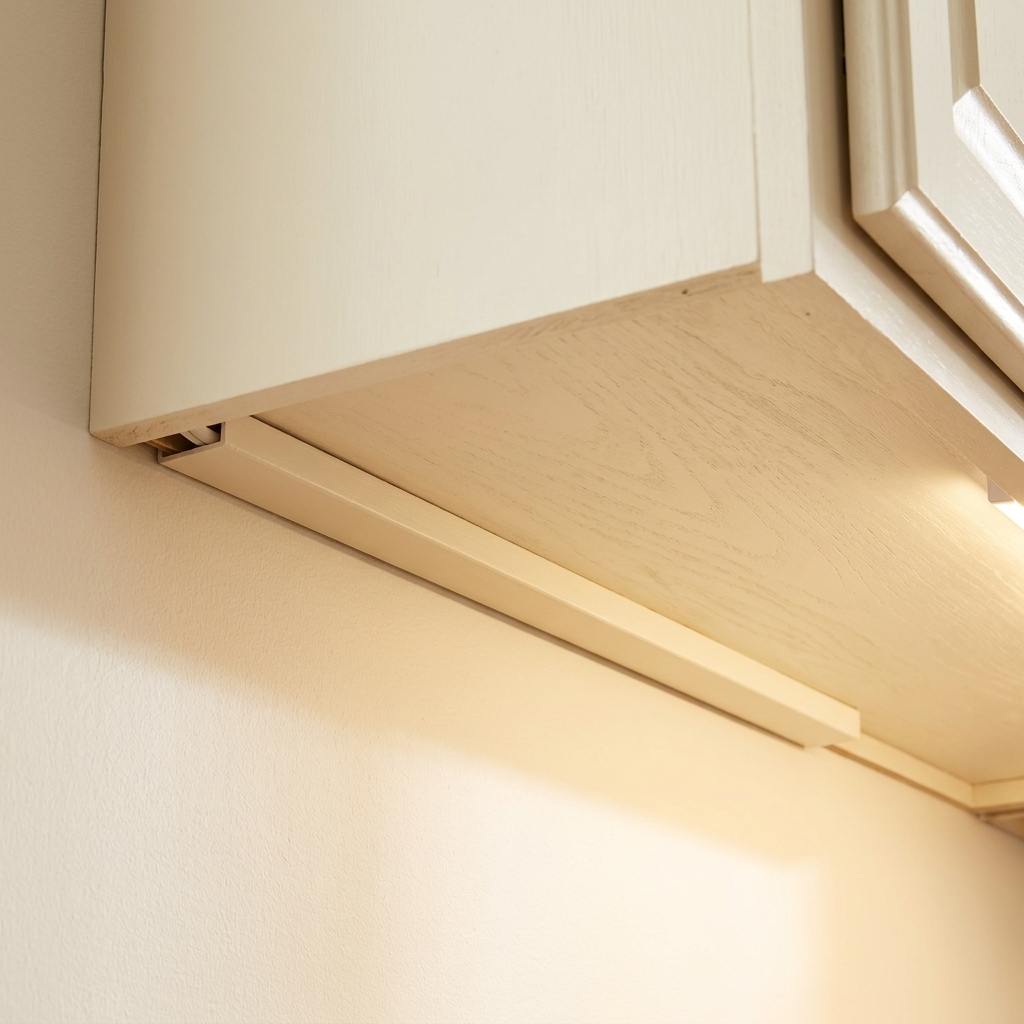
If your cabinets have a light rail molding (or you can add one), it is a great place to hide wiring. It also reduces glare because you do not see the diodes from across the room.
Option 4: Run wire behind the wall
This is the cleanest look, but it is also where you should slow down and follow code. If you are opening drywall anyway during a remodel, it is the perfect time to add switched power where you want it.
Low-voltage wire is not automatically “in-wall safe.” If any low-voltage wiring passes through walls or other concealed spaces, use in-wall rated cable (as required by local code) and follow the lighting system instructions for protection, support, and penetrations.
Safety note: If you are working with line voltage (typical house wiring), turn off the breaker and verify power is off with a non-contact voltage tester. When in doubt, hire a licensed electrician for the line-voltage part and do the mounting and low-voltage layout yourself.
Plug-in installation
This is the fastest path to better countertops, and it can still look custom if you manage the wires and place the lights correctly.
Tools and supplies
- Measuring tape
- Isopropyl alcohol and a clean rag (for adhesive tape installs)
- Scissors or tape-cutting tool (if using cut-to-length LED tape)
- Drill and small bit (if routing through cabinets)
- Wire clips or adhesive cable mounts
- Aluminum channel and diffuser (recommended for LED tape)
Steps
- Dry-fit everything first. Lay out strips, bars, or pucks under each cabinet and confirm you like the placement and cord path.
- Place lights toward the front. For the best task lighting (and fewer counter shadows), aim for the front third of the cabinet underside.
- Clean the mounting surface. Adhesives fail on dusty or greasy cabinet undersides. Wipe with isopropyl alcohol and let it dry.
- Mount the channel or fixture. For channels, screw them in when possible. Adhesive-only is fine for some situations, but screws are more reliable long-term.
- Route cords neatly. Use clips, keep cords tight to corners, and drill pass-through holes inside cabinets if you can.
- Plug in and test. Test before you permanently stick down any driver or wire clips, so you can adjust lengths and placement.
- Set up dimming or smart control. Add an inline dimmer, remote receiver, or smart plug as your system allows.
Common plug-in mistake: mounting LED tape directly to the cabinet underside without a channel, then realizing you can see hotspots and the adhesive starts peeling later. Channel plus diffuser is your friend.
Hardwired installation
Hardwired under-cabinet lighting can mean two different things:
- Line-voltage fixtures (120V fixtures wired like a light)
- Low-voltage fixtures powered by a driver that is hardwired to a junction box, then low-voltage wire runs to the lights
Many DIYers handle the mounting and low-voltage layout themselves and hire an electrician for the line-voltage connection. That is a smart split if you want a clean look without taking on code liability.
Hardwired low-voltage
- Pick a driver location. Inside an upper cabinet or an adjacent pantry is common. Keep it accessible for future replacement.
- Plan wire routes. Determine where low-voltage wire will travel between cabinet sections. Often that means drilling small pass-through holes near back corners.
- Mount fixtures or channels. For the best task lighting, place lights toward the front third of the cabinet underside.
- Run and secure low-voltage wire. Keep it neat, protected from sharp edges, and away from heat sources.
- Connect to driver and test. Make all low-voltage connections per the manufacturer method (plug connectors, screw terminals, etc.).
- Connect driver to switched power. This is the point where you may want an electrician, especially if you are adding a new switch or tapping a circuit.
Hardwired line-voltage
Line-voltage under-cabinet light bars are common and can be very bright. They also require proper junction boxes, cable types, and connections. If you are not fully comfortable working inside electrical boxes, this is the place to call in help.
Wiring and safety
- Use a listed (UL/ETL) lighting system and driver.
- Drivers and junction boxes must remain accessible (not buried behind drywall).
- Match the dimmer type to the driver and LEDs for flicker-free dimming.
- Keep line-voltage and low-voltage wiring organized and separated per the product instructions and local code. Do not combine them in the same box or compartment unless the system is listed for it or a proper barrier is provided.
- If low-voltage wiring passes through walls or other concealed spaces, use cable that is rated for that use and follow local code requirements.
- Turn off the breaker and verify power is off before touching any line-voltage wiring.
Mounting tips
- Centering is not the goal. Under-cabinet lights should favor the counter edge, not the backsplash.
- Add light rail if glare bothers you. If you can see the diodes from standing height, a simple trim piece makes it look built-in.
- Use screws when you can. Heat, humidity, and time are not kind to adhesive-only installs.
- Mind seams. If using tape, plan where segments meet so you do not end up with a bright spot or dark gap right over your main prep area.
- Test at night. Kitchen lighting choices look different after dark. Do a test run before finalizing placement.
What I recommend
If you want my “best balance” picks:
- Best DIY visual result: LED tape in an aluminum channel with a diffuser, mounted toward the cabinet front.
- Best beginner-friendly install: linkable LED light bars (plug-in), with cords routed through cabinets whenever possible.
- Best remodel-time upgrade: 24V low-voltage system with a hardwired driver on a wall switch and neatly routed wire through cabinet sides.
And if you are debating whether it is worth the effort: under-cabinet lighting is one of the rare upgrades that improves function and mood every single day. You will feel it the first night you turn off the overheads and your kitchen still looks great.
FAQ
Can I install under-cabinet lights without an electrician?
Yes, for plug-in systems, and often for low-voltage portions of hardwired systems. If you need to add a new switched circuit, tie into line voltage, or install junction boxes, hiring a licensed electrician is the safest route.
Why do my LED strips look dotted on the counter?
That is “hotspotting.” Fix it by using a diffuser lens, mounting inside a deeper aluminum channel, choosing a higher-density LED strip, or moving the strip slightly farther from the counter surface.
How do I stop LED tape from falling down?
Clean with isopropyl alcohol first, use an aluminum channel, and add a few small screws to the channel where possible. Adhesive alone often fails on dusty or textured cabinet undersides.
Should under-cabinet lighting match my ceiling light color?
Ideally, yes. A safe choice for most kitchens is 3000K. If your ceiling lights are very warm (2700K), match that. Mixed color temperatures can make your kitchen feel “off” even when everything is technically bright enough.
Where should I put the switch?
For plug-in systems, an inline switch inside a cabinet or a smart plug can work well. For hardwired systems, a wall switch near the kitchen entry is the most natural, and dimming is a big quality-of-life upgrade.
Why does one end of my run look dimmer?
That is usually voltage drop. Shorten the run, feed the layout in parallel (multiple home runs), or use a heavier low-voltage wire size if the manufacturer allows it. If you are already within the system’s limits, a better driver or better connectors can also help.