A practical, zone-based approach to the work triangle with real-world remodel clearances, layout tips for islands and open plans, and common fixes for better...
Open concept is not the only way to get a kitchen that feels airy and connected. In fact, some of the happiest kitchens I have designed lived in that sweet spot between closed-off and wide open: a broken-plan layout. You get defined zones for prep, cooking, cleanup, and hanging out, but you keep the visual breathing room.
And here is the best part for real-life remodel budgets: you can create that “zoned” feeling with peninsulas, flooring shifts, lighting, and shelving instead of tearing out every wall in sight.
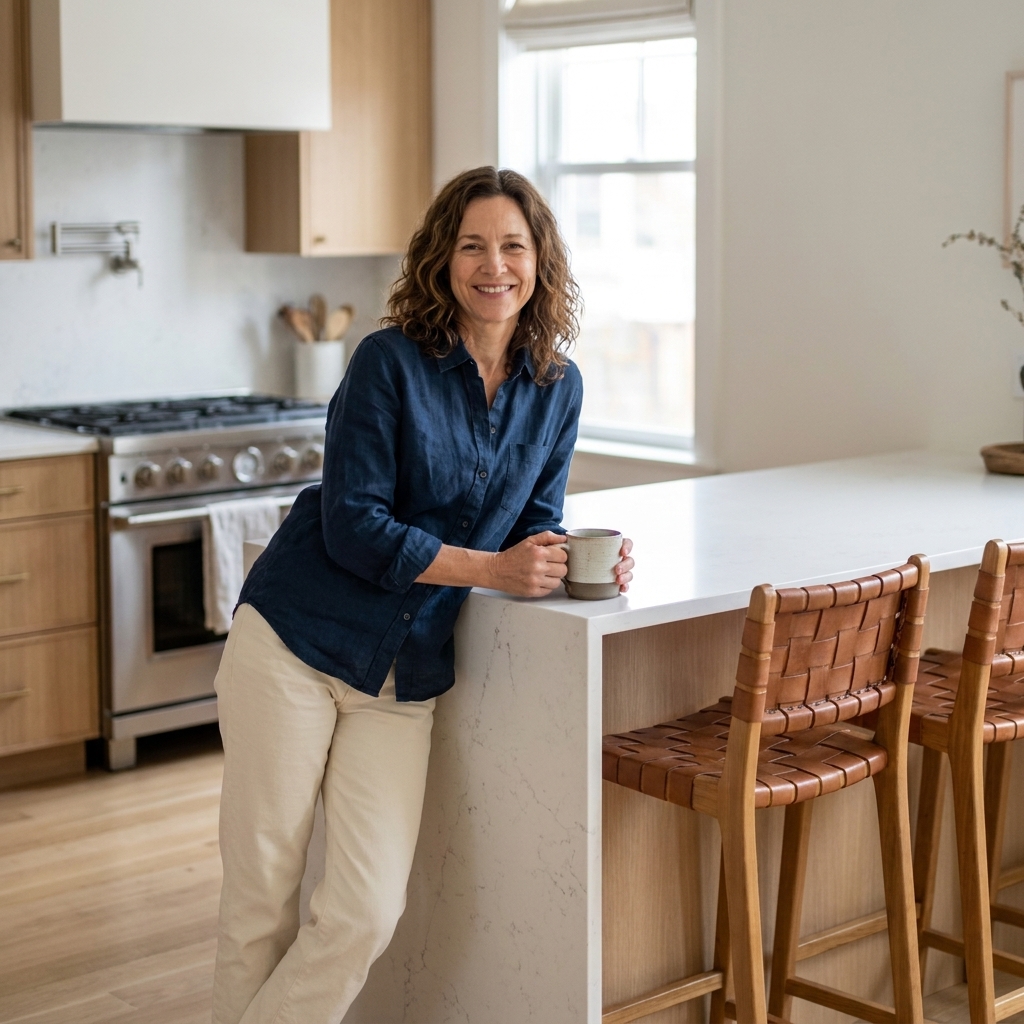
What a broken-plan kitchen is
A broken-plan kitchen uses partial separators to break up one big space into smaller, purposeful areas. Think:
- a peninsula that creates a prep zone and casual seating
- a tall pantry run that visually divides the kitchen from a dining nook
- open shelving that defines an edge without blocking light
- a flooring change that signals “kitchen starts here”
It is not about closing things off. It is about giving the room structure so it functions better and feels calmer.
Step 1: Map zones first
Before you fall in love with a peninsula on Pinterest, do the unglamorous part first: decide what zones you need and where they should live. I like to start with four core zones, then add extras if space allows.
The core zones
- Prep zone: clear counter space near the sink and fridge, with trash nearby
- Cook zone: range or cooktop, landing space on at least one side, utensils and spices close
- Clean up zone: sink, dishwasher, dish storage, towel hooks, and a spot for drying
- Hangout zone: seating, coffee bar, or a perch where people naturally gather
Quick measuring reality check
Use painter’s tape to outline proposed zones on the floor. Then confirm you can still move comfortably. The numbers below are typical planning ranges, not universal rules. Your layout, your household, and local codes always win.
- Work aisles (between counters and appliances): often land around 42 inches for one cook and 48 inches for two, give or take based on the room.
- Through-traffic paths: if people regularly pass through the kitchen to get elsewhere, 36 to 48 inches is a common comfort range, with more helping in busy homes.
- Behind seated stools: plan roughly 36 inches for pass-behind, and 44 inches or more if it is a primary walkway.
If you do nothing else, do this. Tape is honest, and it will show you where pinch points are hiding.
Step 2: Add a peninsula
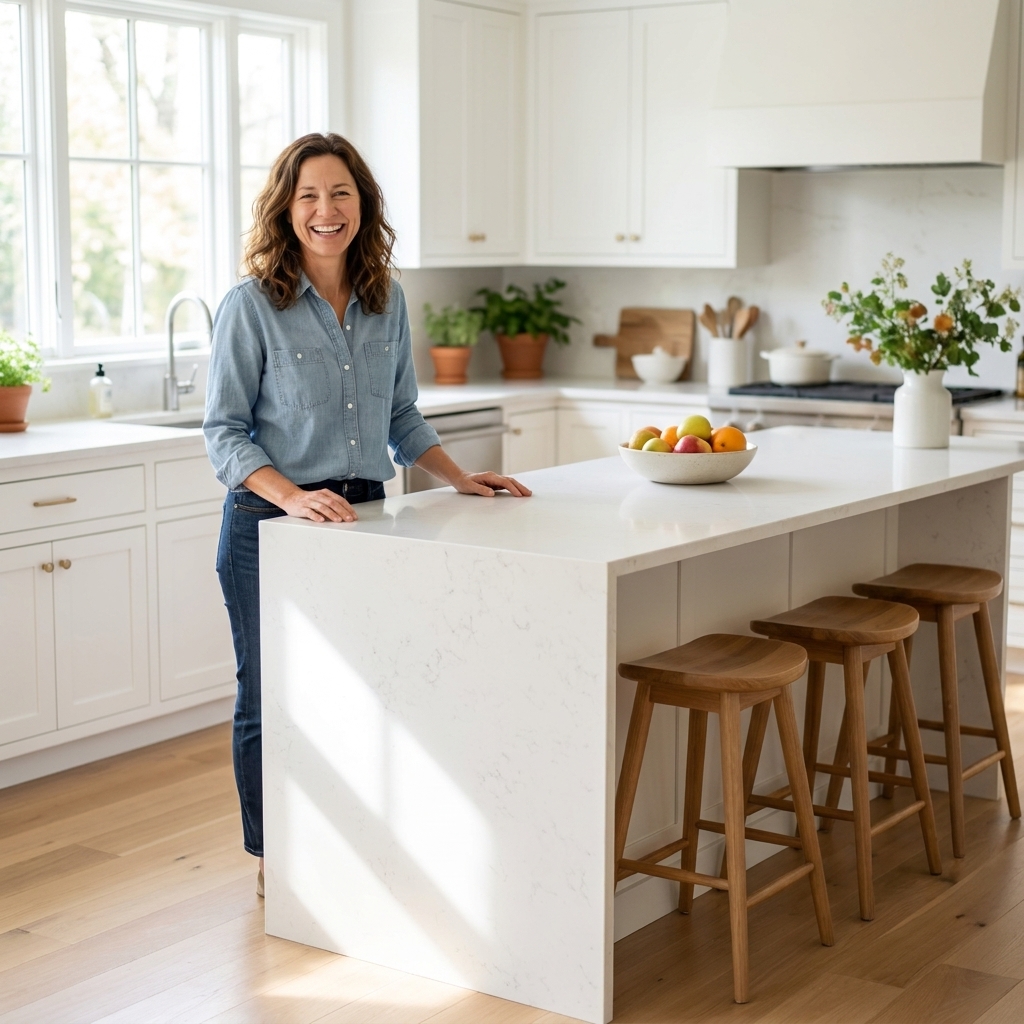
Peninsulas are the broken-plan MVP because they create separation while keeping sightlines open. They also do heavy lifting in function: storage, prep space, seating, and sometimes even appliance housing.
Peninsula types
- Prep peninsula: mostly counter workspace, drawers for tools, trash pull-out, maybe a small overhang
- Seating peninsula: deeper overhang for knees, fewer upper cabinets needed because it becomes the visual anchor
- Appliance peninsula: houses a microwave drawer, beverage fridge, or prep sink on the kitchen side
Details that make it work
- Make the end panel pretty. A finished panel, furniture leg detail, or a shallow bookshelf keeps it from feeling like an afterthought.
- Plan landing space. You want a spot for groceries, backpacks, and mail, whether you like it or not.
- Mind the outlets. Electrical requirements vary by jurisdiction and code cycle, especially for islands and peninsulas. Loop in your electrician and inspector early so the outlet plan is safe, compliant, and not awkward.

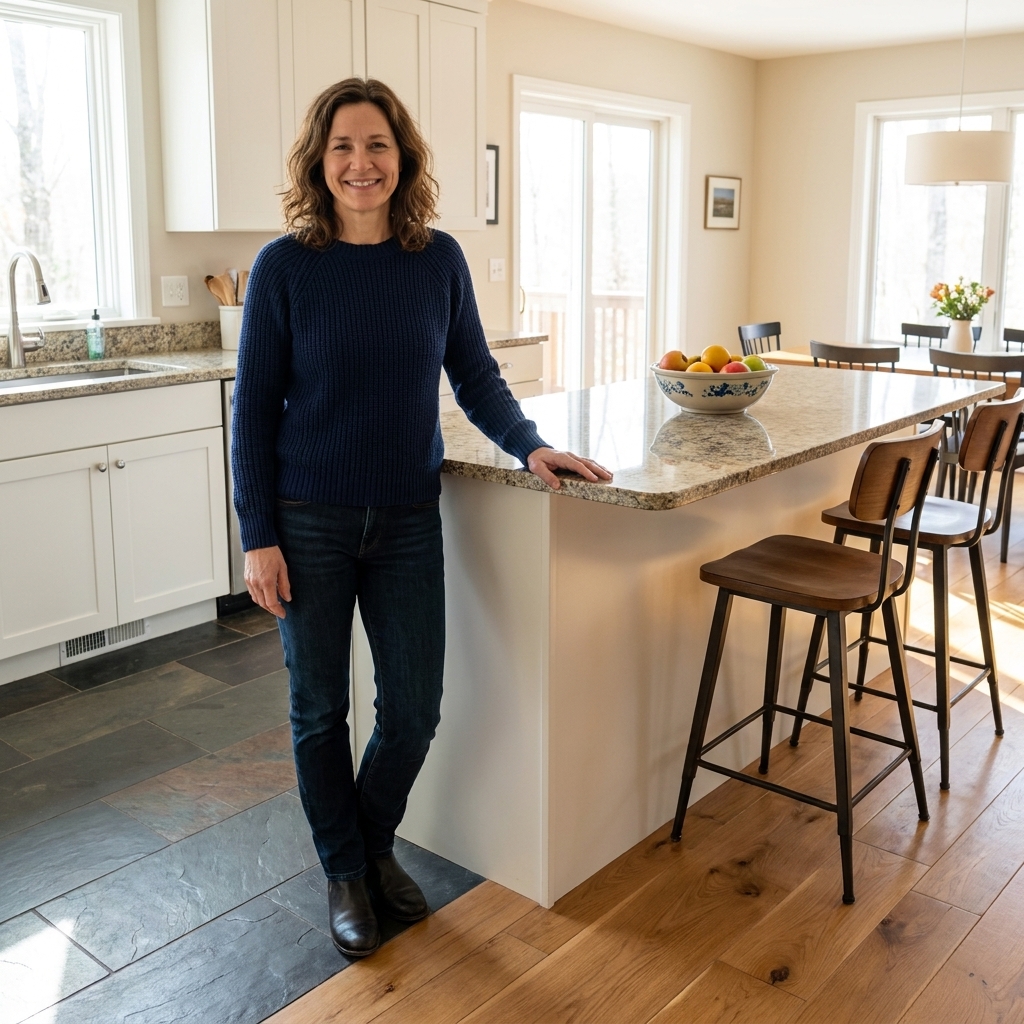
Step 3: Shift flooring on purpose
Varying floor materials is one of my favorite ways to define kitchen zones because it works even when walls stay put. The trick is to make it feel deliberate, not like you ran out of budget mid-room.
Three flooring approaches
- Tile in the kitchen, wood outside it: classic for a reason. Tile handles splashes well, though grout can stain and tile can feel hard underfoot. Choose grout wisely and consider a cushioned mat in high-prep spots.
- Same material, different pattern: for example, wood throughout but a herringbone “rug” zone under the table or pantry run.
- Border or inlay: subtle transitions can define the work area without a hard line across the whole room.
Transition details that matter
- Keep height changes minimal. A lippy transition strip is a trip hazard, a toe-stubber, and a crumb-catcher. If heights differ, prioritize a safe, flush detail.
- Align the break with architecture. Place the transition under the peninsula edge, at a cased opening, or where cabinetry begins.
- Do not mix too many bold patterns. If your counters are veined quartz and your backsplash is doing the most, keep floors calmer.
Step 4: Use shelving as a divider
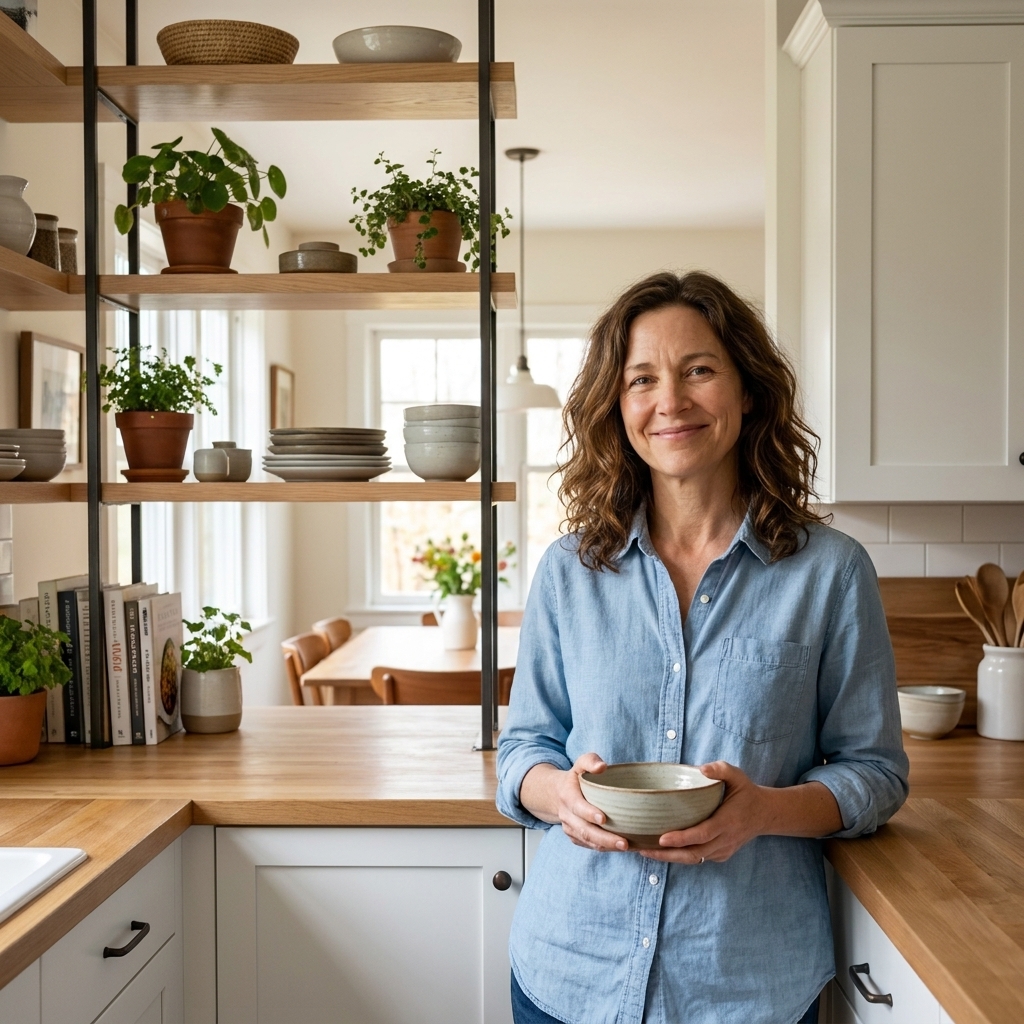
Shelving is a broken-plan secret weapon. It can define an edge, hold everyday items, and create a visual pause between zones without the heaviness of full-height walls.
Shelving ideas
- Open shelves on the back of a peninsula: great for cookbooks, baskets, or pretty but useful serving pieces.
- Half-height shelving unit: acts like a soft partition between kitchen and dining.
- Pass-through shelves at a cased opening: especially nice if you have a wall you are not ready to remove.
The shelf checklist
- Depth matters: shallow shelves keep things from looking cluttered fast.
- Plan cleaning access: open shelving collects grease and dust near cooking zones. Place it thoughtfully.
- Mix open and closed storage: a few open shelves look styled. An entire wall can look visually busy unless you are extremely organized.
Step 5: Layer lighting
When homeowners tell me their kitchen feels like “one big blob,” lighting is often the culprit. Broken-plan layouts feel polished when each zone has its own light layer.
Lighting that defines zones
- Prep and cook: recessed lights plus under-cabinet lighting so you are not chopping in your own shadow
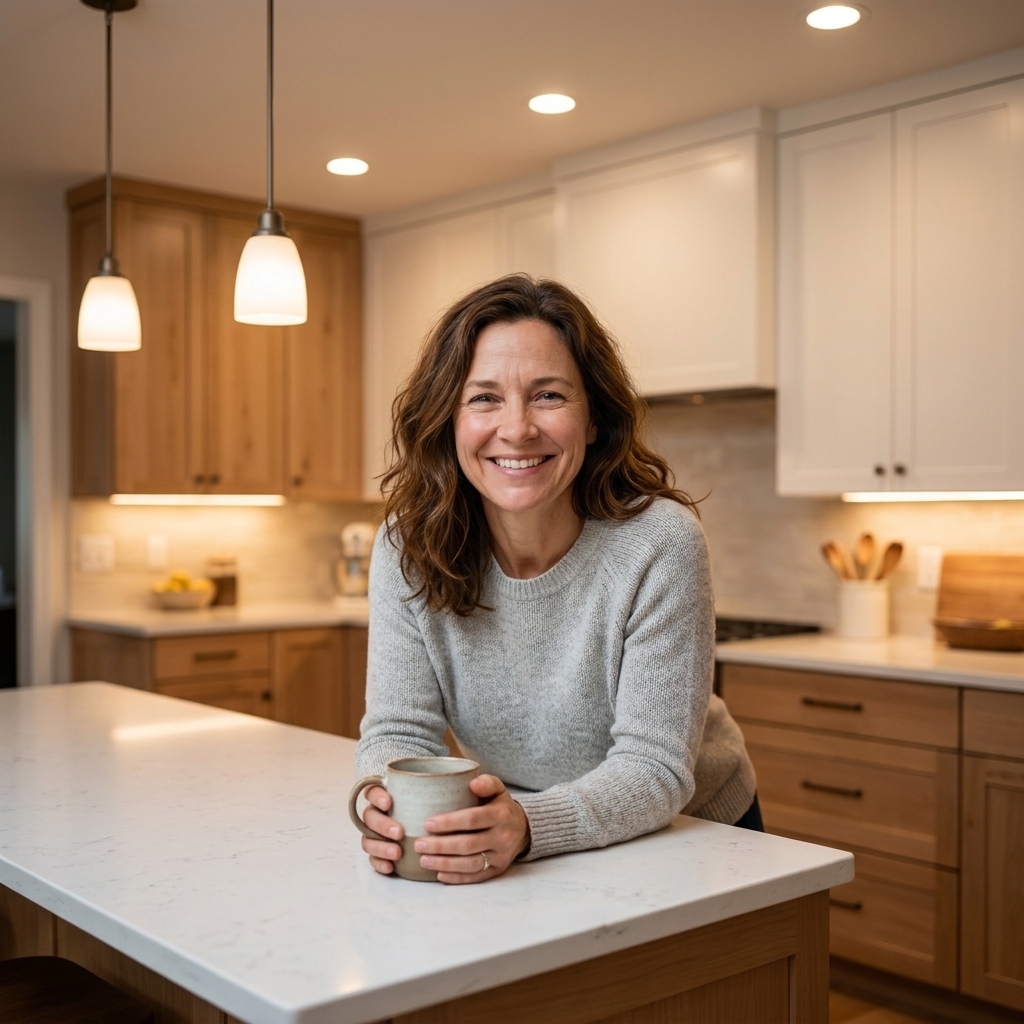
- Peninsula seating: pendants or a linear fixture centered on the seating zone
- Pantry or coffee station: a small sconce or dedicated downlight makes it feel like its own destination
Ceiling cues without major work
- Paint shifts: subtle tone changes can define the kitchen footprint.
- Boxed beams or trim details: sometimes you can add a simple ceiling detail to outline the kitchen area without touching structure.
One more real-life note: broken-plan kitchens keep you connected, which means cooking sounds and smells travel. Good lighting helps the space feel calm, but good ventilation keeps it livable.
Step 6: Add one tall element
In broken-plan design, a single tall element can do what a demolished wall used to do: it provides a natural stopping point and helps the kitchen read as its own space.
Good tall elements
- A pantry cabinet run: especially effective at the edge of the kitchen near an entry or dining area
- A fridge tower with surrounding panels: makes the fridge feel built-in and creates a strong boundary
- A tall appliance garage wall: hides countertop clutter and gives the eye somewhere to rest
Pro tip from someone who has watched budgets: if you are trying to save money, splurge on the tall run that anchors the layout. You can often simplify other cabinet sections once the room has a strong edge.
Clearance cheat sheet
These are planning ranges I reach for early, then confirm against the actual room and local requirements:
- Work aisles: about 42 inches (one cook) to 48 inches (two cooks)
- Through-traffic paths: about 36 to 48 inches, more if it is a main route
- Behind stools: about 36 inches for pass-behind, 44 inches or more for a primary walkway
- Seating overhang: comfort varies by stool and height, but plan enough knee space and confirm with your fabricator before you lock in supports
Think of this as a starting point for sketching and tape, not a substitute for a designer, contractor, or local code.
Zones vs the work triangle
If you grew up hearing about the kitchen work triangle, you are not wrong to think about it. The triangle is still useful as a gut-check for how far you are walking between the sink, fridge, and cooktop. Broken-plan kitchens simply lean harder into zones because modern kitchens do more. Coffee station, homework perch, snack drawer, charging spot, and cleanup all deserve a clear home. When zones are right, the triangle usually behaves, too.
Pros and trade-offs
Broken-plan is a sweet spot for a lot of households, but it is not magic. The wins are obvious: connection, better flow, and more flexible gathering space. The trade-off is that you can end up with more visible stuff if storage is not planned well. If you want the open feeling without the open clutter, prioritize closed storage where mess tends to land, then use open shelving as an accent, not the whole plan.
Layouts by kitchen shape
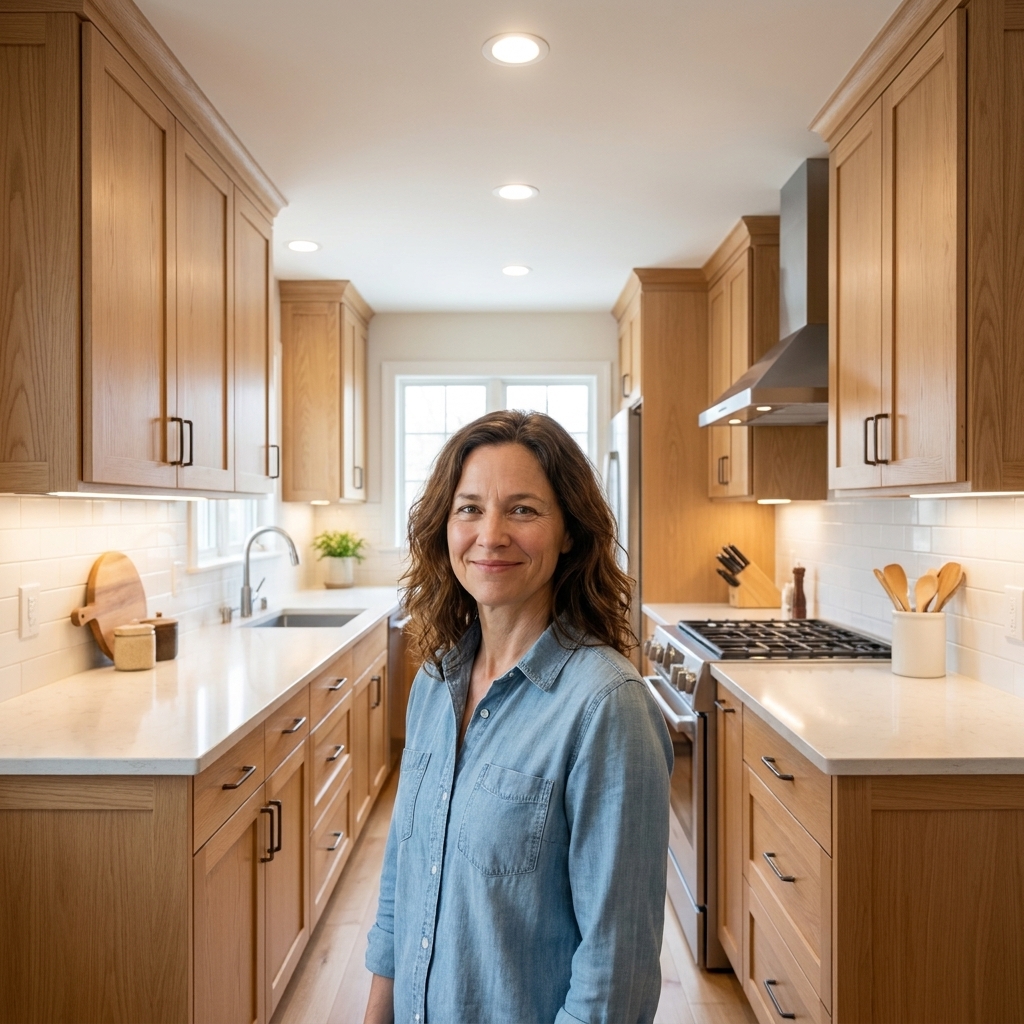
Galley kitchen
If you cannot remove the corridor feel, lean into zones:
- keep one side as the main work wall
- convert the other side into a lower social run with a shallow counter and open shelves
- use a flooring shift at the galley entry to announce the kitchen zone
L-shaped kitchen
This is prime peninsula territory.
- extend one leg into a peninsula to create seating
- place a tall pantry at the far end to stop the view
- use pendants to mark the hangout side
U-shaped kitchen
You already have definition, but it can feel boxed in.
- replace one upper cabinet section with open shelving to lighten the perimeter
- consider a shorter leg or a broken U with a peninsula and walkway opening
- keep the clean up zone tucked, and make the peninsula the gathering zone
Splurge and save
Splurge when it improves function
- Drawer-heavy base cabinets: they make the prep zone work like a pro kitchen
- Lighting: under-cabinet plus well-placed ceiling fixtures changes everything
- Ventilation: if your kitchen opens to living space, a truly capable hood is money well spent
- Counter overhang support done right: nobody wants wobbly seating or awkward brackets
Save where it is mostly visual
- Open shelving: a few well-placed shelves can be more impactful than a full custom partition
- Flooring transitions: smart layout planning can reduce costly specialty trim
- Decorative panels: choose one focal end panel (like the peninsula end) instead of upgrading every exposed side
Common mistakes
- Making the peninsula too big: it should define a zone, not choke circulation. Tape it out first.
- Not planning the trash location: prep zones live or die by convenient trash and recycling.
- Overdoing mixed materials: pick one primary zone signal (flooring, ceiling cue, or cabinetry shift) and support it with smaller details.
- Creating a clutter shelf: open shelving needs a plan, or it becomes a visual dumping ground.
FAQ
Is broken-plan the same as semi-open concept?
Pretty much, yes. “Broken-plan” is a design-forward way of saying you want connection without the everything-in-one-room feeling.
Can I do a broken-plan kitchen without moving plumbing?
Often, yes. A peninsula can be storage and seating without a sink. Flooring, lighting, and tall pantry runs can do a lot of zoning with zero plumbing changes.
What if I want separation from cooking smells?
Prioritize a strong vent hood, ducted if possible, and choose a layout that avoids a straight shot from the range into the main seating area. Partial barriers like a pantry run can also block direct sightlines to the cook zone. Broken-plan will not seal the kitchen off like a door, but it can reduce the “everything smells like dinner” effect.
Will mixed flooring hurt resale?
Often not, as long as it looks intentional and the transition is clean. Resale taste varies by region and price point, so if you are worried, keep the palette simple and the breaks aligned with the architecture.
Start this weekend
If a full redesign feels like a lot, start small: tape out a peninsula footprint, stand in your kitchen during a normal dinner routine, and note where people pile up. Broken-plan design is really just making room for real life, then giving each activity a clear home.
Once your zones make sense, the finishes are the fun part.